


I am delighted today to be able to introduce to you Diya from the Hobby Harbor. Diya is one of the pattern testers who sews and checks over every one of the paid-for patterns here, and helps me to make sure they all are a good fit for all sizes, and don't suffer from mistakes and typos. For the latest pattern, the Easy Breezy Blouse, she made some variations of her own to add in the cutest of ruffle sleeves and I invited her over to show you how she did it.
* * * * * * * * * *
Hello So-Sew-easy readers 🙂 I am Diya, someone who eats , drinks and sleeps Sewing! Doesn't make sense but its kind of true. I love to design garments and sew them for myself, friends and family, and I am at it day in and day out literally. Of course like many of you all reading this at the moment I have a blog, TheHobbyHarbor. Mine is still in its infant stages. I post all about my sewing adventures and I do write helpful reviews and posts which fit into my Sew-Book-Inspired series. Feel free to stop by , stick on or just say a hello , I would be glad to get to know you too!
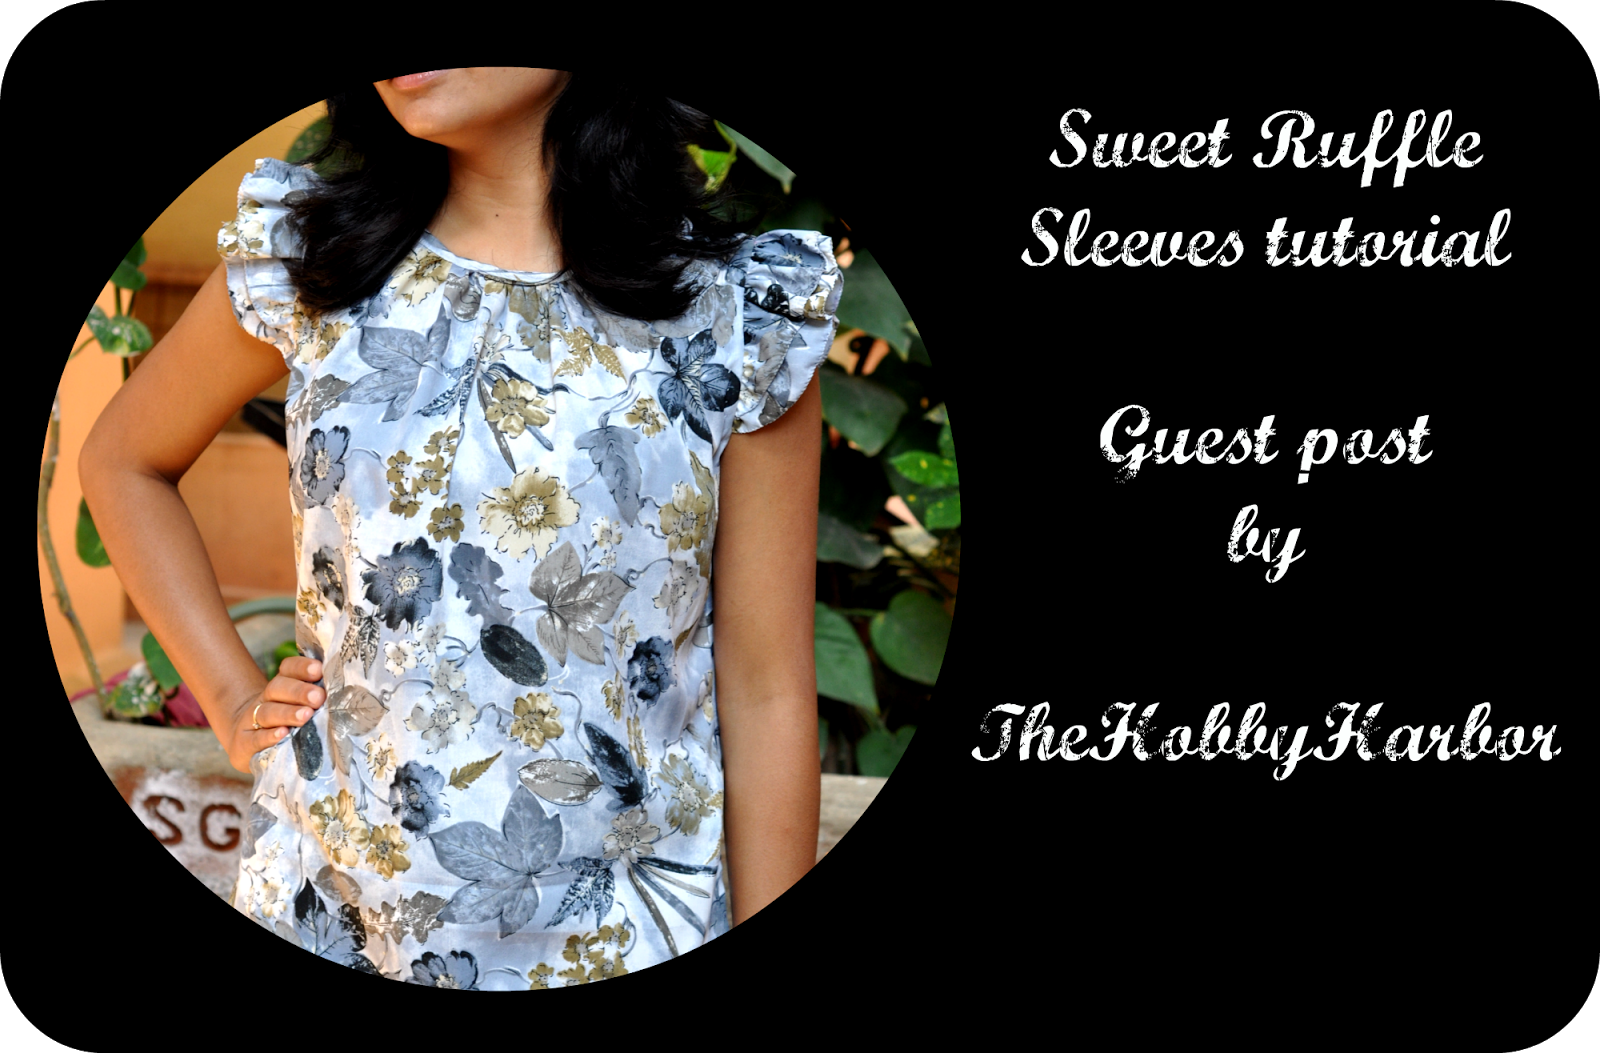 |
| Sweet ruffle sleeves tutorial – How to draft |
While making the Easy Breezy blouse which Deby has released recently (glad I had the opportunity to test it:)), I knew I wanted to add sleeves. Being lazy to draft a set in sleeve I wanted an easy way out.So I just took a chance and cut out some shapes from remaining fabric and made something,which I did not expect would look so cute. I later on tried it on another top to verify if my method of drafting ruffle sleeves this way works well. It did! So here I am sharing it with you all today , Thank you Deby. Hope you will like it and make for yourself too:)
Materials needed:
- A sleeveless top (unfinished armhole).
- measuring tape.
- Paper for drafting
- Stationery like Pen , Scale
- Sewing machine and accessories
I would like to make a special note here that this will look good only in soft and drapey fabrics. Mine is crepe silk and really soft and sheer. Every time I gave a sigh while sewing with this fabric on the table, it flutters. (Its that light weight LOL.)
1.Complete sewing your top. Leave the armhole unfinished. Measure around the armhole and make a note of this measurement in inches. Let me call is ‘X'. (The famous unknown in algebra. But no need to fret there is not much of math required here).
2. Drafting the bottom ruffle – On the paper draw a rectangle. The width must be X+2 inches. Height must be 3.25 inches.Mark the center and draw curves till the end points. The slope of the curve must not be more.

3. Drafting the top ruffle – On the paper draw a rectangle. The width must be X+1 inch. Height must be 2.5 inches.Mark the center and draw curves till the end points. The slope of the curve must not be more.

4. Cut out these patterns along the curved line and bottom straight line from paper . Pin it onto your fabric and cut from fabric.
5. Now finish off the curved edges of both the sleeves. Using rolled hem. I used my rolled hemmer foot. You may want to serge it or use double folded hem.
6. Now Pin the sleeves aligning their centers along the straight edge. Take it to your machine. Set the stitch length to max and sew with 1/8 inch seam allowance. This will create the gathers. If required you can even pull the bobbin thread to created more dramatic gathers.
7. Get hold of your unfinished top which is waiting for some pretty sleeves. Match the center of the sleeves with the shoulder seam and pin the sleeves (right sides together) around the armhole. Make sure you don't pin it to cover the entire circumference of the armhole. Just leave about 2 inches upwards from the side seam. spread the gathers evenly.
8. You may want to try it on and see how it looks. Once you get the right look hit the machine again and finish the armhole with bias binding.
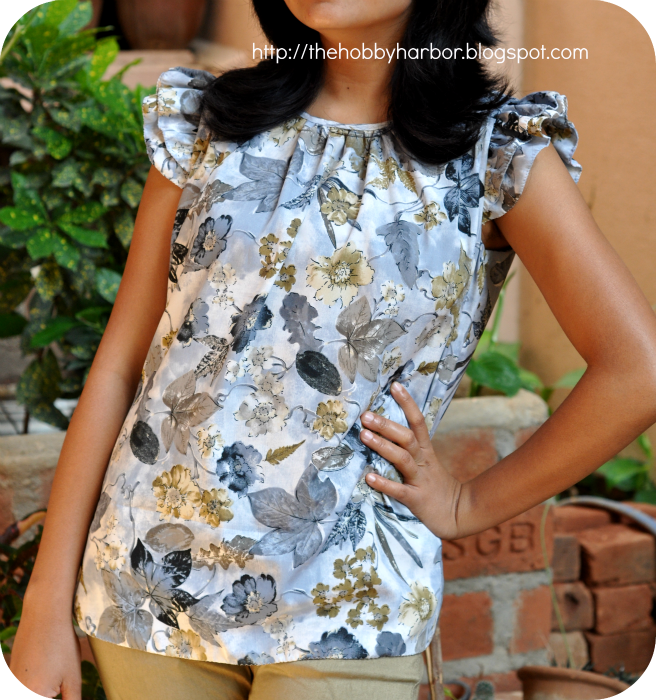 |
| More pictures of finished top : here |
Yippee sweet ruffles added to the top 🙂
Hope you will find this useful and easy. I will publish a tutorial on sewing the sleeves with pictures on my blog shortly. I just could not get it all together in one post. Too many UFO's in the month of June were crying under my sewing table:D. Till then , Happy sewing. Bye.


Love the ruffle sleeve! Thanks for the inspiration and for sharing on Show-Licious!
~ Ashley
That is cute 🙂
Yippe its finally live. I published my post here too . There has been a time gap thought because of the different time zones that we share 🙂
I knew that would be the case, I’m checking it out now. Thank you so much for writing this for us.