


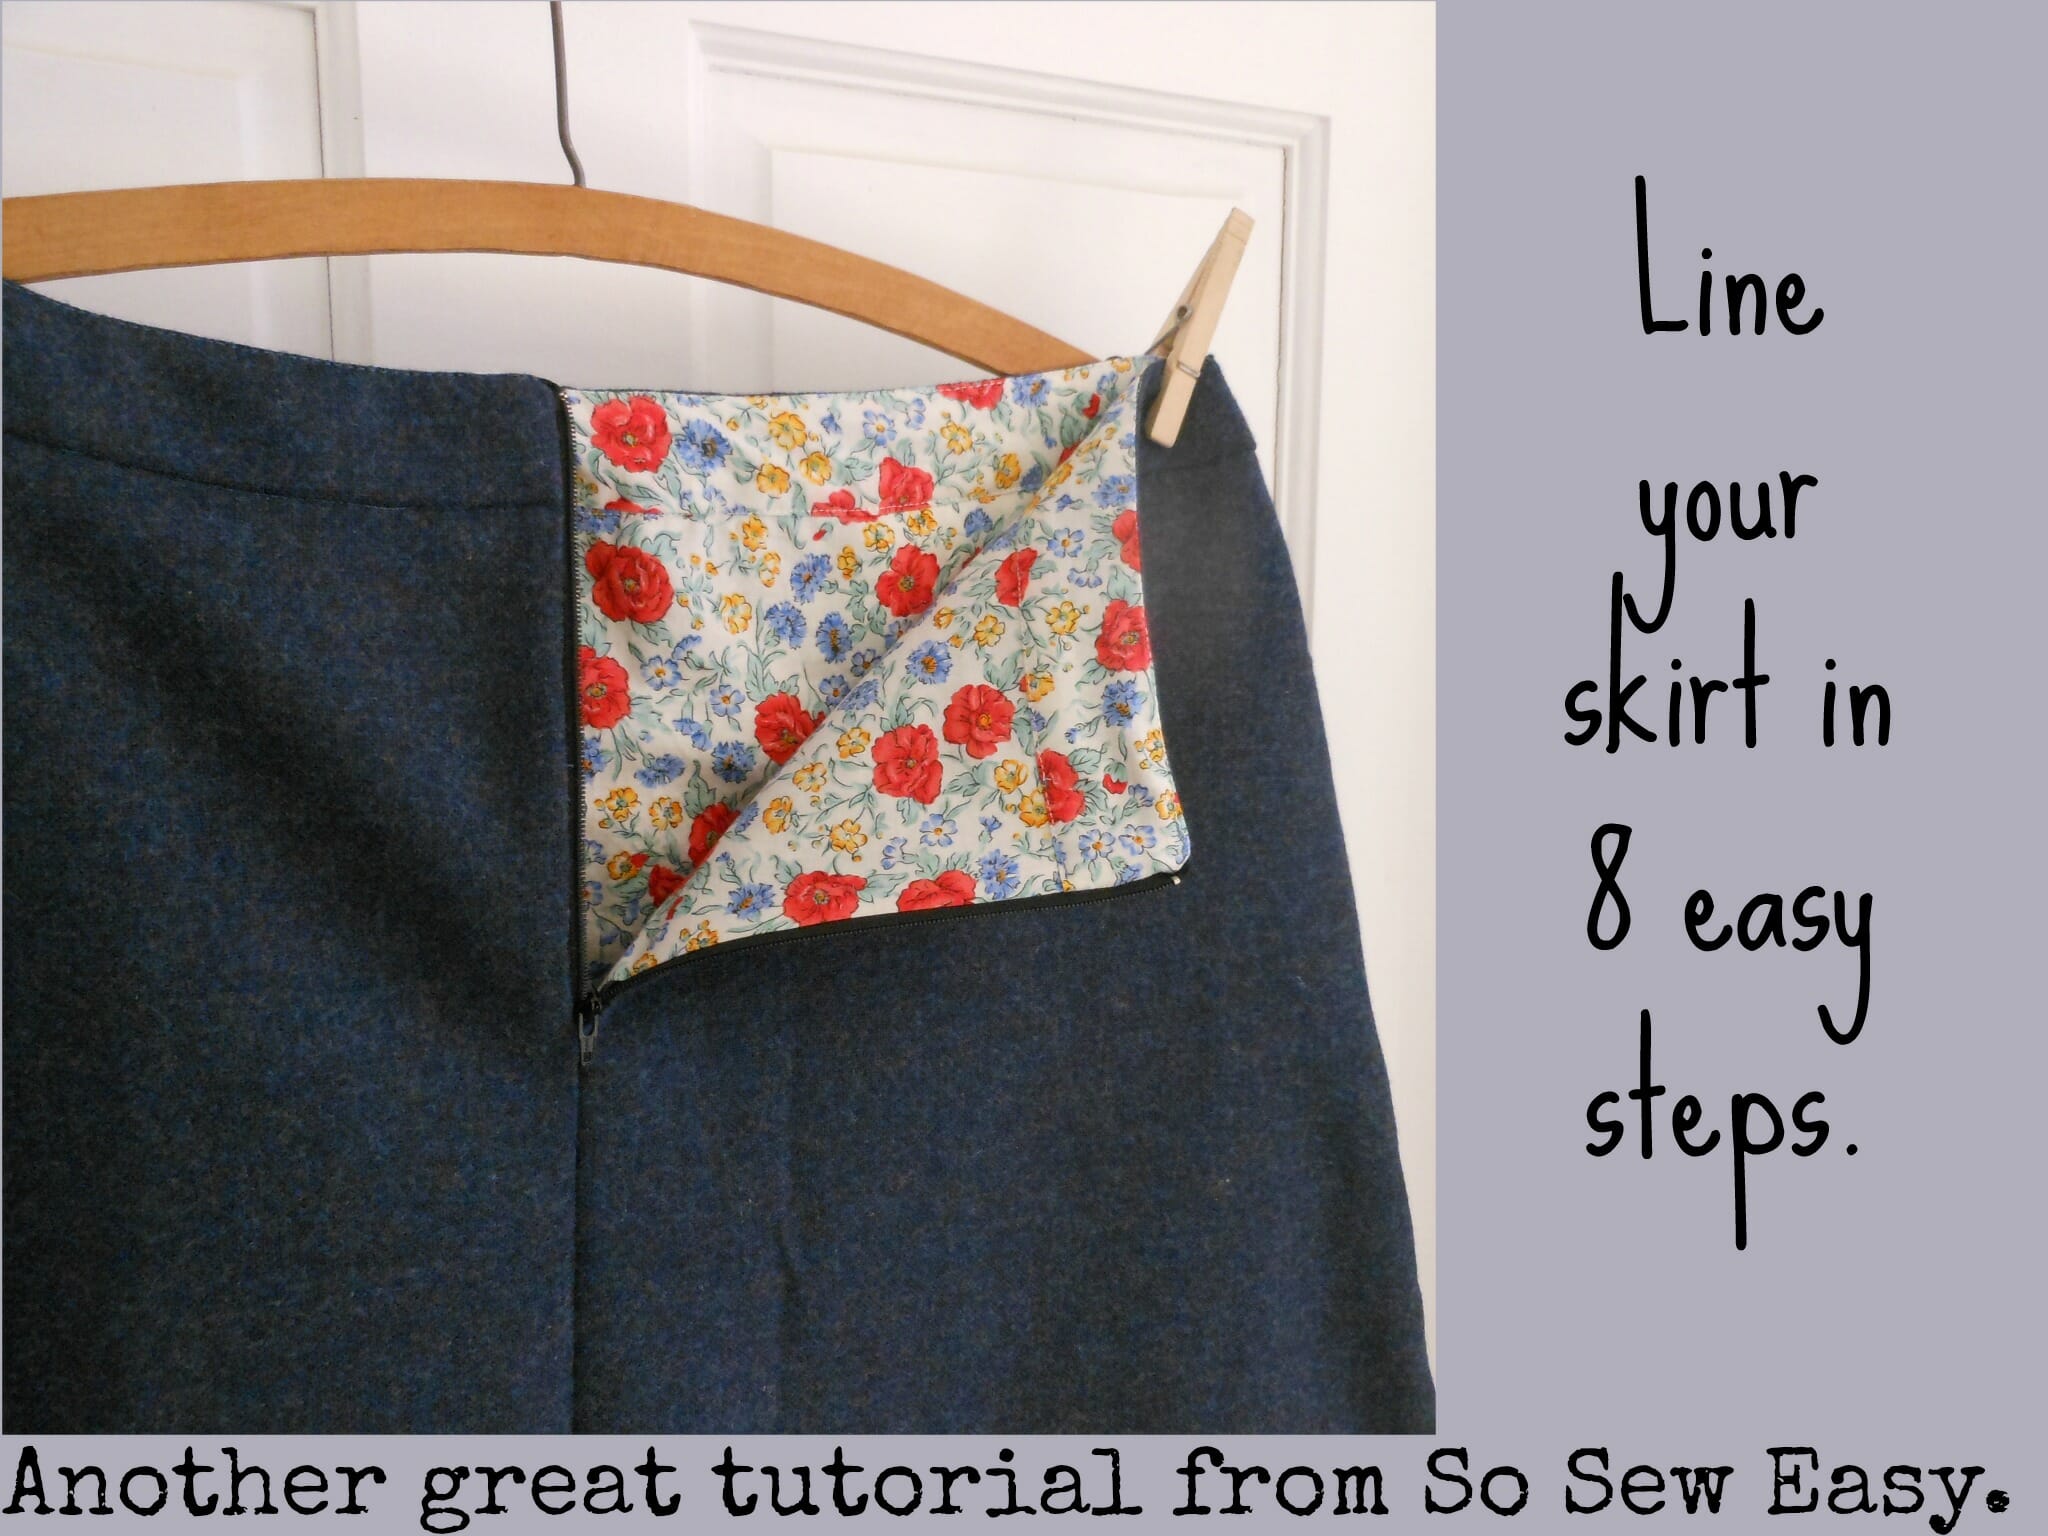
How to add a lining to your Show Some Flare Skirt in 8 easy steps! Hi this is Judy from StoneyLonesomeSewWorks. I am a self taught sewer who has been sewing on and off for about 20 years but only became serious about 3 years ago when both of my children were in High School and there was more time! I started out sewing basic totes and easy gifts for family and friends gradually moving up to more complicated patterns. In the past year I have been most interested in garment sewing with a few quilts and bags on the side.
It is very exciting to be sharing this tutorial on adding a lining to your So Sew Easy Show Some Flare Skirt. The Show Some Flare has quickly become one of my favorite SSE patterns due to its ease of construction and classic design. It is such a versatile pattern that can be sewn up in cotton, wool, corduroy, linen as well as rayons and polyesters. Basically any type of woven fabric will do. I have already made 2 with more in the works! In keeping with Deby’s tradition of easy to follow construction, this lining tutorial is super easy. You will be able to add a beautiful lining to your skirt without much fuss or added time. There are several different ways to line a skirt but for this style skirt, I found this way to be the easiest.
What sort of lining fabric should I use?
Before we get started sewing here is a bit of information about different options for your lining material.
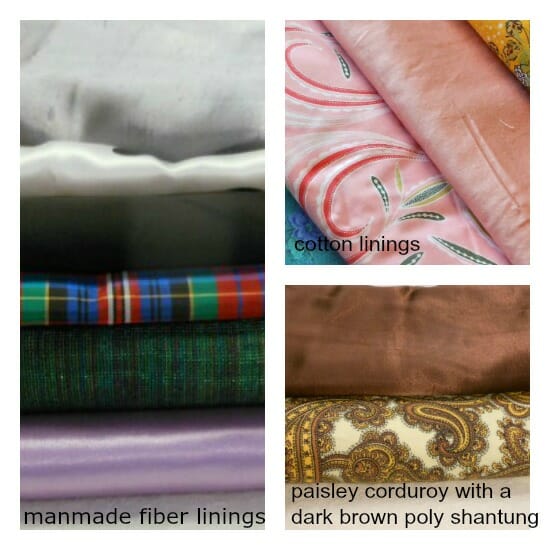
Potential linings
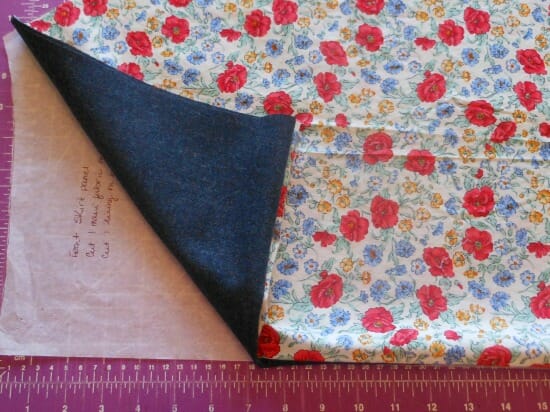
A couple considerations when choosing your lining fabric are the weight of your skirt fabric and the type of lining. You probably don't want to line a lightweight skirt with a heavy lining. For example, one of my skirts is a mid weight wool blend lined with a fun floral quilting cotton. Another skirt is rayon lined with cotton sateen. In retrospect, I wished I had lined the rayon with a “shiny” type lining because it would be a better lining for the rayon fabric matching the rayon’s drape better. Cotton linings can cling to your legs or undergarments causing the skirt and lining to bunch up. Also, the skirt would have finished with more of business causal feel with a shiny lining. But, I really liked the light blue against the dark navy so it was a trade off and I went with the cotton.
Another consideration for your perfect lining is lining color choice; If you have a light colored main fabric make sure your lining is the same color or lighter. With darker and or heavier type fabrics there are more choices for your lining color from dark to light. Above, is paired a nice vintage paisley fine wale corduroy with a polyester shantung. Although, the corduroy is mostly lighter in color than the lining, it works okay because of the weight of the corduroy and some darker tones in the skirt fabric. Contrast linings can be a quick way to add drama and fun to your skirt! For a skirt intended for business casual or more formal I would recommend a shiny lining such as, rayon, acetate, poly, or for a real indulgence, silk. A beautiful and well sewn lining can turn a hohum skirt in to a more refined looking garment.
Lining quick reference guide
Here is a quick chart outlining some of the different types of lining fabric commonly used with some considerations such as comfort. It is suggested you pre-wash your lining fabric as some types will shrink.
This is not intended to be a complete list and really a lot of different types of fabric could be used as lining; as long as you like it, it is functional and looks good!
| Fabric | Breathability | Comfort | $$$$ | Luster/Sheen | Wash and Wear | ||||||
| cotton | High | Med due to “stickiness” | $-$$ | Low | Good | ||||||
| rayon | High | High | $-$$$ | Low – High | Poor unless pretreated | ||||||
| polyester | No-Low | Low-Med | $ | High | Good | ||||||
| silk | High | High | $$$-$$$$ | Med | Poor | ||||||
| Acetate | No-Low | Low-Med | $ | High | Poor unless pretreated | ||||||
How to line a skirt in 8 easy steps
Now let’s get sewing!
1. Cut out your altered and fitted main skirt pieces and construct as per Deby’s instructions up to adding the final waistband pieces. Because you will be adding a lining you will only need 1 front waistband and 2 back waistband pieces of your main fabric and the same for your lining. You may finish your seams if you like but they will not show once you have completed your skirt with a lining. Do press them open though. If you decide to finish your seams use a method that does not create extra seam bulk.
Above, the completed skirt with top waistband raw edges. One note; it is not necessary to interface your waistband pieces due to the addition of a lining, however, depending on the purpose of your skirt adding the interfacing can help to create a more tailored look to the waistband. I actually did a little test and only interfaced my back wasitband pieces. They actually look and wear better than the front piece which I did not interface. In the future, I will interface all the waistband pieces.
2. Using the exact same fitted and altered pattern pieces as you used for main fabric cut out your lining pieces. Cut 1 front panel piece on the fold, 2 back panel pieces, 1 front waistband piece, 2 back waistband pieces.
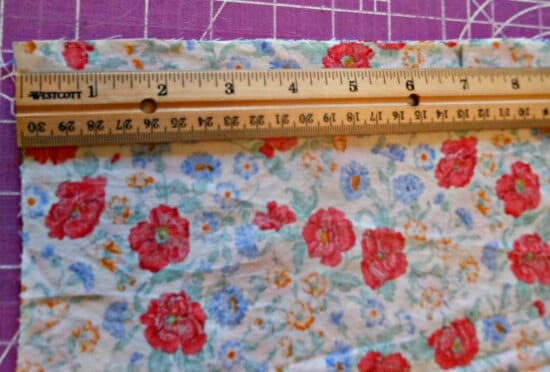
3. Stitch your back center seam. Place 2 back panels together right sides together. At the back center seam and from the top of the lining raw edge measure down 7” (or the length of your zipper) and mark or pin.
With the back panel pieces right sides together sew the center seam from the bottom up to your mark or pin.
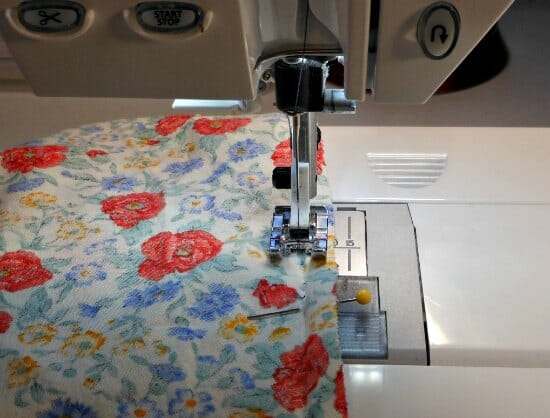 Back stitch several times.
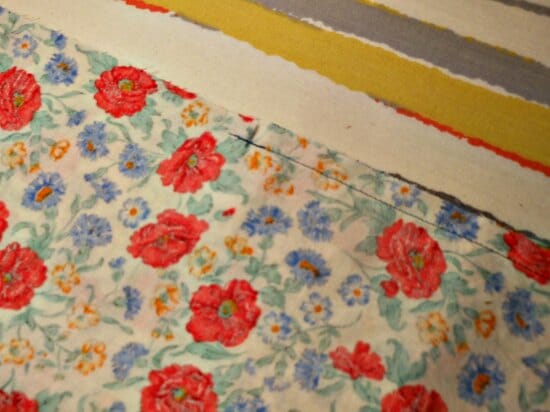 Press your seams open making sure to press all the way to the top of the waistband and include the open part of the back center seam.
 4. Just as you constructed the main skirt panels, attach your waistband pieces to the front lining panel and to the two back panels.
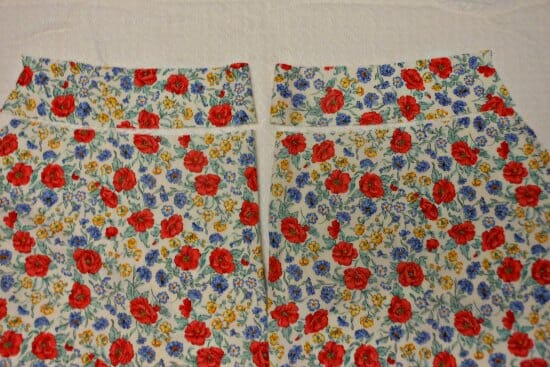
 Sew waistband pieces to lining pieces. Press seam allowances on front and back waistband up.
 5. Sew side seams. Place front and back lining panels right sides together matching top raw waistband edges and the side waistband seams perfectly. Pin.
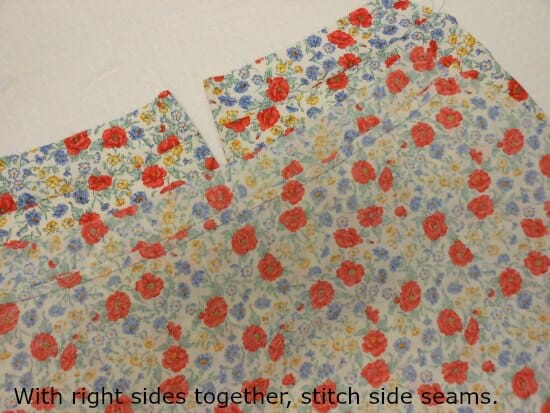 Stitch both side seams. Press seams open.
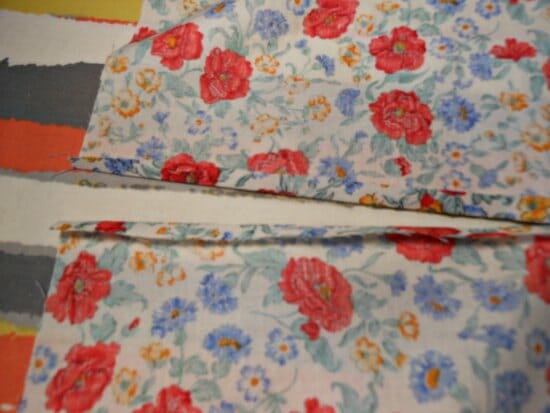
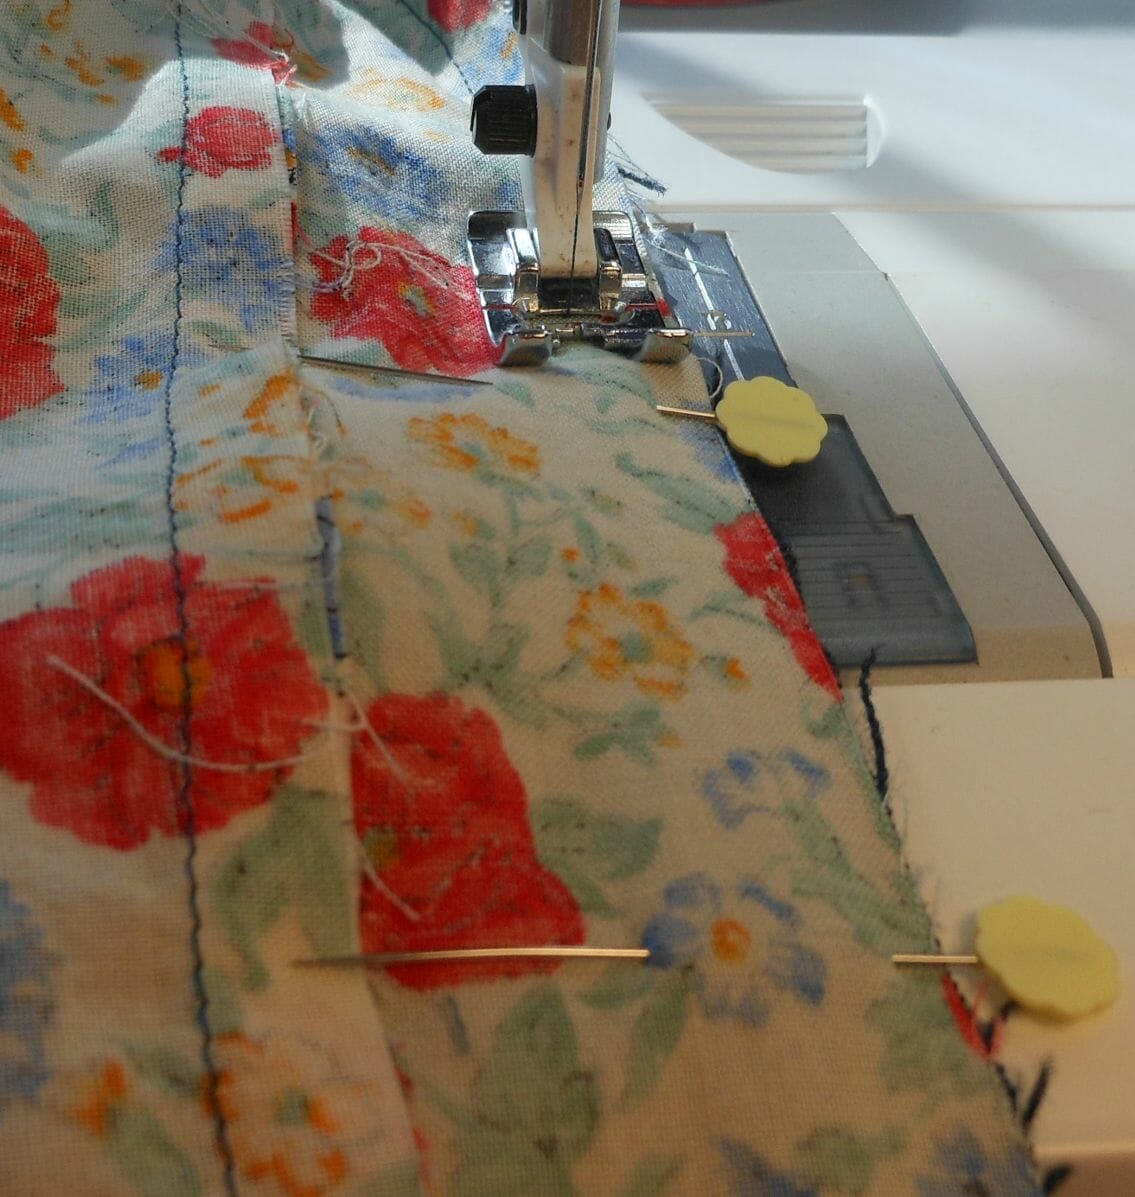
6. Finish lining hem. Shorten your lining by 1 to 2 inches based on your preference and so lining does not peep out or show below the skirt hem. Measure up your desired amount from raw hem edge and mark. I trimmed off 1”. Cut off excess lining hemline fabric.
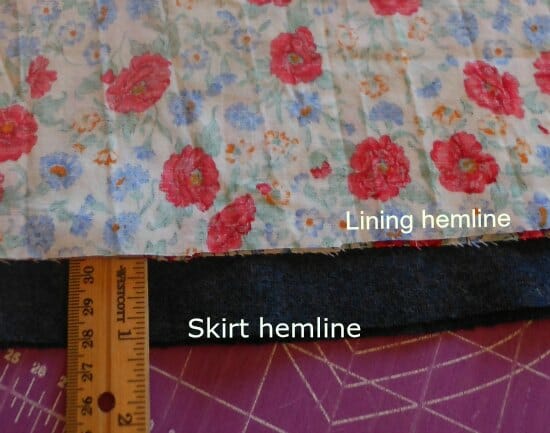 Next, fold up hem raw edges to inside 1” and press. Unfold.
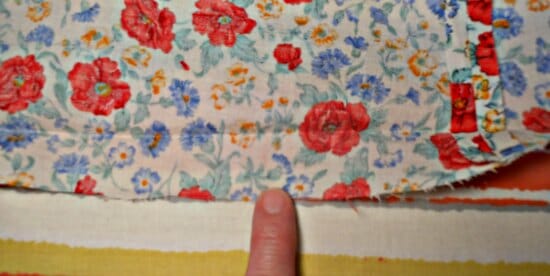
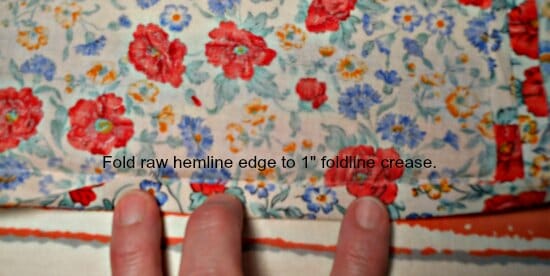
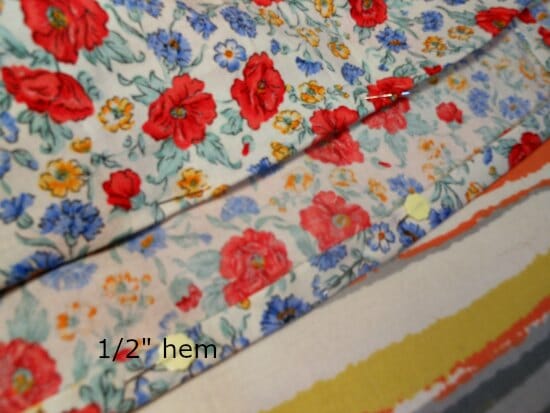
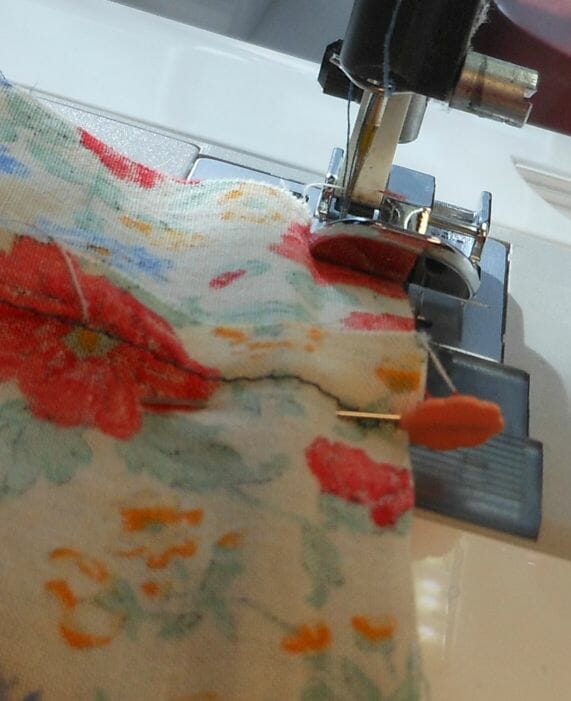
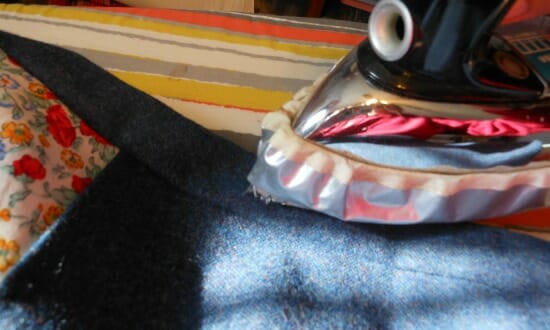
Refold lining hem raw edge up to 1” crease mark. Fold again, to enclose the raw edge. My finished hem measures ½”.
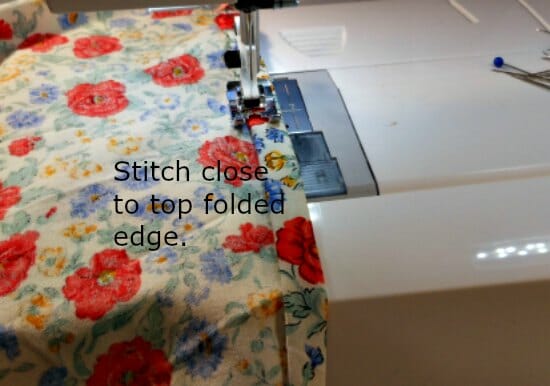
 Press, pin and stitch close to top of the folded lining hem. Now, stitch your hem.
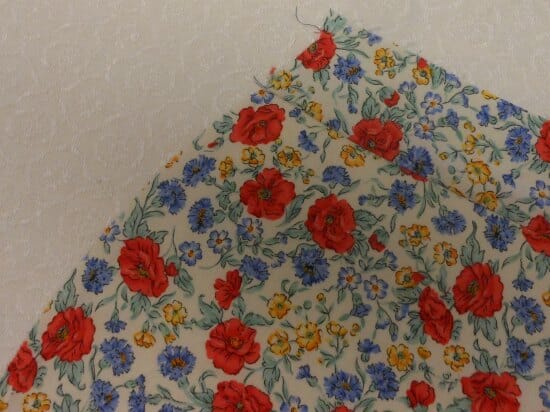
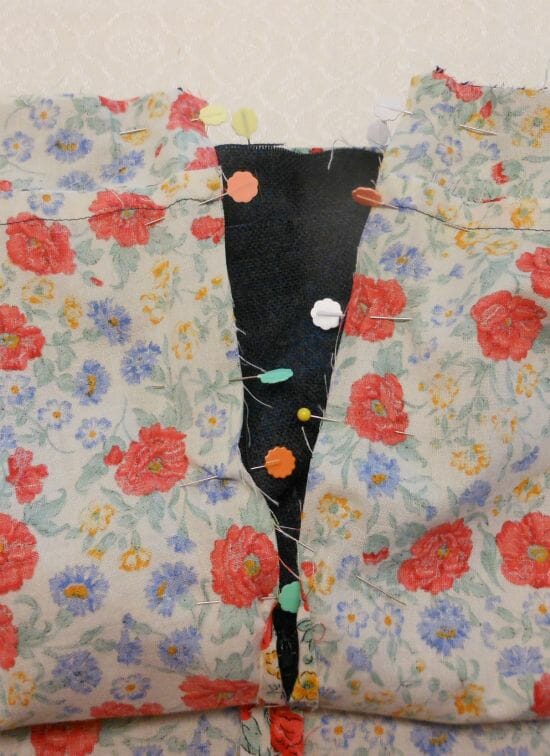
 7. You now have a completed lining and a completed skirt both with raw top edges. Time to stitch them together.
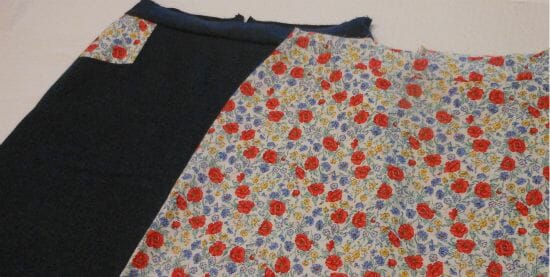
Unzip the zipper. Place your main skirt piece inside the lining, right sides together.
Align waistband seams.
 Align side seams and pin.
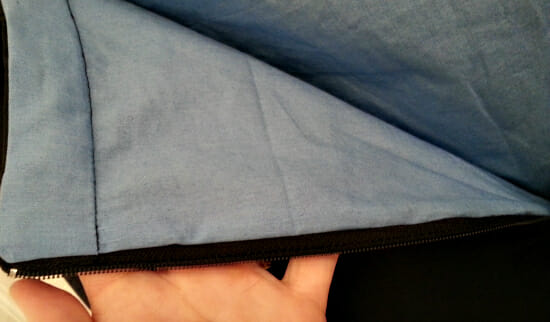
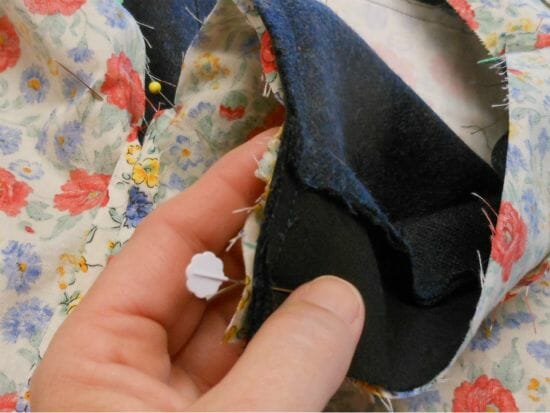
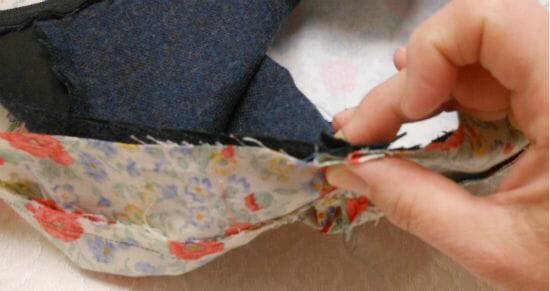 Pull out zipper tape edges to the right side exposing raw edges of zipper tape.
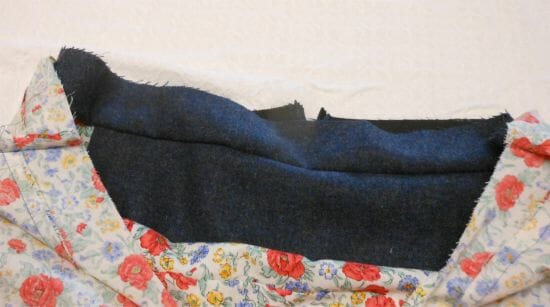
 Pin the raw edges of the back center panel zipper opening to the raw edges of the zipper tape, right sides together.
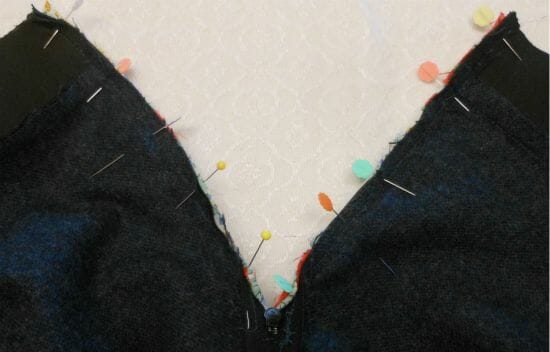
 Pinned zipper view from wrong side of the skirt back panel.
 Attach a zipper foot and beginning on one side of the zipper approximately ½” down from the top of the waistband sew down one side of zipper as far down as zipper pull will allow, back stitch. Do not stitch across the zipper tape at the bottom of the zipper. Lift presser foot, and move to other bottom side of zipper adjusting zipper foot as necessary. Begin sewing, back stitch a few stitches and continue to sew up to within 1/2″ of the top raw edge of waistband. Stop.
 Attach your regular foot, pivot and continue to sew lining to skirt all along waistband top raw edge being careful to keep side seams matched up.
 Do not trim seams but do trim off zipper tape end on both sides of zipper. See Deby’s Show Some Flare Skirt video for the recommended method in handling waistband corners.

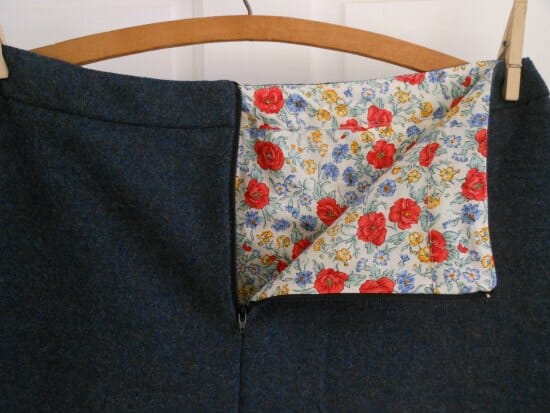
Turn skirt to right side. Press waistband seams flat, press lining near zipper flat.
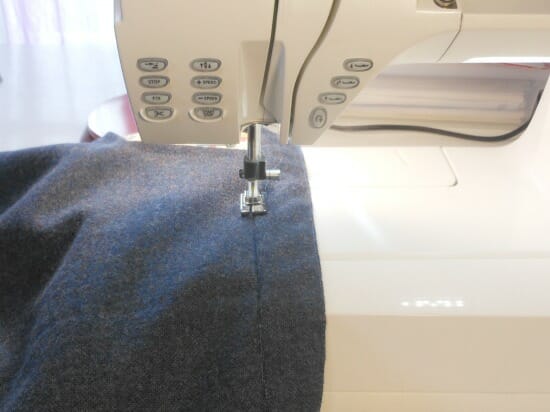
 8. Stitch in the ditch along waistband seam.
 And, you are done! Pat yourself on the back, you just lined a skirt!


[…] to lengthen the skirt and add a lining when I made my second muslin/practice piece. I used the How to Line a Skirt in 8 Easy Steps tutorial from the same site. It made the skirt go from good to […]