Tool tips – budget or quality? The Bodkin
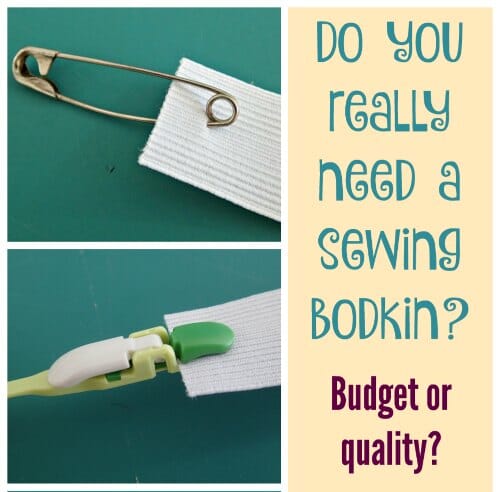
I hope the series about spending in the sewing room has been interesting and useful these past few weeks. We’ve looked at whether spending more money on sewing tools, gadgets and gizmos can give you better sewing results, save you time or just make sewing more fun. Covered so far: … Continue reading