


I simply cannot believe this was SO EASY! If you want an easy-to-make and easy-to-wear skirt that's flattering, and so cheap to make then read on because this post is for YOU.

Want a really easy skirt pattern?
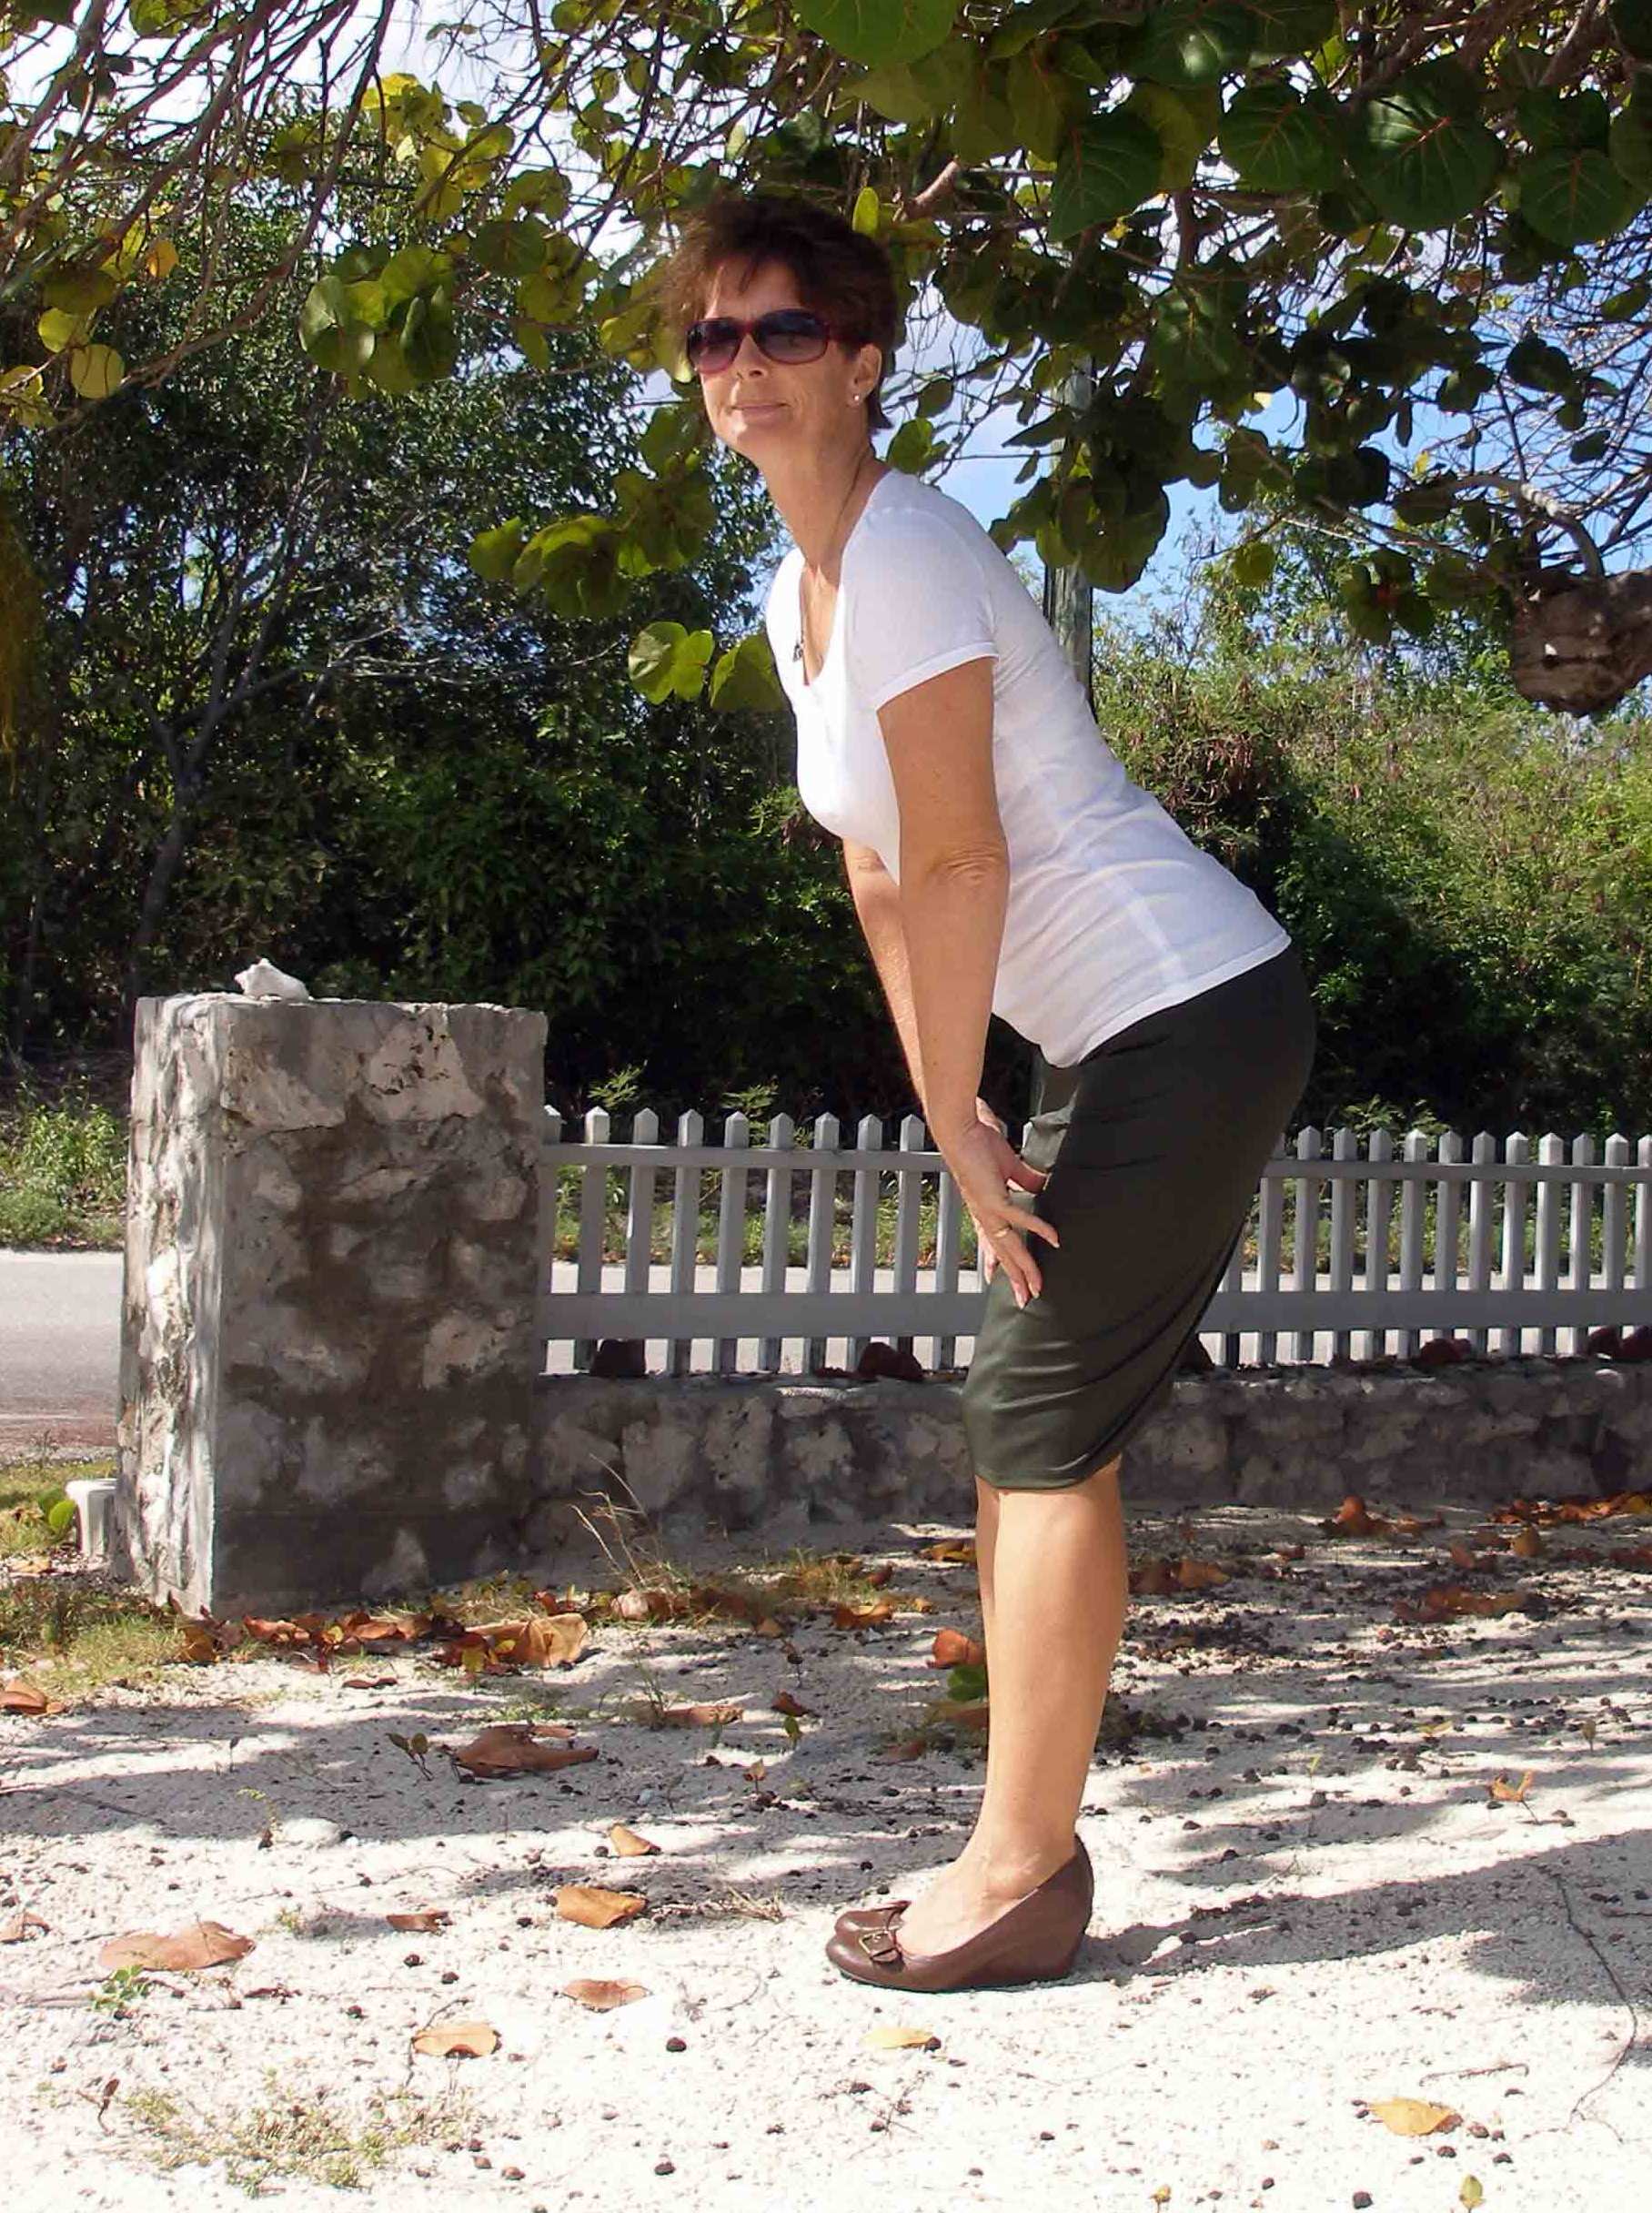
See this skirt above? It took just minutes to make and I assure you anyone can do it. Too tight for you? Too short? Too long? You can make this skirt just how you like it, then you can make another and another, and all before breakfast. Read on….

This skirt is just two tubes of stretchy knit fabric and can be made in minutes, adjusted to your own particular style in terms of how snug or lose you want it, how long or short you want it, and can even be worn in different lengths with the same skirt. Let me show you how.
- Measure yourself around your widest part of your body – your hips or top of your thighs.
- Decide how tight you want your skirt. For tight with some stretch like mine, you will use this measurement above. If you want it to skim your body and fall straight, add in a 1/2 to 1 inch ‘ease' plus a 1 inch seam allowance. For a looser fit, add in a little extra ease. If in doubt use the larger measurement – you can easily adjust.
- Decide how long you want the skirt. Measure from where you want it to start under the waist band, usually at the top of your hip bones, you decide – to where you want it to end. Add on 1.5 inches for seams.
- Measure around your body where you want the waist band to sit. This needs to fit quite snugly so take off 1 inch from this measurement.
- Now you may need to judge the stretchy-ness of your fabric. If the fabric is very soft and super stretchy and doesn't return much, you may need to shave a fraction off your measurements. If in doubt, leave them the same because you can easily take this skirt in later on. Now you are ready to cut your two pieces of fabric.
- Cut the main piece for the skirt. The length around will be as calculated in step 2. The length of the skirt piece will be the measurement from step 3. Make sure you have the fabric the right way up – the stretch of the fabric will go around your body, not top to bottom.
- Put the two right sides together and sew up what will be the back center seam. Best results will come from using a ball-point needle
designed for use with knit fabrics. Use a serger
if you have one, or a stretch overcasting stitch to seam and finish edges in one go using an overcasting foot
, or if neither of these, a narrow zig zag stitch. Your knit fabric probably won't fray so the seam edges don't need to be finished.
- Now slide on your skirt and see what you think of the fit around. Too loose? Then sew up that back seam again to make it more snug. Set aside.
- Cut a second rectangle of fabric using the measurement for your waist in 4 above. Make this rectangle 12 inches wide. Remember to cut the fabric so the stretch of the fabric goes around your waist if it only stretches one way.
- Sew up the center seam, with right sides together. Now try on your waist band. Make sure it will slip up over your hips and then fit nicely without gaping around the low waist or hips. Adjust and take in a little if necessary.
- Fold the waistband in half with WRONG sides together. Now sew the two tubes together evenly with right sides together so that the seam will be on the inside of the skirt. You will need to stretch the waist band a little to make it match to the skirt piece. Best to pin in place before sewing to make sure it is matched evenly.
- Turn up a 1 inch hem at the bottom and finish with a stretch twin needle
Now you can wear your skirt long or short depending on how you wear the waistband. Turn it over on itself halfway for a narrow waistband, or turn it down onto the skirt body, or wear it unfolded. Entirely up to you.
I made this skirt using an off-cut of fabric leftover from making my first Scoop Neck T-shirt from the Sewing with Knits course. So total cost for me – nothing. This white t-shirt is also made from the pattern that comes with the knits course. These skirts won't use a lot of fabric so you can make several in either colorful prints for casual wear, or smart plain fabrics for the office.
Enjoy. Sorry, I didn't take photos along the way – it all just happened too quickly and I didn't expect it to look so good for so little effort! This really is a very quick and easy skirt. If there any anything not clear in my instructions – just ask! If enough people are interested, I could re-do this post as a full step-by-step tutorial, but I thought it was so easy, you could just get in there and have a go. What do you think?


I read this tutorial, lost it, a and made the skirt from memory! I remembered it correctly, it’s so easy, but I had trouble with he waistband. I made it narrower, 2 inches finished. Because my hips are way bigger than my waist I could hardly stretch the waistband enough to fit. It ended up with gathers at n the skirt which will be okay if I wear the top over the skirt. Any suggestions on how to avoid this? Maybe I’m not made for a sexy skirt pattern.
Hi Lesley, you need to use one more measurement, the high hips measurement, place the tape around the top of your hip bones, you will find that measurement smaller than your hips but larger than your waist. Then trace a line between your waist, high hips and hips making sure this line is smooth. This way it should fit much better and you will not have to have the top over it.
Could you please share a picture showing the waistband. Does it end up being about 4 inches wide? Thanks.
nice skirt..would love to try this..thanks for sharing.. 😀
I received a sewing machine as a gift and have only made two things on it, both for my toddlers so they weren’t too challenging.And definitely not clothes, so I’m really new to sewing!! Made this skirt on the weekend for myself and can’t believe how good it looks – thank you!
Congratulations on your new sewing machine and new skirt. You might get the sewing bug now and visit the sewing shop more often than the super market.
love it! so super cute and I can’t wait to try this. Thank you so much for sharing.
Love your skirt! So cute, and thanks for the great tutorial. Thanks so much for sharing at A Bouquet of Talent. 🙂
Another amazing project 🙂
Thank you so much for sharing this over on Tutorial Thursdays.
I look forward to seeing what you have been up to this past week :).
x
Natalie
http://www.marigoldsloft.blogspot.com
well, great skirt. also adored your dress you made the other day. now, about your hubby taking all these photos, i believe, that sometimes, we are better off taking a tripod along to the photoshoot and then just take a lot of photos…. using a self-timer… You will get interesting, probably rather artsy, results. Wanna try?!
Certainly when the wind dies down in the summer I’ll be doing that, but this time of year, the constant wind is enough to tip the tripod. And it makes my hair look bad! If its not the wind setting it over – its the cat!
I think easy homemade skirts are the bomb! (= Excellent tutorial. You can also use the trunk of a longish thrifted t-shirt to make a skirt….
I’m tickled at your ongoing photo-shoot conversations with your camera man. (= And no, your bum doesn’t look big in your skirt. (= Have an awesome week.
Lynaea @ EveryDayBloom.com
You look AMAZING! Love the skirt!
Thanks so much for sharing this at The DIY Dreamer… From Dream To Reality! I’m looking forward to seeing your next creation tomorrow evening!
Really cute!
Thank you for linking up to Raising Imperfection!
Make sure to check back on Friday to see if you were featured.
Leslie
Cute skirt. Thanks for sharing the how to’s.
That’s one of my favorite cuts for a skirt and you wear it well!
I’m visiting today from the Raising Imperfection hop. 🙂
Very cute skirt! I love your commentary 🙂 Thanks for sharing at Monday Funday.
Thanks for the tutorial. I love working with knits. I was afraid for so long but once you jump in and learn what you are doing it is so much fun and the stuff I make get worn more often
I’m so afraid to sew knits and this comes just as I was thinking my vacation week this week might be a good time to tackle knits. My sister is a whiz when it comes to knits over at call ajaire- http://www.ajaire.blogspot.com and I’m spending time at her house this week. Maybe I can figure it all out!!
I used to be afraid too and made many a poor sewing job on knit fabrics – then I took the online video course from Craftsy – Sewing with Knits.
It changed my sewing forever, and now with the new techniques I’ve learned I feel I can tackle all sorts of difficult fabrics. I highly recommend it.
Hi! You were the link before me at the Finding Fabulous link party! This skirt turned out great! I think you hit it right on the head with the amount of stretchy-ness (?) in the skirt. Great job! Thanks for sharing!
Cheers,
Julia
It’s Always Ruetten
Love the skirt! Looks great on you! So happy you linked up to Give Me The Goods Monday! Can’t wait to see what goods you bring next week!
Jenna @ Rain on a Tin Roof
Another awesome sewing project! great job!
Great way to whip up the perfect skirt when you need one!
Super cute skirt! Love how easy it is too! Would LOVE to have you share at my {Homemade By You}
http://www.madetobeamomma.com/2013/04/homemade-by-you-46.html
visiting from sew much ado. Looks awesome on you
Looks so cute! Great job!
So cute. Pinning!
When I was pregnant I made all my skirts.
How awesome! Looks easy enough for me to sew! 😉
how cute and so easy
come see me at http://shopannies.blogspot.com
Super cute ~ that is my kind of skirt right there!
Thank you for linking to Raising Imperfection.
Please come back Friday to see if you were featured. 🙂
¤´¨)
¸.•*´
(¸¤ Lanaya | xoxo
http://www.raising-reagan.com
I love this skirt, Deby, and it looks fantastic on you!!