


I'd like to show you a tutorial on how to make a removable lined pouch to add to any bag. This is an especially useful little addition when your bag doesn't have enough pockets.
I love totes but they are notorious for not having enough pockets. I have also made a few little totes without a zipper to close them. They are cute and practical but I'm always afraid things are going to fall out or if the bag is bigger, that things are going to be swimming at the bottom of my bag. So here is a way to add a zipper removable lined pouch that you can transfer from bag to bag.

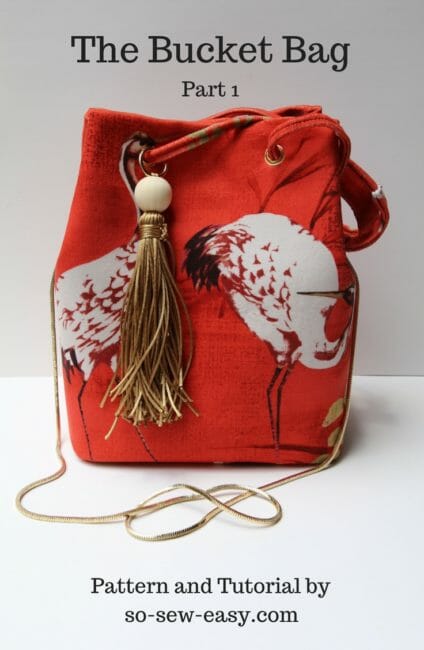
This tutorial is also part of the Morgan Bucket Bag from a few weeks ago.
Materials:
- 6″ metal zipper For a better-looking pouch) but nylon is fine
- Two rectangles 8″ X 6″ on upholstery fabric
- Two rectangles 8″ X 6″ on lining
- Two smaller rectangles 2″ X 1″ on lining. Make these wider if your zipper is wider
- Polyester Thread for sewing canvas
- Chain with lobster claw.
How to make your lined pouch
The following instructions work well when using a very thick material, vinyl, leather, canvas, and upholstery fabric such as the one I have been using with the Bucket Bag.
I am giving specific measurements for this lined pouch tutorial but feel free to vary the size and make the pouch smaller or larger if you wish.
Tip #1: Buy a zipper that is 2″ shorter than your rectangle. So If you want your pouch to be 10″ wide use a zipper that is 8″ in length.
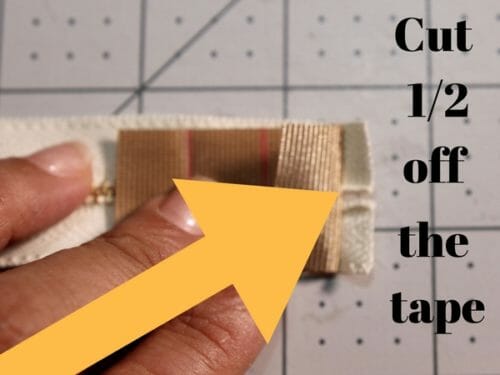
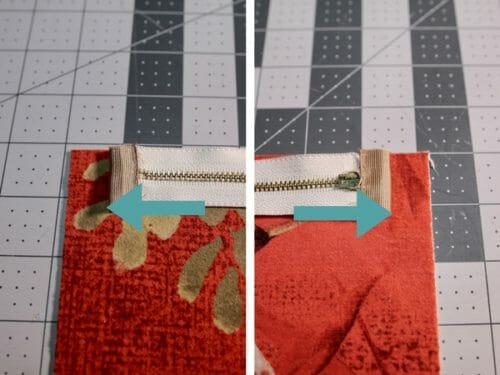
Step One: Making the zipper tabs
You will need the two tabs 2″ X 1″, mark every 1/2″ with a tailor's chalk.
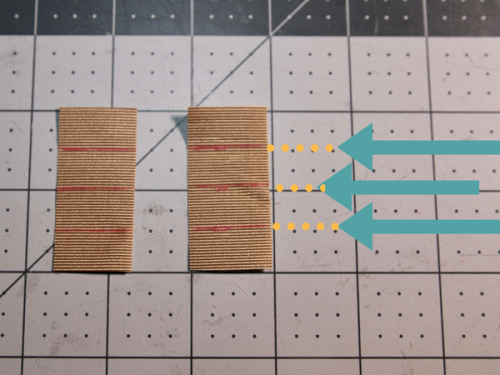
Place the tab wrong side down and sew very close to the metal stopper. Turn the zipper upside down and cut the zipper tape by half.
Fold the last 1/2″ and fold again then stitch.
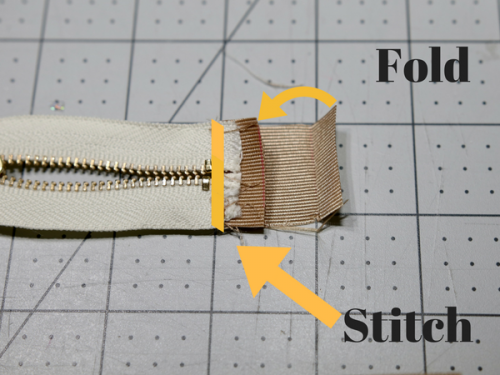
Repeat the same procedure on the other side of the tape and sew.
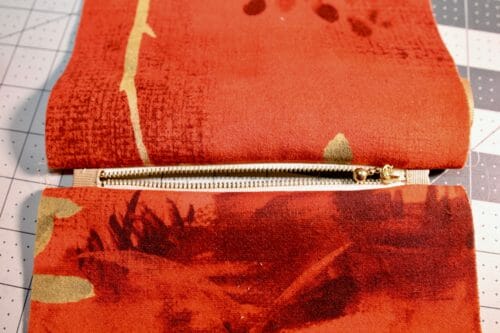
Step Two: Sewing the fabrics to the zipper
Remember this is a 6″ zipper and your pouch is 8″ wide. Place the fabric right side up and zipper right size down the same distance on either side of the large edge of the rectangle.
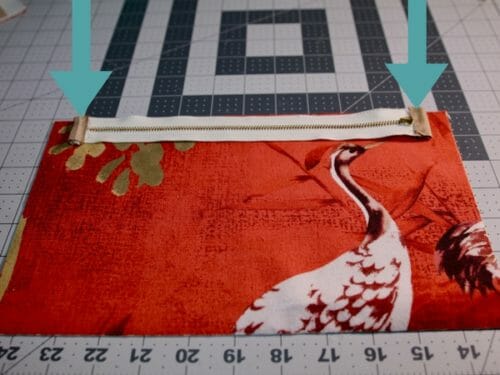
Place the lining right side down aligning with the fabric and the zipper.
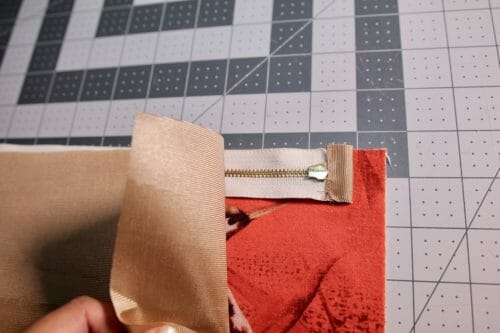
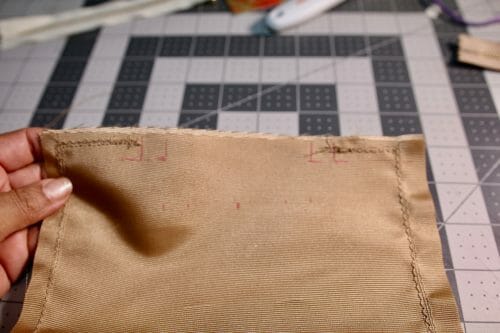
Sew the fabric, lining, and zipper at the same time and sew a 1/4″ seam allowance.
Repeat these steps to sew the other lining and main fabric to the other side of the zipper.
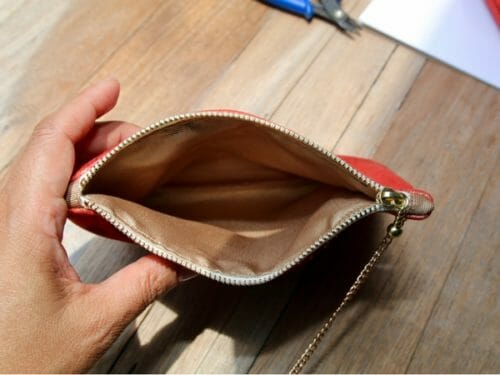
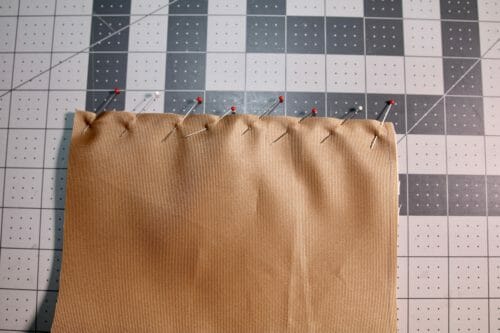
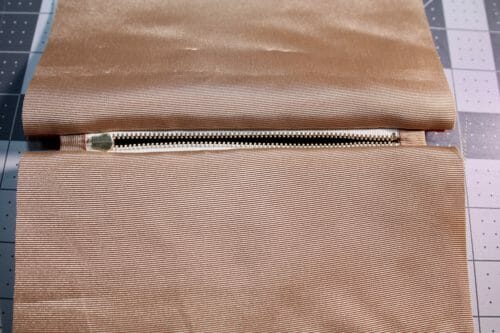
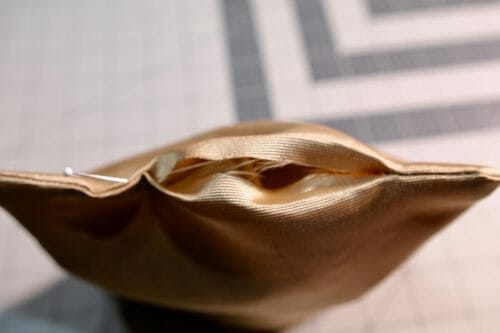
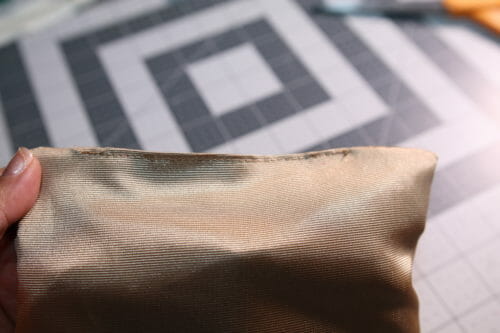
Your pouch should look like this in the front. This is the back.
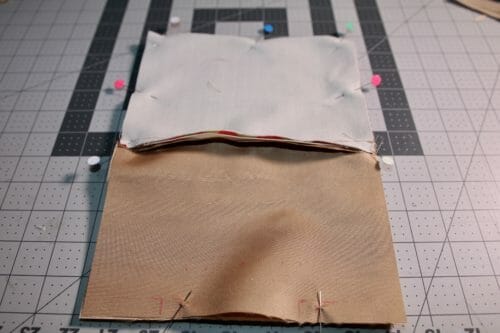
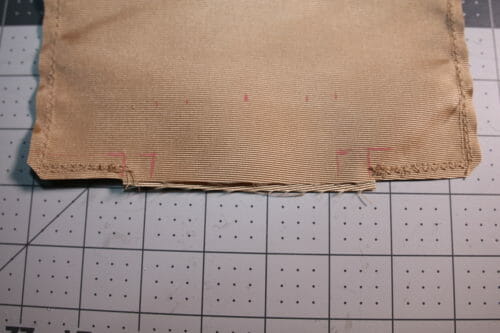
Step Three: Sewing the sides
The first thing you need to do is to separate the lining from the main fabric including the seam allowance so that you can then sew along each edge. This will join the fabric side with the fabric side and the lining side with the lining side.
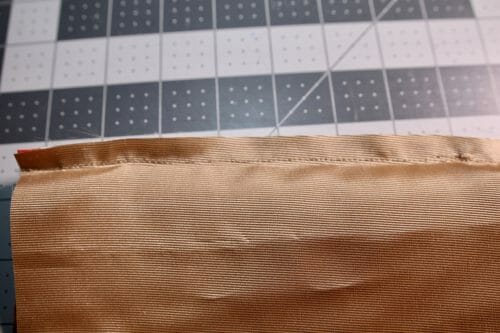
Tip #2: Open the zipper and sew on the sides without touching the zipper tabs.
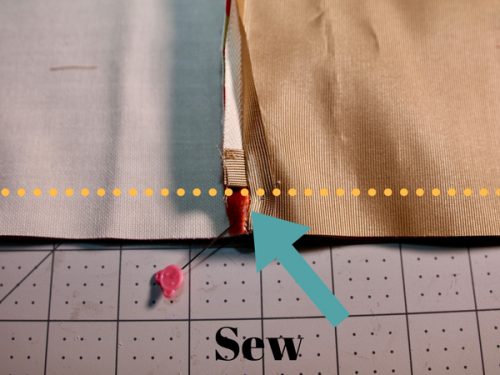
Leave a gap of 4 inches in the lining.
Trim the seam allowance and the corners. I am using acetate and it is very slippery and ravels easily so I have stitched it 3 times including a zigzag. Don't trim where the gap is located.
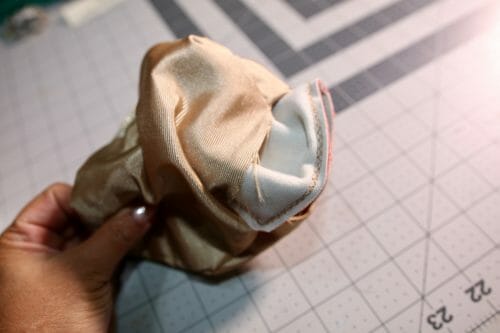
Use the opening to turn the pouch around.
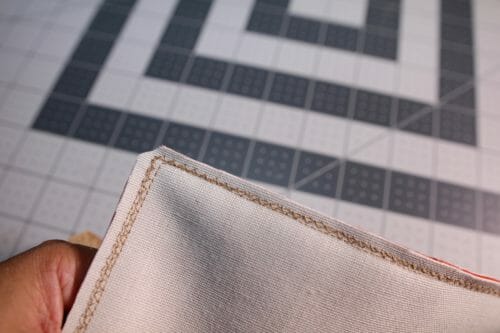
Fold the seam allowance inside.
Sew as close as you can from the edge.
Remember you must have the zipper open.
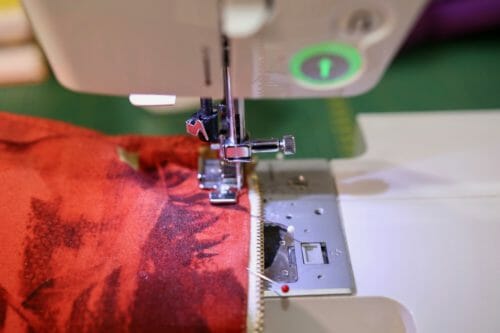
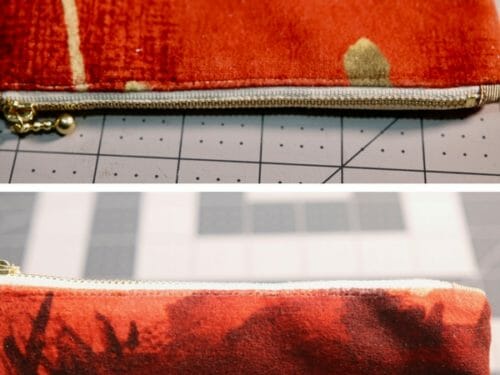
Turn the pouch through the zipper. Open the zipper completely and topstitch at both sides of the zipper. Sew at 1/8″ from the zipper.
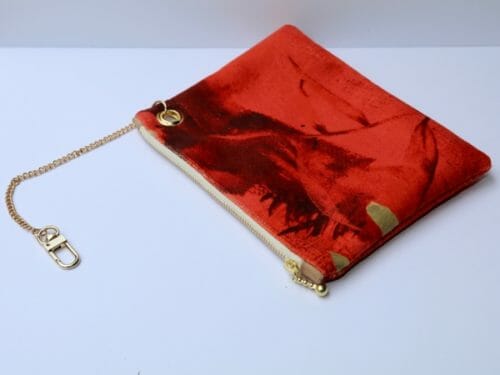
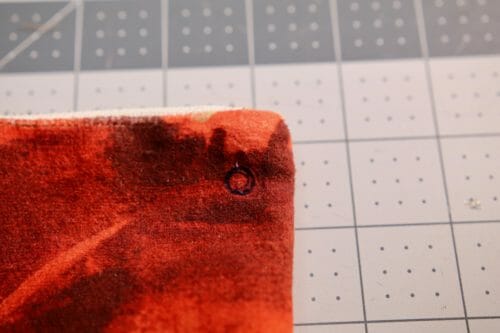
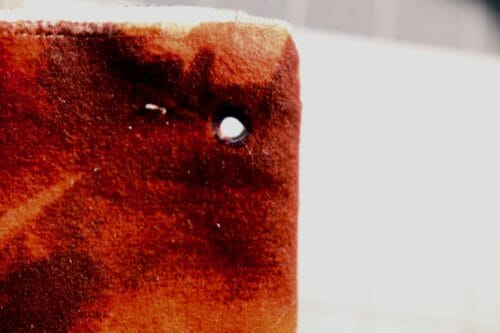
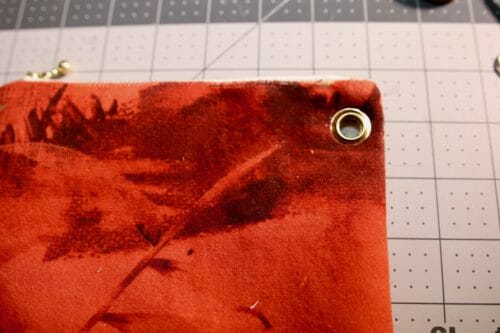
Finally, we can make a hole for the grommet. The rim of the grommet should not be closer than 1/4″ from the edge. I am using a 3/8″ hole grommet. Use this tutorial on sewing with grommets to know how to do it.
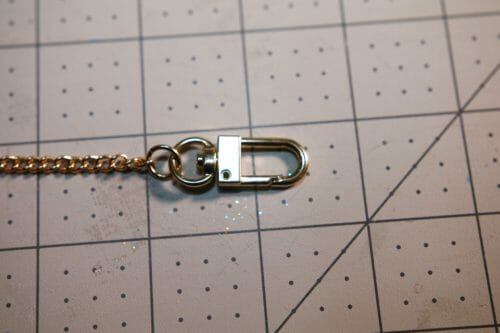
Open the jump ring of the chain and insert it into the hole of the grommet.
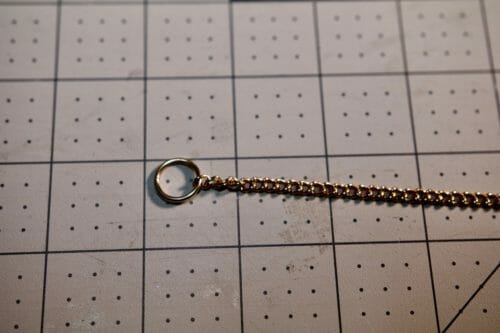
The lobster claw is to attach the lined pouch to the bag.
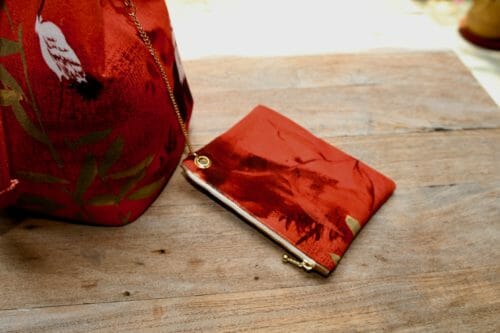
And there you have it. You can now add a removable lined pouch to any bag!


Wonderful post! Thanks for sharing.
Love it! Thanks will try it soon.
You are most welcome!
Hi, Great tutorial on how to create a line pouch, thank you.
Is there a way of adding lining to the Easy phone Wallet?
Yes, use the same technique to lined the phone wallet used here. So cut all the pieces twice.
Mayra, perhaps once I try it, it will become obvious, but I don’t understand how you can sew the sides without touching the zipper tabs and not have a gap between the zipper tabs and the sides.
Hi Rosemary, I have given instructions so that there should not be a gap. The seam allowance prevents it. Do try and you will see what I mean. Perhaps a video is in order, I think.
Thank you so much! Your tutorial is one of the best aa always ! I am a huge fun though first time commenting.
Thanks for this wonderful birthday present!
This is great and I am going to make one for me. Also the bag that it will go with.
One of the best tutorials that I’ve seen! Thank you so much for sharing your sewing knowledge with us!
~ Barbara
Thank you, Barbara 🙂
Thank for the great tutorials!! I will be making this & the bag as a gift… maybe one for myself!
You are most welcome Annette, now you can upload a picture in the comments section when you are ready to share, looking forward 😉
Thank you for sharing your beautiful Bucket Bag pattern I am going to make them for Xmas gifts can’t wait to find some lovely fabric to do them justice, love your beautiful Crane fabric. Thanks again Kind Regards A.
Dearest A, you are most welcome! hope I see a picture before you wrap the present ;), and you are most