


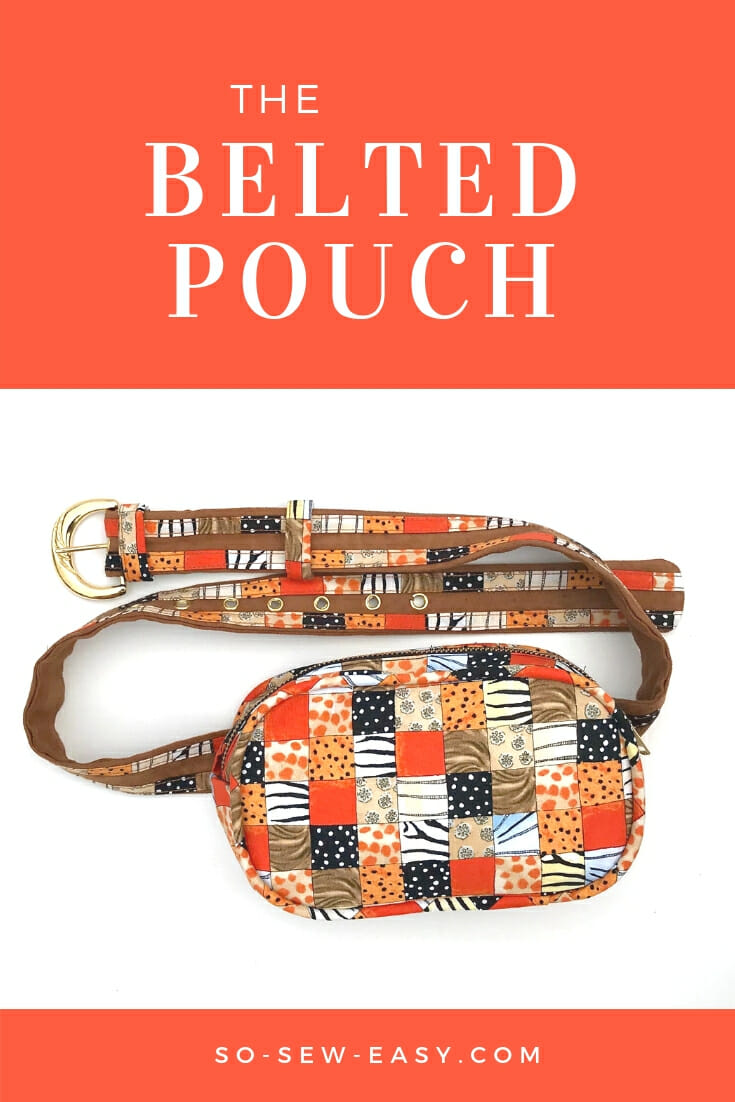
The belted pouch has been on the catwalk nonstop since the Summer of 2012 and will continue to be seen throughout the year. Just about every designer or ready-to-wear label has had a version of it. From $1,500 for a Gucci to just a few dollars at H&M you can find the belted pouch nearly anywhere. Perhaps it is the practicality of the accessory that makes it a winner among so many different demographics.
The earliest known belted pouch was discovered on the body of a mummified native American some 5000 years ago, so this style is hardly new. As with many unisex accessories, it owes most of its popularity to its use in military uniforms. The belted pouch was notably used in the 18th century, gaining most demand during WWI, just about every culture has had a version of the belted pouch ever since.

Still today the belted pouch is widely used among policemen, military personnel and trade professions all over the world.
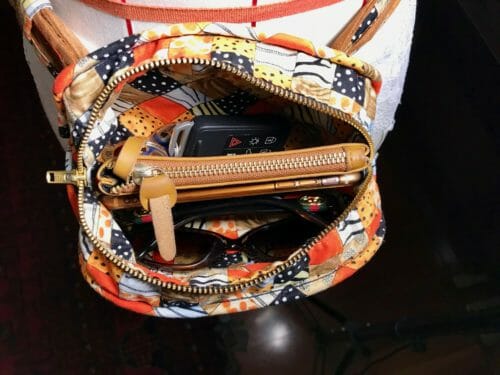
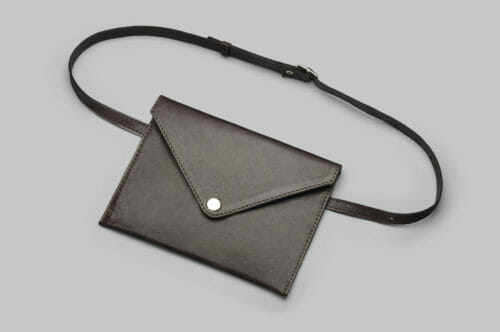
This belted pouch is large enough for a big mobile phone, a small wallet, car keys and a couple of cards.
Perfect for shopping, hiking, cocktail parties, sports watching, and makes an ideal gift for Christmas, you can't go wrong with a belted pouch. You could add an internal zipper pocket if you want but I'll leave that decision up to you. This is a relatively easy project to put together but, our ability to sew curves is what makes this project an intermediate one. Applying piping on a curve and then adding the gusset will test your patience so I suggest you used a lot of pins or hand baste the sides before using the sewing machine.
I will be adding Notes for alternative ways to simplify the sewing of this pouch.
Skill Level: Intermediate.
Materials
- 1 yard of quilting cotton, canvas, vinyl or leather
- 1/2 yard of firm fusible interfacing
- One 11 or 12″ zipper
- Thread to match
- 1 1/2 yards of cord 5mm” thick
- Two 3/8″ D-rings (Optional)
- Walking Foot (optional)
- Jeans needle
- Piping or zipper foot
Fabric Recommendations From Fabric.com
How To Print Your Belted Pouch
Please use Adobe Reader on Actual size and Landscape Mode. You will not need to download any other programs.
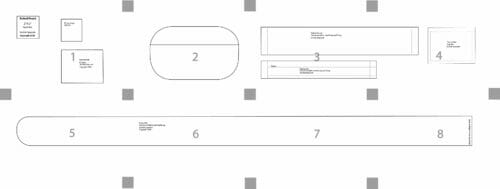
Pattern Layout
Pattern Download
You can download the pattern for this Belted Pouch from our account at Payhip.
For help downloading and printing PDF patterns, please CLICK HERE.
How To Sew Your Belted Pouch
The first thing you need to do is to make the belt. This is covered in a separate tutorial. The pattern will fit a buckle that is 1.5″ wide but I will show you how to adjust that should you have a wider or slimmer belt.
Avoid fusing the interfacing to the seam allowance if your machine can not handle the thickness or use a walking foot if you'd rather save the time from cutting the seam allowance from the interfacing.
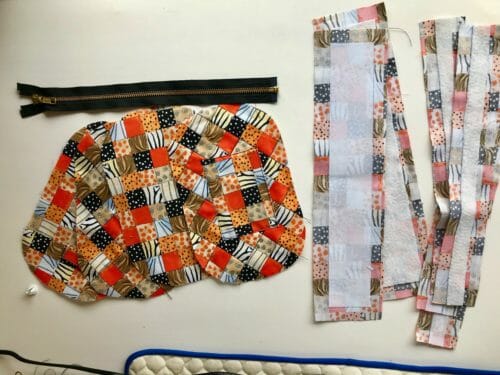
Step One: Preparing The Fabric
Cut all pieces of the pattern on fabric and lining.
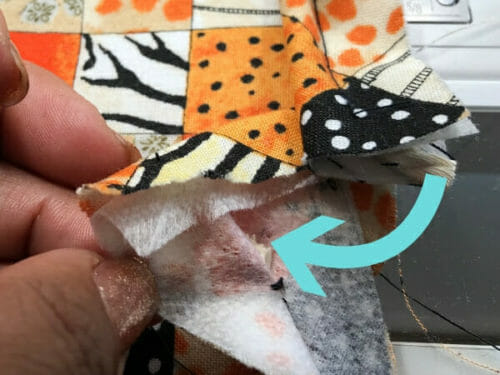
Apply the fusible interfacing to all the pieces (except on the seam allowances).
I am using two different types of interfacing, however, you can use any type as long as it gives you a nice crisp finish. For a comprehensive tutorial on how to choose interfacing for a project please look at this video on our YouTube channel:
Subscribe to the YouTube channel:
Step Two: Making The Inside Pocket And Loops.
We will be making a small pocket for a few credit cards, and loops to hang the pouch to a belt.
Make a pocket large enough to fit a credit card or use the piece labeled card pocket on your pattern. Apply the pocket to the lining. This is an optional step but a little nice detail that will keep your cards from swimming around your bag.
Making the Loops
Cut the loops using your pattern, these loops are made the same way as the loops in the belt. If you decided to use a belt wider than 1.5″ all you have to do is make sure that when you sew the loops to the belt they are large enough for the belt to go through.
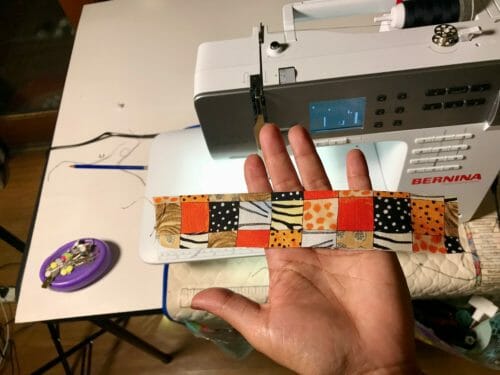
Fold the rectangle in the middle and using your iron make a crease
Fold each side in towards the middle where the crease is.
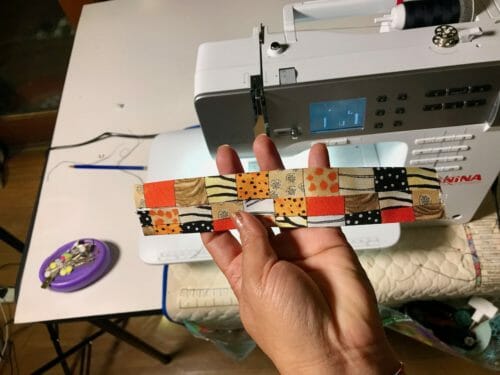
Next, fold both sides in, then stitch very close to the edge.
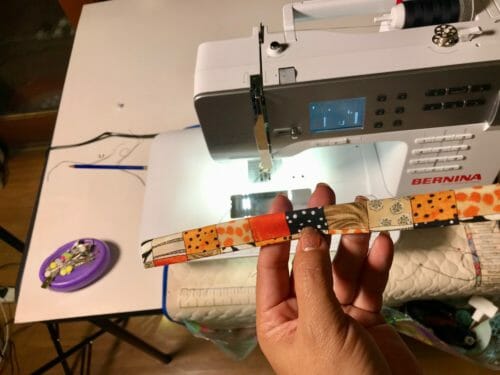
Cut in half fold the side 3/8″ and stitch to one of the sides of the pouch.
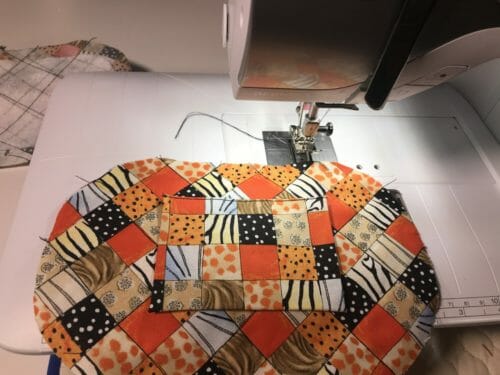
Step Three: Applying The Piping
We have two articles that cover all there is to know about piping, How to make and use piping and the best way to apply piping to a curved surface. I am well aware that a video would be the best way to demonstrate all the tips and tricks of piping. I am on it…but for now, I will do my best with pictures.
The key to sewing piping is:
a. fold the beginning of the tape about 1/2″.
b. Start sewing 1″ from the end
c. Snip the rounded areas so the piping can take the curve smoothly. I like to start before the curve starts. I do not have a piping foot but I find the normal zipper foot works well. Sew the piping at 5/8″
This is the part that makes it a bit tricky, but it's not difficult once you understand the steps. Previously we had folded the beginning of the piping tape (a), pass the end of the tape over the folded edge (b) and cut the beginning of the tape exactly where the end ends and continue sewing.

Once you have sewn the piping reduce the seam allowance to 1/4″. This step is important because the gusset will not fit if you do not cut off 3/8” of the seam allowance.
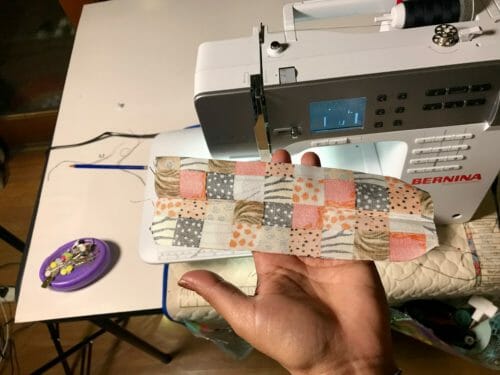
Step Four: Sewing The Gusset
We will start by folding the zipper seam allowance. Using your iron fold 5/8″ on both pieces of the top gusset. The folded part is where the zipper will go.
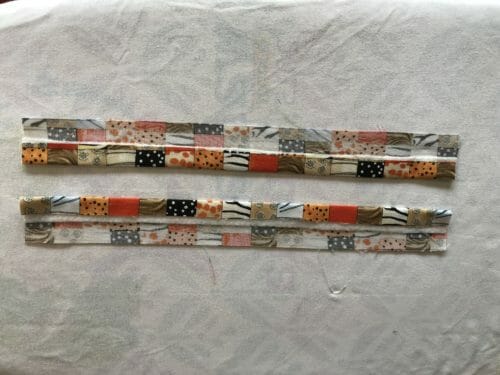
Print sides together join the bottom gusset with the top, leaving a space in the middle of the zipper. Sew at 5/8″. Repeat on the other side of the gusset to form a rounded band.
Note: You can at this point attach the zipper to the gusset using your zipper foot.
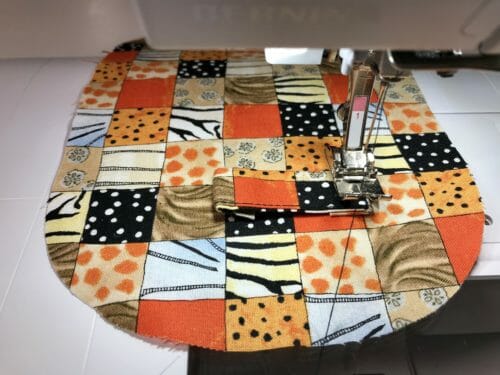
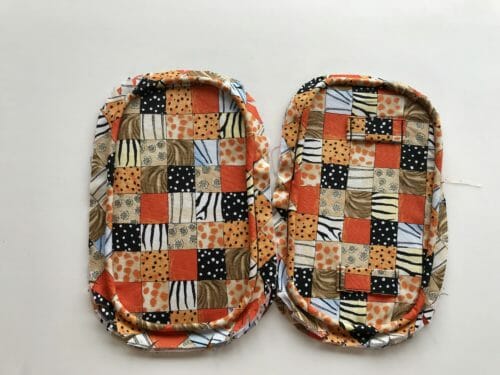
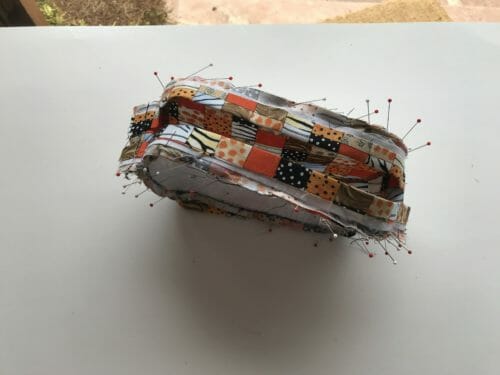
Pin the gusset to the front and back of the pouch. Sew at 1/4″. Turn the pouch right side out.
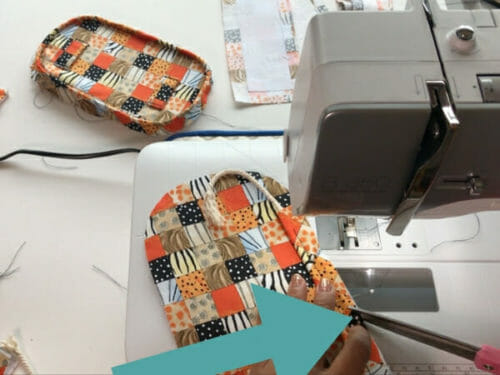
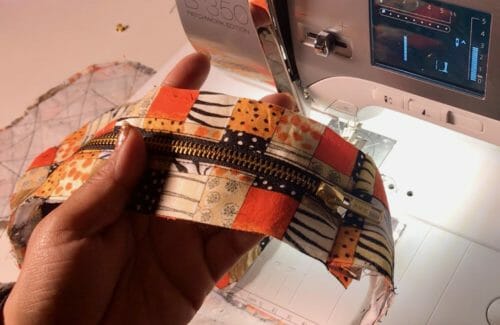
Pin the zipper with the head on the left side and sew. Note: Skip this if you have already added the zipper.
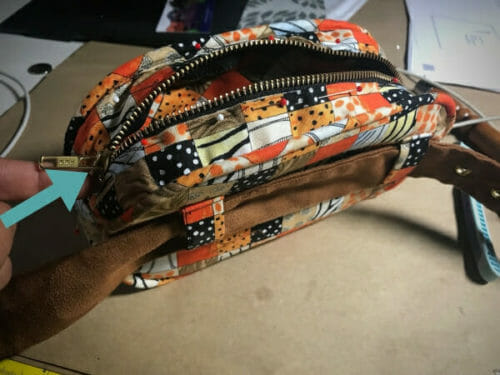
I am sewing the zipper by hand. I am practicing my hand stitching so I can I do this pouch using leather later.
Step Five: Sewing The Lining
The lining is sewn the same way as the outer layer minus the piping and the zipper, (which is already on the outer layer).
I have shown you two ways to make the outside of the bag: 1) Sewing the zipper to the gusset then attaching the front and back. 2) Sewing the gusset, adding the front and back and sewing the zipper by hand.
The latter is a different way to apply the zipper but this is the same way you will need to use should you decide to make this belt in leather. Hand stitching might not be your preferred way of sewing but I find it calming, rewarding and when it comes to leather work, the best are done by hand.
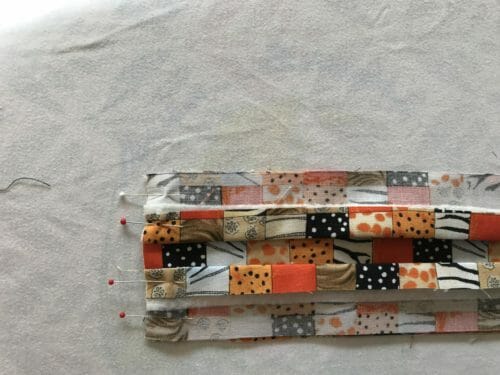
Attach the sides of the pouch to the gusset. I used plenty of pins to make the process easier.
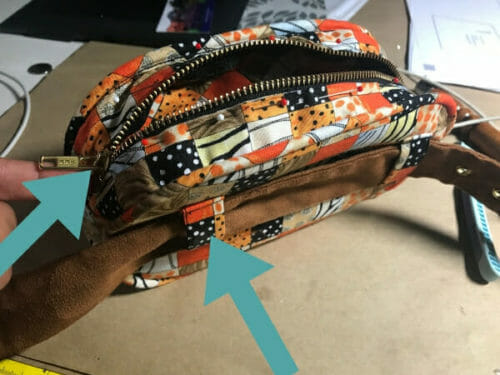
Sew at 1/4″. Then insert the lining with the head of the zipper on the left side and the loops for the belt facing you.
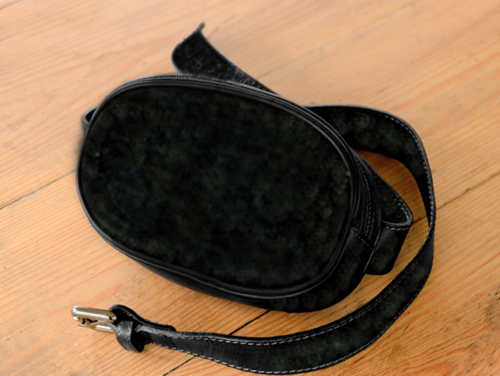
I am practicing to see what is the best method to use in order to make this same bag in leather. We get but one try with leather and working out the steps is very important part of designing a bag, however simple it might be.
As it is, the bag is simple enough that I am confident to try it in leather. Keep an eye out for a future project.
Would love to see some of your creations and add you to my Pinterest Board called Your Sewing Creations followed by more than 140,400 people as of today.
If you are in need of another pouch, here is one that can lay flat against your stomach. Its made with a simple belt and is basically the small fringed bag pattern minus the fringe.
Before I go, don't forget to participate in our latest give away. You can find it here, try your luck and win that excellent new machine!
See you next time, keep your scissors sharp and happy sewing!


Quick question?
” Then insert the lining with the head of the zipper on the left side and the loops for the belt facing you.”
Is the lining stitched in?
Thanks for sharing. This is a cool project.
Yes it is. YOu need to finish by hand around the zipper.
Thanks a lot for such amazing pattern, I’ve been looking for this kind of bag for month! Sadly, but I have some issues with downloading ’cause I can’t enter Craftsy for about 2 month(( Is there any other way to get your pattern?
There will be a copy for sale on our Etsy shop. in a few days.
Is the seam allowance for the project 5/8″? Also don’t see the pattern for the belt loops. Dimensions would be fine.
The seam allowance change, i have used 5/8″ and 1/4″, they are in the instructions. The belt loops are included in the pattern.
Thank you for the pattern. I will try this without the piping and without the handmade belt; I will make an adjustable belt from webbing with a clip (easy on/easy off), like what I have on the fanny pack I use for hiking.
Yes that is a good idea. I will however share a fanny pack with you soon…
Fantastic!! Also, it would be lovely if you would include the finished dimensions for all you bags.
Yes, please make the instructions printable! Love the work you do
Thank you Maggie! Once I solve the Etsy issueI will. kind regards,
The Pouch is so cute. It is just what I have been looking for. Thanks for the wonderful pattern and tutorial. I going to try and make it out of a leather blazer that was ruined when I basement flooded. It was my mothers and I loved it. I just can’t accept I should throw it away and this would re-purpose it!
Thank you for sharing these free patterns! Always look forward to seeing new things and learning. Your instructions are great.
Please make the directions printable or add them to the pattern. Thanks!
Sadly, there are some people who have subscribe to this blog that are selling the free patterns on Etsy, there are 8 stores, until the issue gets resolved i will not include the instructions and you will have to read them online for free as they are now. I am hoping this nonsense will end soon hope you understand.