


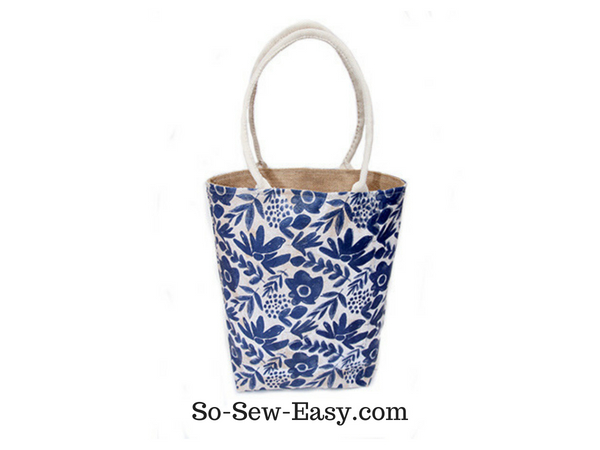
 This is the first part of a tutorial using the burlap shopping bag pattern. You'll be able to make the complete bag in the first part, but in the second part, I will show you how to create the print for this type of fabric.
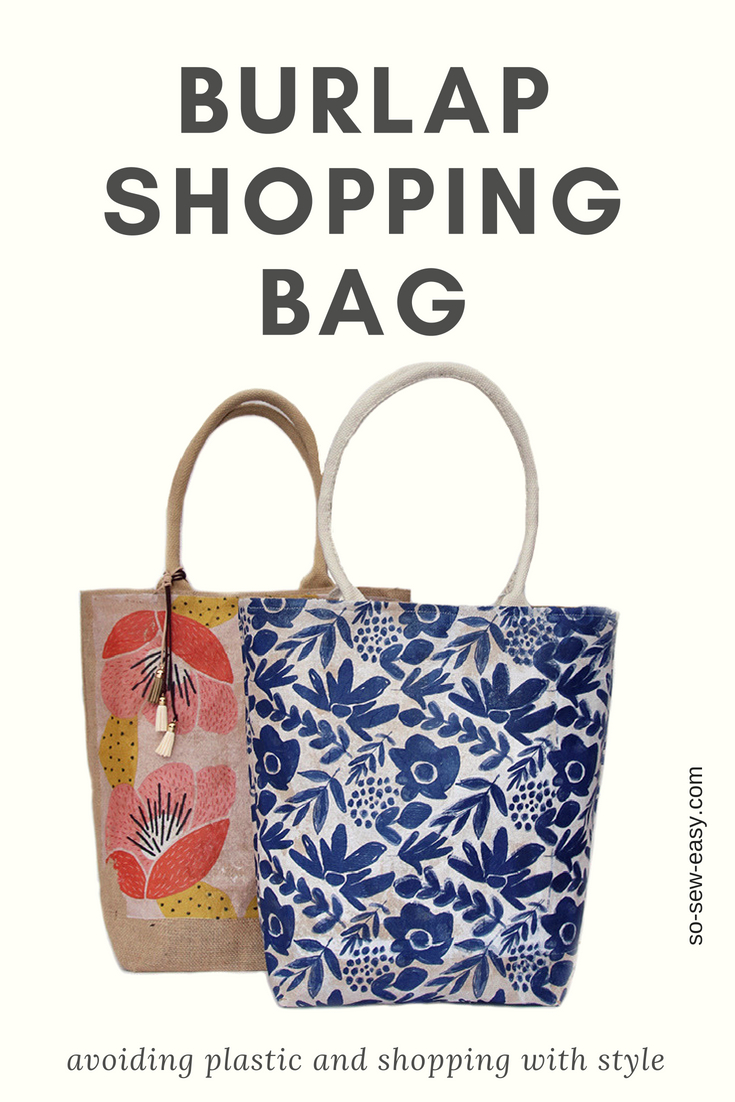
On my recent trip to Tanzania, I fell in love with the country. I will share a post about that trip and the fabrics I brought back with me. One thing I noticed is the lack of plastic bags on the roads, in fact, I was amazed to see a relatively clean country. The reason: the government has completely prohibited the importation and use of plastic bags in the country. Which means people are reusing the ones that are available and are shopping with reusable shopping bags. In fact, fabric shopping bags are everywhere.
So in the spirit of recycling, I wanted to share a bag made out of one of my favorite materials: burlap also know as hessian. I love the texture and mixing it with soft materials is my favorite thing in the world as you can see on my table runner.
Materials
- 3/4 yard of burlap hessian on natural color is best
- Thread to match
- Pair of easy handbag handles (see our tutorial on how to make easy bag handles HERE)
- 1 1/2 yards of 1″ wide cotton tape or bias cotton tape
Tools
- Scissors
- Jeans or size 16 needle
- Sewing machine
- Walking foot (optional)
Fabric suggestions from Fabric.com
Pattern download
You can download the pattern for this Burlap Shopping Bag from our account at Payhip.
For help downloading and printing PDF patterns, please CLICK HERE.
How To Print Your Burlap Shopping Bag Pattern
The only program you will need to print the pattern is Adobe Reader. Use Actual Size and Landscape Mode.
Pattern Layout
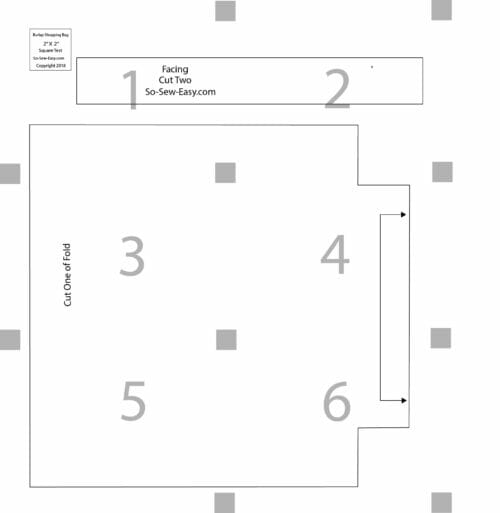
How To Sew The Burlap Shopping Bag
Sew the sides of the bag at 3/8″. The pattern is drafted to take a seam allowance of 3/8″ but if your burlap has raveled you may have to adjust that amount so that the corners match when it's time to box the corners.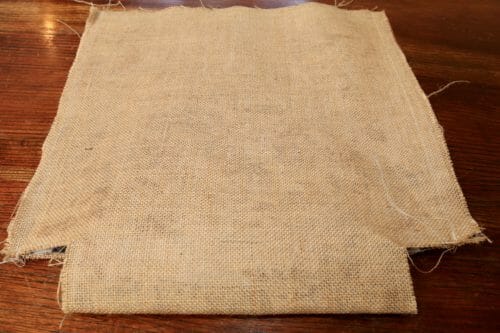
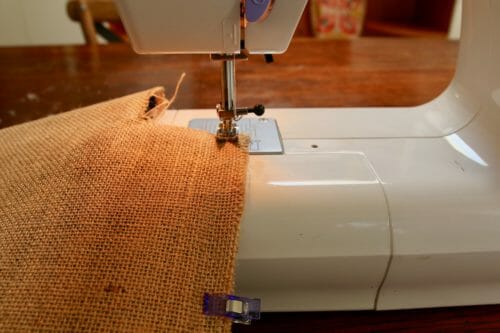
I would suggest sewing twice to reinforce the bag.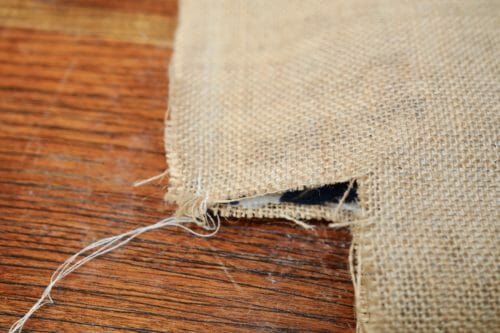 Sew cotton or bias tape to the side seams to hide the edges.
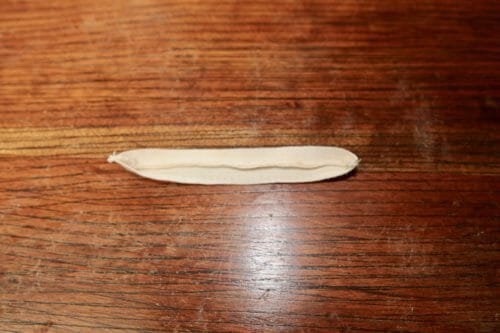
Box the corners. Sew at 1/2″ using a straight stitch.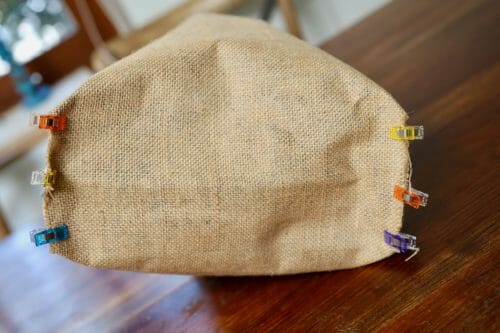
Zigzag with a medium stitch.
Trim the edge right up to the zigzag.
Zigzag again.
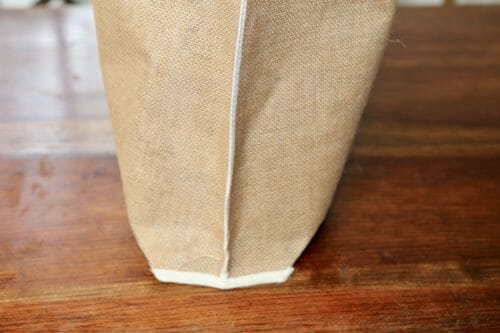
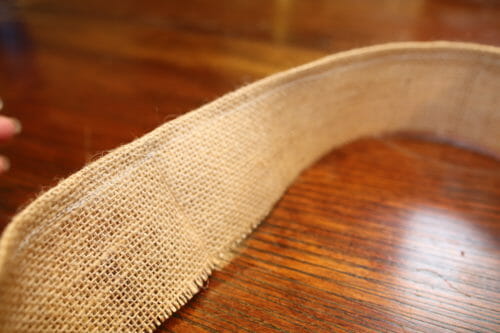
Apply cotton or bias tape. I like to join two strips of tape together the length needed plus the seam allowance.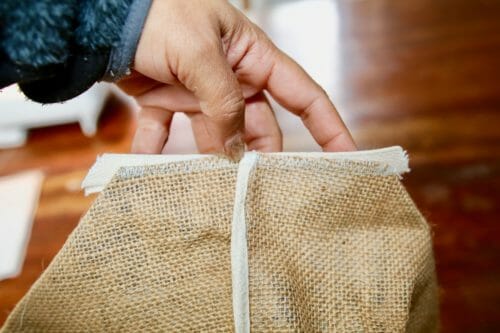
Sew three sides of the tape at about 1/8″.

 For the next step, you will need a pair of bag handles. You can buy them or make your own as I showed you in my last post.
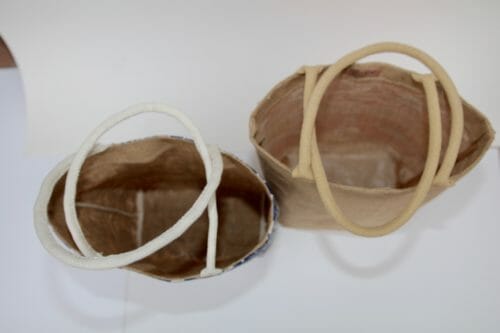
Pin the handles to the top edge. The handles should hang down with the seams facing you. Allow 5″ of space in between the handles.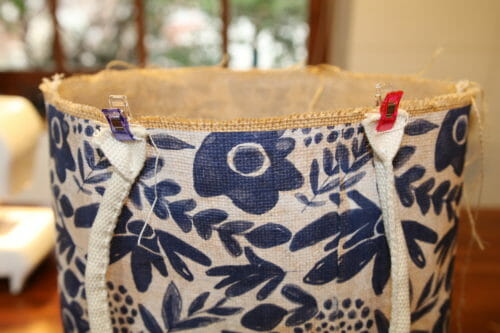
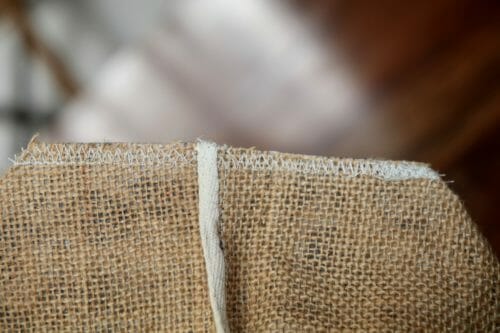
Sew the facing pieces together at 3/8″. Then iron or finger press the seams open. Zigzag the edges to avoid the burlap from raveling.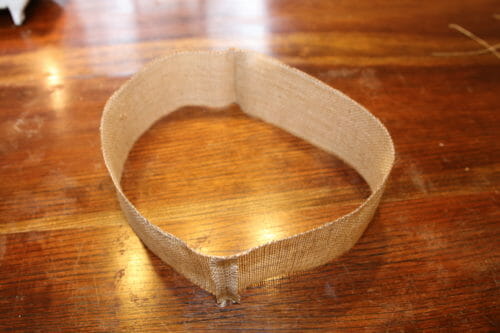 Zigzag one of the edges.
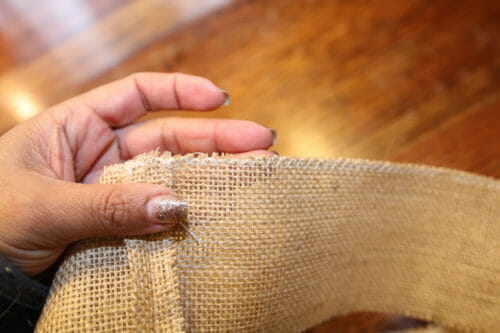
 Turn the zigzag side and make a hem at 1/2″ and stitch. This side will become the hem of the facing.
Pin the facing right side down to the edge of the burlap tote shopping bag. Sew at 1/2″.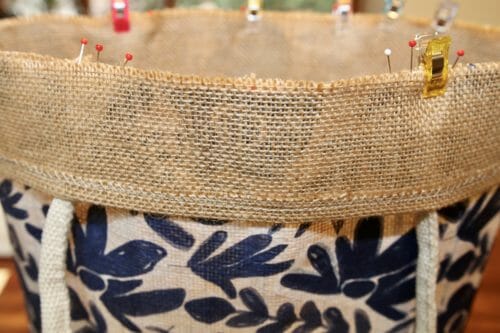
Turn the facing inside and topstitch the edge at 1/4″.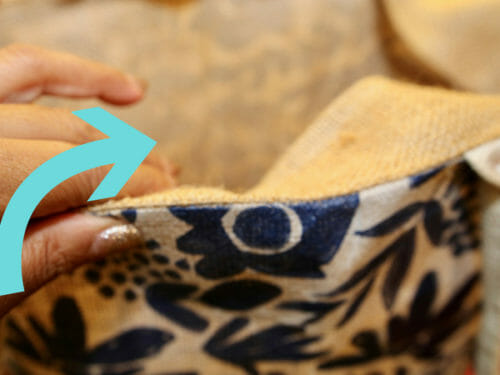
Optional Step:
You can add velcro or a magnetic snap on the facing to close the bag.
If you want the bag to look like the one on the picture, wait for next Tuesday and I will be sharing with you a way to make a print for this bag. But if you can guess what it is please let me know in the comments below. The first one to guess will win a pattern from our Etsy shop.
Need another shopping bag? Try this folded one that packs neatly inside your bag and makes a very good present:
Folded Shopping Bag FREE Pattern. Never without a bag when you need one!
Until next time! Happy sewing and recycling!


Great idea & beautiful bags that look very sturdy! By any chance did you Mod Podge (or otherwise decoupage) paper napkins onto the burlap?
Very pretty. It has been made stencilled. I love both of the prints…
I pur chased a coffee beans bag at a coffee shop this past week and have cut out a pattern for a bag…wish me luck..I like the way you finished your seams.
Good luck Maire, the finished is the same type used in mass produce/factory-made goods. Let me know how you found it.
This is super cute! Is the print shelving paper?
No, sorry Brenda it is not.
Did I miss the instructions for adding the print to the bag? Or has it been shown yet?
Coming this weekend!
what are the dimensions of this bag
18″ X 16″
So cool, you’re always so generous with your sharing – thank you 🙂
It’s got me thinking I could trace wallpaper with a sharpie onto fusible interfacing and tahdah unique bags every time!
I’ve stepped away and thinking that stencilling onto fusible interfacing would be even better!
Creative juices a-flowing!!
Brilliant Idea!
Pretty blue & white bag. I think you used a printed fabric. In order to not have one side upside down, you cut each piece single, so the print was the same direction on each piece, but added a seam allowance at the bottom before cutting.
I have a piece of very similar heavy blue and white fabric. I think I may have to make a bag doing what I just suggested.
Hi Linda, if I had used fabric yes this is what I would have done, but no it is not fabric. Thanks for playing 🙂
I think it is a stencil and fabric paint, not sure if the paint is sprayed or sponged on though
Not quite but you are close.
I’m using a painters drop cloth instead of burlap. The burlap I have is very messy to work with since it creates a lot of lint and will continue to do so in use of the bag. I will serge all edges with four thread stitch. I am planning to decorate bag with heat transfer vinyl or machine embroidery. Maybe I’ll do two and try both types of decoration. I also will try handles out of same fabric instead of purchasing cotton tape. I have plenty of fabric in one 4 ft X 12 ft drop cloth which I purchased for $7.19.
Now Donna that was a good purchase. Love to see a picture of your finished bags 🙂 Do share is my favorite thing to see
I think you decoupaged a light paper onto the outside of the bag
Tissue paper decoupage
Maybe you made your print on waxed paper and then ironed out onto the burlap.
I think you spray painted the background with white fabric paint and then used blue permanent marker to repeat the flower pattern over and over.
Potato stamping
Awesome. Just what I’ve been looking for. No idea of method but hanging out for your next post!!! Thanks a million. ???
Nice tutorial. As the pattern is all straight lines/rectangular pieces, could you provide the cut dimensions? That way we won’t have to kill a tree to print.
LOL!!! I will in the video, stay tuned.
Love the bag!! Cannot wait for the 2nd part.. is it EVA coating ?
Interesting answer but no it is not. I am going to have to research to see how can I do this at home, thanks for the idea.
Did you white wash the outside and than use a stencil to paint the blue?
No, I did not, but your idea is brilliant I must explore this someday…
A Crucit or similar machine used for prints and print applied. Blue/white background material is a bleached/processed burlap.
Cool bag. May try it after my other many projects are completed. Hopefully before I pass to the other life. ?
Very pretty! I think you spray painted the white, then used a brush to paint the blue flowers and leaves on top.
screenprinting
Painted white on burlap then stamped using dark blue paint.
Looks like a sturdy well constructed shopping bag. Nice job!
I love this bag! I think you used something like wonderunder or a double sided adhesive interfacing to adhere a fabric to the burlap. It would also give it more stiffness. I’m looking forward to seeing how you actually did it!
I think that the print is a print you drew, repeated it on a computer program and then had it commercially printed at a fabric printing company .
Block printing??
Love this bag and your promotion for using reusable bags instead of plastic.
The print for your bag looks like you’re using the burlap as a liner inside a printed outside cover. I say this because the print has a white background.
I’m interested in what you actually did if I’m incorrect. 🙂
I love this simple, easy to understand pattern an instruction. My guess for printing your own fabric pattern is:using potato stamp w acrylic paint!
Looks like you’re using a stamp to make the print on the bag.
I am currently looking to make a tote bag to replace a much loved but dog-eared favorite of mine.
Can we serge the seams? Is there a reason why not to serge?
Thank you! Love your site.
Alison
You can serge the seams, I prefer to cover the edges because burlap has a very loose weave and has a tendency to ravel easily with time.
Can’t wait to find out about the print!
Wonderful bag! Stores in Austin Texas are not allowed to give out plastic bags. I think a duplicate printed fabric was added on the outside, similar to a lining – a reverse lining?
This is so great! Love your tutorial and look forward to learning more about the process you used to make the beautiful printed bags. I think they are painted with fabric paint.
Cute burlap bags! My guess on what is used for the print is pineapple cuts dipped in ink or dye
This bag is so pretty and a good tutorial. But can you just show the pattern measurements in inches since the edges are all straight please? I don’t have access to a printer. Thank you.
I think you used a potato and paint to print your bag.
Cute and simple bag! The print actually looks like a sheet I used to have, but cannot seem to find it now. Love the blue and love your patterns and tutorials! Thank you.
I think maybe you used a napkin or tissue paper and decoupage it on with the appropriate decoupage medium. Maybe ModPodge For Fabric or something similar
Hello Maurina, you have guessed it right! it is napkins decoupage with Modge Podge! Please send me an email to mayra@so-sew-easy.com with the pattern that you would like to have. Kind Regards, and thank you for playing!
I think it’s cyanotype printing. I think that’s the word. I’m talking about printing using the sun.
I love this! Is it potato stamping? Also, do you ever have excessive fibers building up from the burlap? I cannot wait to give this a try.
Hi Deborah, not this time, but yes I do have excessive fiber build up, but I do clean the sewing machine after using the material. I also work in an area that I can vacuum when I finish sewing. Not ideal I know but I love burlap. The potato stamping is a good guess but it is not the answer 🙂