


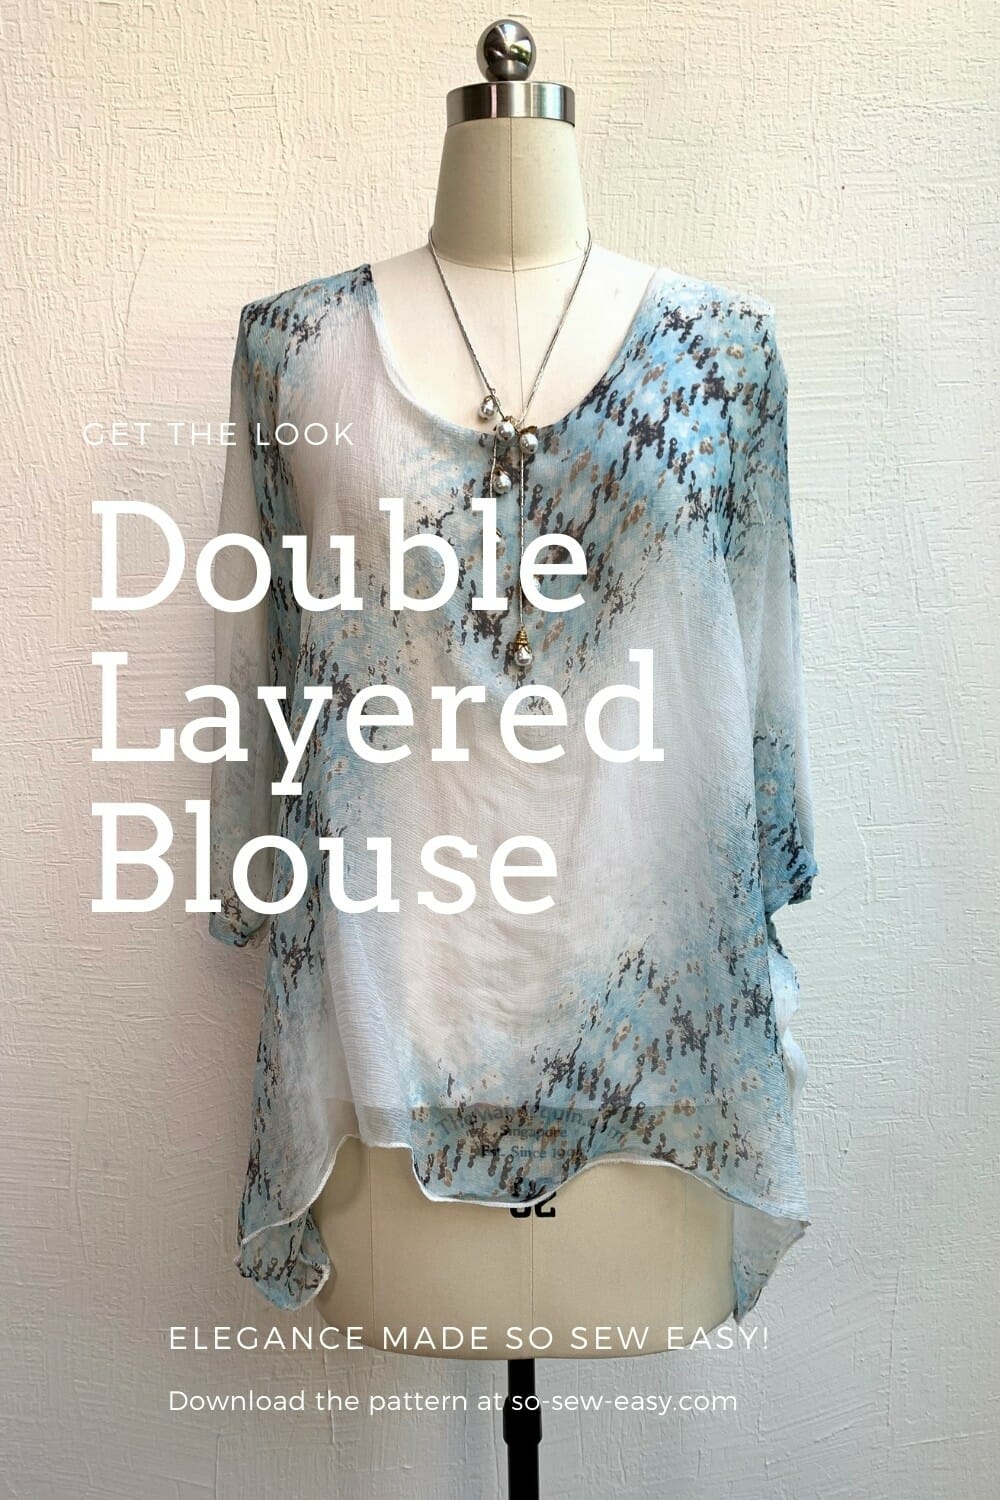
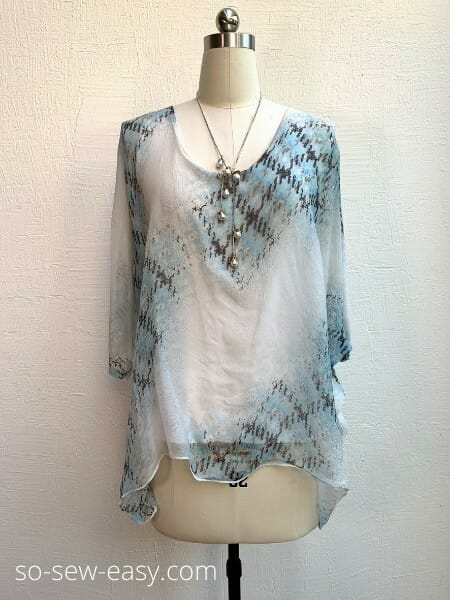
This double-layered blouse is particularly special –it is elegant, easy to make and wear, as well as being both comfortable and versatile. What more could you want from a piece of clothing? It is a truly tried and tested style, with the earliest images and drawings I could find dating all the way back to the ancient Romans.
Did I mention it can also hide a few extra pounds obtained in the recent lockdown?
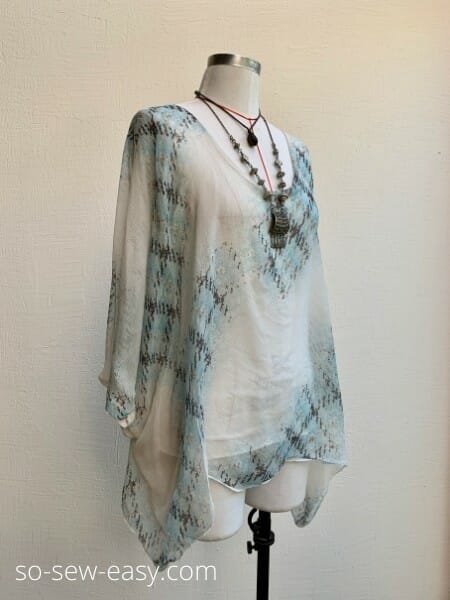
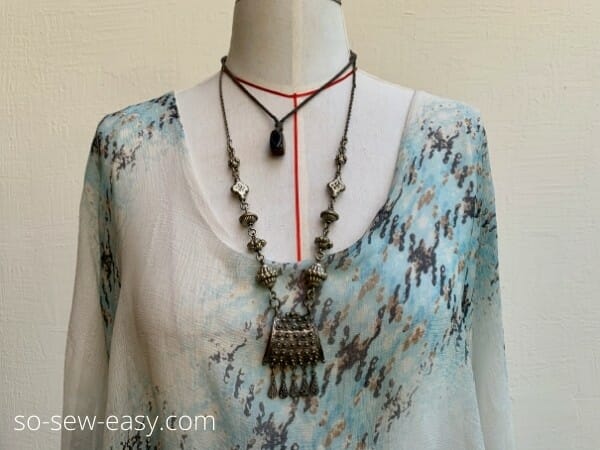
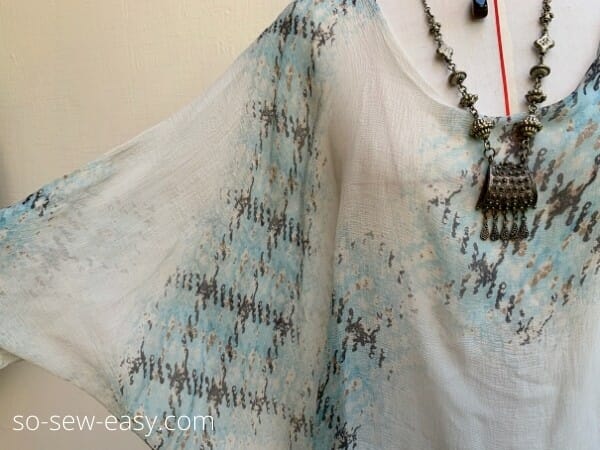
This blouse has a scooped neck to slim your neckline and shows a bit of cleavage. The top inside is closed to the body, but it is not meant to be tight.
The see-through layer is for coverage for the ladies who hate showing their arms while still giving you that slimming and elegant effect.
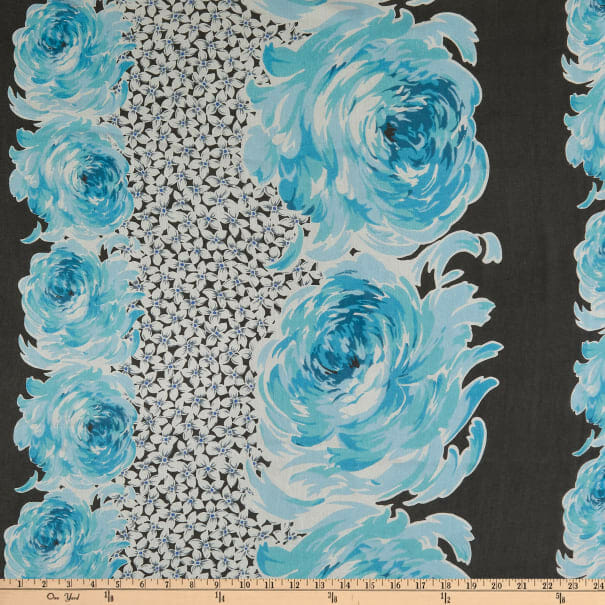
The key with this blouse is to make it with two fabrics that have analog colors, or one color next to each other in the color wheel.

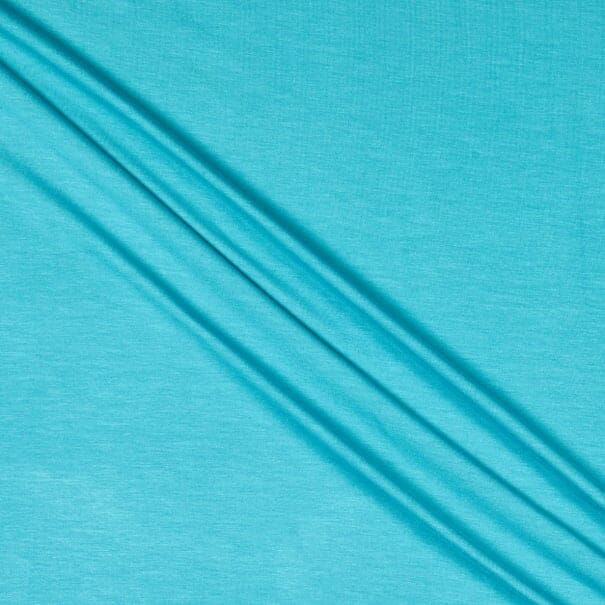
I have used for the top layer silk chiffon in a biased soft colour print with a lot of white in it and for the bottom layer, a white 4-way stretch jersey knit.
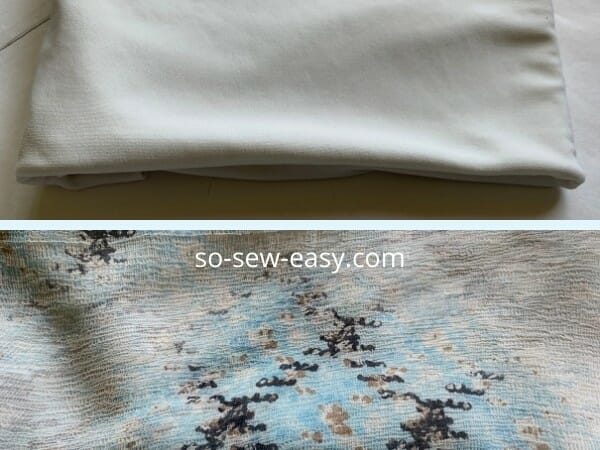
Avoid using a light color inside and a dark color outside because this will make you look larger.
Materials
- 1 1/2 to 2 yards of Silk Chiffon, very lightweight Crepe, or Voile for the top layer
- 3/4 to 1 yard of 4 way Stretch Jersey Knit or Bamboo
- double Point or Jersey Needle (optional)
- size 60 (9) or 70 (11) Universal Needle or Sharp size 70 (11)
- thread to match
Tools
- serger or overlocker
- rotary cutter
- sewing machine (optional)
Recommended Fabrics From Fabric.com

How to Print Your Pattern
If this is your first time here and you need help to download and to assemble a pattern please read this article. Open the pattern file using Adobe Reader and print on actual size.
Print and assemble the pattern before you cut the fabric.
How To Download
We will continue using the new Payhip web store to distribute our patterns.
Our patterns are still free, but now you have the option of making a small contribution if you like our work! We'd appreciate it, and it will help us keep going with new and fun designs like this. Even a dollar or two goes a long way.
Thanks so much in advance for helping us out. You can use any credit card, and you don't need a Paypal account, although you can use one if you have one.
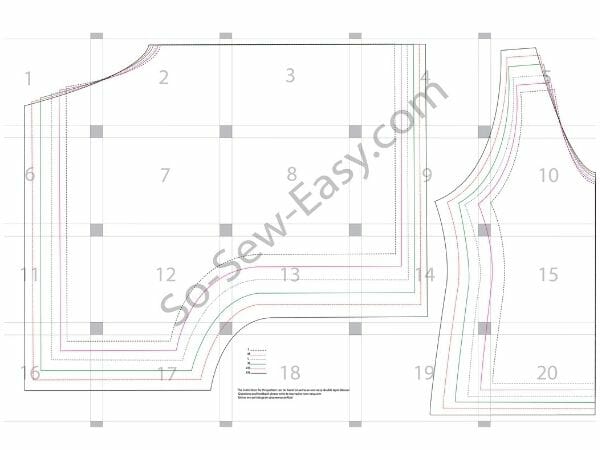
Pattern Layout For The Double Layered Blouse
Body Measurements
| Size | Bust | Length |
| S | 34-37″ | 26 1/2″ |
| M | 37-40″ | 27 1/2″ |
| L | 40-43″ | 28 1/2″ |
| XL | 43-46″ | 29 1/2″ |
| 2XL | 46-49″ | 30 1/2″ |
| 3XL | 49-52″ | 31 1/2″ |
Preparing Your Double Layered blouse pattern
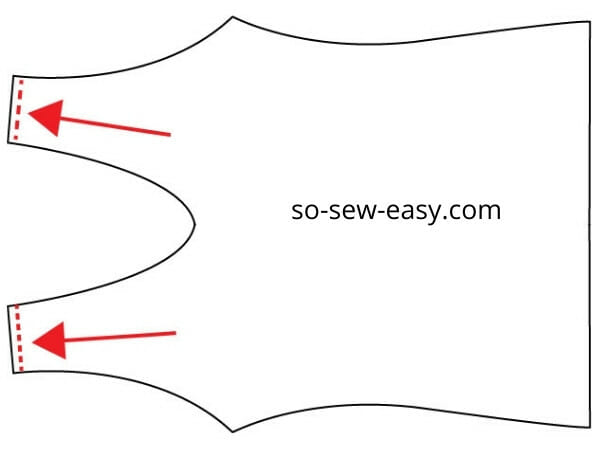
In order to save you paper and save me time, you will have to retrace both parts of the double-layered blouse.
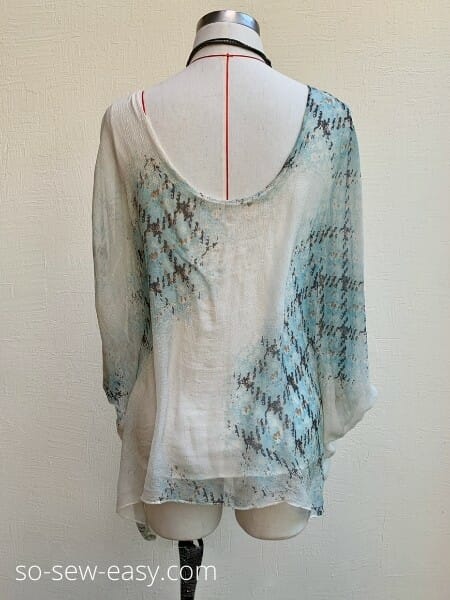
Retrace the other side of the inner layer at the centerline so you do not have to cut the jersey on a fold. When working with knits it is always better to retrace the other side of the pattern.
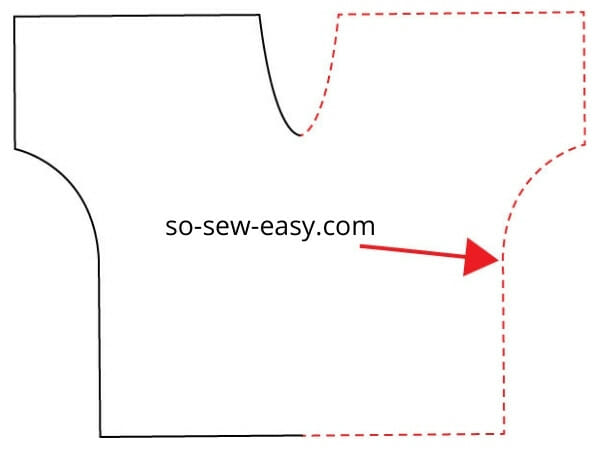
I have shared only 1/4 of the pattern for the outer layer. Since we are working with a woven fabric we can work on a fold.
Here is where it is different than other blouses I have shared with you. Cut the outer layer with the fold at the shoulders, so you need to retrace the blouse at the center front as you did with the inner layer.
Sewing Instructions
Sewing Level: Basic Intermediate
The seam allowance of 1/4″ is included.
Although this blouse is relatively easy to make, a double-layered blouse with sheer fabrics is not as easy. You need a perfect understanding of grainline and patience to work with these delicate fabrics. This is the perfect project to give you that experience since it does not require any fitting.
We will start by sewing the inner layer first then the outer layer.
It is possible to sew this top without a sewing machine using the stitches I showed you in this article.
Step One: Sewing the inner layer
Sew the shoulders and the sides using only three threads in your serger.
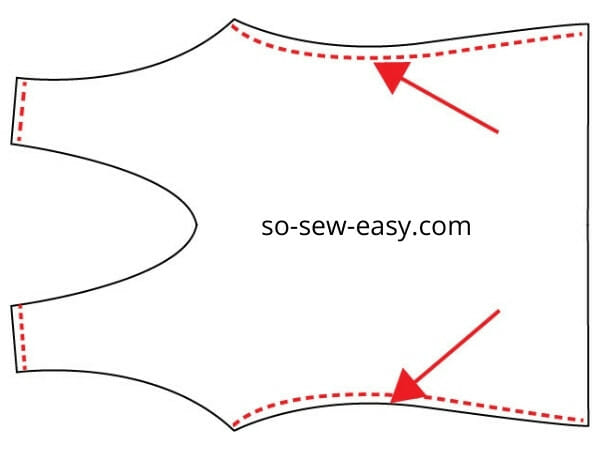
If you do not have a serger/overlocker, sew the shoulders at 1/4″. After, using a 3 step small zigzag, sew over the seam then cut the seam allowance to finish the seams.
You need to leave a seam allowance no larger than 1/8″ since this seam will be visible through the sheer fabric. Serge or zigzag the arm and hem.
Step Two: Sew the outer layer
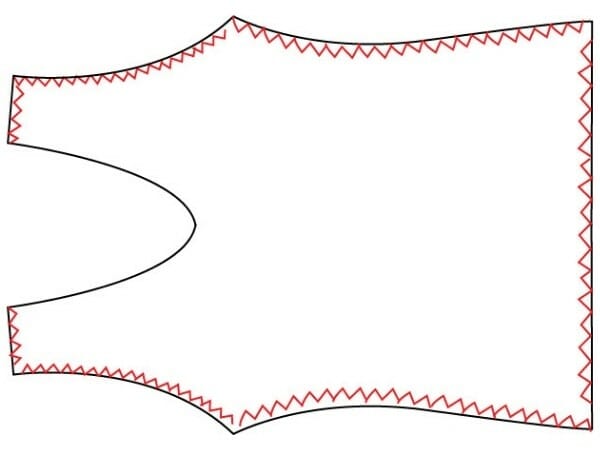
Sew the outer layer on the sides using your serger, if you do not have a serger use the french seam.
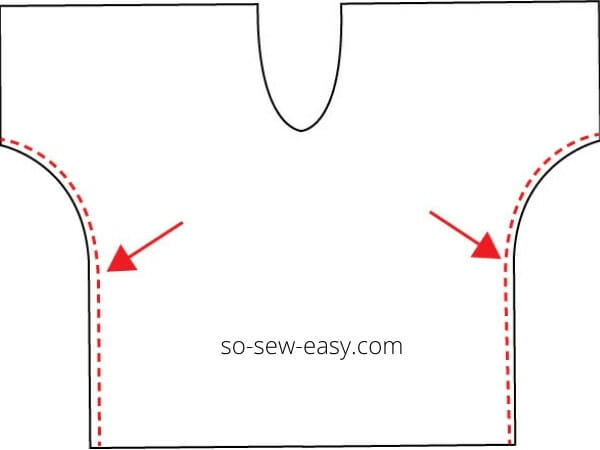
Serge the hem of the sleeves and bottom.
Step Four: Sewing the layers together
The easiest way to do sew the layers together is to join both layers at the neckline right sides together. Use a medium straight stitch, this is to avoid the top from stretching at the neckline.
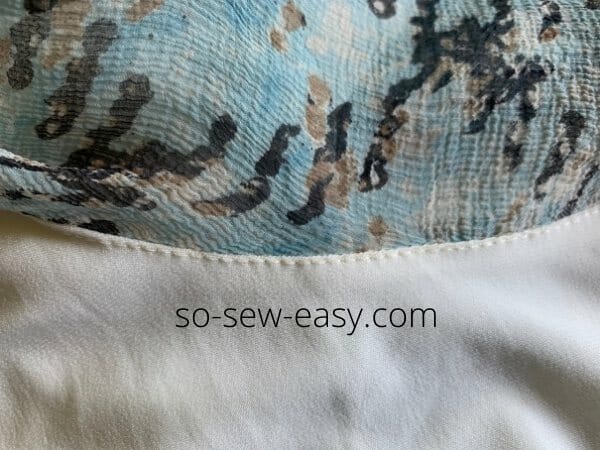
You will notice through the first layer that you can see the seam allowance, this is fine with me since I am using a serger. You might feel different since you are using a zigzag, in that case, you can sew the wrong side of the inner with the right side of the outer layer so when you wear the top, the seam allowance is inside and cannot be seen through the sheer fabric.
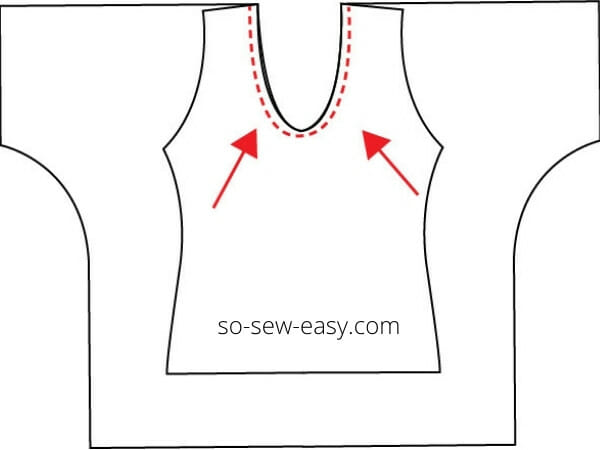
Topstitch around the neckline leaving the sheer fabric flat and sewing on the jersey side.
Hem the sleeves 1/2″, you can hem the bottom as well but I have decided to leave it without it. I find it looks more natural without the hem, but maybe it is because of my choice of fabric. If you do not have a serger a rolled hem would be ideal to use instead.
And that's it. Let me know how you went in the comments below, particularly, how well did you handle the sheer fabric if you chose to use it.
Stay safe, And Until Next Time, Happy Sewing!


I printed this out and lined up the squares on top of each other, as shown in your layout above. This is similar to how you describe it in your pattern tutorial, where you line up “pieces of a pie.” But that doesn’t work for this pattern. When I went to assemble the rows, the pattern pieces are way off. I printed it a second time and lined up the outlines of the pattern, not the boxes. Apparently the squares need to be adjacent to each other, forming rectangles. Can you clarify?
Did you print on Landscape Mode, no scaling? Tape the pages horizontally and then each row vertically aligning the squares. The lines between the pages and the squares should measure 1 square inch. let me know if that worked. Kind Regards,
Could you do a spaghetti strap cami as the under layer?
HI Shellie Absolutely, just make sure it is made on a bias so it hugs your body. Otherwise, it will add volume to the torso and who wants that? Happy sewing!
[…] is a cute sheer chiffon, light and flowing, while the fitted knit under layer provides modesty. So Sew Easy has a free sewing pattern you can use to make this double layer chiffon blouse. It’s a great way to use those pretty […]
I have a serger, but I am so intimidated by it! I was going to take lessons prior to 2020 lockdown, but haven’t been able to. Do you have any video instructions on how to thread and use?
Indeed, there are two made by Deby when she was blogging here at SSE. https://www.youtube.com/watch?v=5q0z0QiNVQM and this one is how to change the thread colour easily.
[…] is a cute sheer chiffon, light and flowing, while the fitted knit under layer provides modesty. So Sew Easy has a free sewing pattern you can use to make this double layer chiffon blouse. It’s a great way to use those pretty […]
[…] is a cute sheer chiffon, light and flowing, while the fitted knit under layer provides modesty. So Sew Easy has a free sewing pattern you can use to make this double layer chiffon blouse. It’s a great way to use those pretty […]
[…] is a cute sheer chiffon, light and flowing, while the fitted knit under layer provides modesty. So Sew Easy has a free sewing pattern you can use to make this double layer chiffon blouse. It’s a great way to use those pretty […]
Cant wait to try.
In your post you say not to use the lighter color inside, but isn’t your white Jersey knit lighter than your chiffon fabric? Why would you want a darker color showing through your sheer outer fabric? I would think that would be distracting from the prettier fabric on top.
I meant having white over black, or yellow under blue. I have a print where white is the most prevalent colour. But of course, this is only a suggestion.
This is gorgeous! Can it be lengthened to be a dress?? my niece is getting married in June.
Indeed you can! Congratulations! In this case, I would use a Ponte de Roma Knit inside to give you a bit of structure, do keep the silk out so it moves with the wind when you walk.
Love it!
How about a narrow French seam for the seams of the inner layer? Love, love this pattern – can’t wait to make it!!
I love the fabric and the blouse. Where did you source that fabric from?
Hi Kim, I found it in a store in Rome, Bassetti Tessuti. A great place for shopping the best quality fabrics you can find in Italy.
Thank you for the pattern 🙂 and the instructions. I bought two metres of fabric to make a blouse and it’s far too see-through to suit me. This is a brilliant way to still use it. A little out of season for me just now, but I’ll remember come Spring 🙂
Dress forms I find to be both expensive and cumbersome, and they don’t really adjust to fit very well.
I bought a display dummy…it’s made of polystyrene and they come in different sizes from child right up to very X sized adult…they’re on wooden tripod stands, and are very stable, and they have a stretchy cover over the top. It’s simple to pad them up under the cover, which holds it all neatly in place. You can even change the bra you fit on them to suit the outfit.
Best bit is that it takes pins without destroying it 🙂
Here in the UK they cost under £30 delivered.
M
Brilliant idea!!
Thanks hope you make it!
Thanks for sharing this lovely top! Can you tell me why you cut the knit pieces in a single layer? Thank you!!
To avoid having a twisted grainline. Jersey knit should also be left laying flat the night before to relax the fibres in case the fabric has been pulled, crushed or crumbled in the roll or in your fabric stash.
This blouse is beautiful but I’m unfortunately way to new at sewing and sure I couldn’t do this. Hopefully in 6 months I could.
Hi Ruth, if you have a serger this blouse would be very easy to make.
I really want to make this!
I cannot visualize how to avoid seeing the seam at the neck edge after sewing the two layers together. Whichever way you layer them when you sew, it would seem that after the inner layer is put inside the outer layer, that neckline seam would be visible through the sheer outer layer.
Yes it is visible but is not ugly. Please see my Instagram for a short video.
Lovely! Something will have to try! BTW, need a new dress form, do you have recommendations that won’t break the bank?
Hi Cyndy, you could always try to make your own dress form: https://so-sew-easy.com/diy-duct-tape-dress-form/