


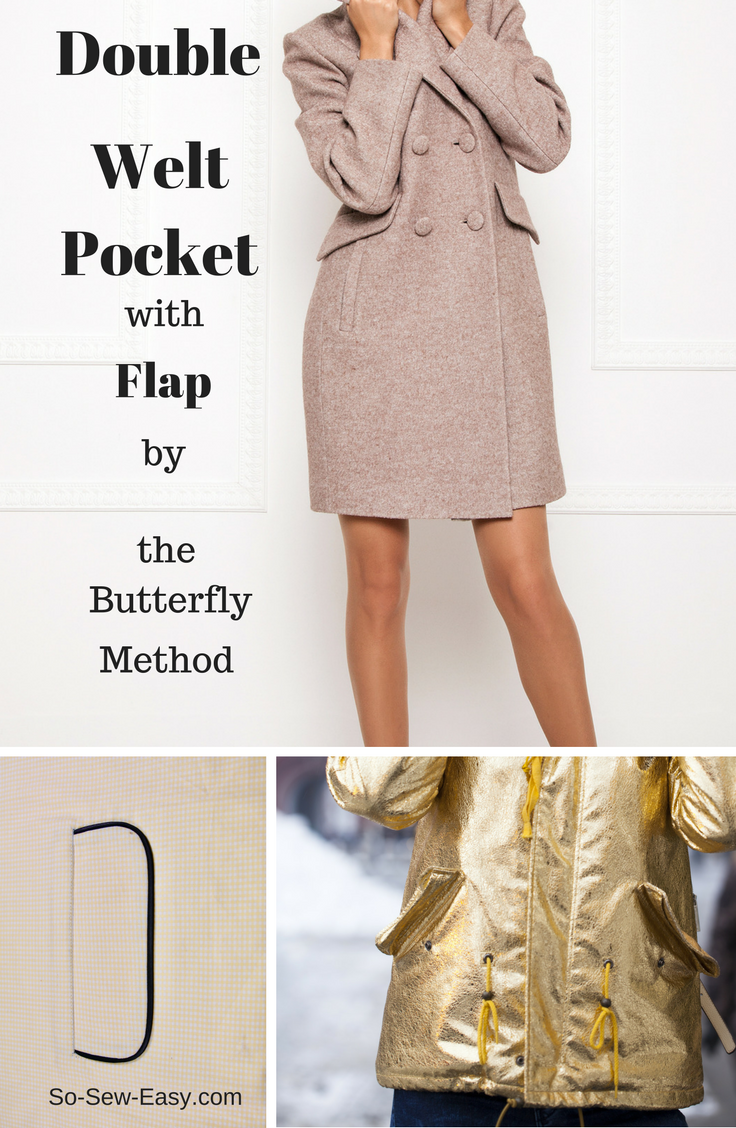
 The double welt pocket with flap using the butterfly method is a really easy and contemporary technique to make a pocket and attach a flap at the same time. I have already shown you the five lines technique that is used mostly on thin fabrics.
This new technique using the butterfly method works well on both thin or thick fabrics. It can even be used on leather and suede as well as with thick wools and cashmere coats.
I was told by a reader in a comment that the correct name for this pocket is double piped besom pocket or pound pocket. Prior to 1962, all the tailoring books called this type of pocket by that name. However, no contemporary tailoring book I was able to search in used the term double pipe besom pocket or pound pocket. I think the language has simply changed.
This is a simpler and faster way to approach the making of this pocket while it still shows elegant and sophisticated detail. This technique is also used in the making of bound or French buttonholes for tailored coats which I will address in another tutorial. While this technique is relatively simpler than others, it is still probably something for intermediate sewers and above.
Like in my last article on the five lines technique, the suggested materials below are just for this tutorial which is designed for you to practice the technique. If you're integrating this pocketing into a garment, obviously you'll require different materials.
Tools and Materials for the double welt pocket with flap tutorial
- a scrap of fabric of 12″ x 16″
- one rectangle of 8″ x 15″ (20cm x 38cm) for pocket bag
- one rectangle that is at least 7″ x 7″ of fusible interfacing suitable for the thickness of the fabric you are using
- thread
- sewing ruler
- tailor's chalk or erasable pen. (Read our full post on erasable Frixion pens.)
Note: I am not teaching you how to draft or design a double welt pocket with flap. I am showing you the technique on how to construct it. The dimensions of a pocket depend upon the symmetry and balance of your design.
Step One: Sewing the lining to the fashion fabric
Place your fashion fabric right side down and fuse a rectangle (3″ x 7″) of fusible interfacing where your pocket is to be placed. The fashion fabric can only be fused if it does not change the appearance of the fabric as in silks and satins. This rectangle needs to be at least 1″ bigger in all sides than the size of your pocket opening. Now turn the fashion fabric right side up and mark the placement of the pocket with your pattern if you're using one. This is just practice so doesn't really matter where you place the line, however, I have to remind you of this step in case you have done this type of pocket before and you are working directly on a finished garment. 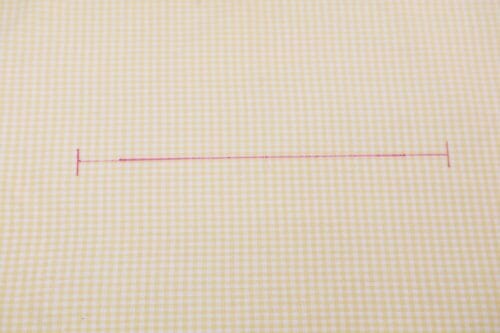
On your lining piece which will eventually become the bag of the pocket, fuse a piece of interfacing big enough to cover the opening of the pockets plus 1″.
Pin the rectangle of the lining on the right side of the fashion fabric. Right sides are facing each other. So you would basically have a sandwich of a layer of interfacing, a layer of fashion fabric, a layer of lining fabric, and a final layer of interfacing.
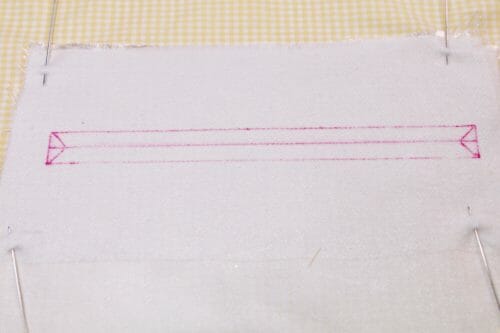
On top of all this sandwich, retrace the line you made on the fashion fabric and draw to more lines above and below the centerline 1/4″ keeping the centerline aligned. Make sure this rectangle is absolutely flawless. You will stitch following this drawing, so it needs to be perfect. I am using black thread so it shows better in the picture, but you will match the thread as close as possible to the fashion fabric and the lining.
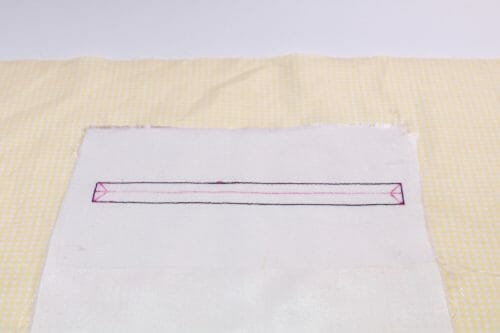
Change your machine stitch size to 1.5 and no bigger than 2.
TIP: Sew the rectangle starting away from the corner. Once you get to the corner pivot the machine and count how many stitches you will require to get to the next corner. Why? you ask, because your machine will always make the same number of stitches per inch. Counting the stitches will assure that both sides of the rectangle are going to be exactly the same size.
Note: Make sure whatever you are using to mark the fabric will not mark your fashion fabric permanently.
 SEE NEXT PAGE
 SEE NEXT PAGE
↓
↓
↓


Can’t get to the second page
Fantastic tutorial! I’m going to be courageous enough to start buying patterns with welt pockets! Speaking of which, the pinkish double breasted coat in the four example photos…where can I find that pattern (I hope!)
Geneva
Is great am going to try it thank you ?
Let me know how you go.
I cannot seem to get to the next page. Any ideas?
Never mind. Found it.
Your tutorials are SOOOO helpful! Glad I foudn you!
Thank you Catherine, Merry Christmas!
This is such an elegant way to attach the welts and flap. I love that it minimizes the number of times I have to sew around the box, it is far easier than the method I learned in tailoring. Looking forward to trying it next month.
Hi Maureen, thanks for your feedback. I’m really glad you found the technique useful. Kind regards and happy sewing!
Very nice. I will try it.
Please let us know how you go!