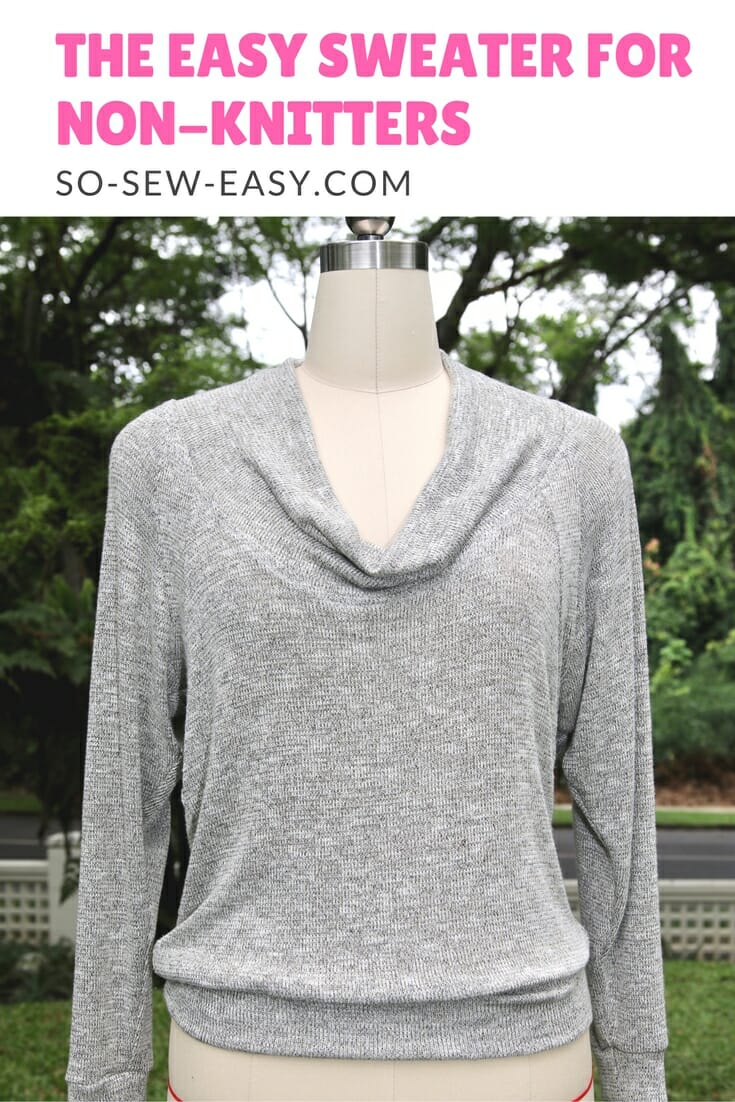
After many reader requests, I wanted to come up with a design for an easy sweater pattern for non-knitters. Knitting is one of my passions but, since I started designing at So-Sew-Easy.com I have had no time for it at all. But I do miss knitting. Often, I think of a dress or a top and I could picture it in my mind on a knitted kaleidoscope of colors. I love the fresh look of a soft cotton long-sleeve knitted top, even in summer you can pull this look. But winter is a special time to wrap yourself in a comfortable but elegant knitted top that won't break the bank. If you are lacking in time like me, here is an easy sweater pattern for non-knitters.


This is an easy sweater to make, however, you do have to pay special attention to the pattern markings and the symbols on the pattern. There are seven pattern pieces, plus two more you'll need to draft yourself depending on your size. To save paper and time I have not done this for you. These pieces are rectangles that will become the ribbing added to the cuffs and to the hemline. These pattern pieces are very simple to make and would be good practice if you're just starting out in sewing and patternmaking.
Key Features of the Easy Sweater Pattern:
- Easy to wear and make, yet elegant.
- Casual kimono style sleeves and a draped neckline that is easily adjustable should you require a more modest cleavage.
- Can be worn off the shoulders.
- Perfect for a stroll in the park or tea with friends.
- Drapes well hugging your curves but not adding any bulk.


Materials
- Sweater knit fabric (1 1/2 to 2 1/4 yards 60″ wide depending on size.)
- Thread to match
Tools
- Sewing machine
- Ruler
- Pencil
- Ball point sewing needle #9
- Scissors
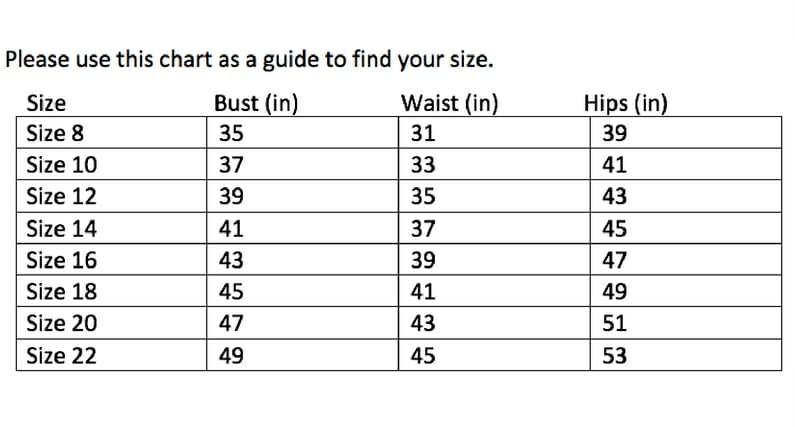
Sizing Measurements

Recommended Fabrics
Pattern Download


You can download the pattern for this Easy Sweater Pattern for Non-Knitters from our account at Payhip.
For help downloading and printing PDF patterns, please CLICK HERE.
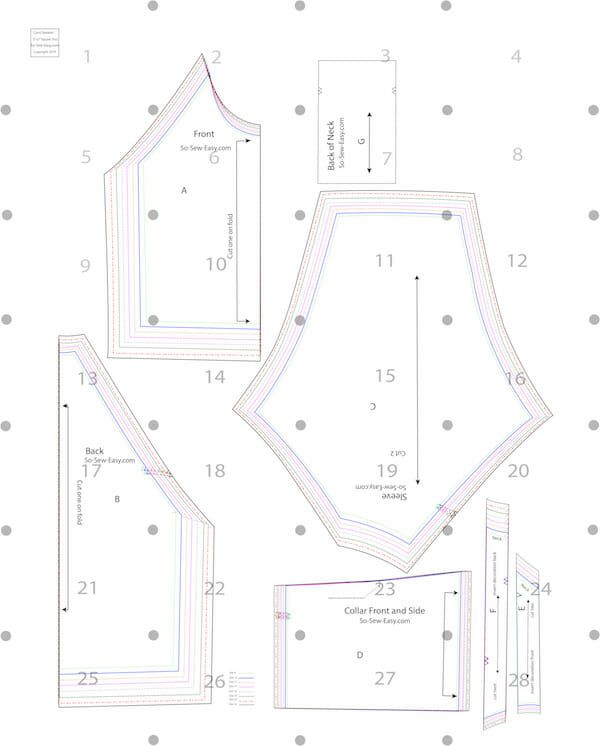
Pattern Pieces
Please note: There is no seam allowance for the pattern. I recommend a 3/8″ seam allowance if you are using a 4-thread overlocker and a 1/4″ for the ribbing.
- A: Front -Cut on fold
- B: Back -Cut on fold
- C: Sleeve -Cut two (2)
- D: Collar -Cut on fold
- E: Insert front -Cut two (2)
- F: Insert back -Cut two (2)
- G: Back Collar
- Ribbing for hipline -Cut two (2)
- Ribbing for cuffs -Cut one (1)
Pattern Layout

Step One: Sew the inserts
The inserts are two pieces. One insert is shorter for the front and one longer for the back.
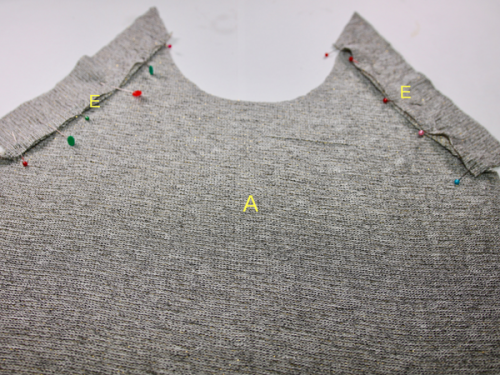

Take pieces A (Front) and E (insert) and pin right sides together. I have marked the pattern piece so you know what way goes to the neckline. Sew at 3/8″.
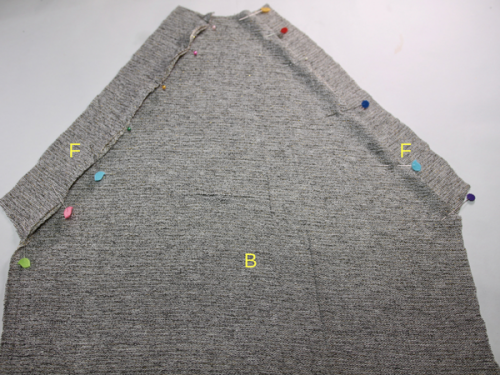

Take pieces B and F, pin to both sides and sew as you did previously. Use your serger or if you want, zigzag the seam allowance. Put aside.
Step Two: Sew the sleeves and sides.
I recommend you pin both sleeves first then sew both at the same time. This is to reduce the risk of the fabric unraveling or losing shape due to excessive handling.
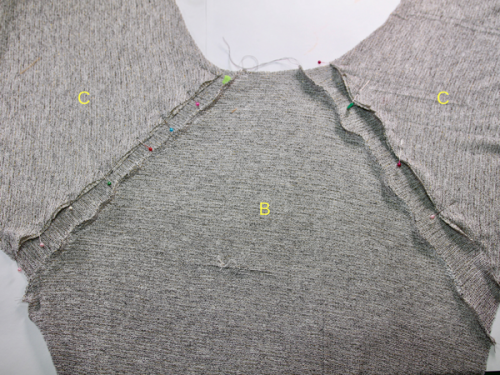

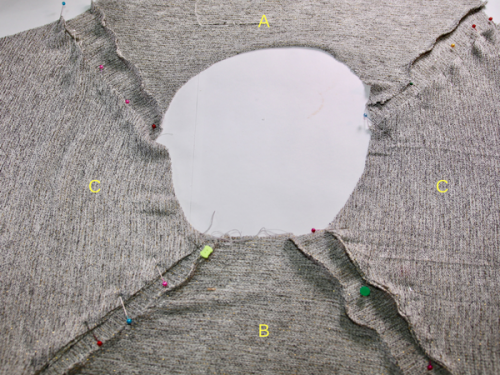

Place the back wrong side up. You will know you have it right because you can see the seam allowance. Pin the front of the sweater to the other side of the sleeves.
Sew the sleeves to the back and front inserts.
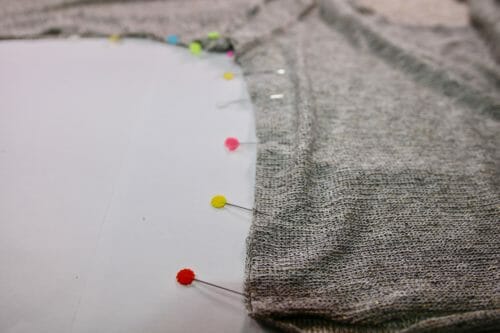

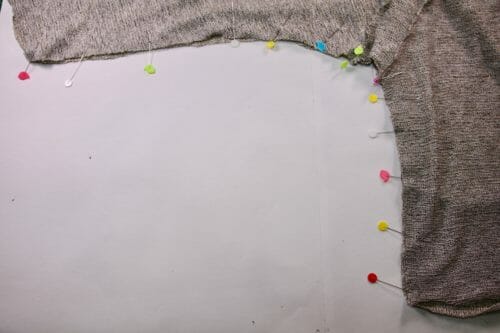

Pin the sweater right sides together and sew at 3/8″.
Step Three: Sew the collar
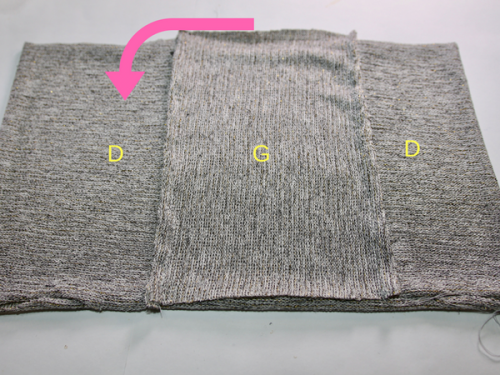

Pattern piece D represents the collar. It is cut on fold which makes a piece long enough to be attached from the front all the way to the back insert (F) and the sleeve seam. Take pattern pieces D and G and sew at 3/8″. It is now a band. Keep seam allowances open. There is a notch on the pattern to let you know where the halfway mark is. Fold the collar in half. Remember to keep the seam allowances open.
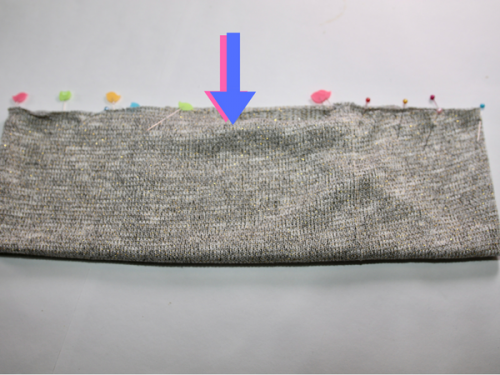

Mark the front and back. Align the front and back and the notches provided on the pattern. Align the front of the collar with the front of the sweater.
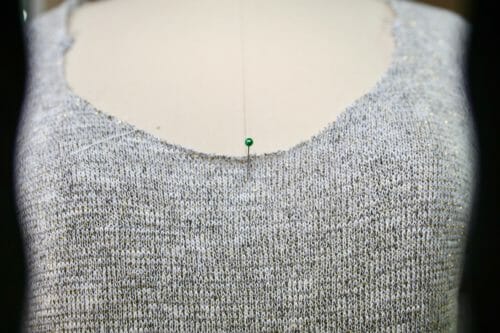

At first, the neckline will appear to be too big. Mark the middle of the front of the sweater.
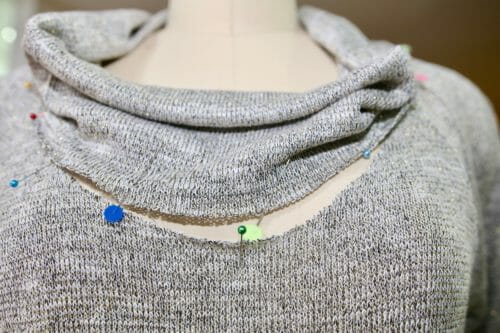

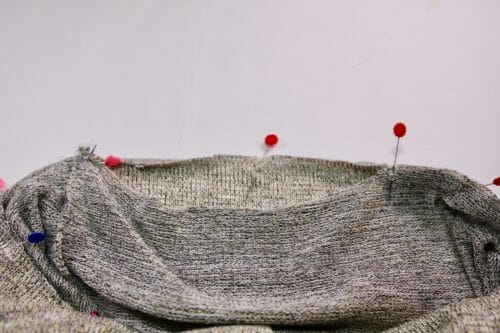

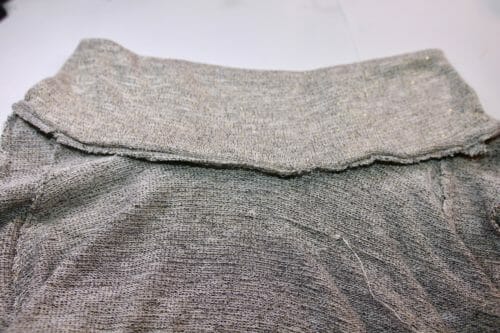


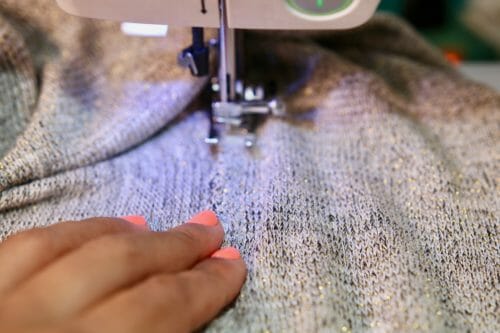

Align the notch on the collar to the front insert (E) and sleeve (C).
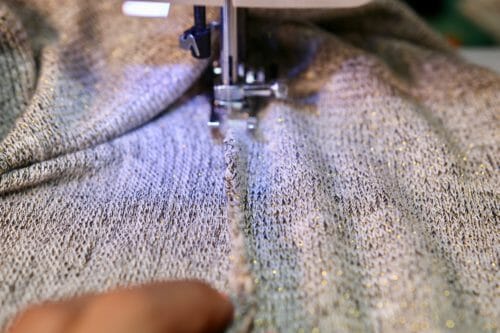
You may have to pull the collar to fit the neckline opening just a bit. Zigzag or serge the seam allowance.
If you find the seam allowance standing up just stay stitch it to lay flat.
Step Four: Make the ribbing for the easy sweater
Hipline ribbing: The hipline ribbing is composed of two pieces: front and back. When we sew these pieces together the seams will match the sides seams of the sweater.
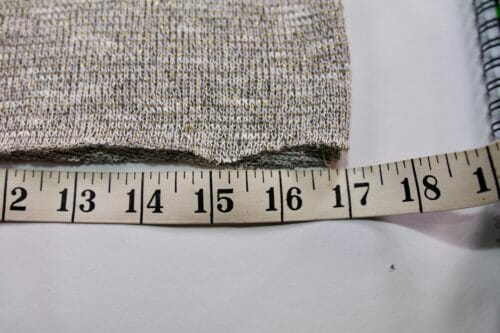

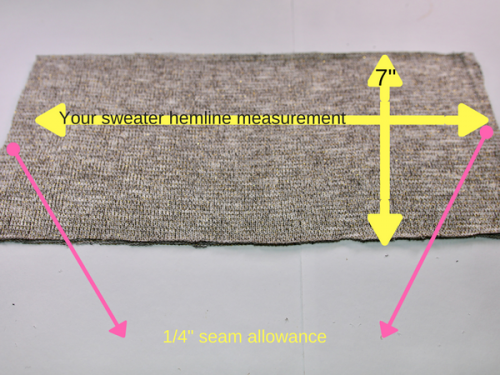

Measure the hemline of the sweater. Create a rectangle that is 7″ x measurement of the hemline – minus 2″= hemline ribbing. Please add seam allowance on each side. In my case, it is 34″ plus the seam allowance of 1/4 x 2 = 34 1/2″. My rectangle then will be 34 1/2″ x 7″.
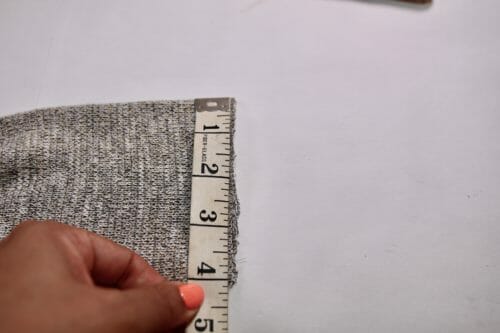
Cuff ribbing: We need two pieces for the cuff ribbing. Measure the hem of the sleeve. Draw a rectangle that is 5″ x the measurement of the sleeve – 1″= cuff ribbing.

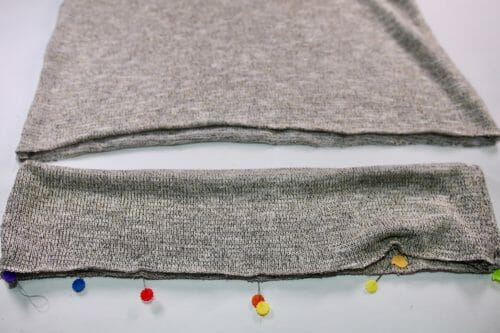

Step Five: Attach the ribbing
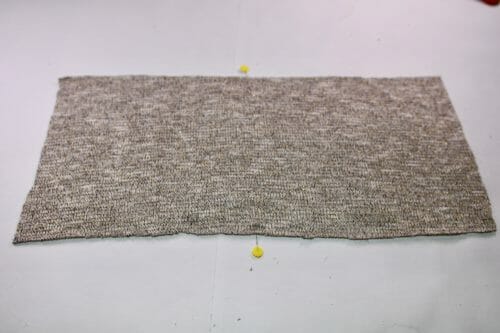

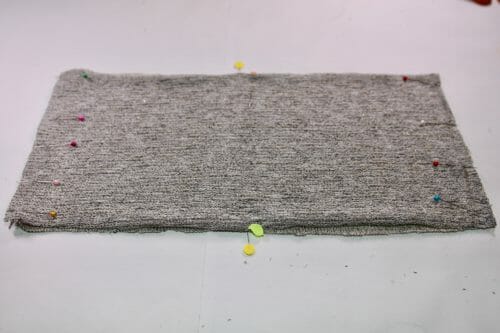

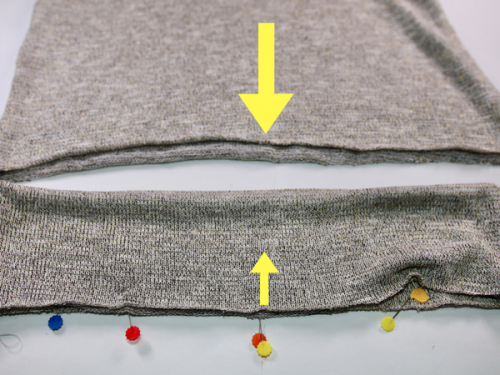

After cutting the ribbing sides, mark the center on both sides. Sew the ribbing band at 1/4″. Open the seam allowance and fold in half. Lay the sweater and align the sides seams of the sweater and front and back of the sweater and ribbing.
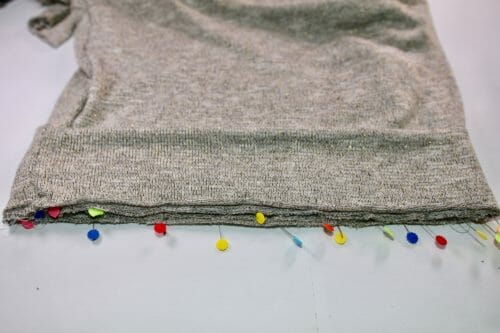

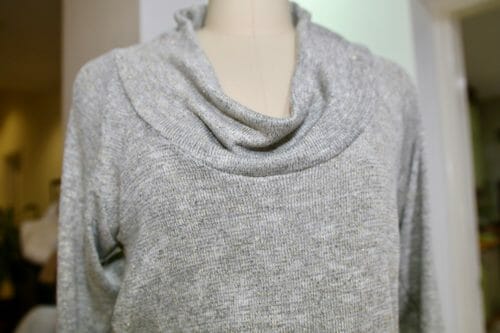

Pin the side seams of the ribbing to the side seams of the sweater. Pin the middle front of the sweater and the middle back of the sweater. You will have to stretch the ribbing to meet the four points. Sew at 3/8″. Zigzag or use your serger.
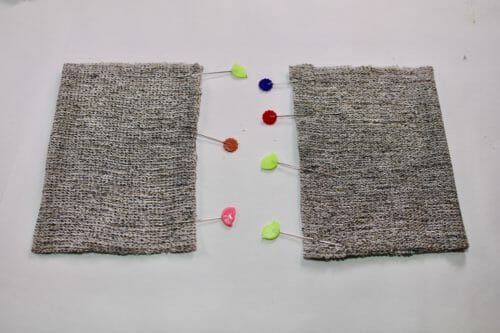

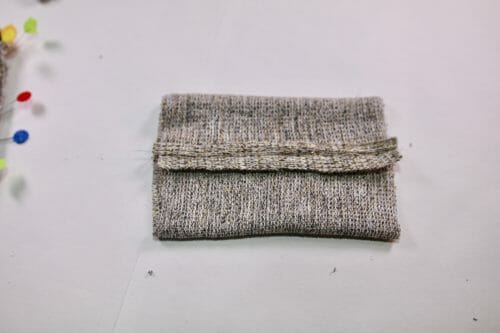

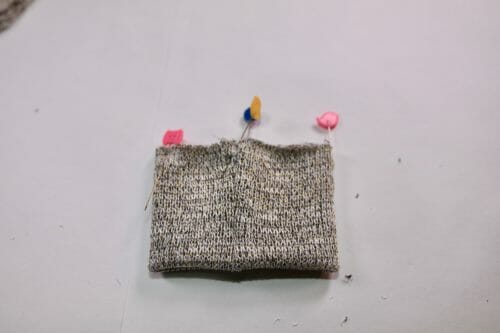

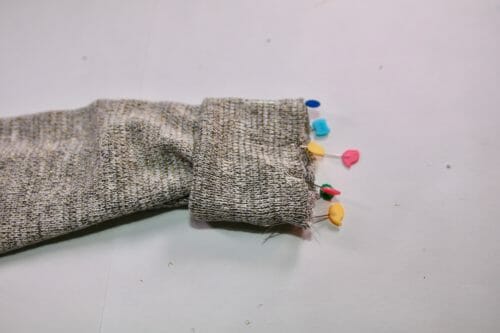

Repeat the same procedure to the sleeves. Sew at 3/8″.Open the seams. Fold the cuff keeping the seams open. Align the side seam of the ribbing to the sleeve.
Sew at 3/8″. Zigzag or serge the seam allowance.
I think this easy sweater pattern will answer a few of the requests I've received recently. It is casual, yet elegant and good enough to wear with a nice skirt and boots or a pair of jeans and sneakers, jeans and heels, heels and shorts. It is one of those tops that can be a great traveling piece. Hope you enjoy it, let me know how you find the tutorial. Until next time!
If you have a couple of rectangles of fabric left over? Why not try to make a headband that will only take you 15 minutes to sew.


This looks lovely just what I was looking for.
Margaret
This certainly looks like a simple pattern to sew. I love the neckline treatment and already have made similar styles. It will suit most women very well. I definitely will make it. The problem I see for an inexperienced sewer is handling the loose knit fabric. Thank you for all of your efforts.
I’m curious about the reason for the inserts. Is it merely for style or for fit?
Great design. Is there a way to make the cowl into a mock turtle neck?
I just finished this sweater and I love it, think I’ve put on a few pounds so was a bit snug so I put strips down each side to match the shoulder decorations which gave me a few headaches under the arms but I managed it and absolutely love the finished sweater. I’m definitely going to make it again. I would have liked to add a photo but didn’t seem able to do that. Thanks so much for this pattern.
Hi Janet, happy new Year! if you have Instagram please do tag #soseweasyoffical, would love to see your take on this pattern.
Thank you for your efforts
It is my pleasure!
Thanks for sharing your pattern. I made this today. I am pretty sure I sewed the collar wrong at some point but it still looks good. I matched the collar seams from piece G with the back decoration inserts. Making the notch on the collar I got confused because I ended up cutting duplicate notches since the pattern piece is cut on the fold. I think that’s where I got messed up.
AHHH, YES that is a common mistake, at least you learned what you did wrong so next one will be easier. Congratulations.
I just printed out this sweater knit pattern, and am excited to sew it up, but I have one question – you mention there is no seam allowance to the pattern and recommend a 3/8″ seam allowance and a 1/4″ for the ribbing. Does that mean I have to add the seam allowance before I cut out (ie. make it 3/8” wider around all pattern pieces), or just that the seam allowance is not shown on the pattern pieces, and I can cut on the line for my size? Thanks!
Yes, you need to add seam allowance to all the pieces. What size are you?
This looks so comfortable! I need to try it.
Beautiful pattern, Myra. Love it
This is neat for a winter top, looks soo cozy!
I literally just purchased sweater knit fabric yesterday with no project in my “know how” mind. I woke today to find this pattern waiting for me-Thank you very much! I will upload my finished project. You are a dream.
i love this pattern. it will be a perfect gift for my sister. and i.
Hi,
I’m having trouble finding the fabric yardage? Can you tell me how much fabric for a size small? I’m assuming 1.5 yards of 54″ wide but want to be sure.
Thanks!
HI Ann, it will depend on the width of the fabric. The best thing is to print the pattern and find the fabric then work out how much you need for your size.
I am very tempted to make this for ME, something I rarely do. However, looking closely at the pattern lay-out I am concerned that the front piece is not on the fold. Have I misunderstood something?
I am afraid I do not understand your question. The sign for on the fold is on the pattern meaning it is to be cut on the fold.
Hi Mayra, Just about to order some fabric online but realised you haven’t indicated the width of fabric required – just the 1.5 to 2.25 yards for length. I am tall and need to buy enough by the whole metre (most online stores in the UK only sell in whole metres). Also I already have far too many odd pieces that are too small to use!
Many thanks if you can help.
Toni
I see you predicament, too much or too little. However the amounts depend on the width of your fabric and the size chosen. The best thing would be to lay the pattern on piece of fabric as wide as the one you need and work out how much you need. Typically the wider the fabric the less you need.
do you think I could make the cowl thicker or fuller?