


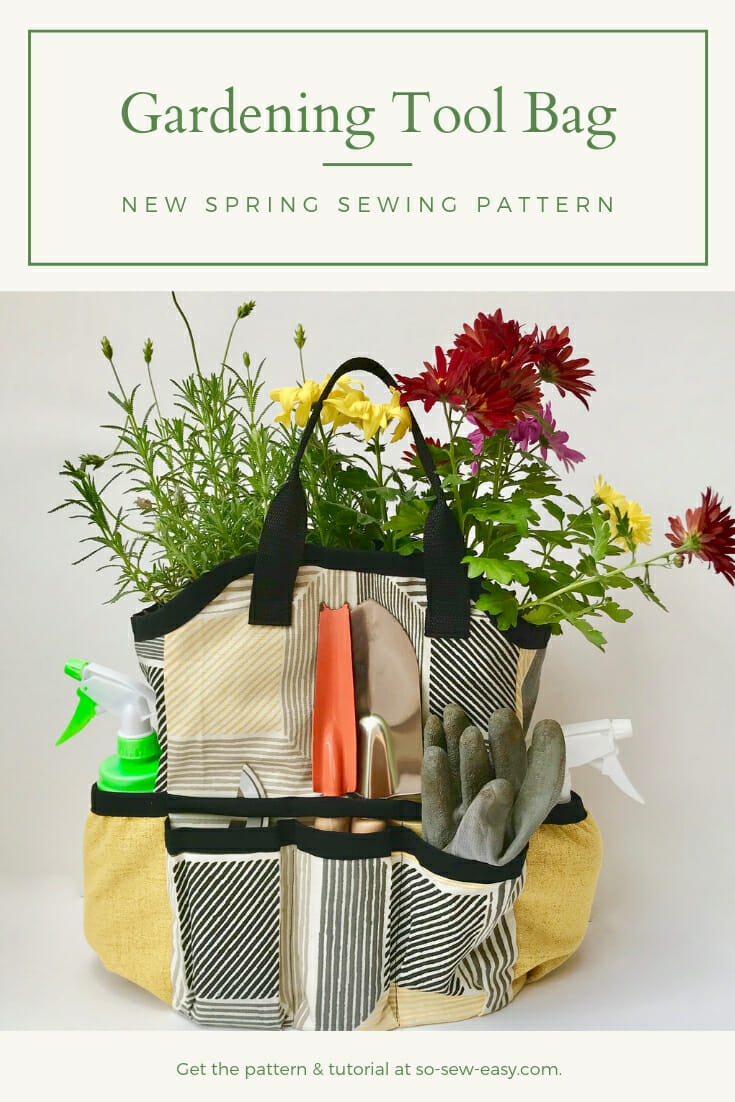
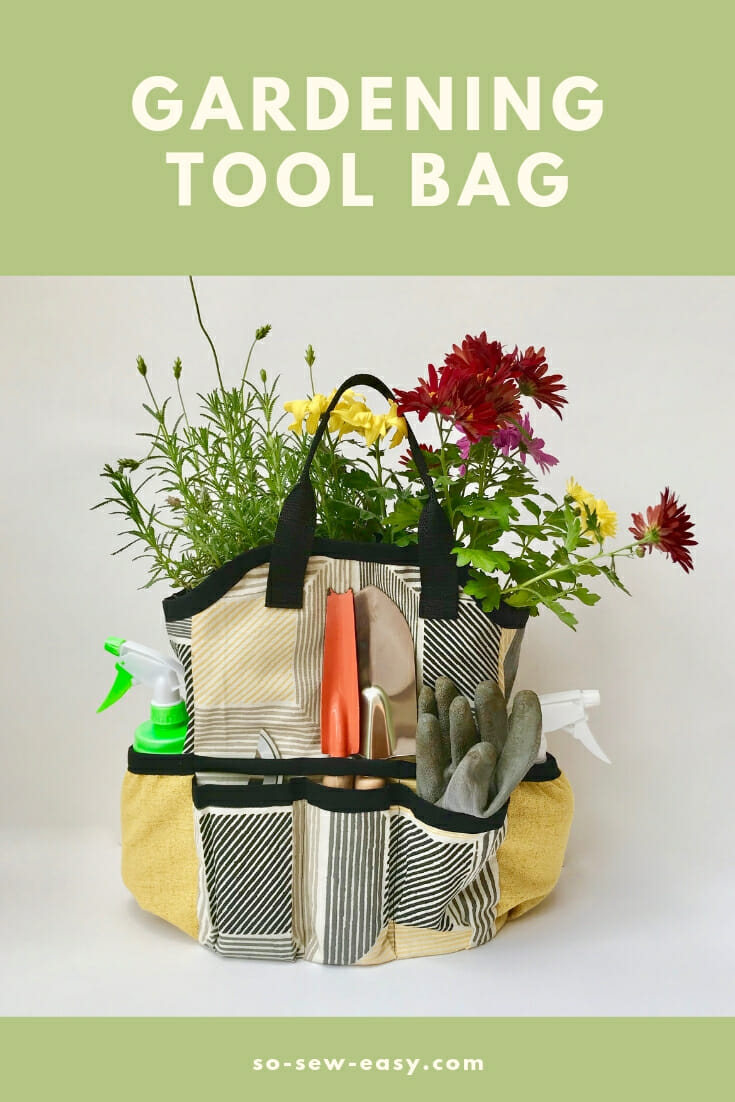
The gardening tool bag is a great gift for Father's Day –whether he's already in the garden or aspiring to be.
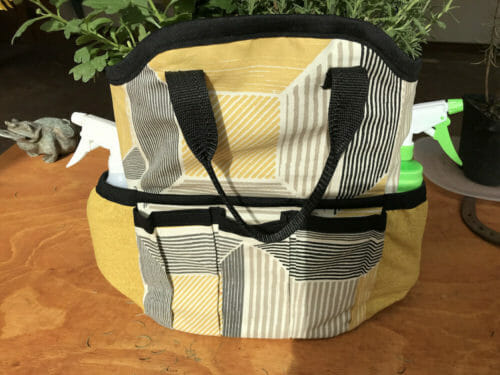
I developed this new spring sewing project thinking of my Dad. After my father had a terrible bicycle accident, he stopped working and retired. But, he is not the type to sit around doing nothing and stayed active by growing organic vegetables. My father cannot bend down easily or carry heavy things anymore, so the gardening tool bag needs to be able to hang from his walker.
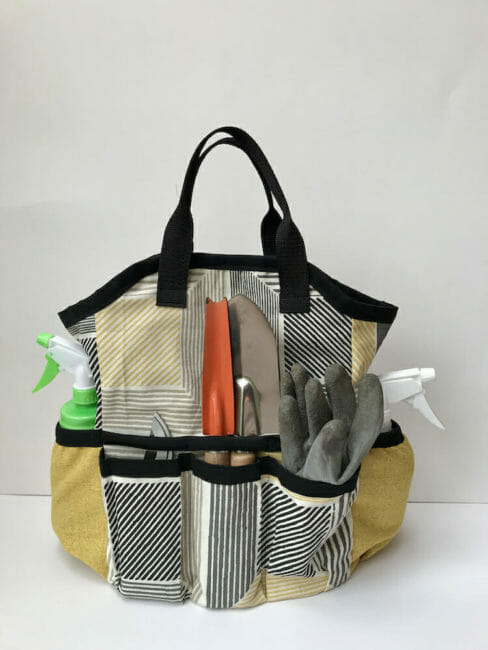
For this project, I am using the scraps left over from my iPad backpack, so it will be very inexpensive to make. However, if you want to splurge, use some wax canvas fabric for the ideal result, this will also increase the toughness and longevity of the bag.
Materials
- 1 yard of wax canvas or fabric of your choice. (psst.. there are some beautiful recommendations below from Fabric.com)
- 1 yard of fabric for lining
- 5/8″ Bias tape
- 2 yards of 1 1/2″ elastic
- Thread to match
- 1 yard of nylon webbing
- 1/2 yard of Ultra firm Pellon Peltex 71F
Tools
- Sewing machine
- Clover quilting clips
Experience Level: Advanced Intermediate
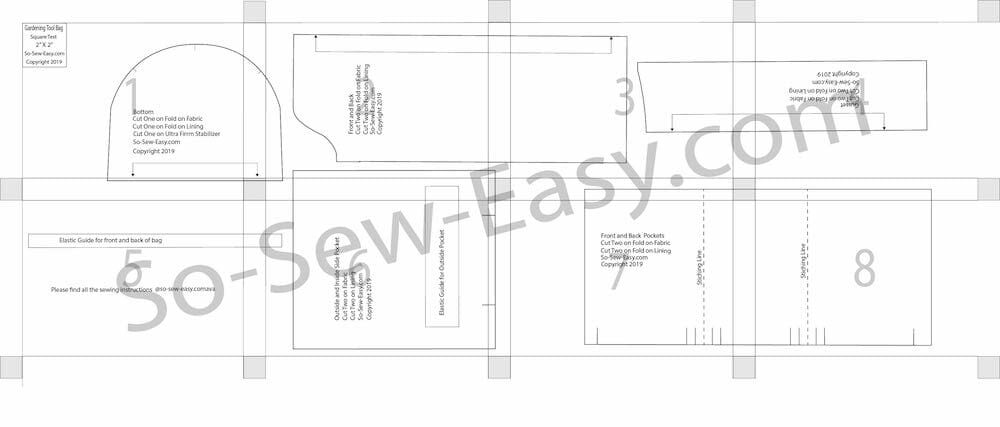
Pattern Layout
Fabric Suggestions From Amazon.com
How To Download The Gardening Tool Bag Pattern
We're going to continue to use the new Payhip webstore to distribute our patterns.
Our patterns are still free, but now you now have the option of making a small contribution if you like our work! We'd really appreciate it and it will help is keep going with new and fun designs like this. Even a dollar or two really goes a long way.
Just put the amount you would like to contribute above the “Buy Now” box before pushing the button. Thanks so much in advance for helping us out.
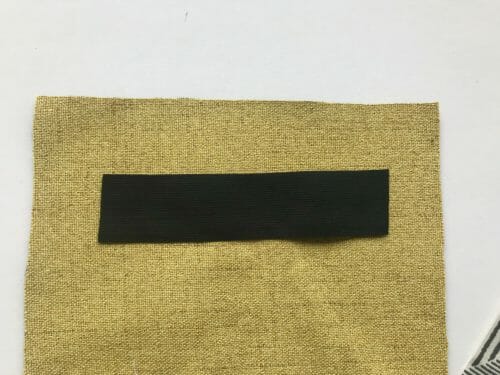
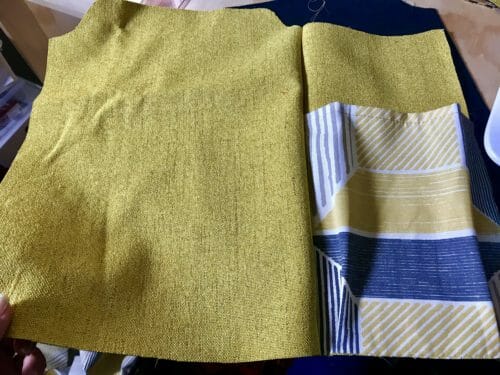
Step One: Sew The Outside Pockets
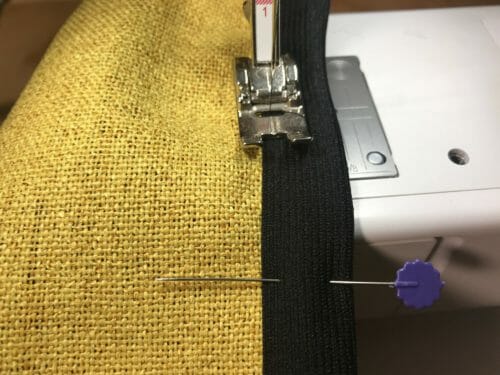
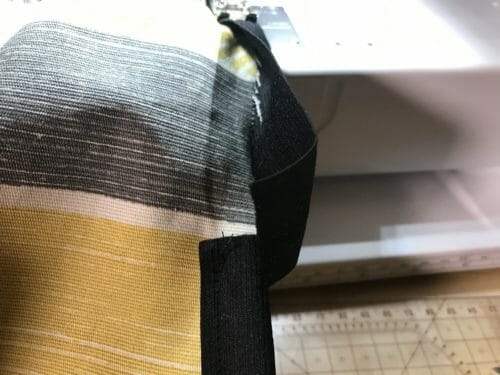
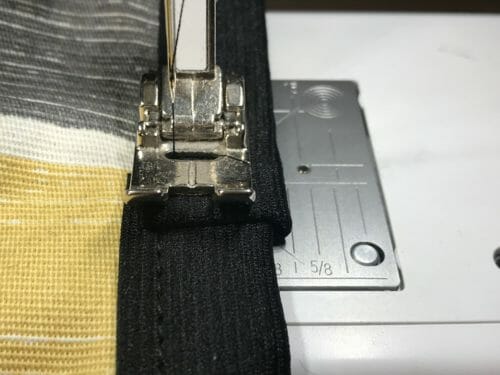
Sew the elastic without stretching it or bias tape at the top of the pocket. Make sure to sew the elastic or tape without changing the size of the pocket. Fold the tape in half and sew both sides front and back.
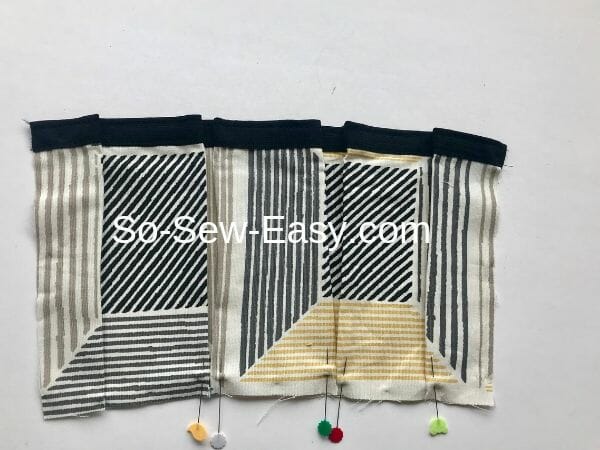
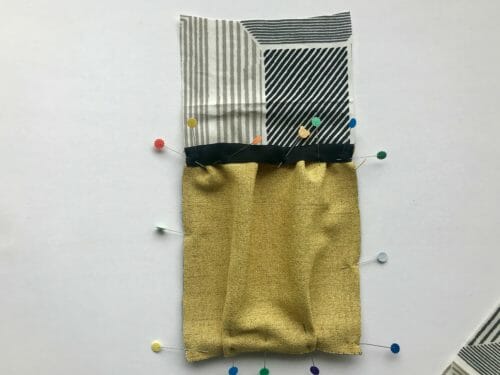
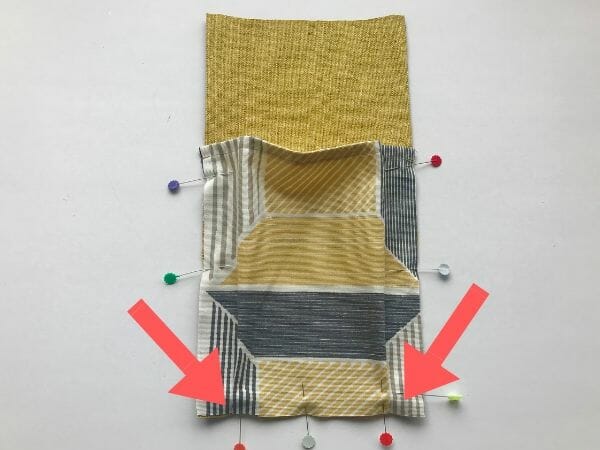
Make the pleats of the pocket. The pleats are marked in your pattern.
For the pleats, you will need to reduce the size of the pocket to the width of the gusset. Pin one of the pockets to the front of the bag and the other to the back. Topstitch around the pockets.
Sew in between the box pleats to make three pockets.
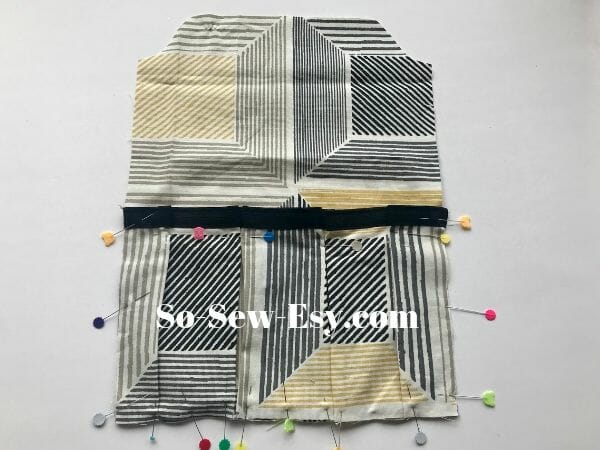
Step Two: Sew The Side Pockets
Cut a piece of elastic to the size of the gusset.
Stretch the elastic and sew on the top of the pocket.

Stretch the elastic while you are sewing.
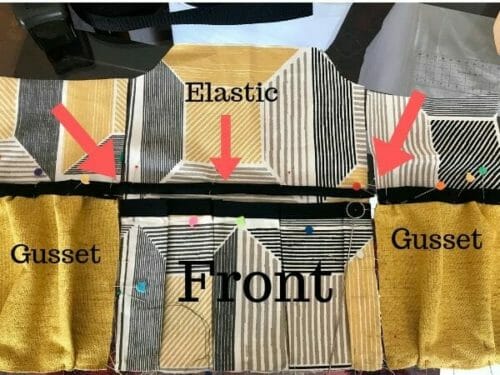
Place the pocket on the gusset.
Place the front of the bag and the gusset side by side, then pin the 5/8″ elastic – making sure the side pocket and the 5/8″ elastic are at the same height.
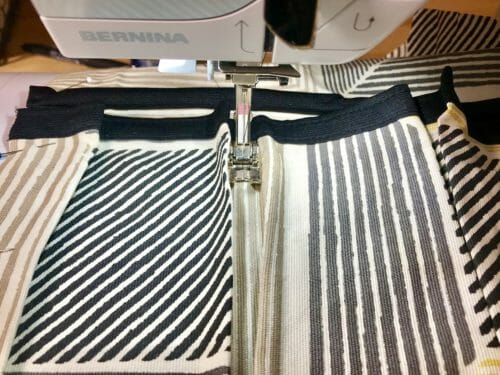
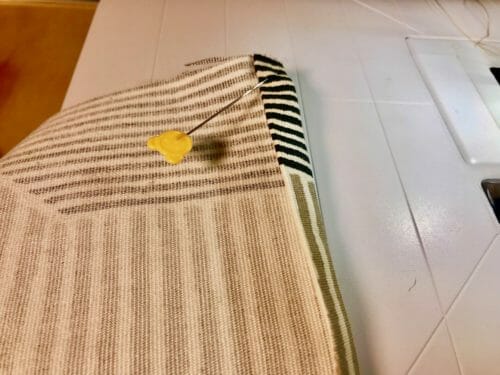
Step Three: Sew The Gussets To The Front And Back
Print sides together then sew the gussets to the front at 3/8″. Repeat with the back.

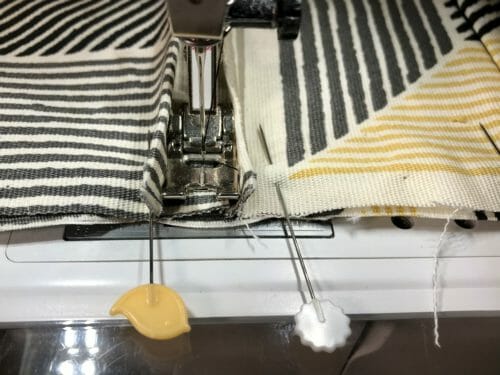
Step Four: Sew The Bottom
Pint the bottom to the bag aided by the notches and sew at 3/8.
Sew the bottom twice.
Step Five: Sew The Lining
Repeat the sewing instructions on steps two, three and four. Except for the pocket of the lining do not add elastic to the top of the pocket, instead, fold 3/8″ twice and sew.
Make the pins at the bottom to make the pocket as wide as the gusset.
Sew the gusset to the front and back of the lining.
Sew the bottom at 3/8″.
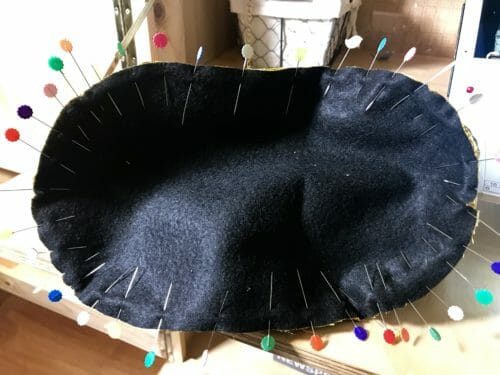
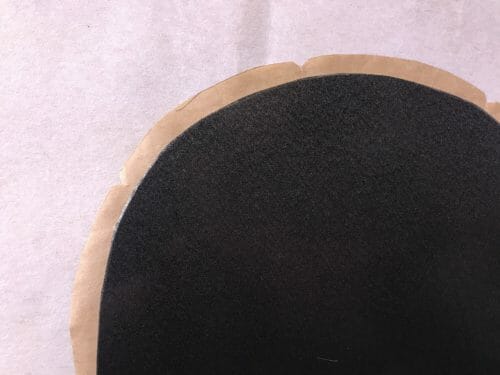
Step Six: Adding A Hard Bottom To The Gardening Tool Bag
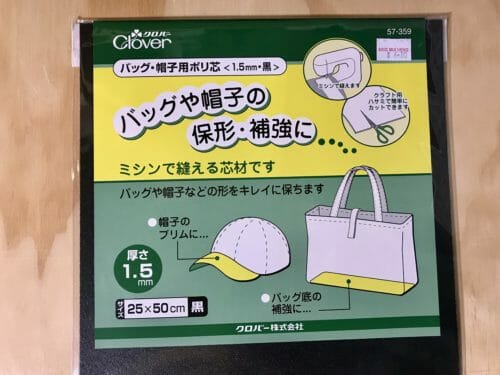
Cut the bottom of the gardening tool bag 1/2″ smaller than the pattern, and fuse at the bottom of the outer fabric. I am using a new product made by Clover. However, I do not know the name in English, I picked it up in a store in Singapore called Sing Mui Heng, if anyone knows the name in English please let me know.
Update: Found it HERE!
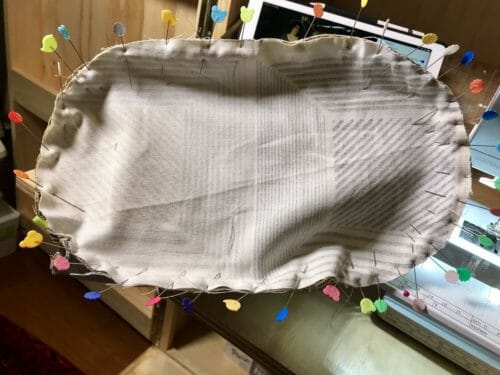
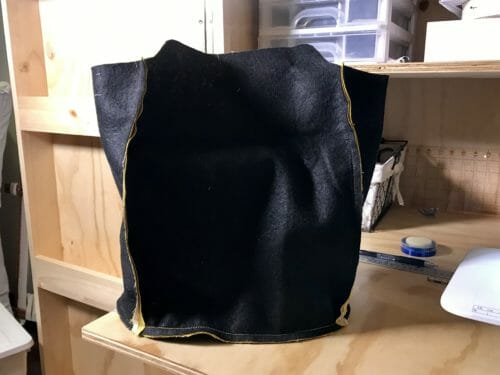
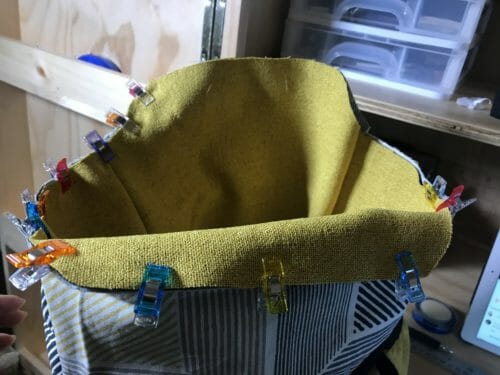
Step Seven: Join The Two Outer Layers And Lining Together
Open the seams to reduce bulk and insert the lining inside the gardening tool bag matching the seams.
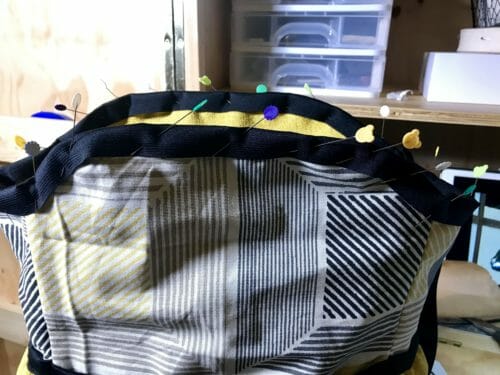
Starting on one of the sides, pin the elastic all around the top.
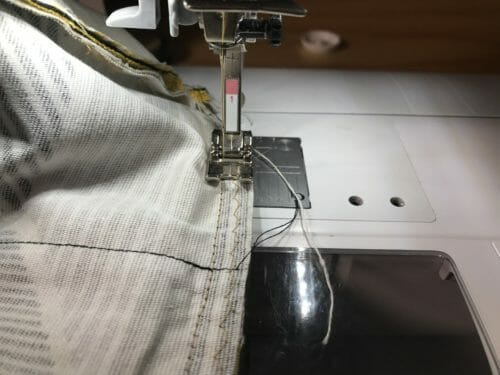
Start sewing the elastic at 1/8″ stretching slightly around the curves.
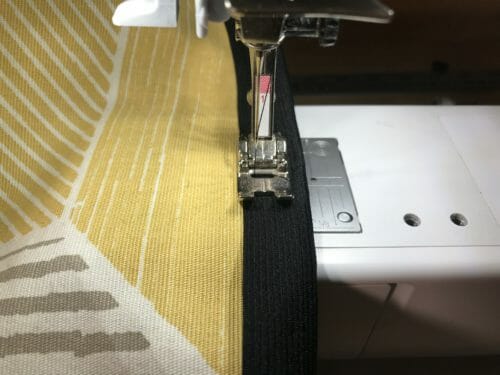
Fold the end and sew covering the beginning of the elastic.
Step Eight: Making The Bag Straps
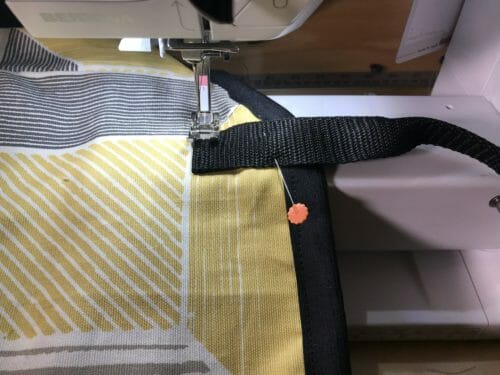
Cut the yard of webbing in half. Fold 1″ on either side. Leaving 4″ on either side fold the webbing in half and sew 8″. Place at the top of the bag 1 5/8″ from the top.
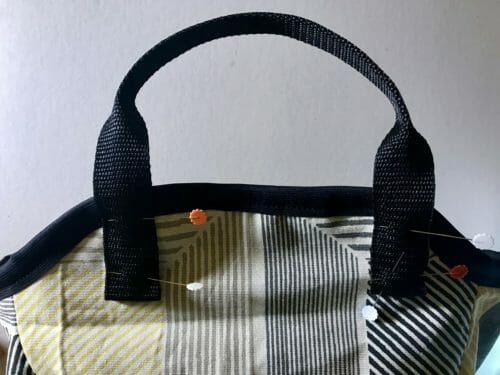
Double stitch the handle to the bag.
I hope you have found success in this gardening tool bag project. I highly encourage you to share the wonderful gift of gardening with your father. There isn't a healthier hobby out there and the only one that can feed you better than the store. Plus, with a bag like this, even people with limited mobility can partake.
Comment down below your thoughts! Would you do anything differently? How did your tool bag turn out?
Have a great Father's Day, and until then, Happy sewing!

P.S.
Want to do some gardening yourself? Make sure you have some comfortable and functional shorts for the coming summer heat. Check it out here: https://so-sew-easy.com/walking-shorts-pattern-tutorial-sew-along/


Hi Mayra,
Thanks for your website and all of the free patterns. I read every email. The pattern for the garden bag would not download. Any ideas as to how to download it other than in the usual manner?
Sorry if this is a dumb question. The pattern piece of 7/8 (front and back pockets says ” Cut Two on fold on fabric. There is no fold arrow on the pattern piece. Is the fold on the long side or the short side?
That’s a neat product from clover…I usually use a food cutting mat from the dollar store for the bottom of my bags, but I have never been able to sew through them…that is way better than making a casing for the plastic bottom and sewing it in lol
Such a great tip! the product from clover is not easy to find.
I also can’t find the pattern piece for the side pocket?
forget this one…. I only “saw” the elastic guide on that sheet – it is inside the side pocket pattern!!! sorry!
for the pockets it say Cut Two on Fold on Fabric (and lining) which line is supposed to be on the fold? There is no indication on the pattern, just says to cut on fold.
This would also make a wonderful project bag for the knitters and crocheters in your life. I am planning on making some for myself.
Indeed I think it would!
Hello Mayra,
I was looking around for a gardening bag for my friends 60th birthday. As she needs a walker too, I tried to imagine how your father carries it on his walker? Do you just hang it in front with the handles?
Hi Ann his walker has a small tray and he places the bag on it. Some walkers have a basket instead.
Help! I bought and printed the pattern but I don’t know if we add a seam allowance before cutting or cut it out right on the lines. Please let me know! Thanks
Yes, the seam allowances are mentioned in the instructions.
Love the fabric, I have the very same one, bought at Ikea a few years ago, they have great fabric and very good prices.
Indeed they do!
Loved this! Made mine just a touch different, 2 reasons: it was pouring rain, and I am trying to use up my stash… you decide. LOL. Can’t figure out how to attach photo though.
Love to see it, I took the feature for attaching photos, it is best to use #soseweasy on Instagram and I am sure to see your creation. Looking forward,
The fabric.com link isn’t working for me.
I test all the links and they are working, you might have a window blocker on your browser.
Mayra, I’ve got so many of your patterns and I love them, but I’m confused about the Payhip pricing. Is it in US or Aussie dollars? We’re getting $1.27 US but $1.83 Aussie to the £ right now, and I don’t want to look cheap!
Hi Debbie, my understanding is that it should be in USD. I may be wrong but I think that is the default. I really appreciate you checking and your support. Kind regards and happy sewing, Mayra
I love this! Thank you for the pattern!! I made a pattern for mug caddies and the two together will make great gifts.
Also, if you try to download from a mobile device (iPhone for me), I found that if hit “Save as a PDF” it will display the full pattern then all you have to do is save to whatever file storage you use (i.e. Dropbox).
Great Idea… Depending the style of walker he has you could make smaller bags to hang from either of the bottom side cross bars on either side to help balance the weight. sometimes just hanging items on the top cross bar makes it top heavy.. Love this idea —— I think I might have some canvas left from making corn hole bags..! ! !
The new Clover product you used on the bottom is CLOVER INTERLINING BAG & CAP 1.5MM. I couldn’t find it anywhere online except the store where you purchased it and another Asian store called Rakutan
I am still searching…Thank you for the name maybe it will be easier now. It is a great product, I was able to sew through it with my jeans needle and it is sturdy perfect for a hard bottom bag.
Mayra I wanted to update on the name for the product you were looking for. You can find it at Amazon as well, but it’s not shipped from Japan. It’s a product sold by Clover with the Nancy Zieman name on it as well. You can find it here https://amzn.to/31GSVZx
I just tried to locate it at Nancy’s Notions store, but wasn’t able to locate it. They are currently getting ready to close the store and will be reopening at a later date with a new website, but nothing more is known currently what they’re actually doing yet.
ThanK you Vicky! I wonder who bought Nancy’s store do let me know if you find out.
The bag is beautiful and useful. I’m glad you still have your dear dad!
I love this! I have been looking for just this kind of bag Thanks so much for posting!
Merci beaucoup for taking the time to take these pictures tutorial and let not forget the free pattern also. This will be around the garden a big THANK YOU SO SEW EASY.
Yolande YUL
I am heading to the sewing room as soon as I can . lol I Love this idea!