


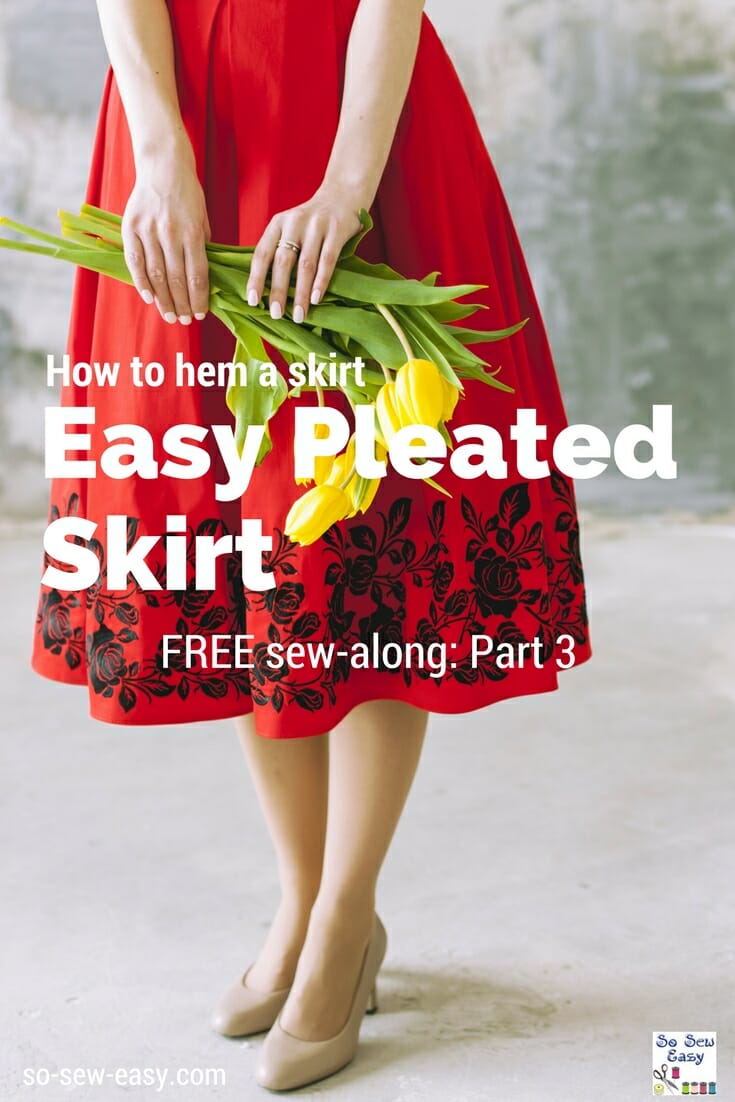
 This is the third part of our Easy Pleated Skirt sew-along. This article will show you how to hem a skirt and make a blind hem by hand. As well as how to iron the pleats on this skirt. You will need the first and second parts of this series if you're just seeing this episode for the first time. If you missed the first two parts you can click the links to our previous articles below.
- Part One: Print, cut and sew the skirt and pleats.
- Part Two: How to sew a skirt lining with an invisible zipper.
- Part Three: How to make pleats and hem a pleated skirt. (YOU ARE HERE)
- Part Four: How to fit and alter the pattern to make the skirt bigger or smaller.
Pattern Download:
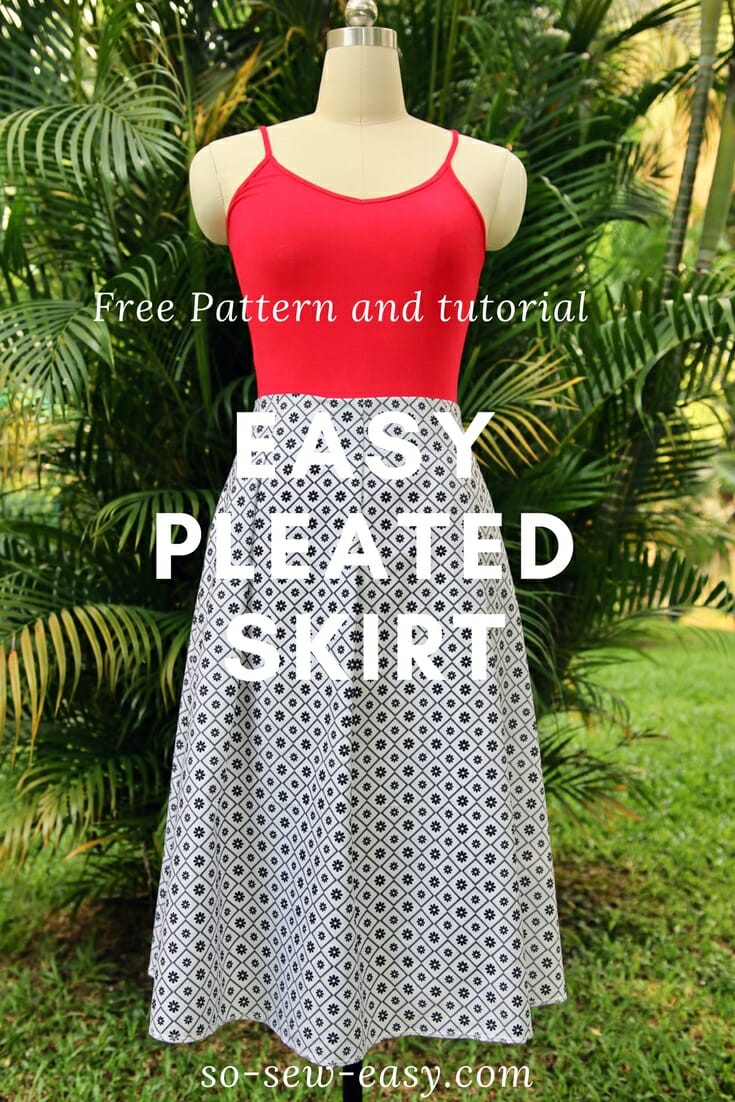
You can download the pattern for this Easy Pleated Skirt from our account at Payhip.
For help downloading and printing PDF patterns, please CLICK HERE.
I love pleats! They are slimming and make the illusion of having a smaller waist. And who wouldn't love that..
This skirt has three pleats at the front and three at the back which is the perfect balance for curvy girls –no matter what body shape you are. Don't believe me? Check out this article about body shapes and tips on what to wear for every shape.
The gentle flare of pleats allows you to add balance to your silhouette without the bulk around the waist like gatherers do.
In the first part of the sew-along, I have already shown you how to sew the pleats. Now we're going to work on the hem.
Materials and Tools:
- Starch for ironing
- Scorch-Saving Mesh for ironing, or Pressing cloth
- Needle and thread to match your fabric as close as possible.
- Silk Pins
- Iron
By far the best way to do a hem on a pleated skirt is an invisible hem by machine or by hand.
I will be showing you how to hem by hand. This is mostly for those readers who don't have the invisible stitch on their sewing machine or are working with an expensive or thin fabric.
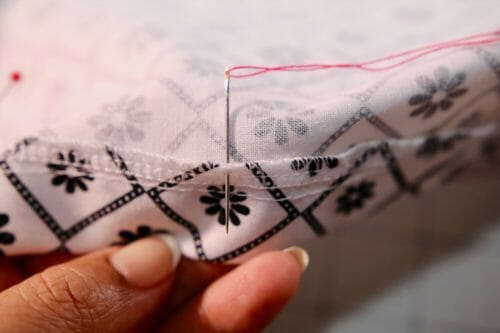
How to make a blind hem by hand
I will be using red thread so you can see well in the photographs. Please use matching thread when you're doing this for real!
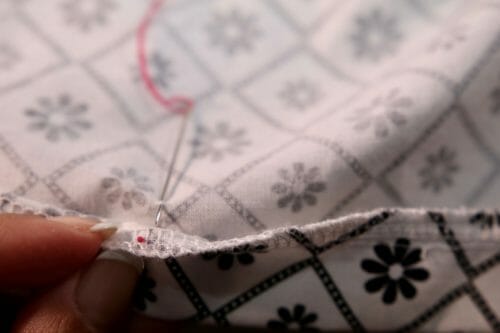
Step One:
Start with about a yard of thread and a hand needle. Insert the needle from the inside and pull the needle through. Start this hem from one of the side seams if possible and sew right to left.
 Step Two:
 Step Two:
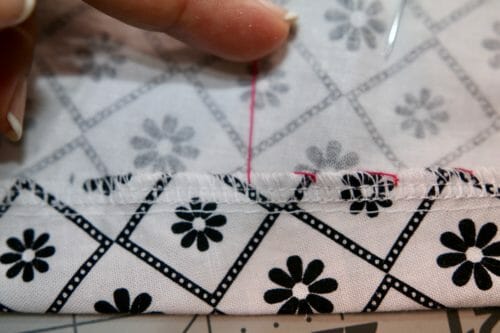
Pull all the thread all the way through until the knot.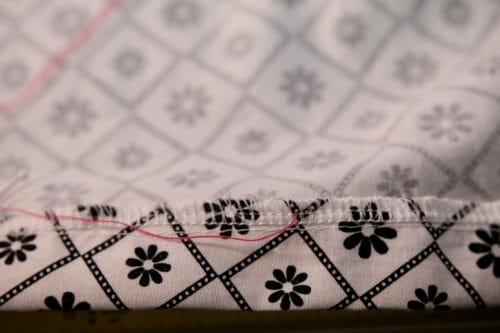
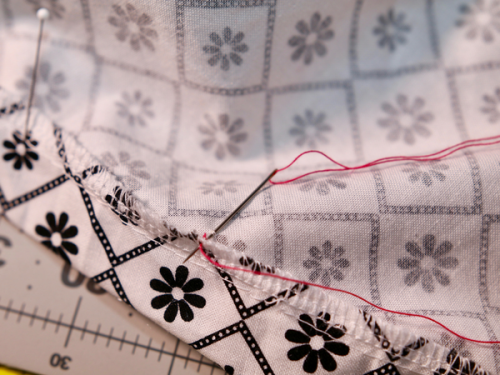
Step Three:
Take two to three threads from the skirt to make a small stitch in line with the knot. The thinner the fabric the less threads you take.
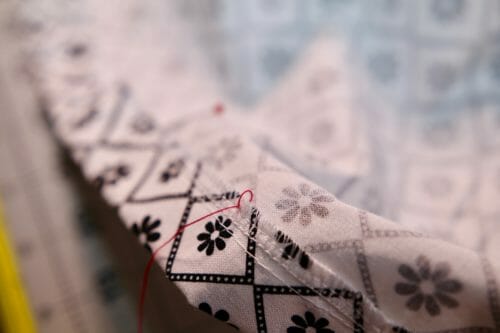
Step Four:
 Step Four:
Pass the needle through the first hole you have made and right along side the knot. Pull on the thread and you will notice a loop forming.
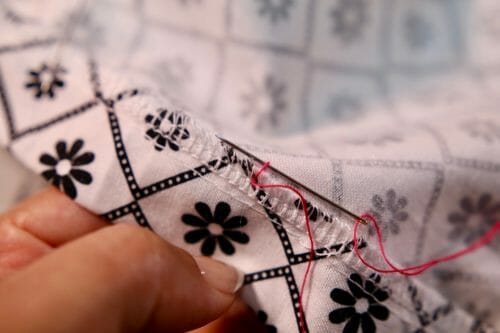
Step Five:
 Step Five:
Pass the thread through the loop that has formed.
Step Six:
 Step Six:
Pull the thread tight, but not so tight that it will make a dimple on the right side of the fabric.
Step Seven:
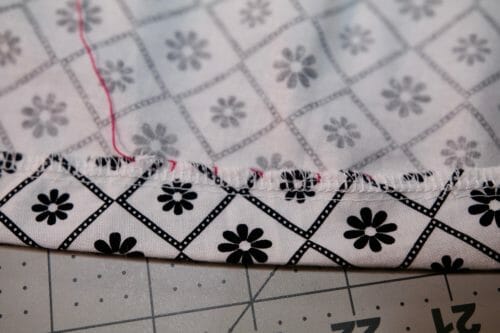
The next stitch will be done at 1/2″ to the left of the stitch you just made. 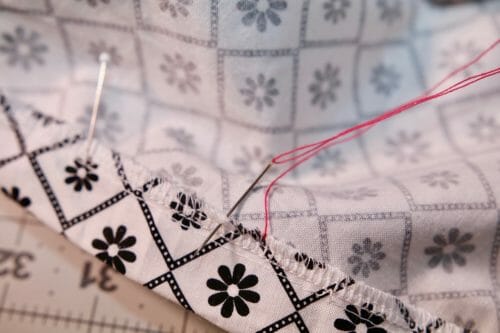 Pass the needle through the hem first and pull. Repeat this process all the way around the hem.
Make each stitch exactly above the exit of the thread from the hem.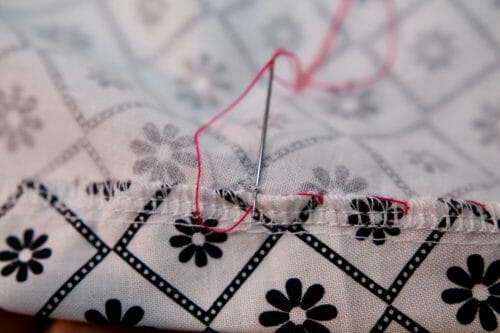
Pass the needle exactly to the left of the thread in the hem. Notice the big loop that is formed.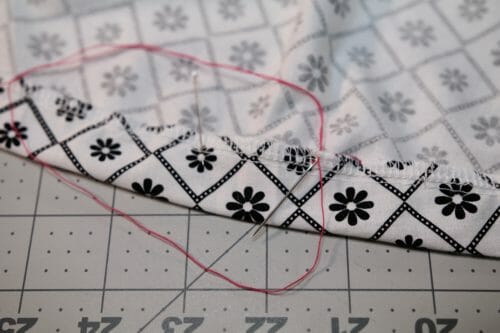 Your needle should always be inside the loop. This is what make the hem a blind hem. Pull the thread gently.
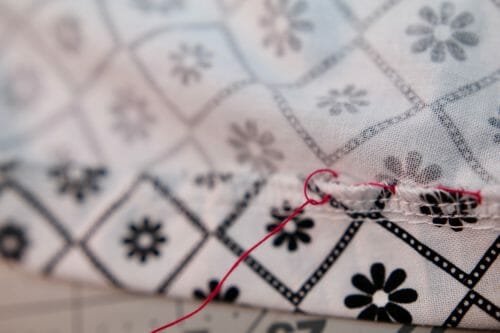
This is what your hem should look like. If I were using white thread no one would be able to notice the stitches.
Front View
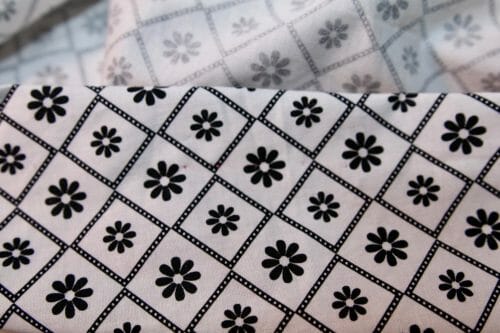
Back View
How to iron pleats
 How to iron pleats
To be successful at making beautiful pleats, you need to follow the pattern exactly. This pattern is telling you how to fold the pleats. The diagonal line is telling you that the pleats should be folding from left to right. 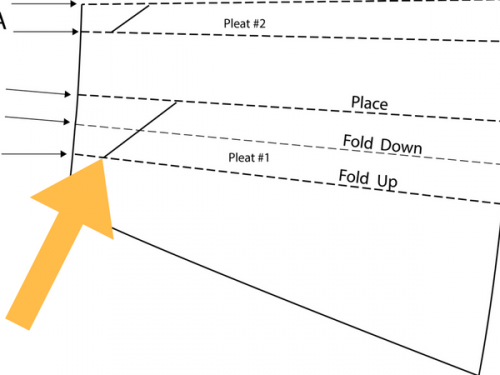 Fold the pleats from left to right following the pattern.
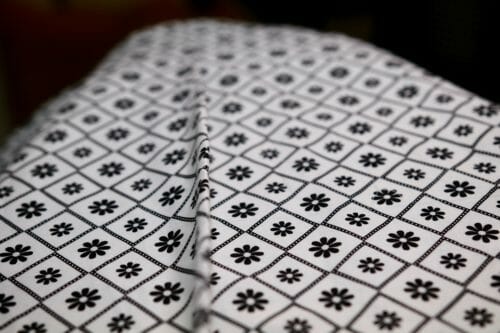 Fold under 1.5″ according to the pattern and following the grainline of the fabric.
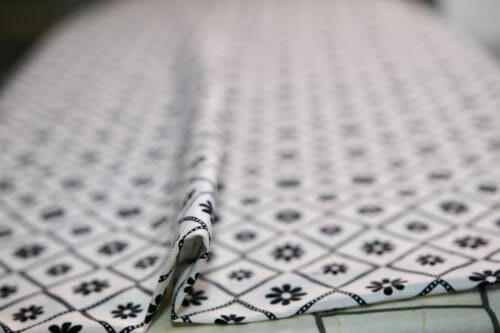 Set the pleat flat making sure it is straight as possible. Use a ruler if you have to to make sure the pleats are the same size on both top and bottom. This is essential for a neat and professional look.
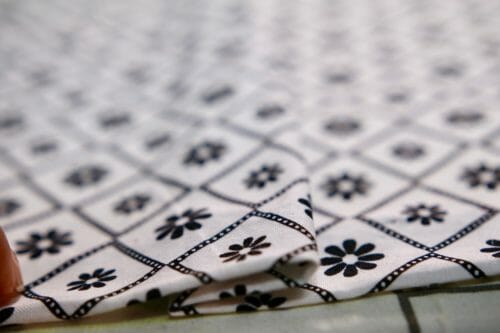 Place the ironing cloth on top of the pleat and iron with a lot of steam.
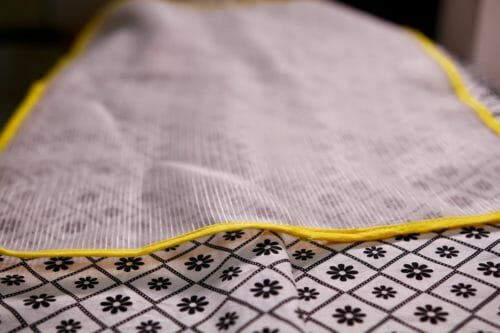
In the next and final step of this sew-along sewing tutorial, we will be showing you how to fit and alter the pattern to make the skirt bigger or smaller according to your size.
- Part One: Print, cut and sew the skirt and pleats.
- Part Two: How to sew a skirt lining with an invisible zipper.
- Part Three: How to make pleats and hem a pleated skirt. (YOU ARE HERE)
- Part Four: How to fit and alter the pattern to make the skirt bigger or smaller.


Hi, thank you for this great tutorial ! Does it mean that the lining is included in the pleats? Isn’t it too bulky then ? I will make a long pleated skirt out of coating wool and I was wondering how to make a lining for it. Can I make a simple non-pleated lining skirt inside the pleated wool one?
Hi Morgane, to make a lining, just pleat the paper and then cut the lining with the paper pleated, this will assure is the same width as the skirt, use silk with wool it is better to match natural materials make your skirt warmer in the cold and cooler in the sun.
I cant find the link to part 4. Part 1 let’s one link to part 2. Part 2 only let’s one link back to part 1.; I read the comments on part 2 to find the link to part 3, but part 3 only let’s one link back to parts 1 or 2. Unfortunately, the comments on part 3only mention that part 4 was out, but didn’t provide the link. Please send me the link to part 4. Thank you for your help.
Hi Catherine, here’s the link you’re looking for: https://so-sew-easy.com/increase-decrease-waist-easy-pleated-skirt/
Sorry only just saw your replies to other’s enquiries…!
When will part 4 of the above project be available please? How to fit and alter the pattern to make the skirt bigger or smaller.
Thank you!
Already out Helen 🙂
Hi, I love this pattern but was waiting for part 4 to alter the sizes—has that been released yet? I can’t find it.
Thanks for all of your great patterns!!
No, coming soon. I was editing the video but I think I will right the tutorial instead. it takes me for ever to make a video.
Can this pattern be lengthen?
Yes we will cover that on the last part of the sew along.
Thank you
I learn something new everyday and I want to thank you for showing me how to hem without my stitches showing,
i want this pop up to stop
Hi, if you’re referring to push messages that would appear in the upper right corner of the screen if you opted into them in the past and would like to opt out now, just follow these instructions depending on your browser:
https://support.pushcrew.com/support/solutions/articles/9000064230-a-website-is-sending-me-push-notifications-how-do-i-unsubscribe-
Unfortunately, it isn’t something we control on this end. Much like a radio station, we’re just broadcasting a message to users who have chosen to receive it. We actually don’t know who has or has not opted in, so we’re not able to block specific individuals.
Hope that helps and kind regards, Mayra