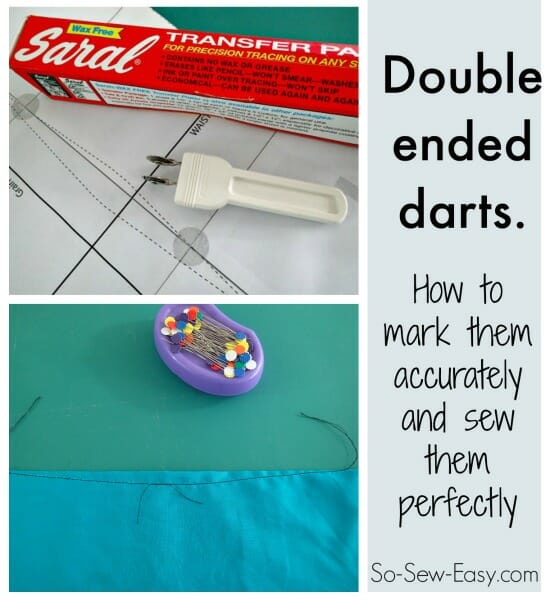
Have you seen this shape of dart before? It will typically appear at the waistline in a dress that doesn't have a seam at the waist. You might find them on the front, on the back or both. They add in shaping between bust, waist and hips and help the fabric to curve to your body.
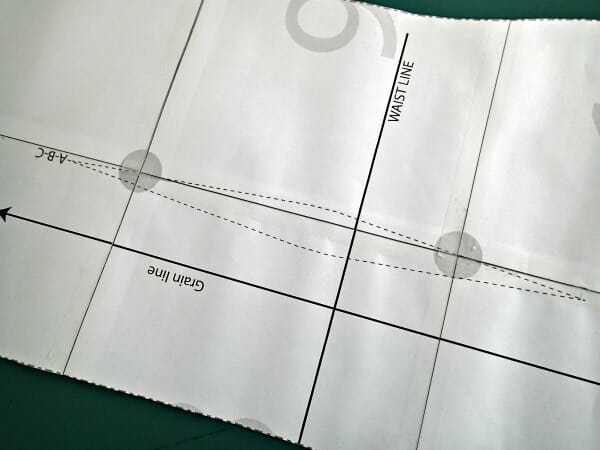

Imagine if you had a dress with a separate bodice and skirt. The bodice would have a dart between waist and bust, and the skirt would also have a dart between waist and hip. So if you have a dress without a waist seam, then these two darts meet up and make this ‘double ended darts' shape.
They need a little extra care when it comes to marking and sewing them, and a different technique to the single darts. Check out these earlier articles on
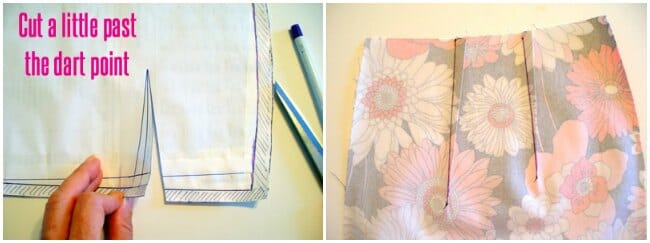

If you are marking and sewing darts in both panels on the back of a dress, it's important to do this accurately so they'll both be level and the same length when worn.
How to mark double ended darts
In the earlier tutorial about how to mark a regular dart, we could snip down one dart leg, fold back the pattern exactly on the other leg and mark the fabric underneath perfectly. With the double ended dart, that's not so easy to do and you would have to cut a big hole in the middle of your pattern. If you are OK with that, then go ahead, that works too.
If you don't want to cut your pattern, you'll need to transfer that dart marking exactly to the right place on the back of your fabric. Here's how I do mine.
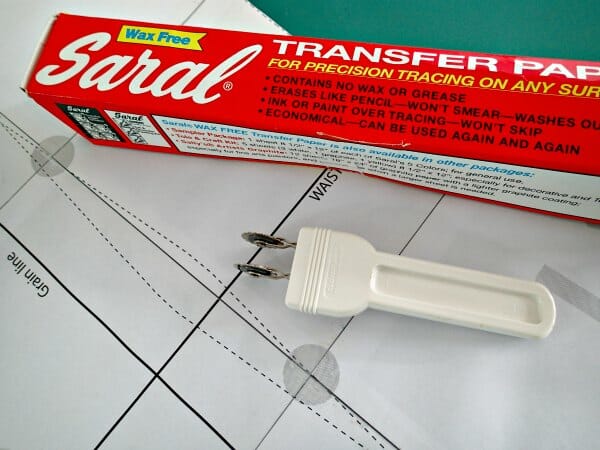

Supplies needed:
- Saral Transfer paper
- Marking tool such as a tracing wheel
The transfer paper is the key here. It comes in white, red, blue, grey and yellow and is like a sheet of chalked paper, on a roll.
You can use it to trace your pattern onto your fabric, or use it to trace pattern markings. I like to use it to save time when sewing. I don't even need to cut the pattern out accurately. Place it on top of the fabric with the tracing paper underneath, use the tracing wheel and draw the pattern right onto the fabric to cut out. Very quick, easy and accurate. I use a double tracing wheel that marks my seam allowance on at the same time – genius! Keeps your original pattern intact – anyway, I digress.
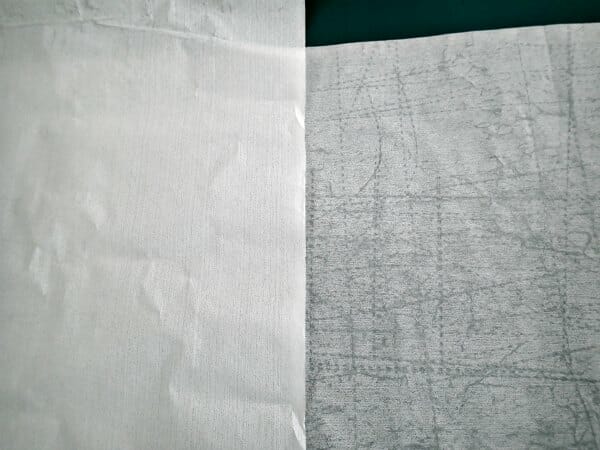
This is what it looks like new, and next to it, a sheet that has been well used, but still works just fine.

Place your fabric wrong side up, place the transfer paper over the top, chalky side facing the fabric and then place the pattern on top.
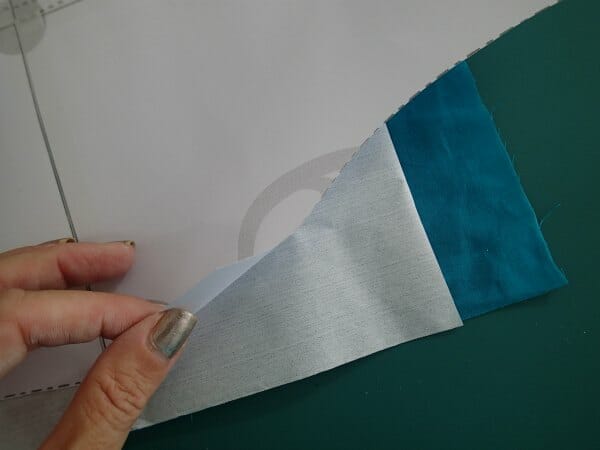

Make sure to accurately place the pattern over the fabric piece and then use the tracing wheel over the dart lines to transfer those lines to the fabric. Easy, quick and accurate.
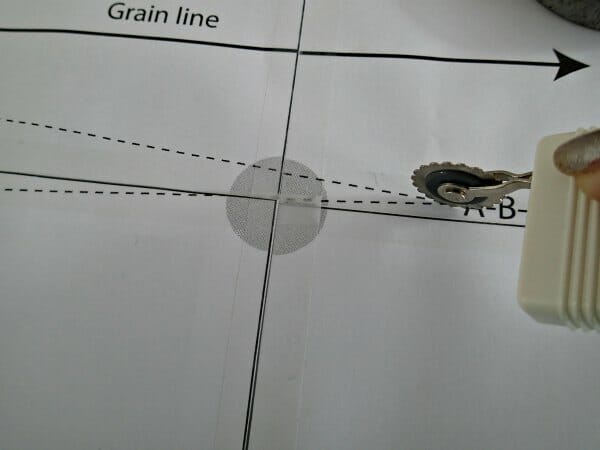

If you have two pieces that are the reverse of each other, such as two back pieces in a dress, place another sheet of the transfer paper underneath the bottom piece of fabric and you'll be able to mark both at once! Sorted 🙂
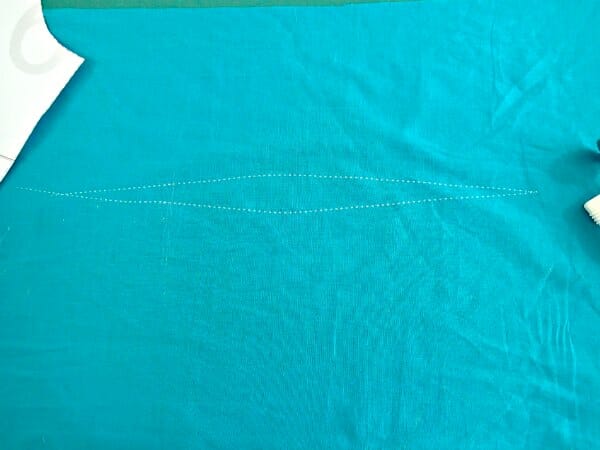

CAUTION – I've never had a problem, but do make sure to test your fabric with the transfer paper to make sure the mark will wash out OK. Always mark on the reverse of your fabric just in case.
How to sew double ended darts
Now your darts are accurately marked in place, it's time to sew. Sewing is just like a regular dart, except we'll do it twice. We fold our dart between the points and pin, making sure the pin pierces the marked dart lines on both sides of the fabric.
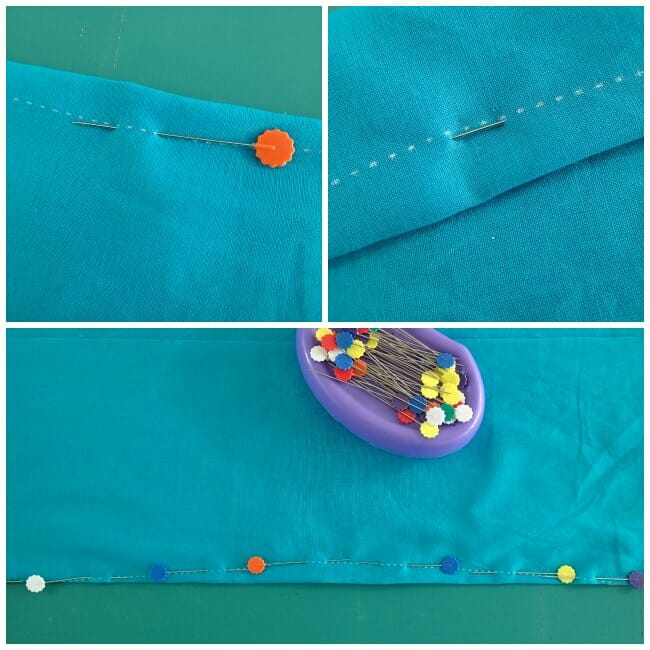

TIP – make sure your pins go into the fabric with their points towards the center on both sides, to make them easier to remove as you sew. If you prefer, put them perpendicular to your sewing direction.
Then start somewhere at the center and sew towards the tip of the dart, removing pins as you go. You might want to switch to a shorter stitch length for the last few stitches at the point and then run off the fabric without back stitching. Leave long thread tails and tie off the thread.


Now turn the dart around the other way, sew again from the center, overlapping the stitches from the first sewing, and run off the other tip. Tie your threads.
Pressing your darts
You can start by pressing your dart flat as sewn. The dart is there to give us shaping at the waist and needs to be flexible.
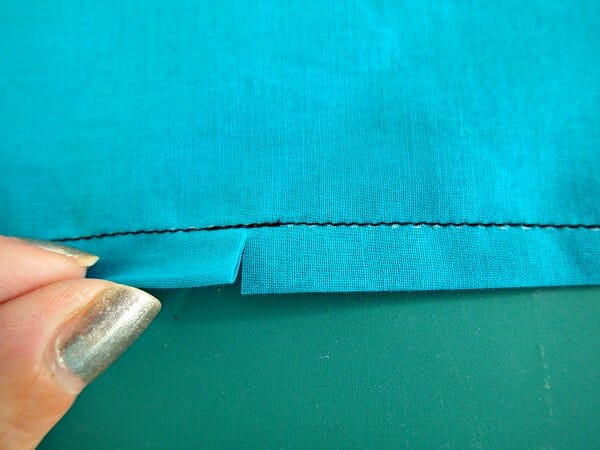

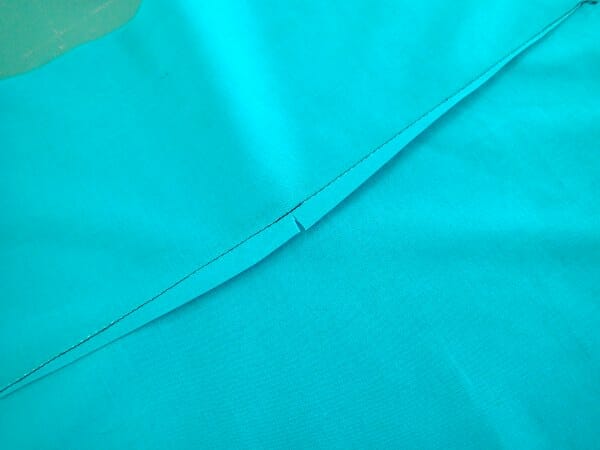
If you snip through the center of the dart, close to the stitching, you now have that movement and flexibility and can now press your dart to the side and it will lie flat while still allowing the fabric to shape to your body.


I have sewn Domestically and Commercially for at least 62 of my 67 years, So Sew Easy, is by my opinion alone a Superb Source Of Inspiration. Your Double ended Darts are excellent, but surely, the sewing from both ends, and overlapping the line of stitching, is a little bit bulky at the centre point. I studied at the London College of Clothing and Fashion Technology, in the mid 70s and we perfected a method of sewing darts that eliminates the bulk at the points. It is I admit a little complex, but the results are a smooth elegant dart. For each end of the dart, the following process should be followed. Using fine wedding dress pins, pin the dart from 2mm outside the points, pinning at right angles to the fold. Place a pin exactly at the centre of the dart. Unthread the upper thread on your machine, then carefully re-thread using the bobbin thread backwards through the needle following the upper guides and wind 2 metres onto a spare bobbin. Then sew as far as the central pin, leaving the ends free. You will note tha the point of the dart is enabled to be sharp which enhaces the couture feel of the garment. Once both parts are sewn carefully tie the two upper threads together securely, now separately tie the two lower threads securely The dart is then pressed according to the pattern instructions if any. If movement is to be permitted, then stitch an inverted V from the edges to the centre of the dart and back , this alleviates the need to slash the dart which in turn makes any future alteration more easily obtained.
Can you please tell me how to get the pattern of the dress above with darts? I have a pattern without darts and not sure where to place them! Thank you.
Awesome tutorial! I’ve got a craft Gossip post scheduled for later today that links to it: http://sewing.craftgossip.com/?p=83517 –Anne
I’ve been sewing for fifty plus years and the transfer paper we used was waxy but it did the very same. In fact, I’m still using the same sheets. But do be sure to have your marks INSIDE the garment because these probably do not come off as easily as your chalk sheets.
I so enjoy your patterns and reading your entries. Your bright cheery outlook clearly comes across thru your words and works.
God bless…
I know what you mean about them lasting. Even though my sheet looks worn compared to a new piece, it still works just fine. This stuff is a good investment.
Hi Deby,
It was interesting to see you use your marking paper, and I am wondering if it is only available now, because in South Africa we have been using it for decades, and comes in sheets in a stack of different colours, I brought some with me and they do last for ages. They are invaluable indeed. What peaked my interest though was the double sided dart, it makes good sense and I am looking forward to the next pattern. Thanks again for all your brilliant ideas. Regards. Rosemary.
I’m assuming its been available here for ages too, but isn’t commonly used in home sewing I think, or at least I’ve not seen it mentioned a whole lot of sewing blogs. But I use mine all the time, to trace my patterns right onto the fabric.