


Hi, Vicky here – Do you love bags as much as I do? I am passionate about bags. I just love how any fabric can be transformed into something new and practical. One of the simplest closures is the magnetic snap – I love them as they secure your bag but are quick to open. Ideal if you are making a bag for anyone with manual dexterity issues.
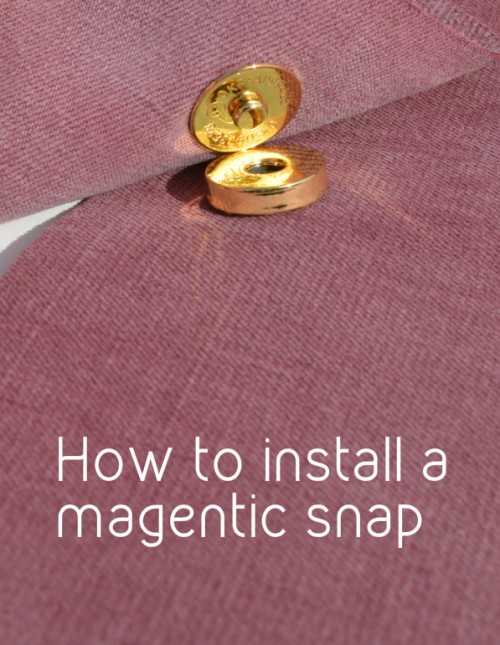
How to install a magnetic snap
To insert your magnetic snapper you will need:
- Magnetic snap
- Fusible fleece scrap
- Fusible interfacing
- Seam ripper
- Fabric pen or similar (I use a pencil)
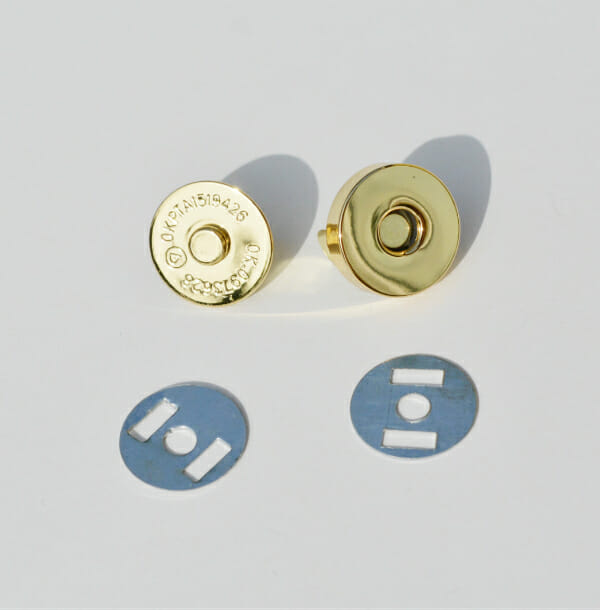
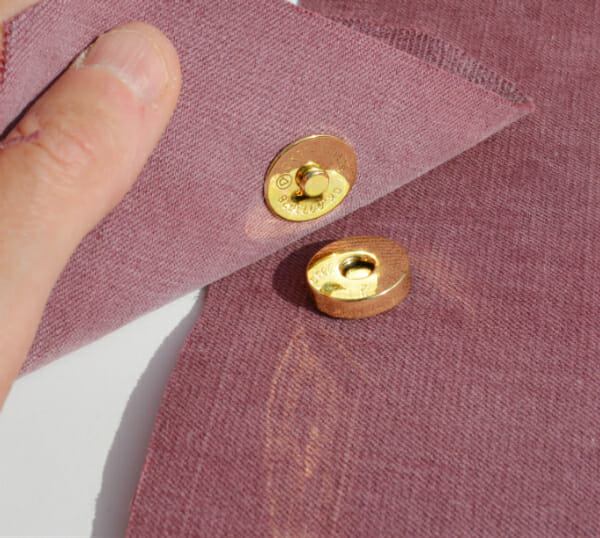
The magnetic snap comes in two parts, the male (on the left of the photo) and the female side (on the right-hand side).
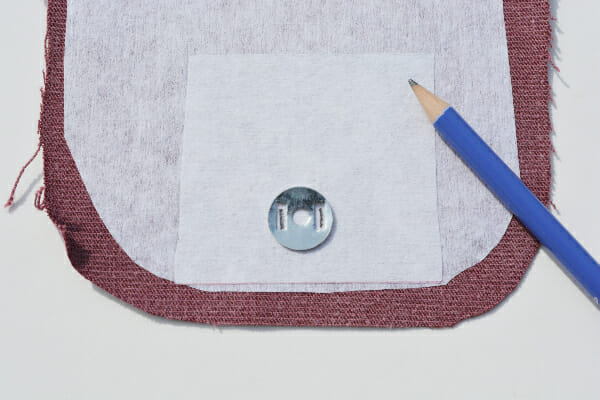
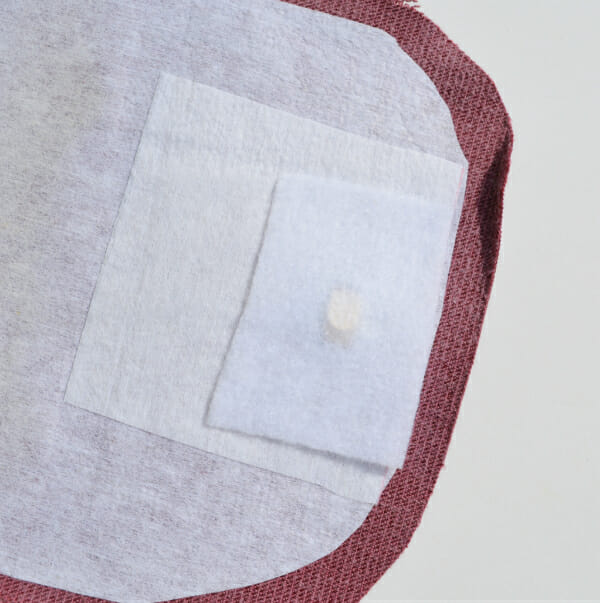
Due to wear and tear around the magnetic snap it's a good idea to reinforce the fabric with an extra piece of fusible interfacing first.
Mark the fabric where the prongs of the snap will be pushed through.
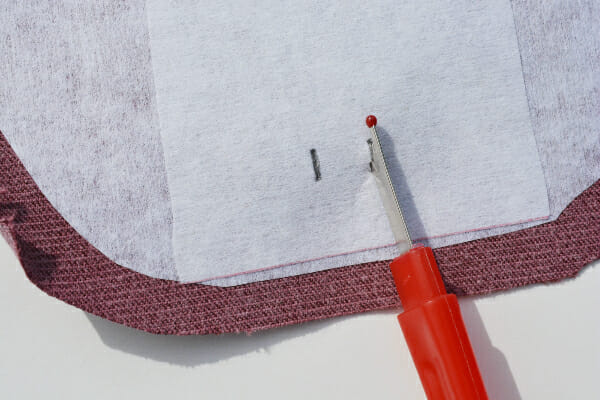
Carefully cut these marks using your seam ripper or some very small pointed scissors.
Place the prongs through the fabric. The male snap goes on the tab of your bag, and the female on the body of the bag – unless you want it differently of course.

Place the little metal washer over the prongs. Fold your prongs in as tight as you can to the closure to make sure its tight to the fabric.
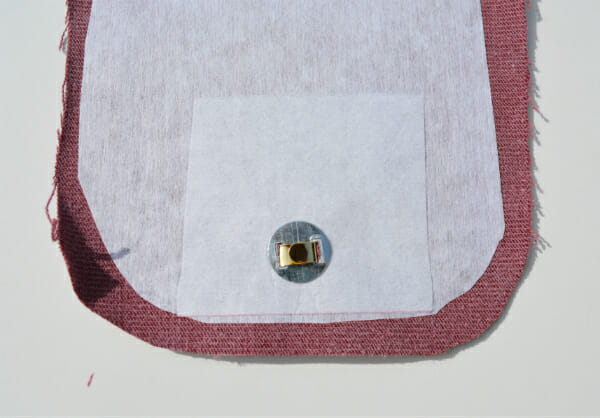
Add a small piece of fusible fleece over the back of the magnetic snap. Repeat these steps for the other part.
That's it! Super easy.
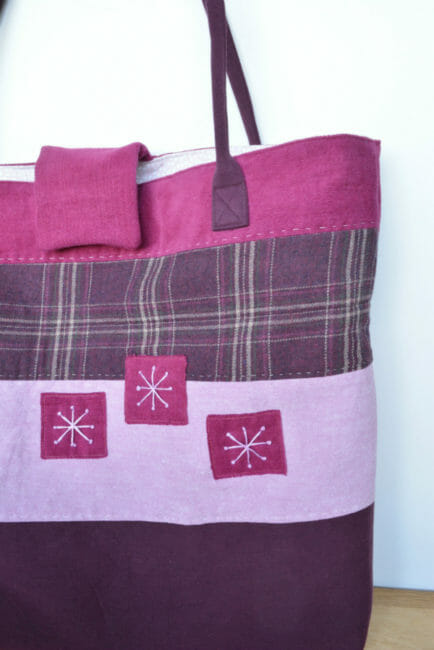
What bag will you be making next? Did you have a go at making the fab padded handles? or even the large denim tote? You can use any fabrics – I have made it up in burgundy and pinks from old trousers!
If You'd Like To Support Our Site
If you want to help us continue to bring you a wide selection of free sewing patterns and projects, please consider buying us a coffee. We'd really, really appreciate it.
I’m Vicky from vickymyerscreations. I learnt to sew through school, and was blessed as a child to have adults who nurtured my creativity. I love sewing, for others and for myself, and exploring other textile related crafts. See more on twitter, facebook and pinterest.


Thanks for sharing.
Brilliant description, thank you! I’ve always avoided using these because I want 100% sure, but I can always rely on you guys to show me clearly and concisely how to achieve great results!
I am such a visual learner, so your tutorials are wonderful for me. Thanks so very much.
I put a little bonding glue before inserting the prongs for hold and to avoid fraying.
Hello,
first of all I would like to thank you for your nice and clear tutorials. English is not my mothertongue, but thanks to the good pictures, I can follow every step.
For the nagnetic snap however, I fold the prongs out, instead of in as tight as I can to the closure to make sure its tight to the fabric, using pincers if needed.
I find, this way it will give a less think result.
Bye,
Ingrid.
Never thought to do this, I think I like this tip for wallets. I will try next time. Thank you for sharing Ingrid.
thank you so much I bought some magnet clips yesterday now I will know how to put them on bags, thank you so much Norma
Read somewhere that you might want to buttonhole stitch the holes for the prongs depending on how firm your fabric is
Thats a good idea. They are very tiny holes so you’d have to be careful not to go too far so the stitches could be seen around the fitting. Must give this a try.