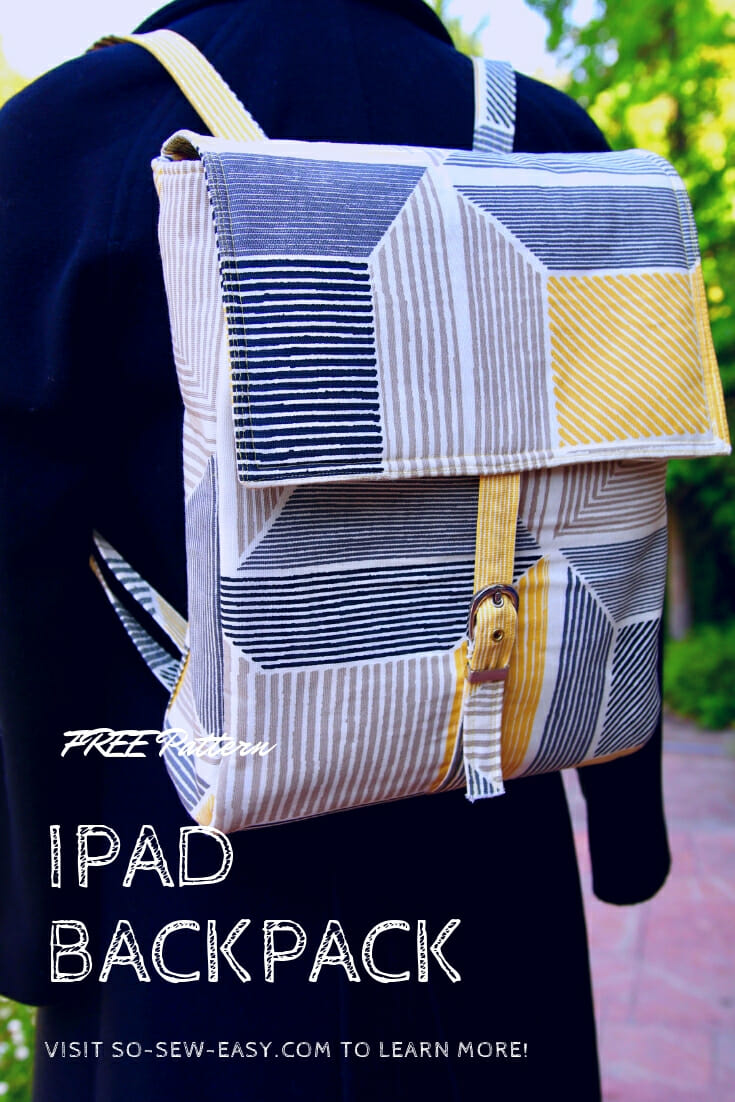
Recently I switched from working mainly on a laptop to an iPad. It has taken a bit of getting used to, but I have found great benefits especially when sketching or designing. Plus with a simple attachable keyboard, I can type just as well as I could on the computer, while being much more portable. Since I've enjoyed the change so much I decided to make my own iPad backpack and share it with all of you.
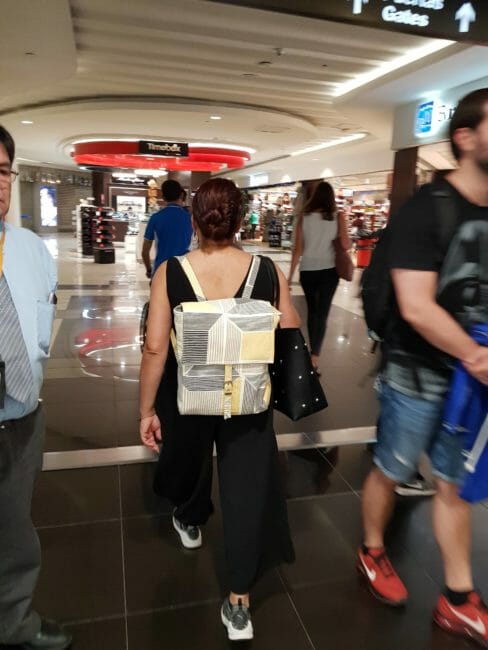

I designed this iPad backpack for all the people like me who enjoy the convenience of always having your device with you. It will make a great birthday present and can be made in leather, vinyl, canvas, and quilted fabric. I am determined to use up my stash of fabric so I am using the leftovers from an Ikea bean bag.
This backpack has a small zipper pocket large enough for your valuables.
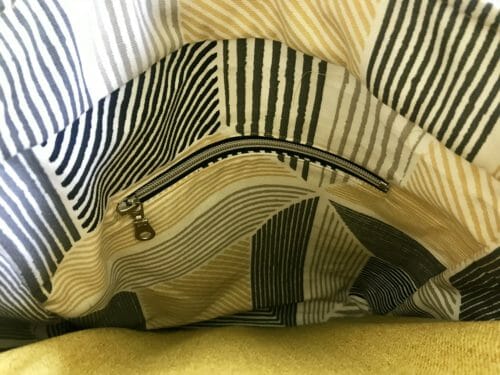

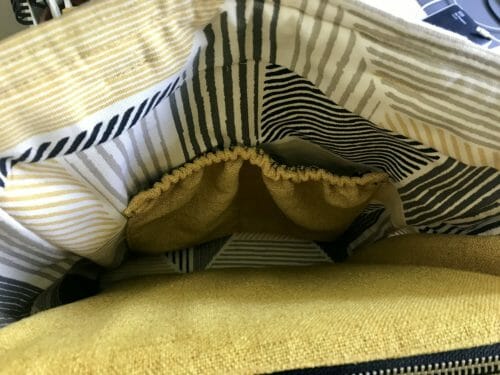
An inner pocket large enough for the latest iPad Pro.
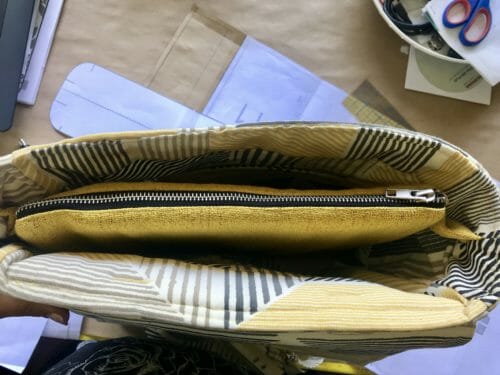

A back pocket.
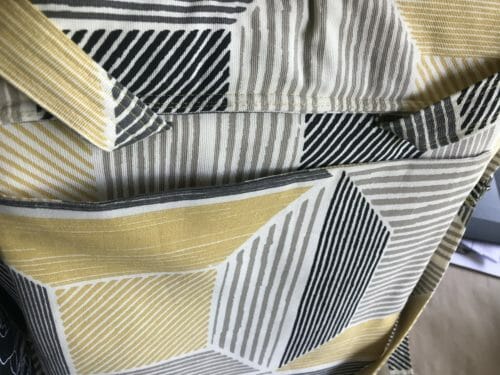

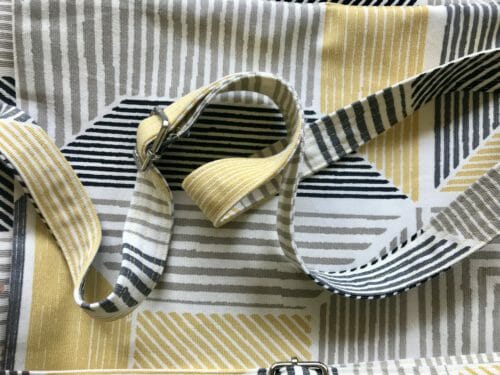
Adjustable straps.

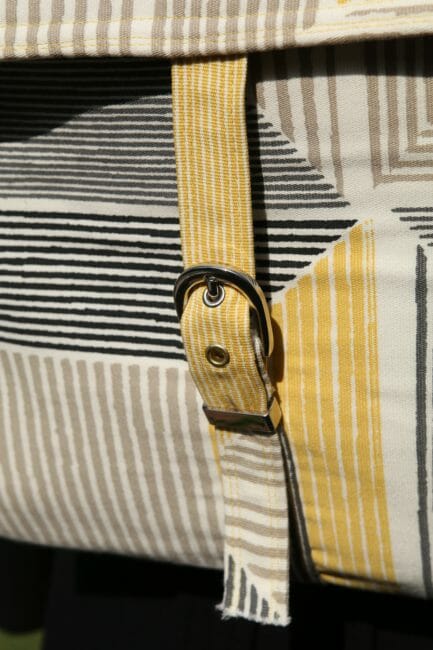
Secure closing buckle.

Skill Level
This is an easy advanced intermediate project. You will need an understanding of bag construction and intermediate experience. This iPad backpack project is suitable for people that love to learn something new and can pay very close attention to the instructions.
Materials
- 1 Yard of cotton, vinyl or canvas 60″ wide
- 1 yard of quilting cotton for the lining.
- 1 yard of Bosal, Soft and Stable by Annies, fusible fleece or Pellon FF77
- 1 buckle
- 2 sliders
- 2, 1″ inner length rectangle rings
- 2 zippers 8-10″ long (Optional)
- 1, 12″ nylon zipper
Tools
- Zipper foot
- Walking Foot
- Kam Tool
Fabric Recommendations from Amazon.com
How To Download Your iPad Backpack Pattern
Please use the latest version of Adobe Reader this is the only program you need to download the pattern. Use Landscape Mode and do not scale, print using Actual Size.
Pattern Download
How To Sew Your iPad Backpack
In addition to all the pieces in the pattern, you will need
- 2 tabs for the inner pocket
- 2 straps for the buckle (8″ long X 1″ wide)
- 2 tabs for the zipper
I am going to add one extra pocket to carry my phone and sunglasses, I'll share with you in a separate tutorial how to do that.

Finished Measurements
The iPad backpack is large enough for a 12.9″ Ipad pro.
Height: 15″ (38cm)
Width: 13″ (33cm)
Depth: 3.5″(9cm)
Sewing The Lining And Adding Pockets
I recommend adding two zipper pockets to the lining. We have a very easy-to-follow video tutorial that will make this iPad backpack more secure.
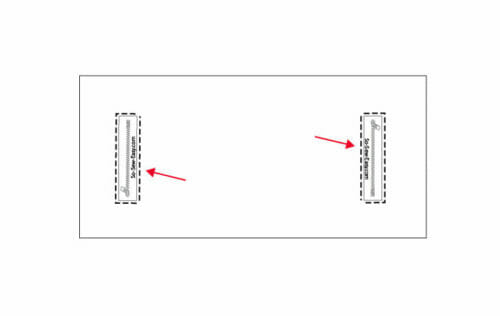

Note: On side of my lining I have added a double elasticized pocket to stash my car keys and my sunglass. I want to have these two pockets because of ease of access, although they are not as secure as the zipper pocket.
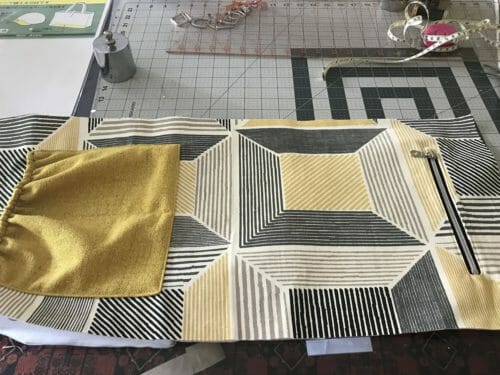

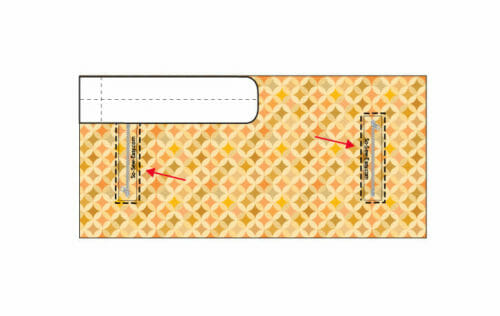

Once you have added a zipper pocket to the lining, sew the gusset, then place the gusset print facing down over the lining print facing up. In other words, the prints are facing each other. For a more comprehensive way to sew curves, I'll share with you this separate tutorial that will give you a few super easy tips and tricks. They give me professional-looking results every time.
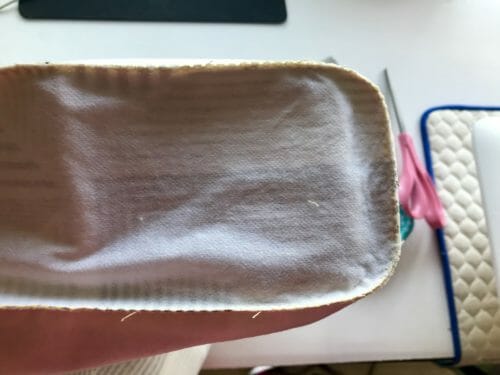

Once the pockets are in and the gusset is sewn put the lining aside.
Sewing The Inner Zipper Pocket
This is perhaps my favorite pocket to make, it works in nearly any bag. But I have to say it's not the easiest to try and explain. I will do my best, but expect a video tutorial soon.
You will need to cut four rectangles that are 13 3/4″ and as wide as the main piece of the bag, there is a cutting line mark in your pattern.
Sew two tabs at the end of the zipper. Each tab should be as wide as the zipper tape and 2″ in length.
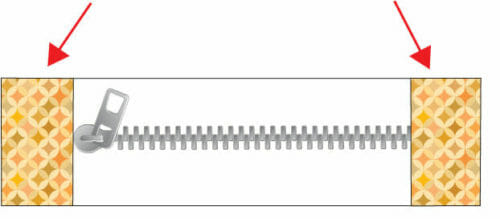

You will also need two small squares (2 1/5″ X 2 1/2″) of fabrics that will be sewn on the sides of the pocket. Sew the tabs at 1/4″, print side in, using a safety pin turn the tabs inside out.
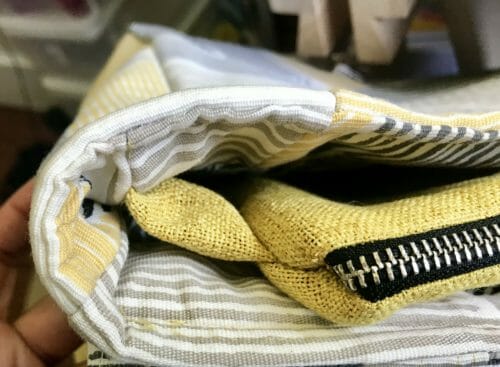

This is going to be a self-lined pocket, I suggest you use a fabric that has a soft pile side such as the ones used for upholstering, otherwise you can just use cotton padding or fusible interfacing.
Place one of the rectangles print side up and the zipper right side down.
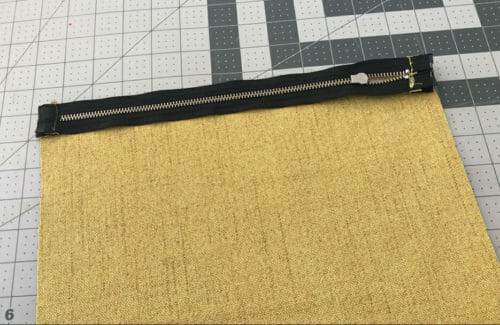

Take another rectangle and align it with the zipper and the rectangle on the table. You will end up with a sandwich. The zipper will be in the middle.
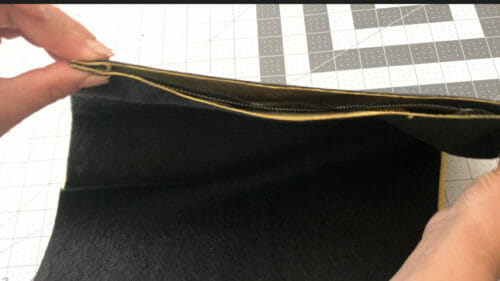

Sew the zipper and rectangles together using your zipper foot.
Move both rectangles to the same side exposing the remaining zipper tape and slide underneath one more rectangle. We are repeating the procedure we did before on the other side of the zipper tape.
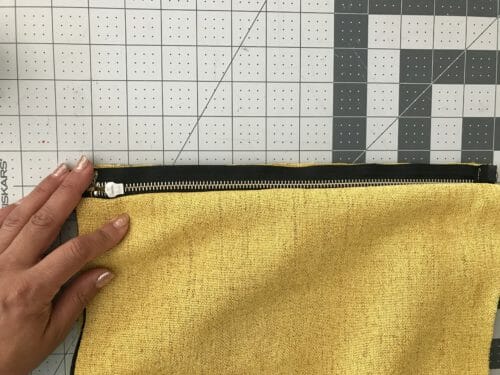

Place the remaining rectangle align it with the zipper tape and sew.
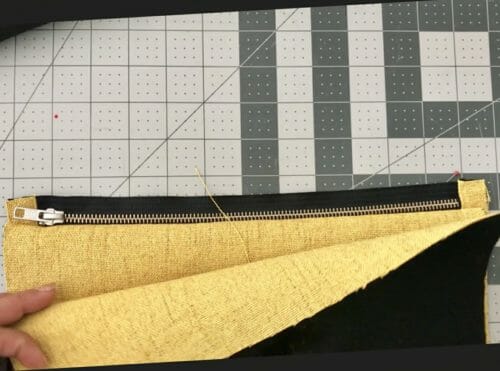

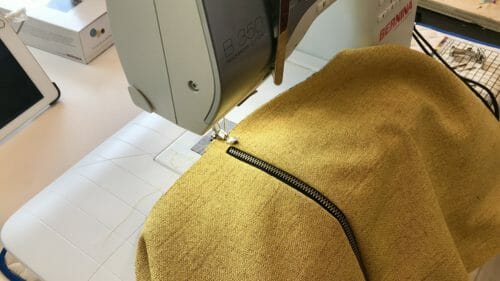
Top Stitch around the zipper so the fabric does not get caught when you are opening or closing the zipper.

Place the pocket on the table with the right side of zipper facing up, place the tabs you have made previously 3/4″ front the zipper.
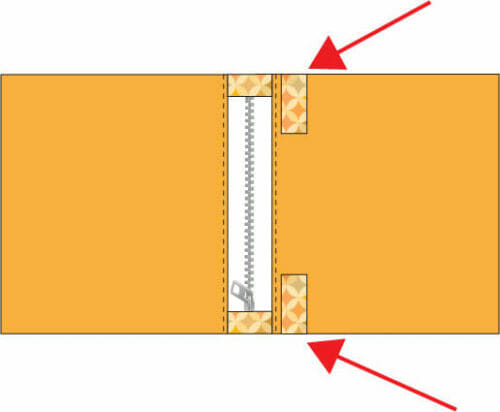

Open the zipper halfway and sew around the pocket. Clip the corners and Zigzag around to finish the seams. Note here: if you do not leave the zipper open you will not be able to turn the zipper.
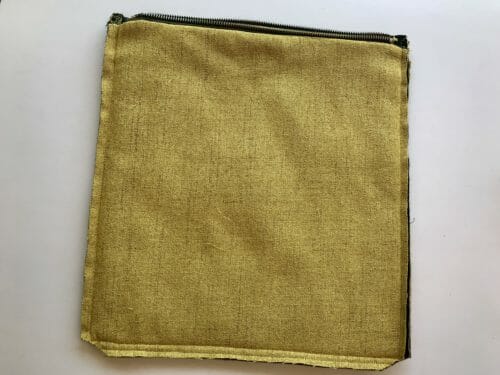

Turn the pocket inside out and put aside. We need to work on the facing and the outside of the bag in order to insert the zipper pocket.
Sewing The Facing To The Lining
There are two pieces in your pattern for the facing, pieces A and B. Join them by sewing at 1/4″. The facing is now two pieces that will eventually be joined with the tab of the pocket in between. That is how we add the zipper pocket to the bag.
Pin the tab 3/4″ from the bottom and sew. The longer part of the facing will go at the top of the bag and the shorter will be used to attach the lining.
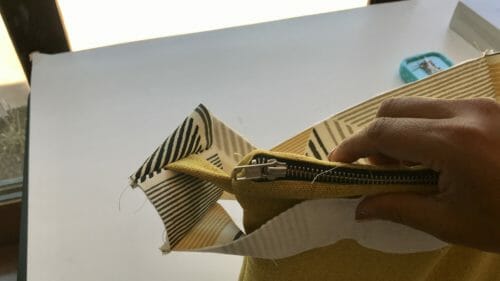

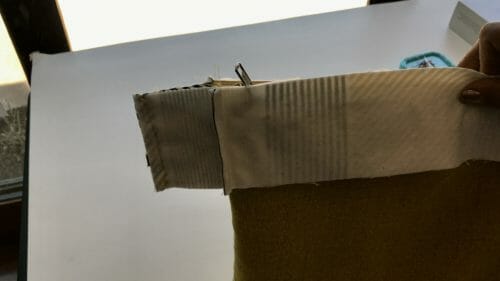

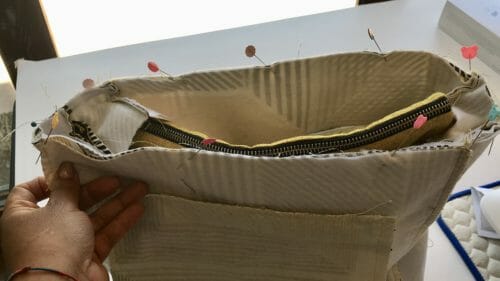
Make sure the wrong side of lining is showing and then insert the zipper pocket inside the lining, pin the facing and sew. Turn the facing up.

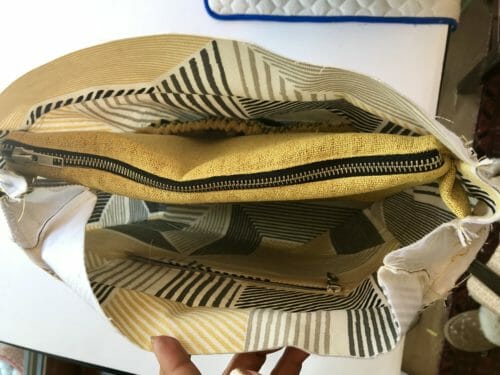

Sewing The Outside Of The Bag
Now are going to add an outside pocket, this is one of the features that I always have to have on my backpacks.
To make the pocket even more useful it is going to be an anchor for the square rings where the straps are going to be attached to.
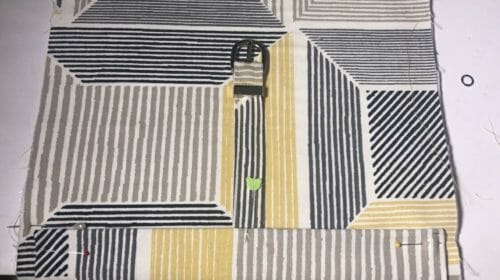
Cut a rectangle that is 26 1/2″ in length by 13 1/2″, with the print side facing each other. Fold the rectangle in half and sew the sides leaving the bottom unsewn. Align the rectangle rings 1 1/4″ from the edge of the pocket.
Lay the pocket on top the outer piece of the bag 2 1/4″ from the top.
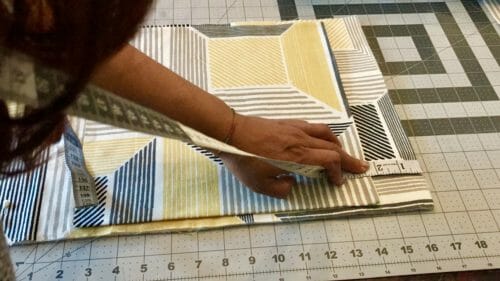

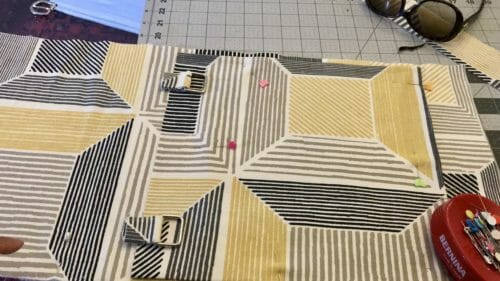

Sew the pocket down, at 1/8″ taking special care around the rings. There you should go back and forth with the sewing machine to make sure the rings are going to be well secured. The rings along with the top of the straps will bear the weight of the bag .
Make another rectangle that is 13 1/2″ X 3 3/4″. Cut one of fabric and one of fusible interfacing and sew at 1/4″ leaving a small space to be able to turn it. Clip the corners and pin into the bag covering the sew edge of the pocket and the ring tabs.
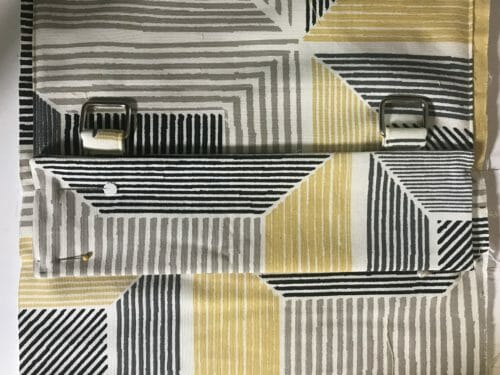

On the opposite side of this rectangle pin the strap with the buckle of the bag.
Sew along the strap to secure it and sew the smaller rectangle at 1/8″ from the edge.

Sewing The Outer Gusset
The gusset is sewn the same as in the lining. Print side up of the main piece of the bag, place the gusset print side down, and sew.
I have to say this will be a bit challenging because of the shape. Refer back to the tutorial on sewing curves for the tips that will make this task a lot easier, unless of course you are a pro and have sewn curves for many many years.
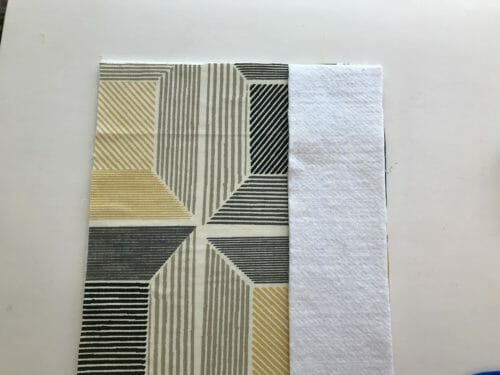

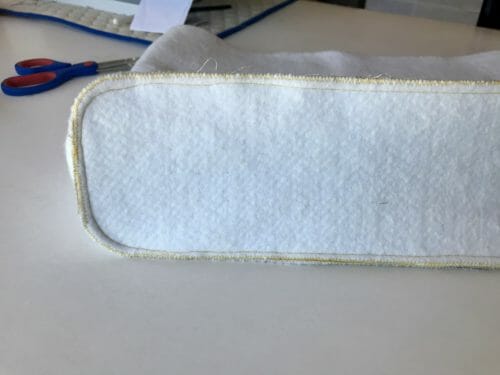

Turn right side out. Put aside.
Making And Attaching The Strap
Fold the strip of fabric in the middle lengthwise. Using the crease of the iron fold in the edges of the straps then sew on the side. I have run four stitching lines on the straps to make them a bit stiffer without using any fusible interfacing.
If you are using quilting fabric I suggest the use of very thin interfacing with the stitching lines as well. Insert the end of the strap-
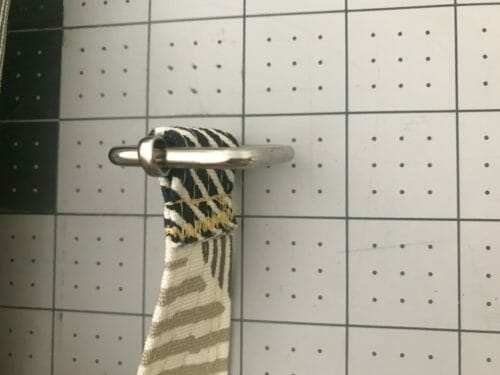

with the seam facing down. Then thread the strap through the square ring.
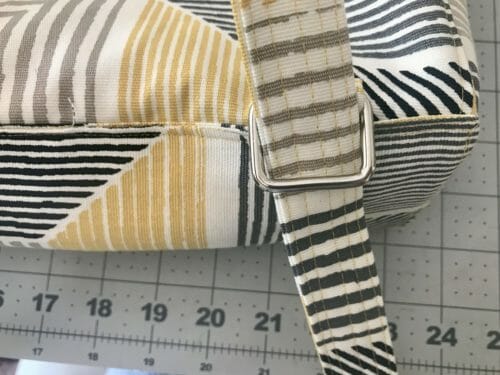

Moving the strap upwards, thread the strap under the first hole of the slider
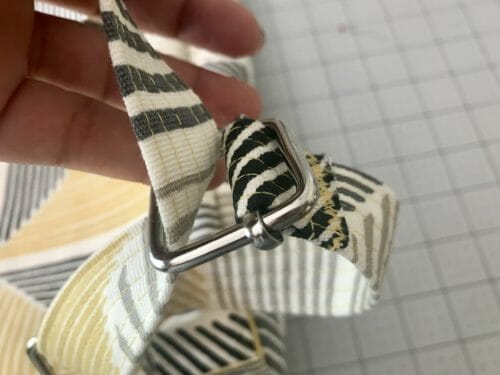

Over the bridge and under the other side of the slider.
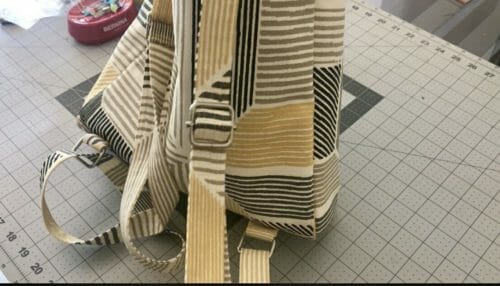

Pin the end of the strap to the top edge of the bag.
Attaching The Lining To The Bag.
The pocket in the middle is what might make you a bit confused. Here is where I realized there must have been an easier way to make the lining but it was a bit late.
With both the outer side and lining print side out, align the lining with the bag starting at the straps.
We will be hand sewing and we need to make sure the straps are sewn down with the machine. keep pinning the lining to the bag until there is a hole large enough to turn the bag.
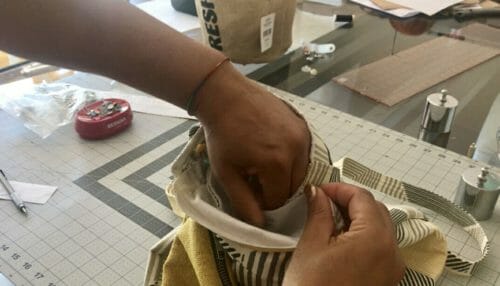

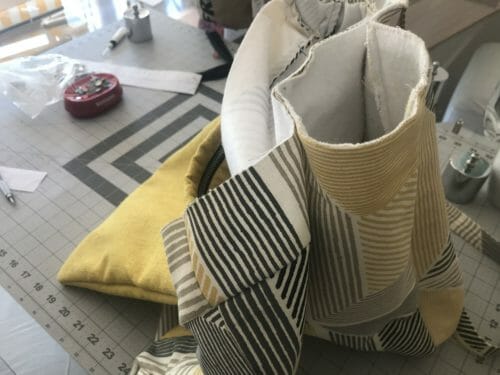

Sew until you can no longer to do it, then turn the bag. Sew the hole using a needle and thread.


Making And Attaching The Flap
Pin the strap of the buckle in the middle of the right side of the flap. Sew around the flap leaving a space of about three inches to turn. Clip the corners and turn.
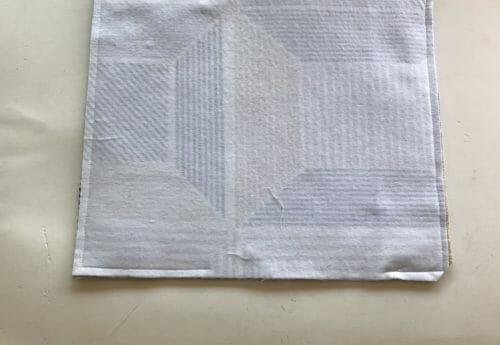


Finally, attach the flap to the back of the backpack.
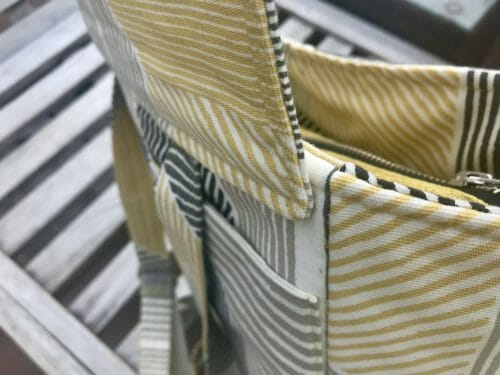

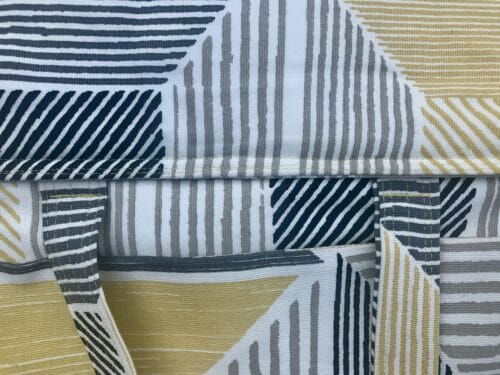

Top stitch the straps down about 3/8″ from the flap and we are done.
Self Criticism And Review
I am the first to admit that the backpack I made should have had a recessed zipper. But since this is a sample of the finished product I will have the time to address that issue.
I think this is the perfect opportunity to come up with a way to add a recessed zipper to a bag that is already made. But in the meantime, here is a tutorial for you to make a superior Ipad backpack for yourself.
In hindsight, I would have preferred to use a Pellon FF77 or Bosal, but I do not have either one with me. I need to order on Amazon.com since neither product exists in my neck of the woods.
Overall I like the size very much, the straps are long enough to adjust according to how much clothing I am wearing and the inner pocket is secure and large enough to carry my iPad with the keyboard attached. Although I would not use a metal zipper because it could scratch the device if the screen was not protected by a cover. I also wish that I could have added a pocket to the flap.
Hope you take these reviews in mind when you are sewing your own iPad backpack, I can assure you, you will be eventually be very happy with it.
What else would you add to this backpack? Leave your ideas in the comments section below. If you need a smaller one don't forget to check the small backpack sew-along in our YouTube channel. Until Next Time!


Hello. What is the seam allowance for this bag?
Would you say that the lining needs interfacing? I am using needlecord fabric. Thanks
HI Ali yes, I would.
I’m excited about doing this project not only for me to carry but also attach another one on my walker. Woo Hoo
Thank you for this great pattern!
This is really an eye opener, should try making one of this. Great tutorials and designs. Will try using Procreate and/or sketchBook as you advice Sarah
Let me know which you choose, Sketchbook is free now.
I’m looking forward to the challenge on this one. I did finally figure out the pattern download, thanks for fixing that. I wish the tutorial had a pdf download too but appreciate all the “sub-tutorials” to help with various techniques. Love your patterns & have made lots of gifts using them. Thank you!!
Hi Christie, So happy you are making gifts with my patterns, do send me a picture now and then so I can share it here. I enjoy looking at the choices of color and fabrics, that is perhaps my favorite part of sharing.
Mayra,
Thank you for coming up with such a great idea! This is very cute! You went above and beyond with photos! My daughter’s birthday is coming up and this is going to be a great gift in addition to a new ipad. Thank you for not giving up on sharing patterns!
Much love and appreciation!!
The bag is really nice…Im a beginner seamstress. Cant wait to be able to carry out such projects.
I love the backpack but don’t see the download link. Where is it?
Hello SH, Below the title pattern download
Great idea! I love your patterns ! I was wondering what app you use to do your sketching. I have been looking for one to use but having a hard time deciding! Thanks!
Hi Sara, I use Procreate, sketchBook and for personal journaling I adore Paper.hope that helps.
Awesome! Thanks so much I will check those all out! (Got an Apple Pencil for Christmas can’t wait to put it to goo use)
I could not figure out how to download the pattern for this backpack. There was no pattern download button.
Hi Cheryl, please check again. I’ve put a link below the download box in case it is blocked by your browser.
It looks like a great pattern and I was looking forward to making this as I do everything with my iPad Pro 12.9″, but there is no download link to the pattern that I can find. It is just a greenish square with nothing in it.
Awesome backpack. I would love to try it. Great tutorials also
Did I miss the name fo the fabric somewhere? I like the way the pattern breaks up the backpack and would like to know where to get THAT fabric, please.
Hi James, I couldn’t find where you can purchase that exact fabric. There are, however, links to a couple of other good options. Please have a look!
I don’t see a link to the pattern. All I’m getting on my iPad is a big rectangle below the paragraph that talks about downloading.
Hi Pamela, please check again. I’ve put a link below the download box in case it is blocked by your browser.
I’ve reviewed your construction and added a few adjustments to secure the strapping. This improves the support and stibility of the bag and distributes the weight for those extra items that always seem to add up. ?
Love the bag, but don’t seem to be able to get the download – am working with an iPad
Hi Beatrice, please check again. I’ve put a link below the download box in case it is blocked by your browser.
I maybe just completely missing the link for the pattern and it would not surprise me at all, due to the fact I am technologically handicapped. Where is that little sucker?
Hi Megan, please check again. I’ve put a link below the download box in case it is blocked by your browser.
I dpmt see a link to download the pattern.
Hi, please check again. I’ve put a link below the download box in case it is blocked by your browser.
Where is the pattern? There is reference to the pattern but I can find no download button.
Hi Wynona, please check again. I’ve put a link below the download box in case it is blocked by your browser.
How do you download the pattern? I couldn’t find the link.
Hi, please check again. I’ve put a link below the download box in case it is blocked by your browser.
What a great bag but I would have been able to follow it better if it had less pattern on the fabric. Keep on with your very good work.
I can not see the link to download or donate. It’s just a blue box. I’m in the USA.
Hi Sally, please check again. I’ve put a link below the download box in case it is blocked by your browser.