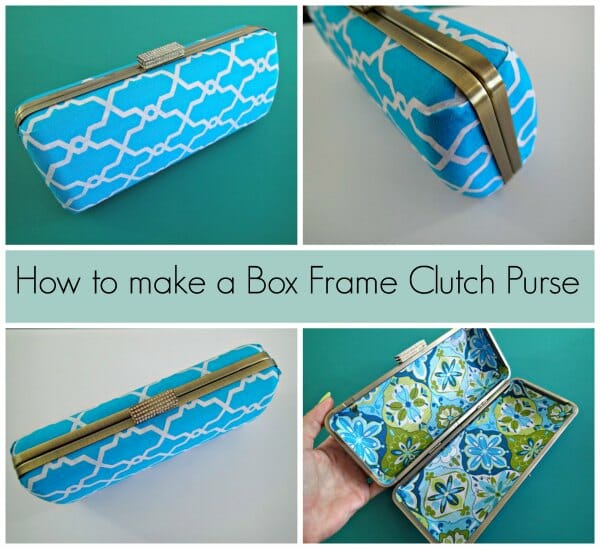
 Something a little different today. It's still a fabric project and still a bag, but this is a “no-sew” project. You won't find many of those around here, but when I saw this beautiful box frame clutch purse I knew I had to give it a try.
It's so easy! It's quick too in terms of the time you need to make it, the most difficult thing is sitting back and allowing time for the glue to dry. I was pacing around and couldn't wait to move onto the next step.
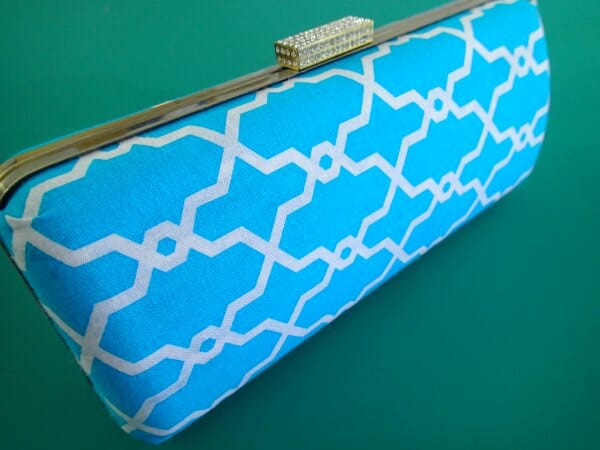

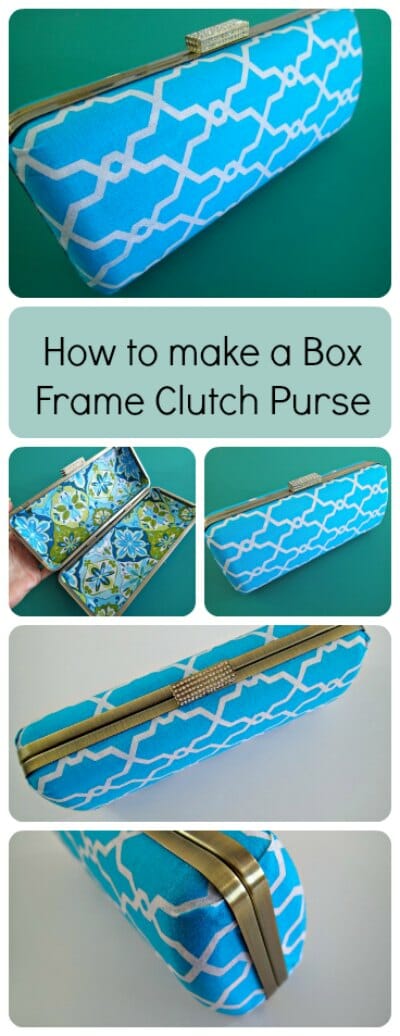
This box frame clutch purse measures about 9.5 inches long and 4 inches tall. It has an antique look frame with a diamonte set clasp at the top. It's gorgeous, and something I always wanted. I recommend giving this project a try – keep a box frame on hand for when your sewing machine goes in for service and you still need to make something with fabric!
These would make lovely bridesmaid clutches too, for a wedding party. Here's how to do it.
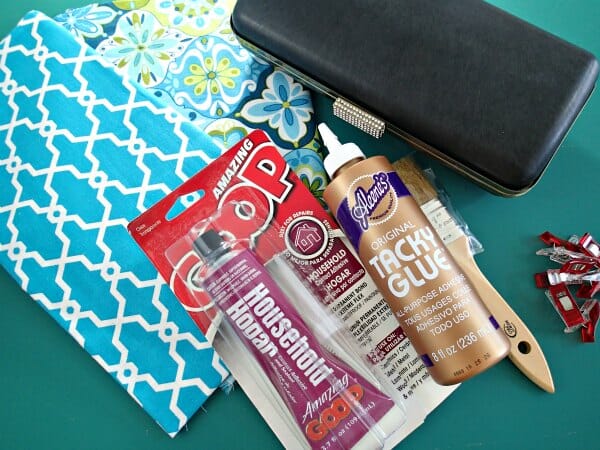
Materials needed for 1 box frame clutch purse
- Fabric – depending on the size of your frame, outer and lining fabric
- A box frame ( I used this one from Etsy)
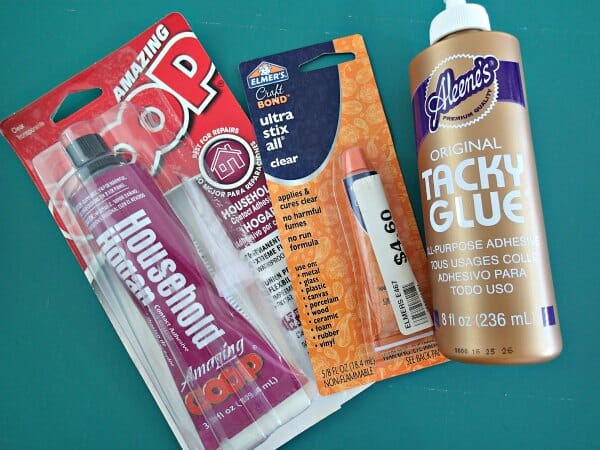
- Tacky PVA-type glue for the case ( I used Aleene's Tacky Glue)
- Clear epoxy-type contact adhestive glue for the frame (I used Amazing Goop)
- A brush for the glue
- Some Clover Wonderclips, paperclips or small pegs
- Patience and drying time

Let's talk about glue
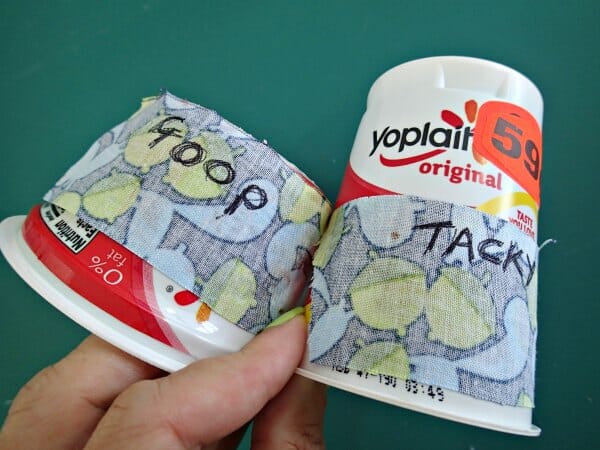
You probably already have a dozen different types of glue around your home so you might not need to go out and buy anything special. I had a few types I wanted to try, so I cut some pieces of fabric and tried each type of glue on a yoghurt pot to see how the plastic and fabric performed together. I labelled each so I wouldn't get muddled up. (Was the tacky glue on the strawberry or the vanilla yoghurt?)

I settled on these two. Aleene's Tacky Glue (Amazon US here and UK here) I'd used on fabric and felt before and know it's great so that's what I picked for sticking the fabric to the plastic case. For fixing the metal frame, I liked the Amazing Goop, although the other one I short-listed would also work too I'm sure.

You'll often see Gutermann's glue recommended for glue-on purse frames but it's very expensive and I couldn't get it here, so I can't advise either way on that one. As far as I know this is the only supplier on Etsy and you can get it on Amazon.com here too, although its more widely available in the UK and Europe.
To cover the box frame
Once you've decided on your glue, let's talk fabric. You'll need a good quality quilting cotton, or a home decor fabric, or even a beautiful embroidered silk or satin would look stunning. Just keep in mind that the box is dark colored, and can show through on a very light colored or very thin fabric. It might be a good idea to test any silks and satins etc with your glue beforehand on a plastic pot like I did, just to check for any staining
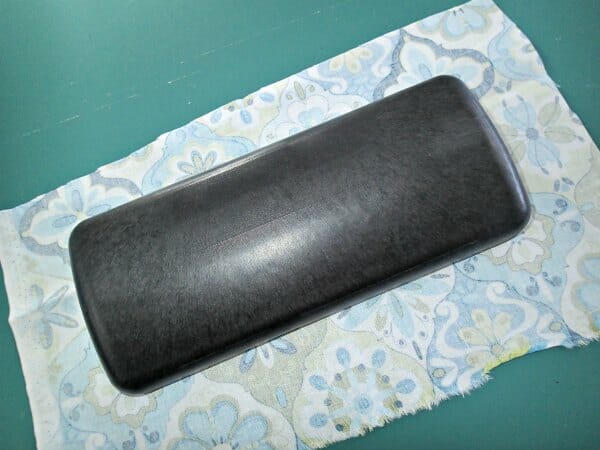
Cut yourself two pieces of fabric large enough to cover the box and have about an inch over on each of the 4 edges. I'm starting with the lining because it I don't get it quite right or don't get nice corners, it will be inside and not so obvious. If you have a motif on the fabric you want to get centered, think about this when you cut out your piece.

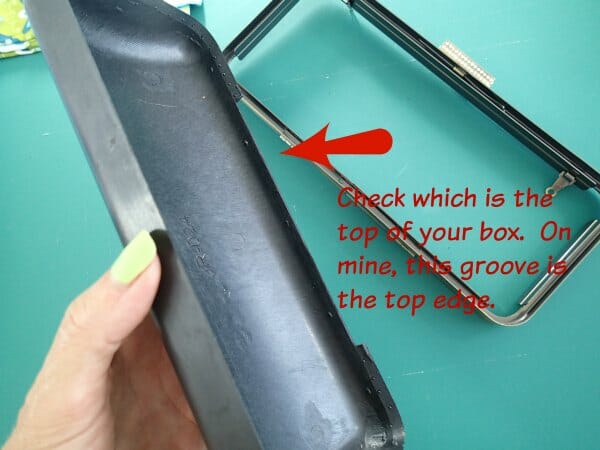
Check out your frame to see which way the boxes fit into the frame. Mine have a groove cut out on one of the long edges and this fits at the top of the frame where the clasp is. This is important to know if your fabric has a directional print – you don't want to glue on the fabric and then find its upside down when you glue the box to the frame.

Make sure to protect your work surface from any drips of glue and then add plenty of glue to your case and spread it out with a brush. Don't miss any parts or the fabric won't stick properly and you may get a bubble. Then simply smooth on your fabric over the glue.
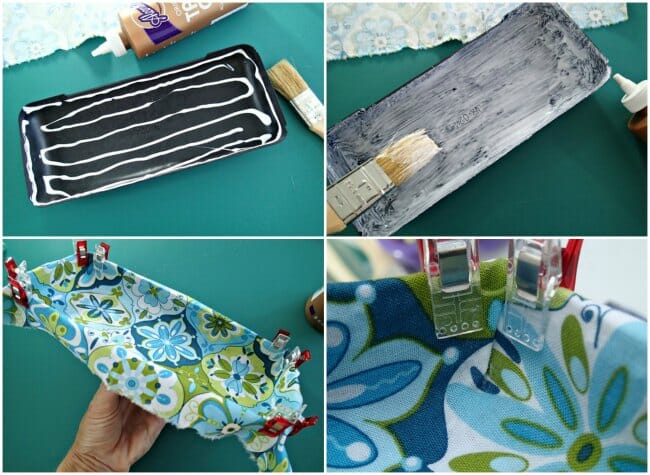

When it comes to the corners, fold the corners neatly like a properly made bed and use a little glue on the overlapping fabric to hold it down. Use some clips or pegs to just hold those corners firmly while it dries. The glue was tacky enough that I didn't need to pin around the edges.
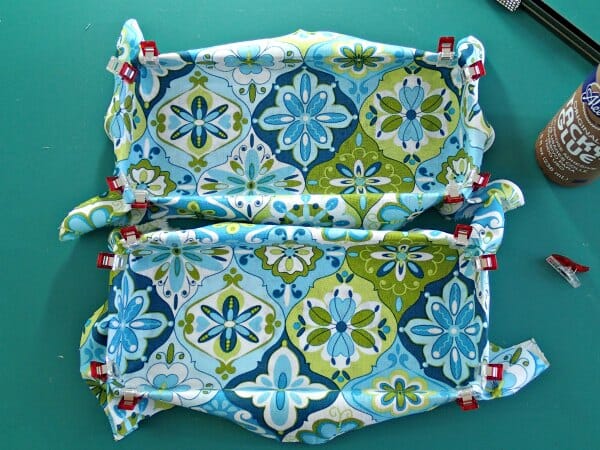

Now patience, leave it to dry. Once it's fully dry, trim off the excess fabric.
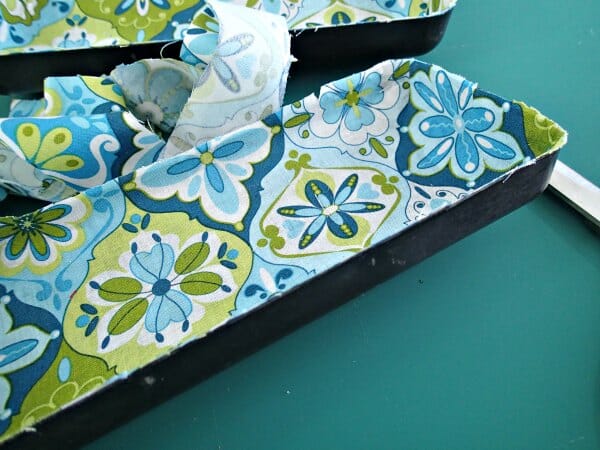

Repeat the process for the outside of the box, and create some nice neat corners. Take a bit more care, these will show! Clip the corners in place, but keep the clips close to the edge or they may create a mark in the fabric as it dries.
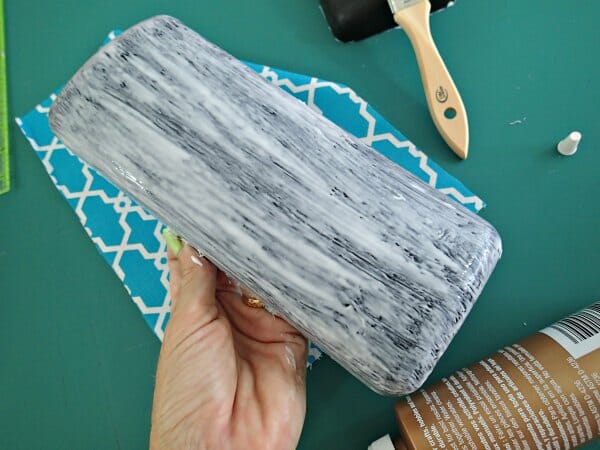

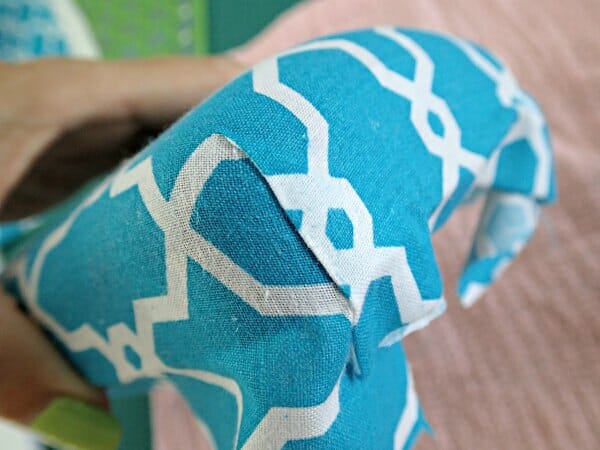

]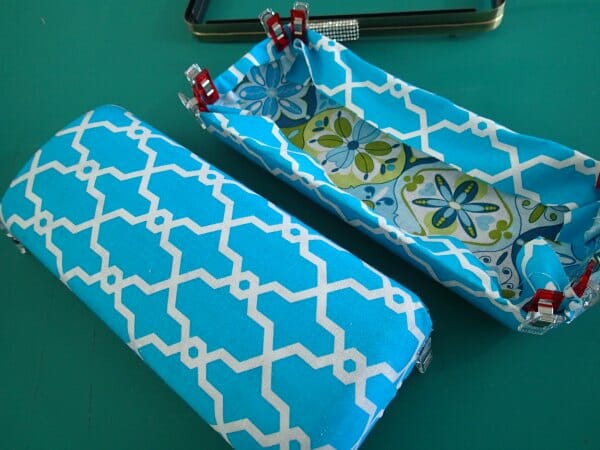

Be patient again and leave the glue to dry, then trim off the edges of the extra fabric.
Glue the boxes into the frame
Using your contact adhesive, add a line of glue all around the frame in the groove and in the corners. Mine was being particularly difficult because the spout was partially blocked so try to do a better job than mine!


Also add glue around the edge of the boxes trying not to let it drop down onto the fabric. Check the instructions for your glue. I had to wait a couple of minutes and then put the pieces together. Press them in firmly and make sure your fabric edges and corners are in the groove neatly. Give it a poke with your seam ripper if you need to just smooth out any edges.
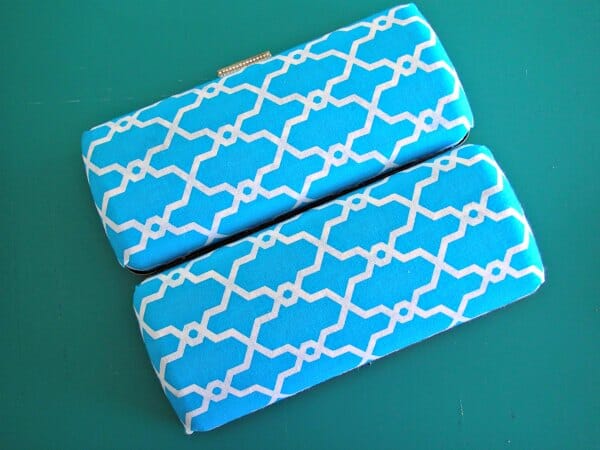

Now be patient again and leave the glue to dry. Give it a final polish to remove any little bits of glue that seeped out. Mine was rubbery and it just rolled off cleanly.
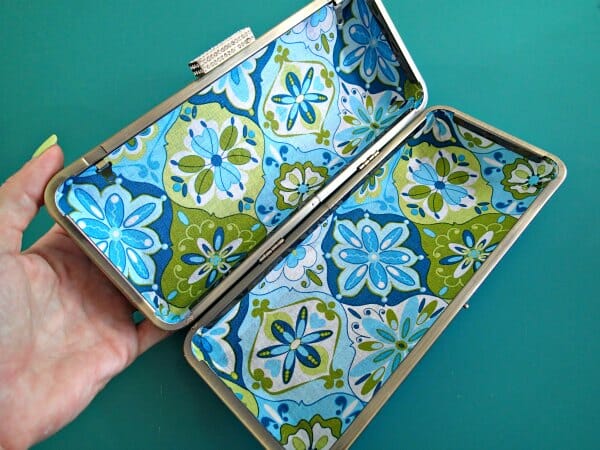

And voila! Your box frame clutch purse is completed and ready to use with no sewing at all.




Hi, thank you for this tutorial! I could have sworn I saw a video for it. Was that yours or someone else’s? The fabric looked the same, as I remember. Thank you in advance.
Thank you for these tips. I love box clutches, but I haven’t found the sizes/shapes/fabric combo I want to purchase, and I am thrilled to see that I can make my own! Cheers from Canada 🙂
Cheers!
Please I would like to get in touch with you via phone, I am currently in Nigeria
Hi Evelyn, given the time zone difference, phone contact would be difficult. Feel free to leave a comment here and we can correspond that way.
How did you take the frame away from the boxes. Do you just pull?
When the frame comes new and ready for assembly, the box isn’t fixed to the frame. It’s only once you have covered the boxes in fabric that they are glued onto the frame. If you are recycling an old one for recovering then you will need to try to separate the frame and box if it’s already glued in.
This is so cute! Curious if E6000 was on your test list for gluing the frame? I already have that in hand
I don’t have any and can’t get it here, but it certainly would have been and I think it would be ideal.
This is wonderful. I really like this pattern. Thank you.
It’s really nice but I recommend you that next time you make another one make it with another project started so that patience is not needed as an item