
I've had this Mini Backpack Coin Purse pattern on the back burner, so to speak, for a while and almost completely forgot about it. It was meant to be the companion of The Small Backpack sew along and part of Daisy's wardrobe if you remember those two past projects from couple months ago. (Links to these projects can be found at the end of this tutorial.)
All I did is scale The Small Backpack pattern and simplify it for you to make this cute miniature-sized coin purse. This project makes a fantastic gift, perfect for Christmas stockings, a birthday or as a companion to a larger bag. Make a first one to get the process down and then you can easily make a few more to have on hand.
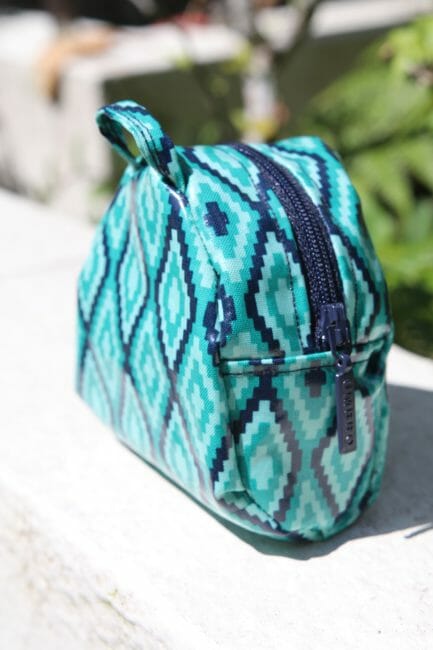

You don't need any fancy tools to make this mini backpack, but I have to say you need a little patience because the pieces are small and sometimes fiddly. Just persevere and you'll have a wonderful little gift in only about an hour. What is more, aside from the keyring, you probably have the required materials in your stash already!
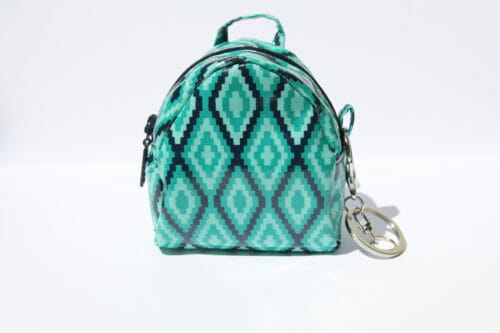

The dimensions of the finished bag are 3.5″ X 3″ X 2″. Use this tool to change to cm if you need to.
Materials:
- 5″ nylon or metal zipper
- 6″ X 18″ rectangle of vinyl or leather up to 1.5mm (no thicker)
- thread to match
- Lobster Claw with Keyring
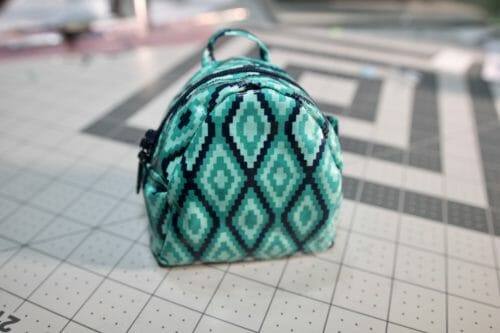
Fabric Recommendation
Pattern Download
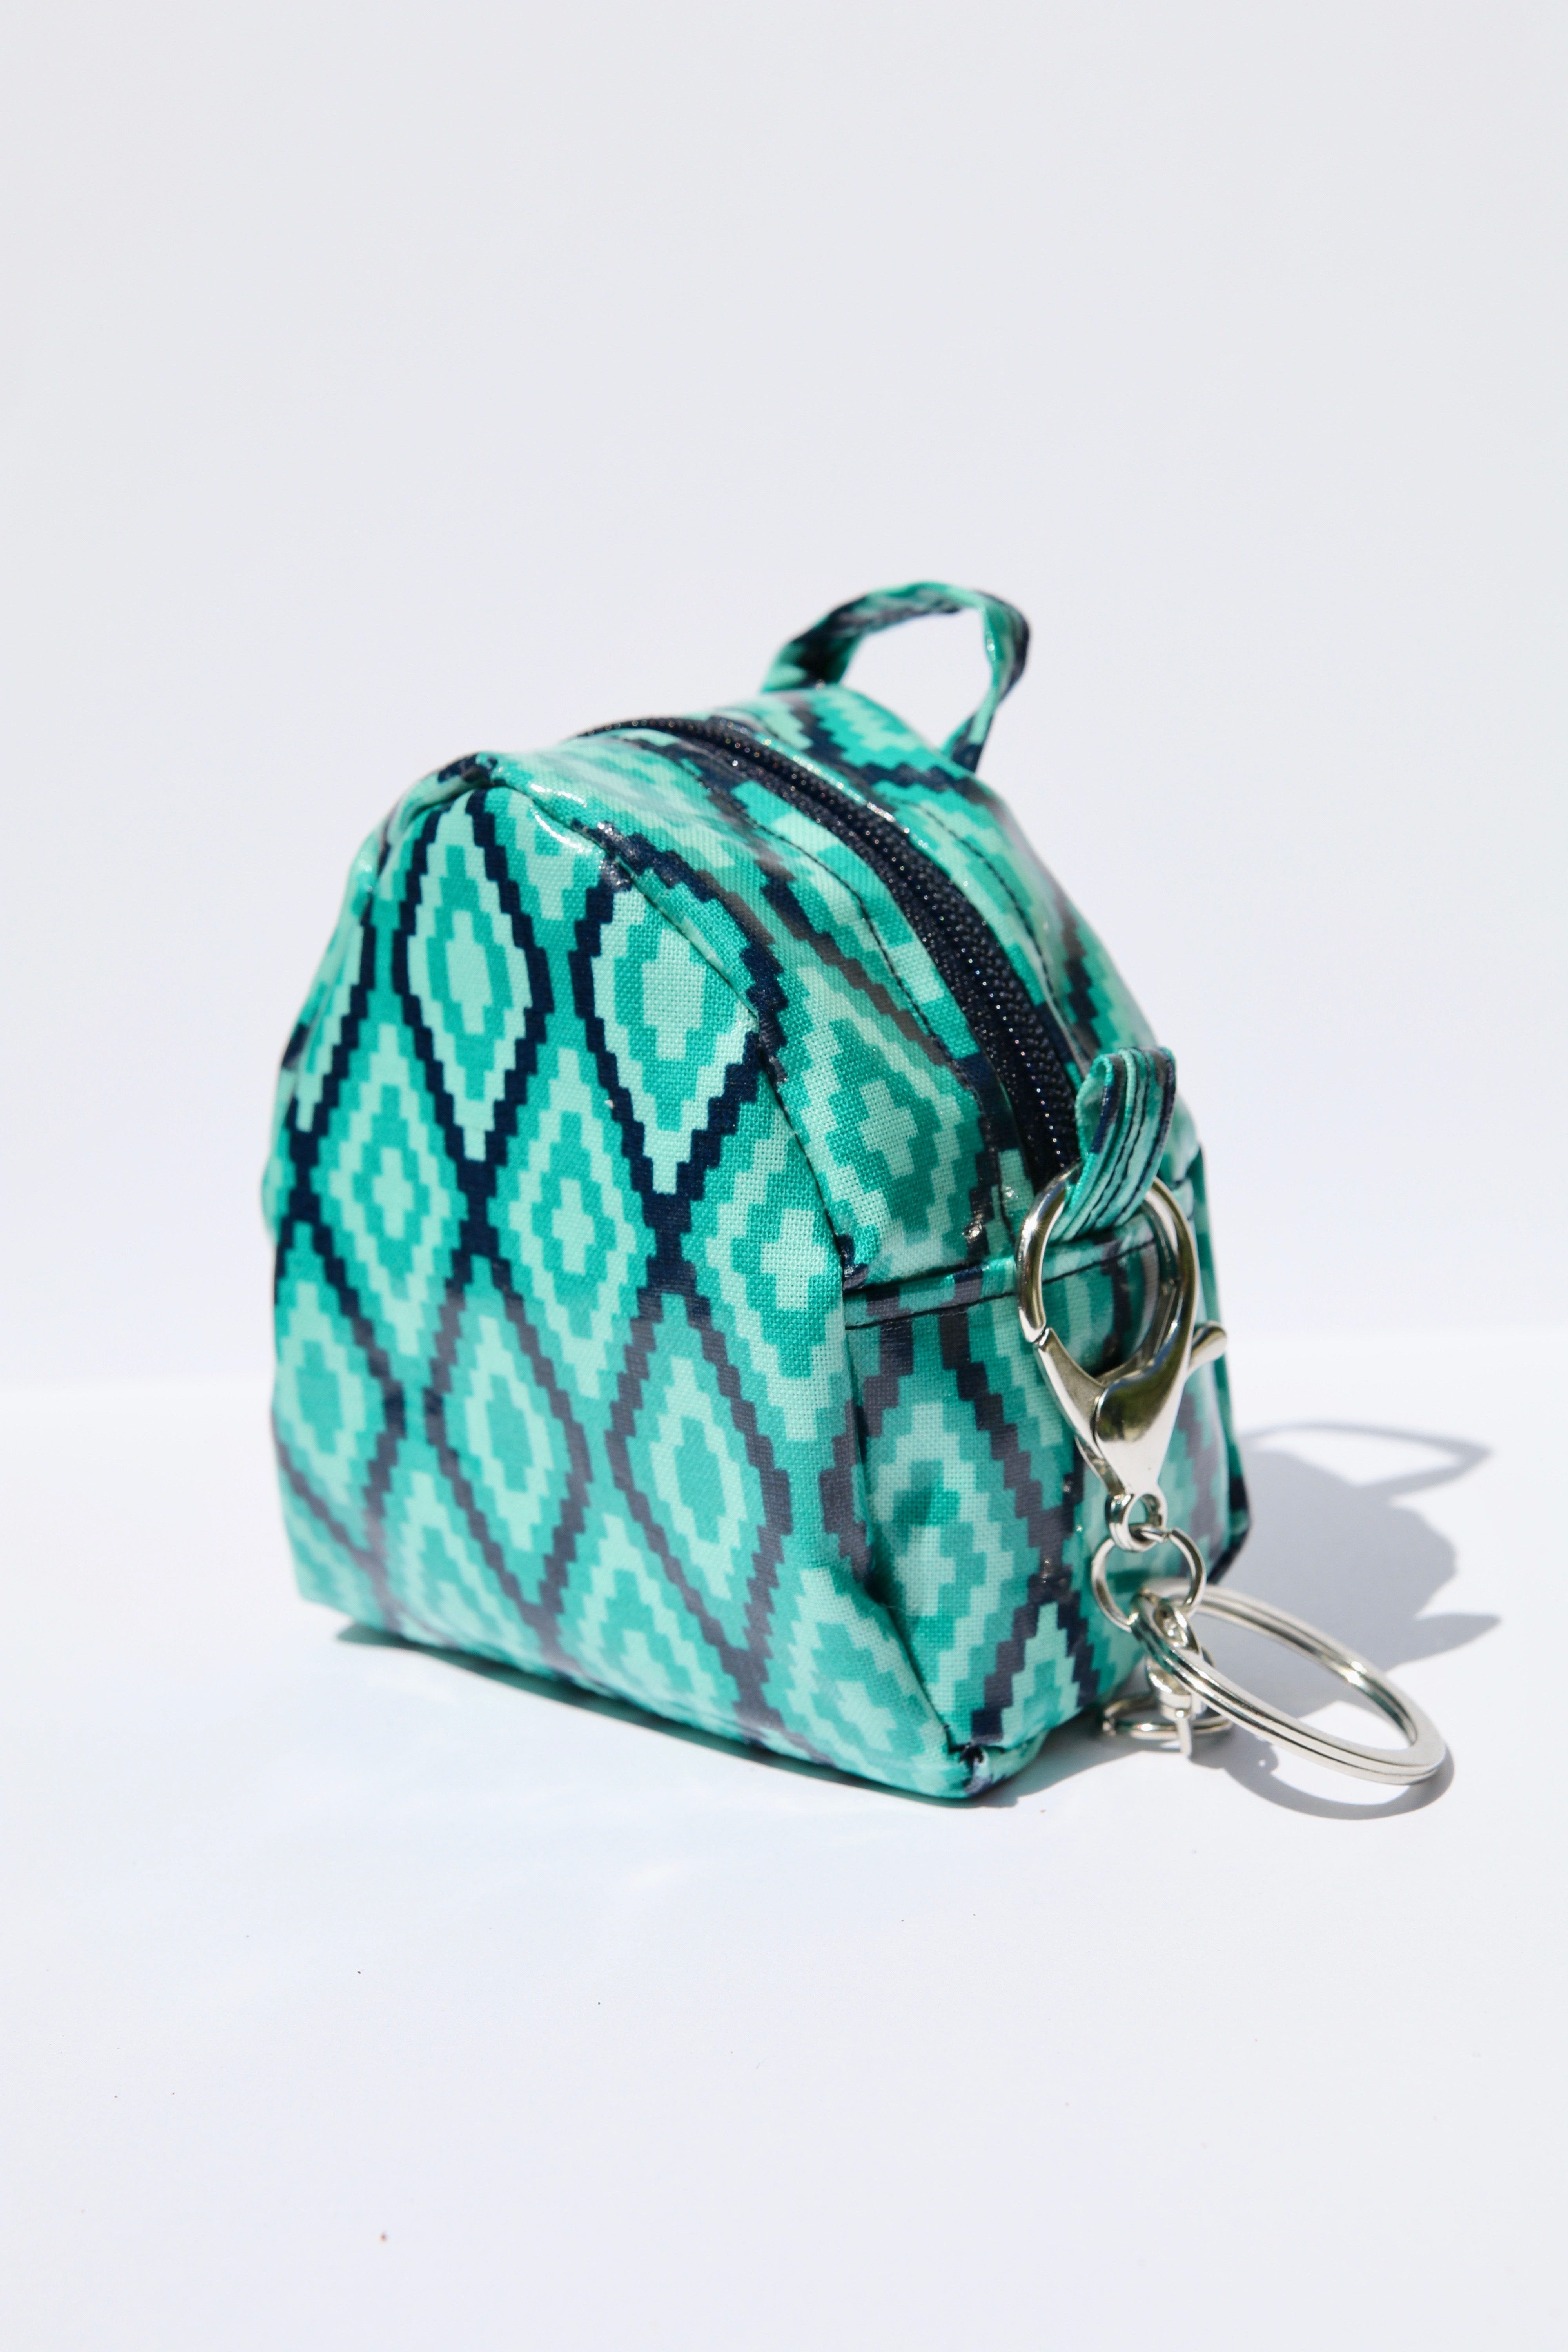

You can download the pattern from Payhip and choose your price.
You can decide what to donate for this pattern, anywhere from zero upwards. Decide what it's worth to you.
Thanks so much for your generosity.
For help downloading and printing PDF patterns, please CLICK HERE.
How to print the mini backpack pattern
As with all of our patterns, you will need Adobe Reader to print this pattern which is free to download from Adobe. Print on Landscape Mode and Actual Size.
The pattern is only two pages so there is no need for taping pages together.
There are five pieces to this backpack. Two gussets, two sides, and one piece for the front and back.
Step One: Sew the gusset to the zipper
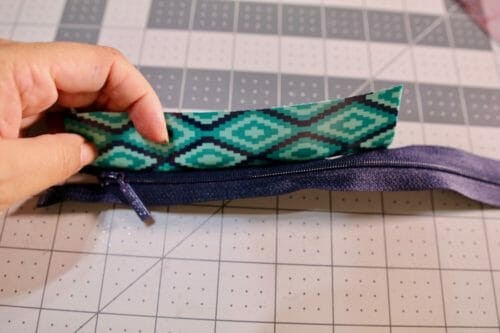

Place the zipper right side up. Align the gussets to the zipper tape print side down. Sew at 1/4′. Turn and topstitch. Repeat on the other side.
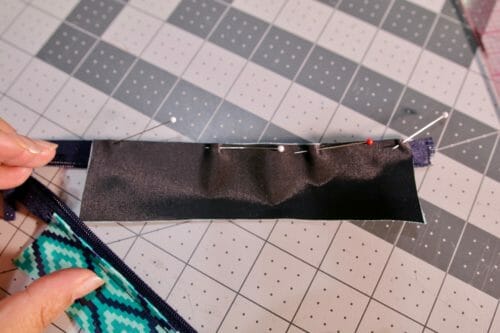

Topstitch along the zipper. An optional step here is to attach a loop (see step below) at the end of the zipper to be able to attach a decoration, a strap, or a keyring.
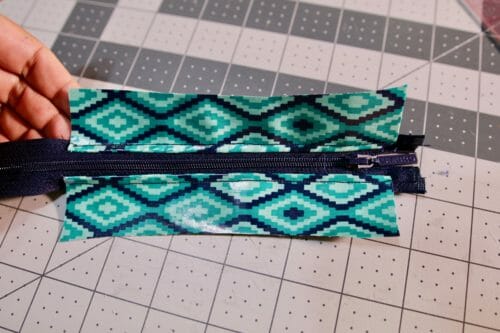

Step Two: Add the sides
Place the straight part of the side piece to the zipper.
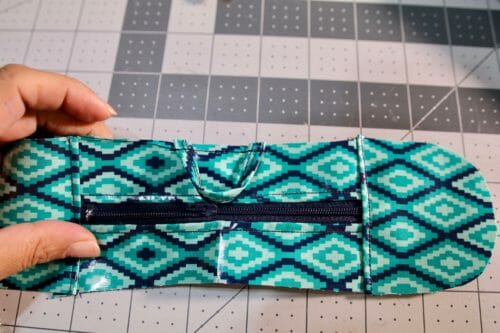

Take the small rectangle 1″ X 2″. Fold the rectangle every 1/4″ and sew in the middle. Sew the strip one inch apart in the middle of the gusset.


Step Three: Add the back/front
Place the front/back piece vertically and the gusset horizontally. Open the zipper, this is important to be able to turn the backpack the right side out.
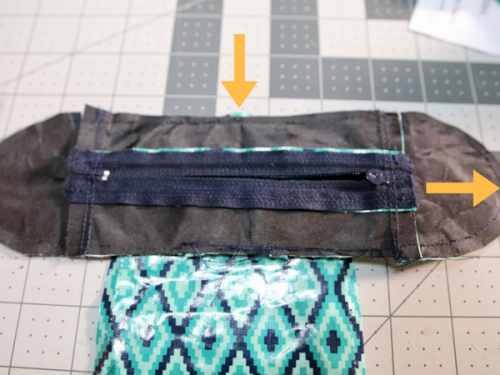

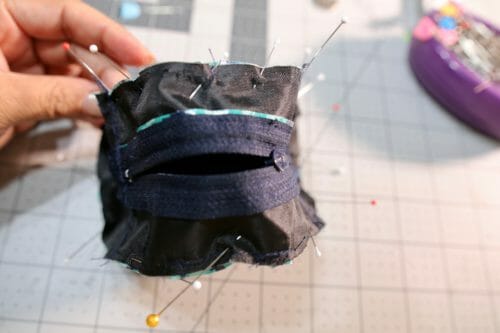

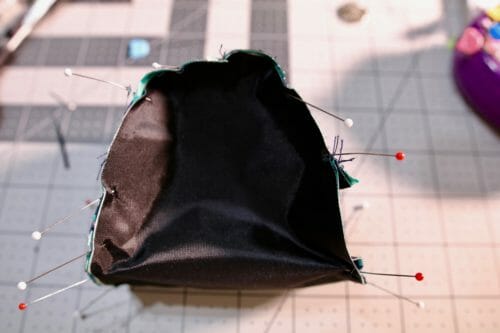

Pin the gusset to the right and then the left until all the sides are closed and sew at 3/8″.
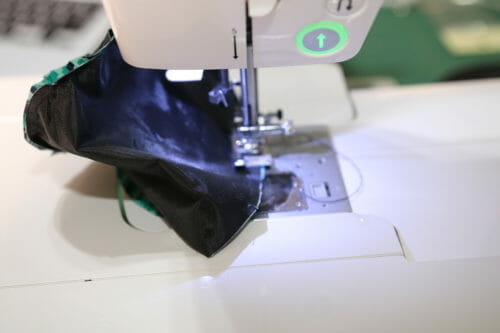

Turn the mini backpack and you are done. Well almost…. even this little guy needs some decorations.
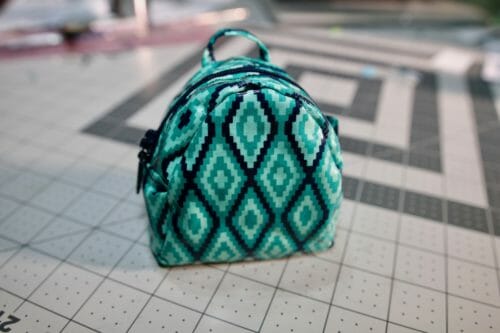

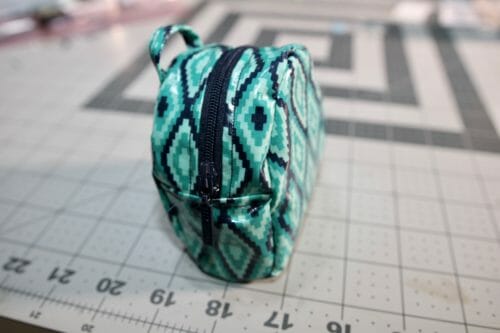

This tiny backpack is the simple version of the Small Backpack. All you need now is to hook the lobster claw and hang it on a bag.
Join me next week when I will be showing you how to make a leather tassel for this tiny backpack. Until next time!
Here are the other projects referenced in this tutorial:


Thanks for the free pattern. Thinking 5his would make a great backpack for 18”dolls or WellieWisher dolls. Much appreciated.
Im not quite sure on the strip you fold every 1/4 inch, then sew in the middle? Then attach to middle of the gusset? Do you do this before you sew the zipoer? Where exactly do you put it? Ive tried to see it in photo preceding those steps etc? Any help is appreciated is there a photo of this step?thank you
HI Mary, the rectangle I am referring to creates the strip to hang the backpack it is done after the zipper; you fold the rectangle lengthwise then sew it to give the shape of a strip. Check the picture in step two.