


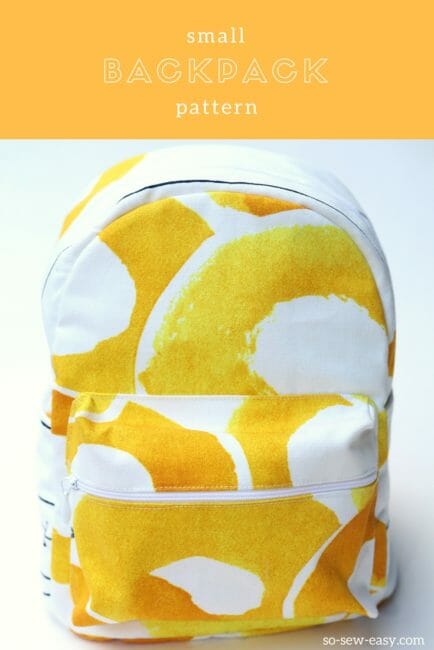
I've had this Mini Backpack Coin Purse pattern on the back burner, so to speak, for a while and almost completely forgot about it. It was meant to be the companion of The Small Backpack sew along and part of Daisy's wardrobe if you remember those two past projects from couple months ago. (Links to these projects can be found at the end of this tutorial.)
All I did is scale The Small Backpack pattern and simplify it for you to make this cute miniature-sized coin purse. This project makes a fantastic gift, perfect for Christmas stockings, a birthday or as a companion to a larger bag. Make a first one to get the process down and then you can easily make a few more to have on hand.
You don't need any fancy tools to make this mini backpack, but I have to say you need a little patience because the pieces are small and sometimes fiddly. Just persevere and you'll have a wonderful little gift in only about an hour. What is more, aside from the keyring, you probably have the required materials in your stash already!
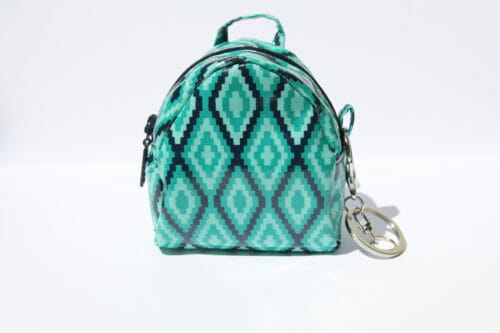
The dimensions of the finished bag are 3.5″ X 3″ X 2″. Use this tool to change to cm if you need to.
Materials:
- 5″ nylon or metal zipper
- 6″ X 18″ rectangle of vinyl or leather up to 1.5mm (no thicker)
- thread to match
- Lobster Claw with Keyring

Fabric Recommendation
Pattern Download
You can download the pattern from Payhip and choose your price.
You can decide what to donate for this pattern, anywhere from zero upwards. Decide what it's worth to you.
Thanks so much for your generosity.
For help downloading and printing PDF patterns, please CLICK HERE.
How to print the mini backpack pattern
As with all of our patterns, you will need Adobe Reader to print this pattern which is free to download from Adobe. Print on Landscape Mode and Actual Size.
The pattern is only two pages so there is no need for taping pages together.
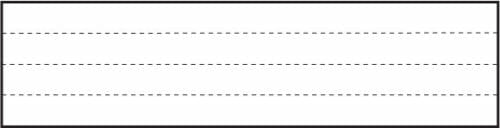
There are five pieces to this backpack. Two gussets, two sides, and one piece for the front and back.
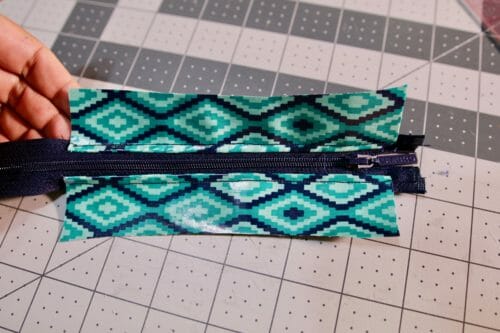
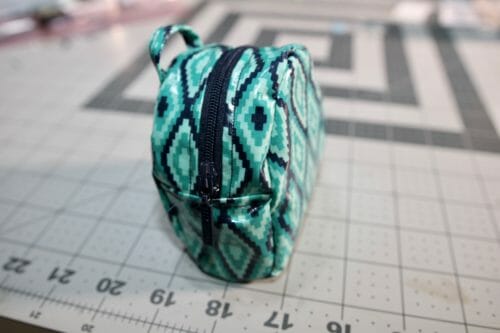
Step One: Sew the gusset to the zipper
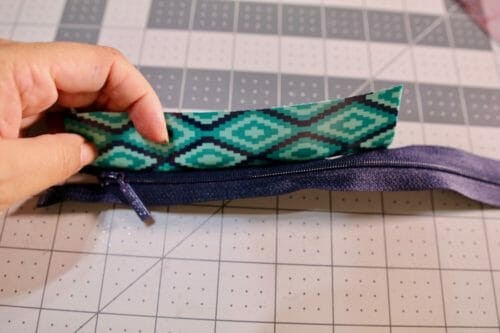
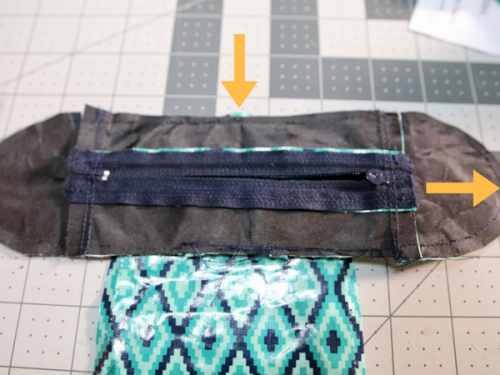
Place the zipper right side up. Align the gussets to the zipper tape print side down. Sew at 1/4′. Turn and topstitch. Repeat on the other side.
Topstitch along the zipper. An optional step here is to attach a loop (see step below) at the end of the zipper to be able to attach a decoration, a strap, or a keyring.
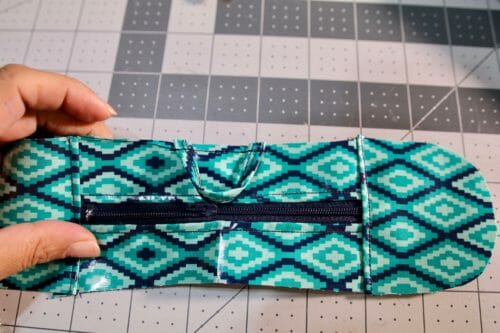
Step Two: Add the sides
Place the straight part of the side piece to the zipper.
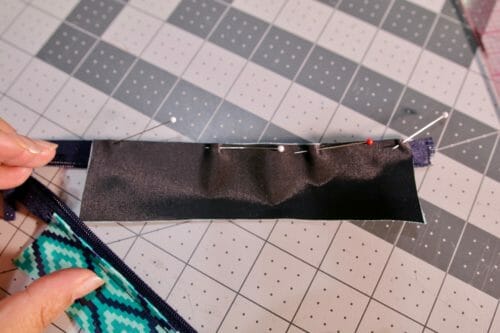
Take the small rectangle 1″ X 2″. Fold the rectangle every 1/4″ and sew in the middle. Sew the strip one inch apart in the middle of the gusset.
Step Three: Add the back/front
Place the front/back piece vertically and the gusset horizontally. Open the zipper, this is important to be able to turn the backpack the right side out.
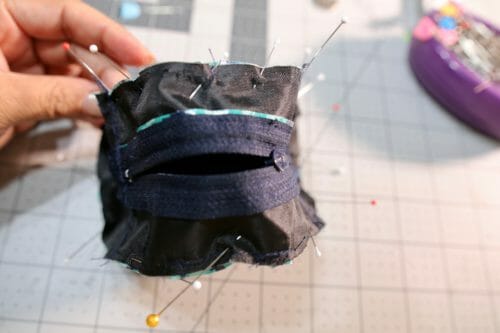
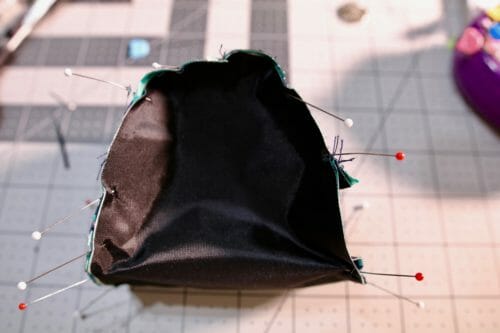
Pin the gusset to the right and then the left until all the sides are closed and sew at 3/8″.
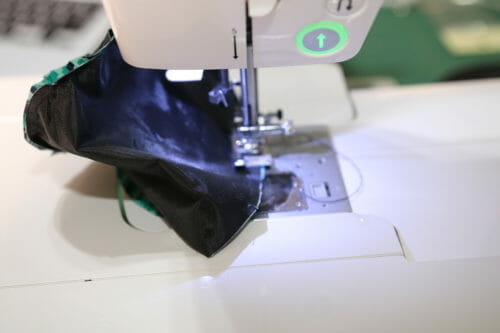
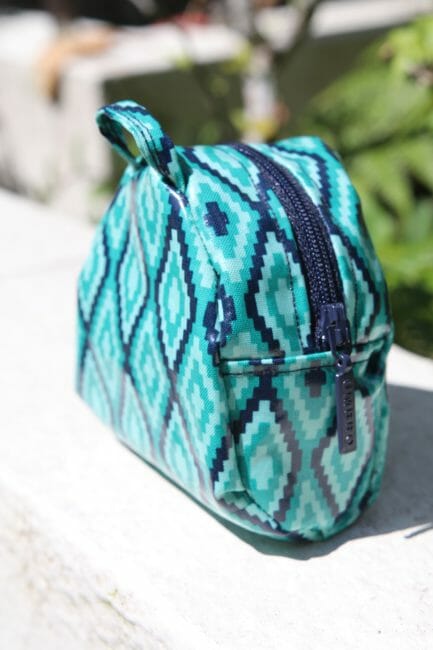
Turn the mini backpack and you are done. Well almost…. even this little guy needs some decorations.
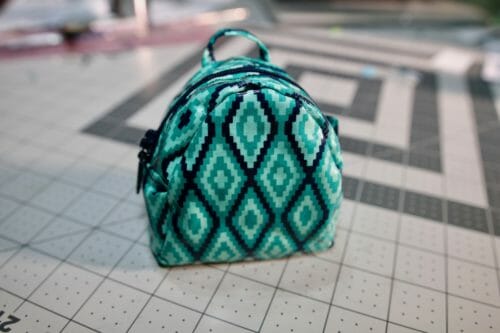
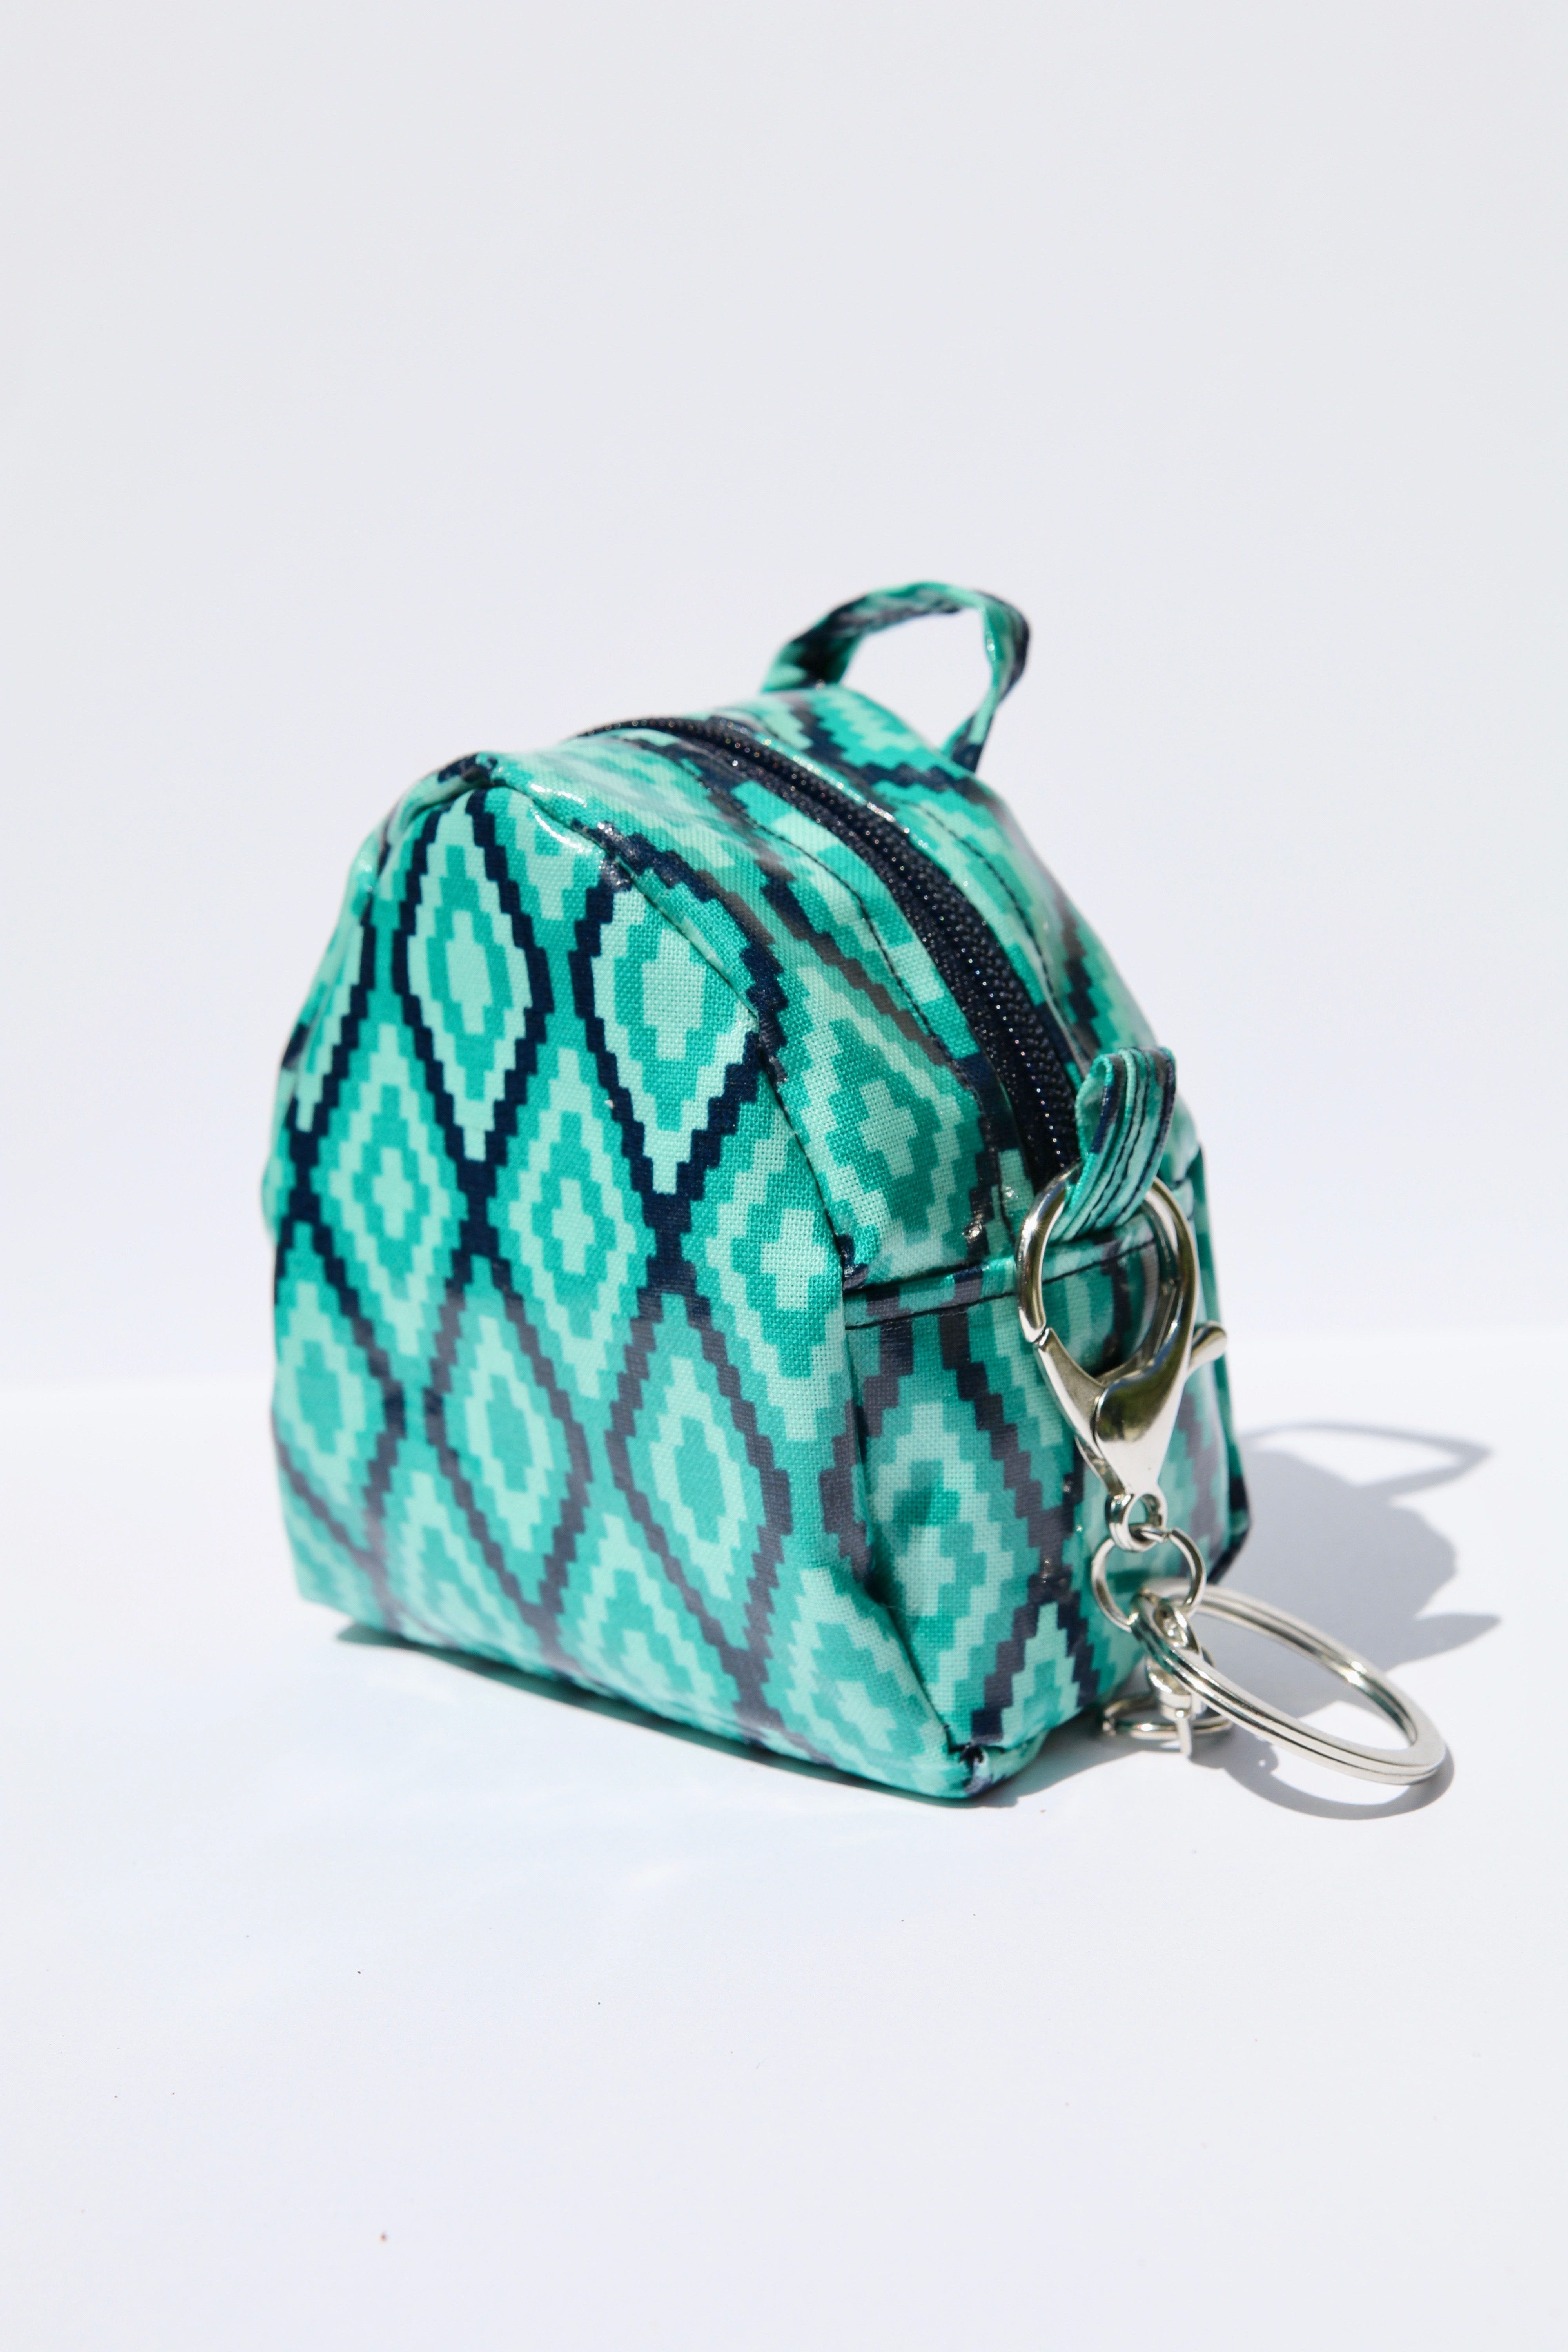
This tiny backpack is the simple version of the Small Backpack. All you need now is to hook the lobster claw and hang it on a bag.
Join me next week when I will be showing you how to make a leather tassel for this tiny backpack. Until next time!
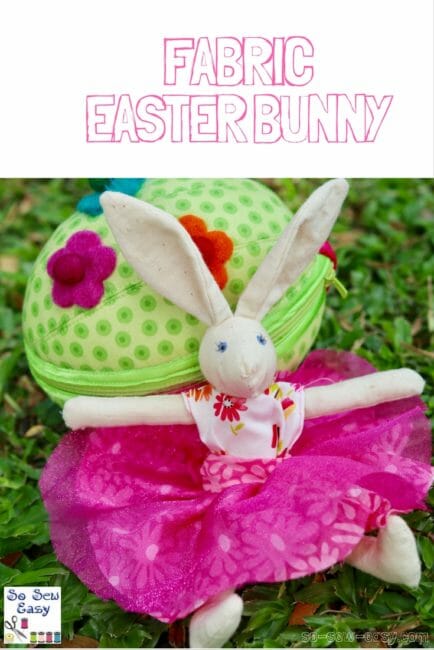
Here are the other projects referenced in this tutorial:


I love this little purse. So much, in fact, that I made 10 of them for fami!y gifts! Everyone thought they were so very cute and the perfe t size!
Thanks so much!
(I think I got it iff Craftsy, way back when.)
When cutting out the material do you add a 1/4 inch seam allowance or is it already included in the pattern size? Thanks!
Hi Lori, it is included.
Hello! I am looking for the tutorial on making the mini tassel for this backpack. Can anyone point me in the right direction? Thank you so much!!!
Hi Blanche, why don’t you try on of these ways to make a tassel: https://so-sew-easy.com/three-ways-to-make-an-easy-tassel/
This looks like an adorable gift bag. I think I will add some fabric or elastic on the inside and make it a little bigger to hold essential oil bottles. Thank you
Sounds like a great idea.
Just made one of these using ~1.5 mm thick nylon canvas. As per the project introduction, it can be a little fiddly working with such small pieces. The cuteness of the backpack makes it worthwhile. I’m using mine to store USB sticks & plan to make more to give as gifts.
Ive tried to pay and Ive tried for free, either way won’t get me the mini back pack pattern. I used to have a craftsy account and that has disappeared along with all the classes I bought, so I am rather loathe to join Bluprint. Is it cos Im in the UK???
Hi Machaela, it is possible that you have a window blocker in your browser and therefore won’t be able to open a new window for the payment even if you do it for free. Empting the cookies and cache tends to do the trick. I understand your feelings about Bluprint all too well.
I would contact them to get your classes back
Hi Michaela.
Your class should still be there. All the login information on Bluprint is the same as what you used on Craftsy. As idiotic as the second owners have been, they haven’t deleted any accounts. And you don’t have to buy a Bluprint subscription at all.
Having said all that, the company has new owners once again, and they will bring the Craftsy brand back. So most things will return to the way they were before. This is scheduled to happen on Sept. 1 2020, just 40 days from now.
The only thing they won’t bring back is your pattern library.
Very exciting news!
Why are leather or vinyl suggested as the fabric for the backpack? is there any particular reason that a woven fabric would not be suitable?
you can use canvas if you want. The fabric you use most has enough body to keep the shape but not be so thick that you need an industrial machine.
I noticed there are two loops on the mini backpack. One at the top and the other where the gusset and the sides are joined but I don’t see that loop in the pattern instructions. Am I missing something?
yes, this I was going to talk bout on the video. Just cut a strip of fabric 4″ long by 1.5″ wide fold in and sew on the sides making a strip of 4″ by 3/8″ wide, then cut in two one longer for the loop at the top and one for the side where the keyring will go.
ooh a video would be lovely!
I have downloaded the pattern but wonder if there is also a download page for the directions.
It is free on the site for you to read.
The backpack file won’t download it just keeps spinning and nothing happens.
The link works very well, it is on your side, perhaps you have to many windows pen.
Tried to download the pattern several times but unable to do so. I sent an email to Payhip. Really Cute pattern. Wish the download worked. 🙁
HI Rickie, it might be that you have a window blocker in your browser, the link works very well.
This is soo cute.
I will make one for myself and family..
Thank you..
My pleasure!
Very cute and useful. Thanks
It would be good if the instructions for assembly of this pattern were included in the PDF file! However, thank you for the lovely little pattern.
My pleasure Maurren.
I think the backpack coin purse is great but when trying to download it just keeps spinning. Can you assist me with this? Thanks
I’ve made several of them for some of my grand- and great-grandchildren and others, it’s very cute and useful.
I personally had a hard time sewing the bottom of the bag. I use 808 craft fuse cotton fabric and cut extra pieces for lining and zig zag raw edges
Hi there, I have just made this little cutie for a friend’s birthday from 100% cotton. If I made another one from fabric, I would certainly use iron-on interfacing to give it some stability. I also found it was much easier to sew after pinning it in quarters first, pinning half way round then hand-basting that half, pin the rest and finish hand-basting – machine sew then overlock.
It was a lot easier than work with a lot of rigid pins in such a small area.
HI Wendy, this pattern is meant for thicker fabrics that do not require interfacings such as canvas and vinyl. But, I think it is great that you have come up with your own learning lessons and technique to make it easier and I am sure others will benefit from your comments. Thank you 🙂
Hello… Does the fabric need to be interfaced?
Not really, if you are using vinyl or waxed canvas. If the raw edges annoy you, apply bias tape.
What are the finished dimensions? Are 3/8 inch seam allowances used thru out the project?
3.5″ X 3″ X 2″ 3/8″ (1 cm) seam allowance.
hi im definetly lost on the steps of placing horizontally and vertically.. like i dont follow because the picture isnt exactly the same . Can anyone help me
Hi, Sandrine, at this point you should have only two pieces one is front and back and the other contains the zipper. Place the front/back piece print facing up and pin the zipper (gusset) part print side down. Guided by the notches pin around closing the backpack, before sewing leave the zipper open.
Amazing work!!!
Amazing work.
thank you so much for sharing these amazing patterns! I admit I had some issues with the seam allowances from gusset-zipper block: I found that 1/4″ too short, because when adding the sides, these were smaller than the gusset-zipper block. But at the end, look at this cuteness!tks again
I love it Maria! Thanks for sharing your pic.
Was pulling apart a handbag for another project, and what was left was perfect for this! It’s not great, I’m still a beginner and the main body went a bit squint, but I’m quite proud, and plan on using it to store my extra presser feet. Thanks for the pattern, it’s amazing!
I love it Erin. Nice work. Thanks for sharing.
I CANNOT download the pattern The “add to cart” is not working.
Hi Janet, do try again, traffic at Craftsy is crazy busy on weekends.
A picture of my first attempt. I used canvas and denim. Serger the final seam as the canvas was fraying
Fantastic Jag! Love the contrasting colors. Thanks for sharing. Happy sewing, Mayra
Sew cute. Just had to make one
Love it! Thanks for the cool patterns you give us.
This is absolutely adorable! What a perfect gift to make!
Was curious about the second small rectangle….where does it go? And when? I understand the one that goes on the gusset (attach 1″ apart etc….) but what about the other little piece?
HI, Shari see in the comments JAG’S pictures and you will see where the rectangles end up. (as loops to hang things)
This took me longer than an hour but so worth it – made it out of cork fabric and embroidered initials on it! Really super cute – a bit finicky but very nice results. Thank you for the pattern.
Hi Colette, any chance you can attach a photo in the comments? I’d love to see your work. Kind regards, Mayra
Can you use PUL?
Thank you so much for sharing this little gem.
It looks so fiddly, but as you have said persevere and it will be worthwhile, I will
I am so looking forward to having a go at this
Love this! Gonna turn mine into a key chain. Thank you!
Has anyone tried making these with PUL scraps? I think I want to try.
I am so in love with this! Thank you so much for sharing the pattern & tutorial! ♥
thank you for sharing such beautiful patterns
This looks so make! Thank you!
Thank you for sharing. This would make a great gift card holder, too!
You two always have such cute things. Thank you for sharing. GOD BLESS