


The sewing part of the Christmas tree patchwork with lights is easy to do. For sewing machine newbies, the turns and corners of the tree may be a little more tricky to sew. My tip for you would be to draw the seam allowance with an erasable fabric pen then sew over it.
The amount required to make the tree is actually less than listed below. So if you are on a budget, print the pattern and see if you really need to go and buy more fabric.
This is the same pattern that we used in the first part of this project, but I'll link it below again in case you need to download it again.
For further instructions on Part 1 of this project, please refer back to this article:
Pattern Download

You can download the pattern for this Christmas Apron (with lights!) from our account at Payhip.
For help downloading and printing PDF patterns, please CLICK HERE.
How to Print the Christmas Apron Pattern
If this is your first time here and you need help to download and to assemble a pattern please read this article. Download the pattern using Adobe Reader and print on actual size.
Print and assemble the pattern before you cut the fabric.
Materials
- 1/2 yard of quilting cotton
- 1/2 yard of contrast quilting cotton
- non-woven fusible interfacing (medium weight for collars and cuffs)
- 50 small grommets
- battery powered LED string lights 16 feet (5 meters) (50 lights)
- 1 yard of gold bias tape (22mm wide)
- four sewable snaps
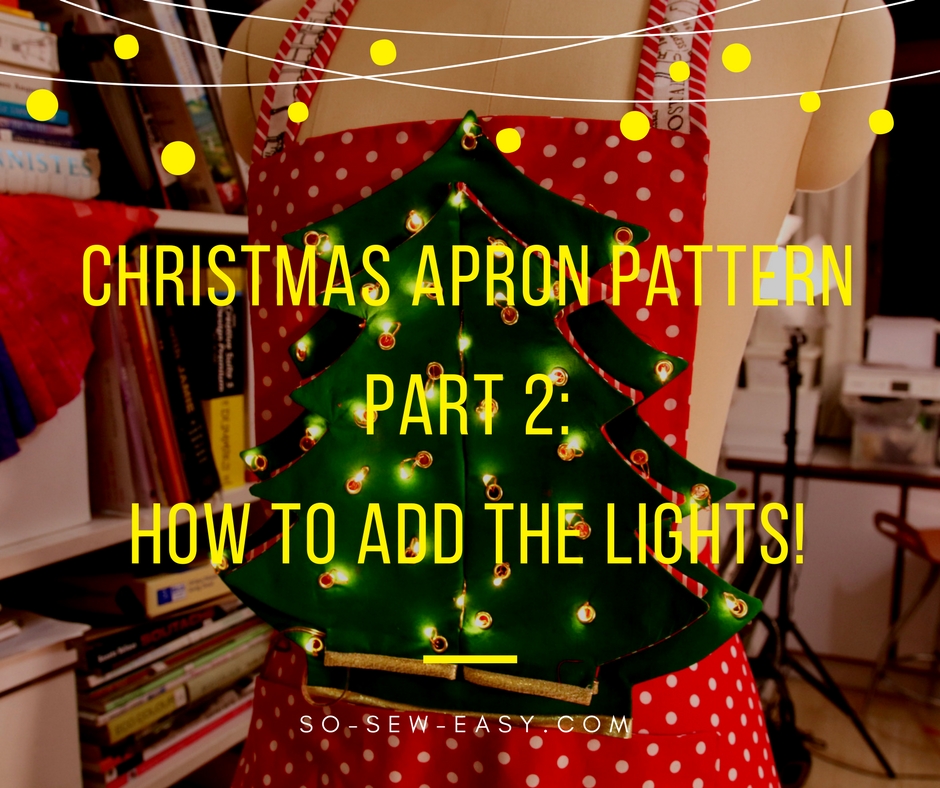
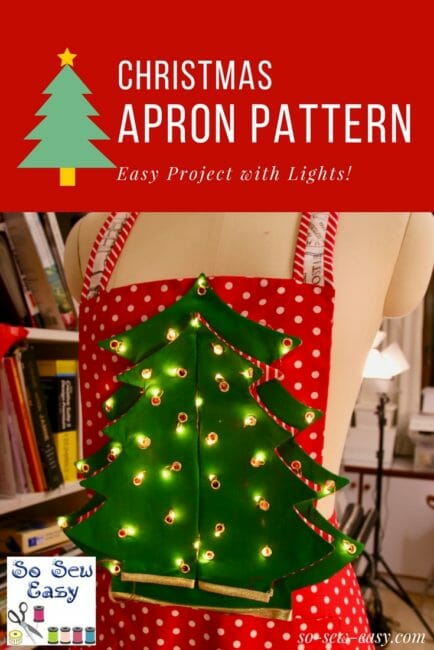
How to sew the Christmas Tree Patchwork with Lights
You will need six pieces to make three separate trees.
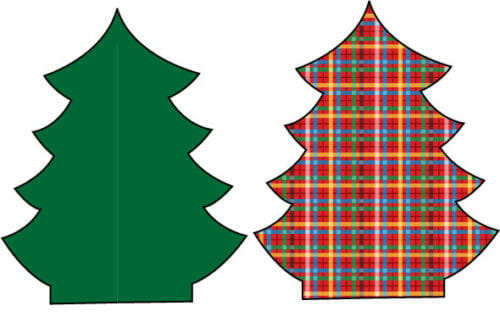
Cut the big Christmas tree in green and in a contrasting fabric once.
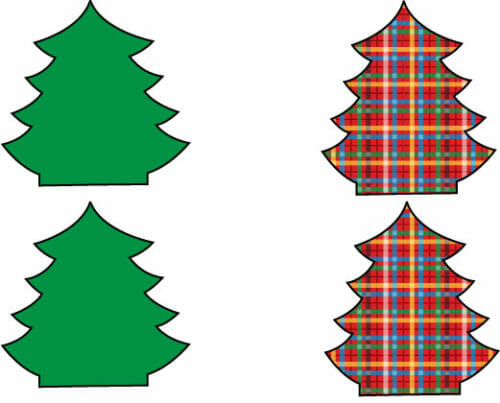
Cut the smaller Christmas tree twice in green and twice in a contrasting fabric.
Fuse the interfacing to all pieces. You should have six pieces in total.
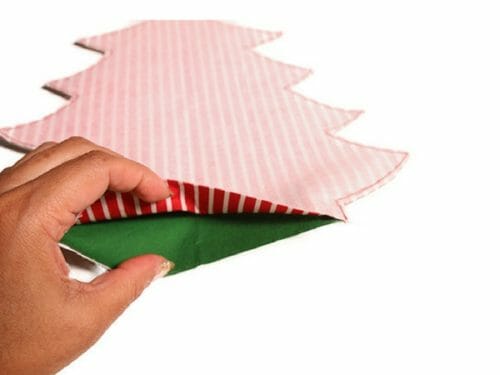
Turn the tree print-side-out and iron.
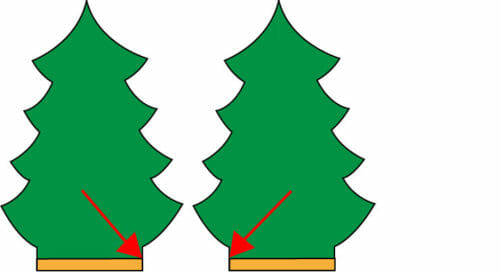
Apply gold bias tape at the bottom of the trees. Make sure the gold bias tape on the two smaller trees matches in width as this will be visible.Sew the two smaller trees together, with the contrasting fabric facing each other. Please leave some space as you sew, you will need this space to be able to pass the wire back and forth.
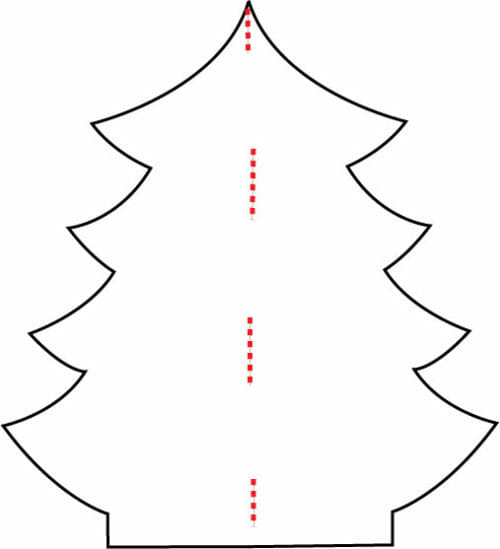

Fold the trees contrasting fabric facing each other.Repeat on the other side.
You should have a green tree divided in the middle, with the contrasting facing each other.
Place this small tree on top of the big one.
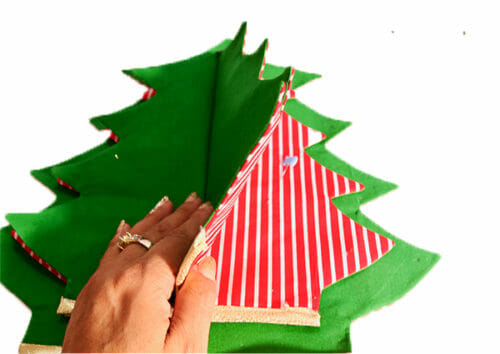
Take a close look at the picture below. You need to treat the layer of contrasting fabric and the green piece underneath as another layer.

Attach 15 grommets to these layers on each side. Start by attaching the grommets to the tip of the branches. Then work your way towards the inside.
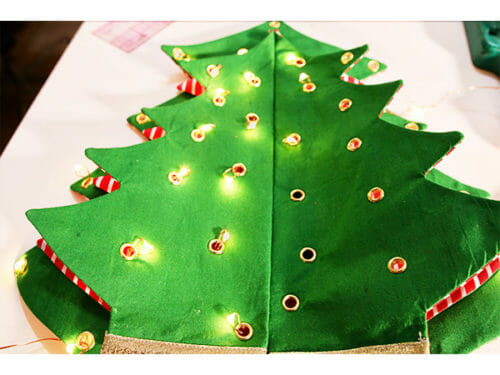
I dimmed the lights in my workshop so you can see the lights better. I recommend dimming your lights so you can balance the placement of the Christmas tree lights easier.
To sew the patch into the apron attach one sewable snap on the top, one at the center and two on each side at the bottom.
With the snaps, you will be able to remove the Christmas patchwork to be able to wash the apron.
Got any ideas on how to decorate this apron without using lights? Leave your comments below. Your feedback is always my favorite part of any post.
Go Back to Part 1
Mrs Santa, Christmas Apron Pattern -an Easy Project with Lights: Part-One


I also don’t see any instructions for stringing the lights through. A couple of photos of threading the lights would be very helpful.
All you have to do is literally thread the lights inside the grommets, just like you do in a Christmas tree, start either from the top and continue to the bottom or vice versa.
Decorations for the tree without lights? My first thought was large sequins, then glue-on gems, or the top part of jeweled snaps. Pom-poms would be cute, or charms, and what about gold braid streamers, tiny ribbon bows, gold or silver ric-rac, or some of those tiny accessories made for dollhouses? Anything small enough and bright or shiny could be repurposed as ornaments for a small tree!
Having trouble downloading part 2
This is so cute. Thank you.
Cool idea! To decorate the tree you could also use buttons.
This is adorable! Can I make the lighted tree as a wall hanging and not an apron?!
Yes of course! that would look lovely!
Thank you, I’m going to make it!
Show me please would love to see the finished product!
Mayra, I have my trees made! I didn’t see any instruction on adding the lights though. It looks like the big tree just has lights on the tips? Does the middle tree have any lights?
I’m still trying to get the instructions for making the apron. I have all of the pattern pieces, but no instructions. I emailed a week or so ago and am waiting for a reply. How do the lights work/ Do you put a battery pack on the apron????
Here are the instructions for free https://so-sew-easy.com/christmas-apron-pattern-with-lights/
Given that you’ve used red & white polka dot fabric for the apron, I’m sure you could attach a pink heart to it for Valentine’s day. Make the heart using the same concept as the Christmas tree (multiple layers), and you could add lights to the heart (“you light up my heart, Valentine”). 🙂 Next, for St. Patrick’s day, we can have a shamrock (basically 3 hearts pieced together in center) made in layers with more lights… A USA flag with lights in the stars for Independence Day (July 4th). Even a 3-layer lighted Pumpkin for Halloween, and finally a Turkey with layered, lighted tail for Thanksgiving.
Great idea!!
This is awesome Thankyou so much. I hope I can get it done in time for Christmas.
Amazing!! Thank you for the pattern and your time to show how it is done!!
Thank you