


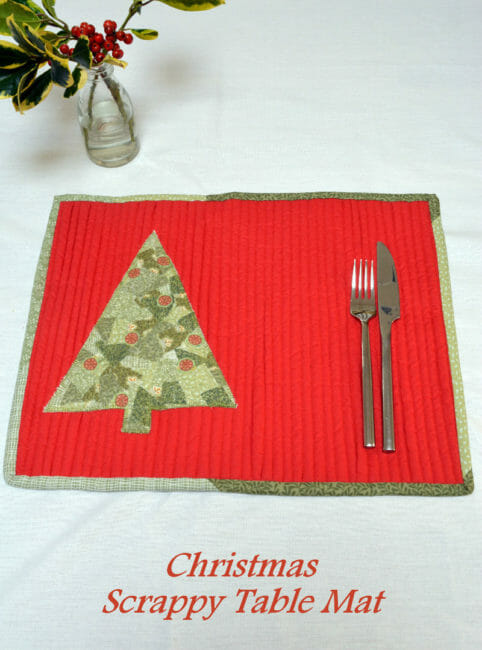
Dare I confess to having never made a table mat in my life? First time for everything!! Especially if it involves using fabric scraps:) It's surprisingly easy – have a go:)
For one mat you will need:
- Base fabric
- Batting
- Scraps of fabric in greens, shimmery see-through fabric, and a base fabric
- Fabric for binding
To make:
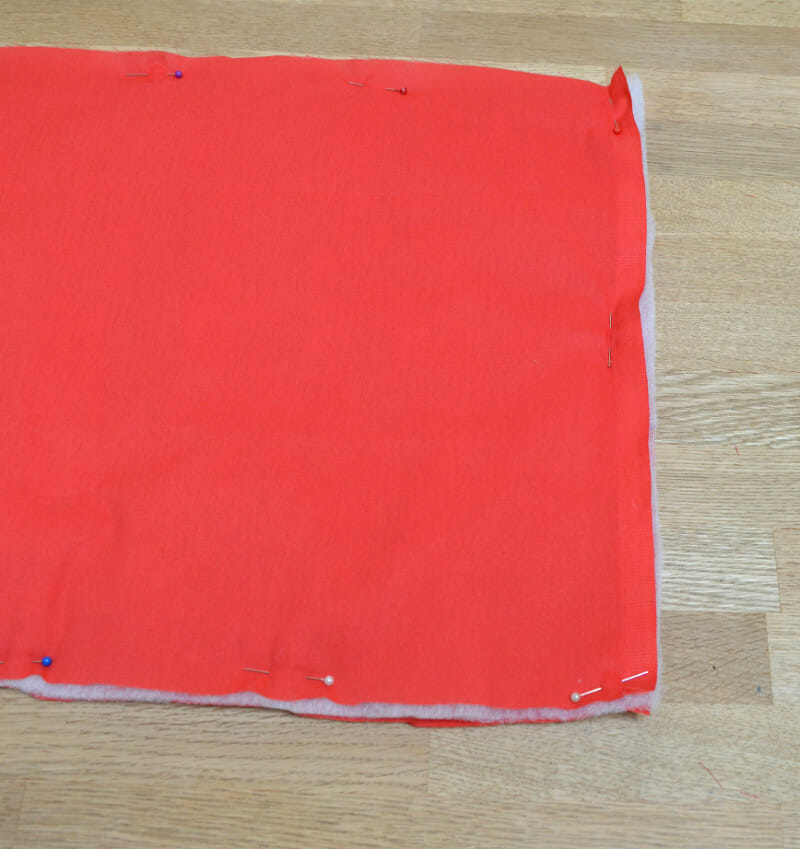
Let's start with the basic mat – cut out two pieces of fabric and batting measuring 18 by 14 inches
Lay fabric right side down, next your batting and then your fabric right side up. Pin the layers together.
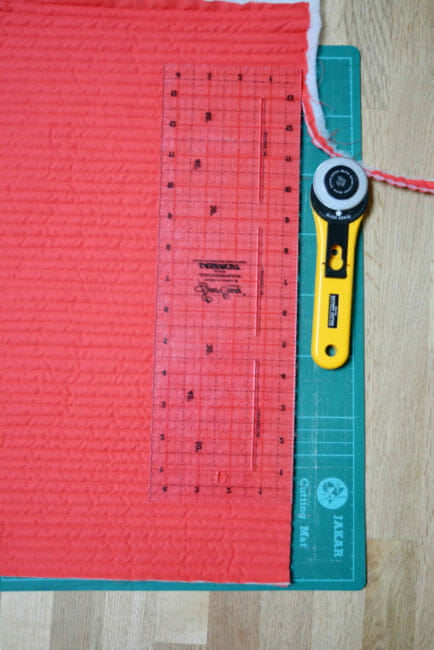
Stitch through the layers with a quilting foot or walking foot (you may like to set your machine to a slightly longer stitch). Use the edge of the foot to guide your next line of stitching.
Trim the matt to 16 by 13 inches.
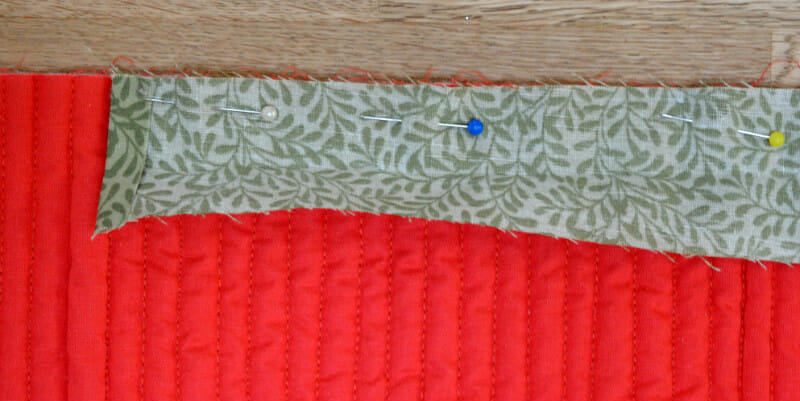
To make the binding you will need a piece of fabric 2″ wide by 62″ long
Fold wrong sides together and iron. Pin the edge along the raw edge of the mat. Stitch to the corner.
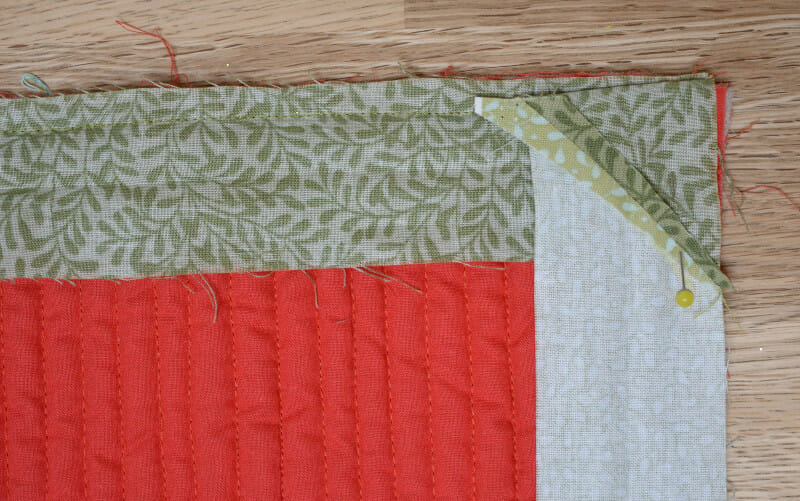
Fold as per the picture. (Check out our earlier article here on how to turn corners with binding if you need more help to get the perfect corners.
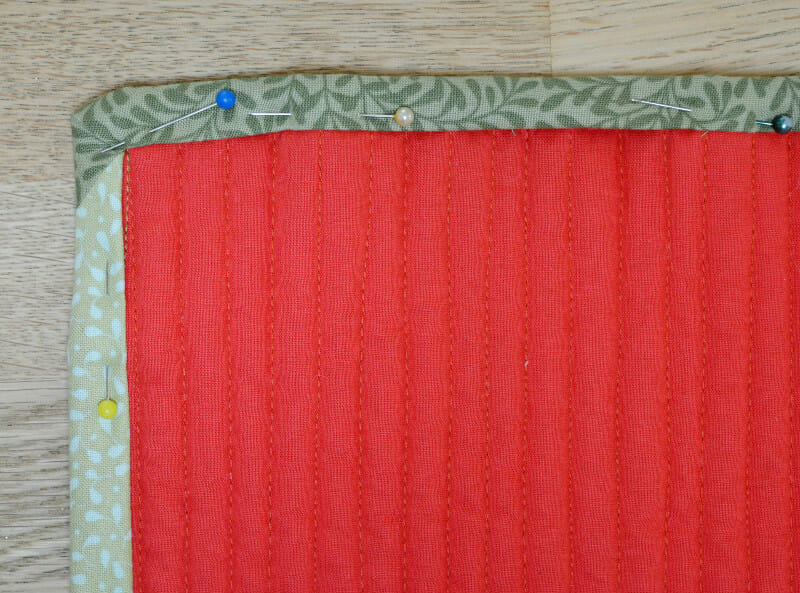
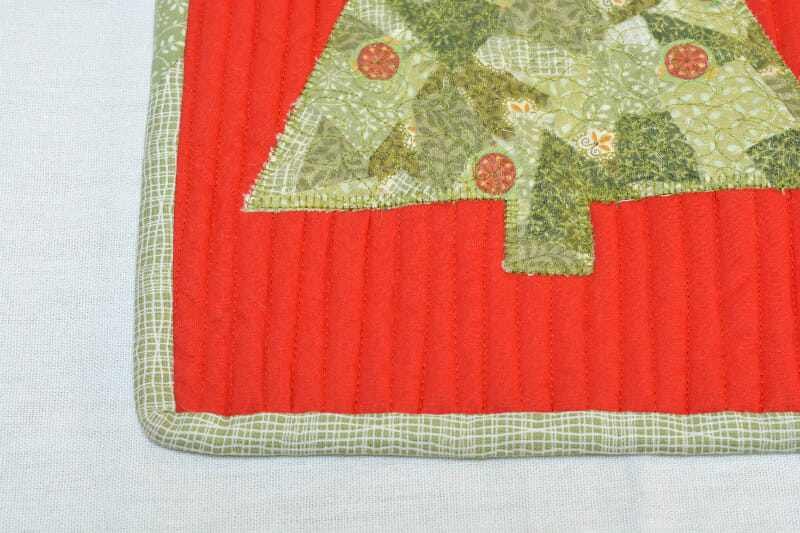
Stitch all round. Turn over the binding to the other side. Pin and then hand stitch into place (I am sure experienced quilters gain far sharper 90 degree corners but it is my first time!)
Or use one of your machines decorative stitches to sew the binding from the front while making sure it also catches the edge of the binding on the back – easy!
Next we are going to create the tree using your fabric scraps.
Cut out your base fabric measuring 9 by 10 inches. Layer your fabric scraps so you cover the base.
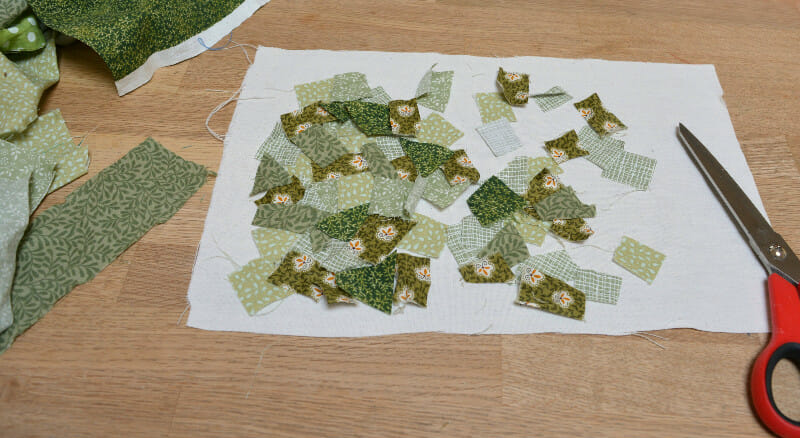
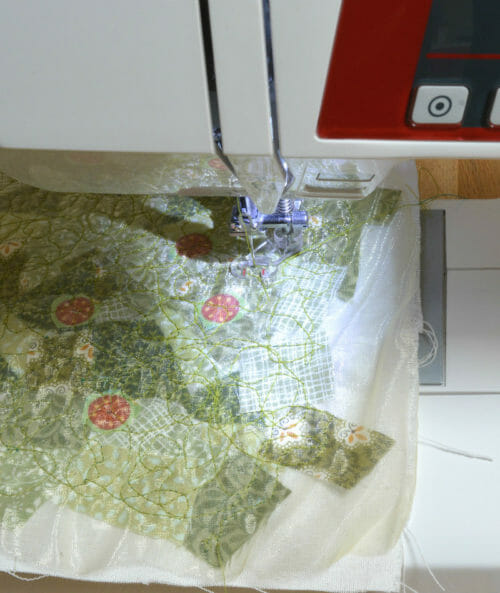
Lay your sheer fabric over the top and hold into place with pins. I found a scrap that was shimmery so that adds to the Christmas look but any sheer fabric would look good.

Set you machine up for free style embroidery (you may have a specialist foot) and drop your dog feed. Machine all over so you capture all your scraps with your stitching. A green thread looked good for the embroidery, but you could also try metallic thread for a real glamorous look.
Cut out your Christmas tree shape, mine measures 9 by 7″. Pin into place. You can free-hand draw a Christmas tree to your own design. I liked a very simple and minimalist look but no reason you can't go for something more intricate. You can download simple tree templates from lots of sources – check out HERE for some ideas.
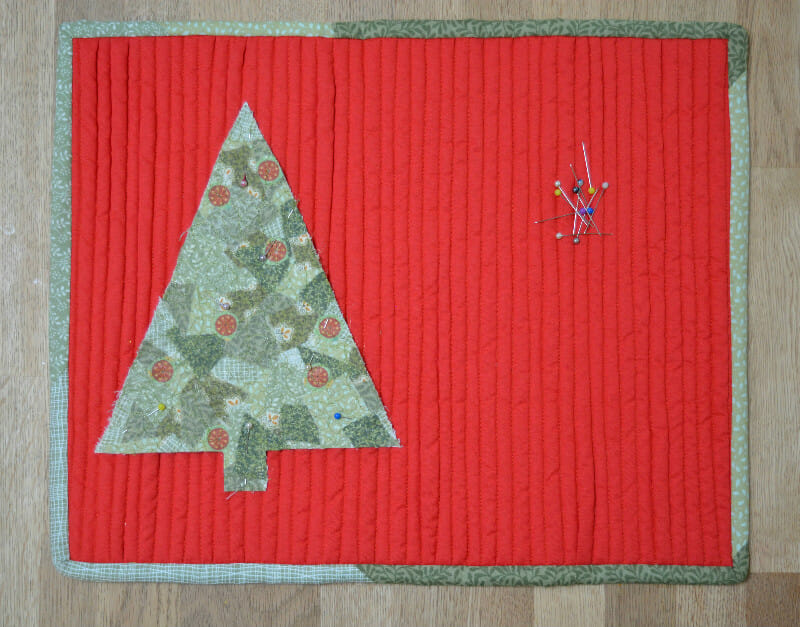
Machine embroider down, I have used an applique stitch sometimes called a blanket stitch. You're done!
I've become a great fan of using fabric scraps and even sweet wrappers using this machine embroidery technique.
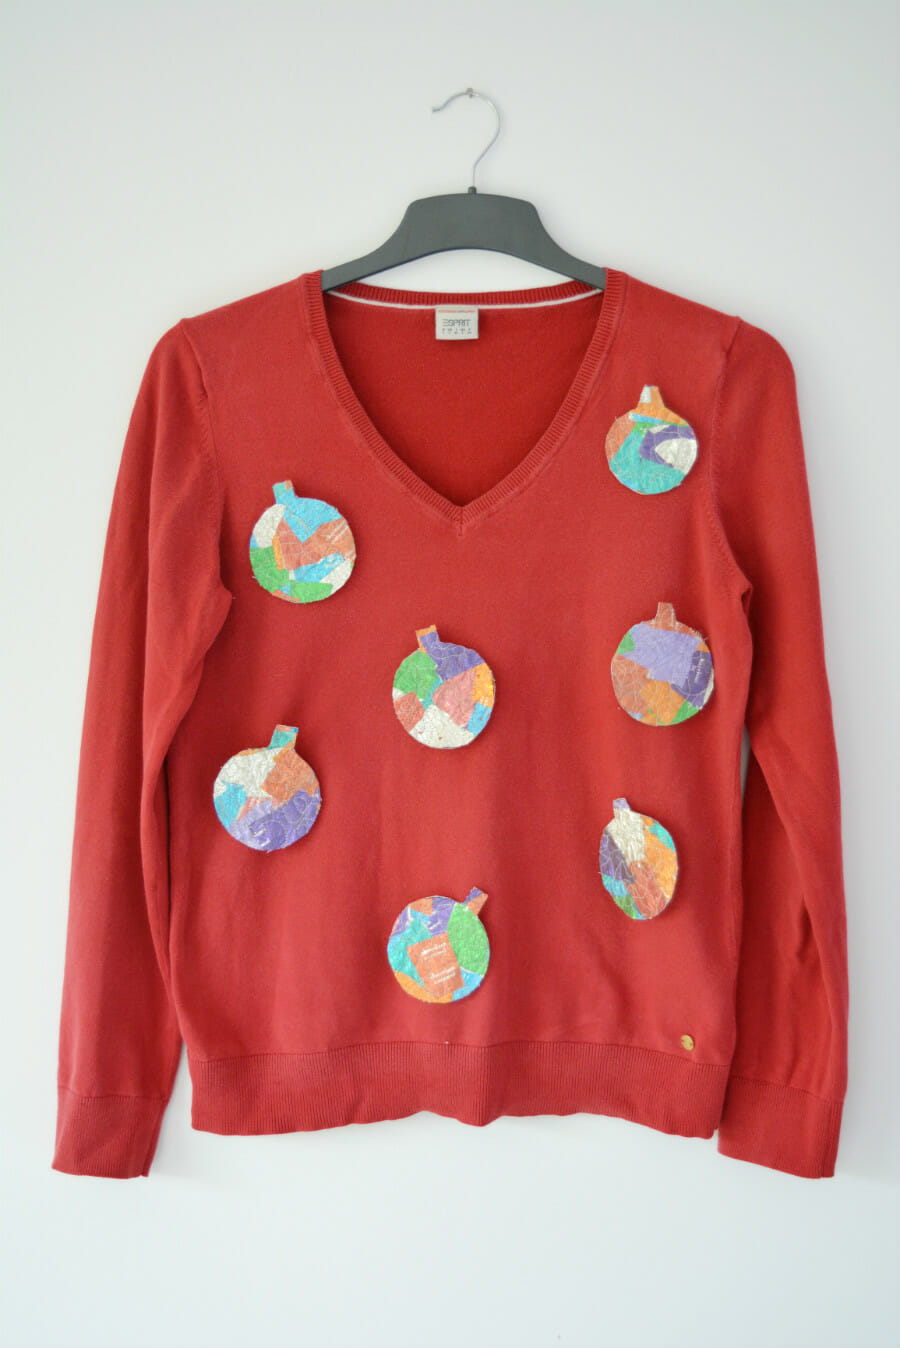
Visit my blog today to see sweet wrappers transform an old jumper into a Christmas jumper!
Want more Christmas Tree Sewing Patterns, please check out the huge roundup of free sewing patterns.
If You'd Like To Support Our Site
If you want to help us continue to bring you a wide selection of free sewing patterns and projects, please consider buying us a coffee. We'd really, really appreciate it.
I’m Vicky from vickymyerscreations. I learnt to sew through school, and was blessed as a child to have adults who nurtured my creativity. I love sewing, for others and for myself, and exploring other textile related crafts. See more on twitter, facebook and pinterest.


This is a must do project for me. I love your creativity. Thank you for sharing,
Good idea. good use for scraps. Could make lots of different shapes.
Good idea, I like using those scraps up.
Looks like fun!
[…] Find the tutorial over here. […]