


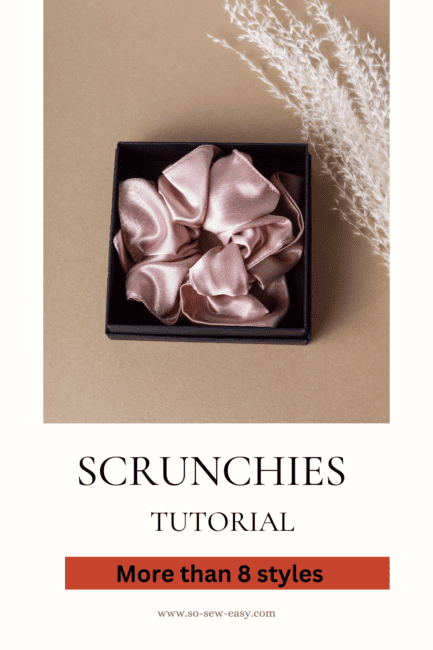
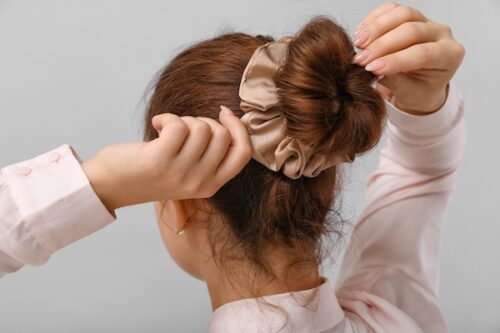
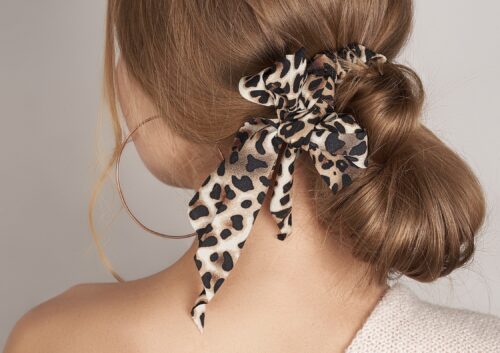
Scrunchies have been a big part of summer since their invention in 1986 by Rommy Hut Revson. Unless you live under a rock, you know that a scrunchie is a piece of elastic covered by a long rectangular fabric used to gather hair in a ponytail
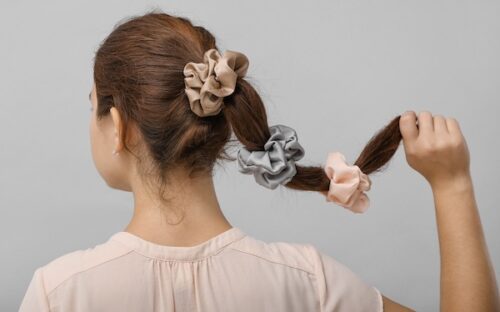
Or a bun.
Miss Revson was looking for a way to tie hair that would not break or pull it out of the head as rubber bands do. She came up with an ingenious way to cover an elastic with a fabric called a scrunchie due to the scrunched look of the finished product. Very cleverly, Miss Revson patented her invention, found a manufacturer, and the hair accessories took off, bringing her a million dollars a year for a little more than a decade until she lost her patent.
Rumors have it that a hair stylist in Holywood created the design in the late 60s, but the trend did not catch up. It is understandable why the 60's hair was flat, straight sleek; the fashion was streamlined, and small waists, followed by the hippy 70's care free loose wavy strands of hair matched by boho outfits or bobs and tight outfits ending in elegant legs pants and chunky shoes. But the 80s brought big shoulder pads, cropped wide jackets, parachute pants, and big hair. So you can say that for Miss Revson was a case of being at the right moment with the right trend.
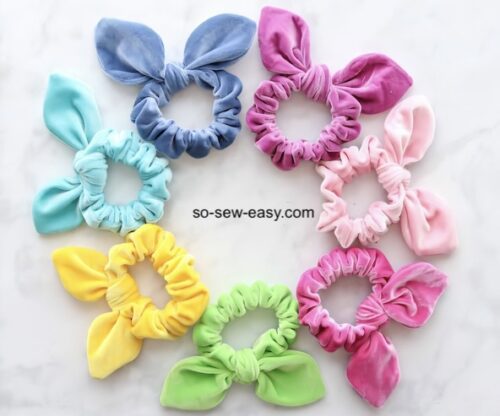
The humble scrunchie of the 80s made a comeback. Let's explore different looks…We will start with the basic shape and work on more interesting styles.
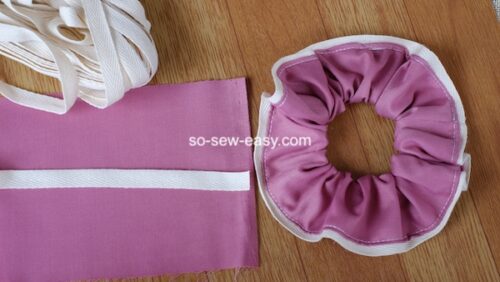
Materials
- Scraps of fabric (see below for styles)
- 8″ Elastic
- Thread to Match
Tools
- Sewing Machine or Hand Needle
- Glue Gun (depending on the type you are making)
- Scissors or Rotary Cutter
- Ruler
- Bodkin, hairpin, paperclip, or loop turner
How To Sew Your Scrunchie
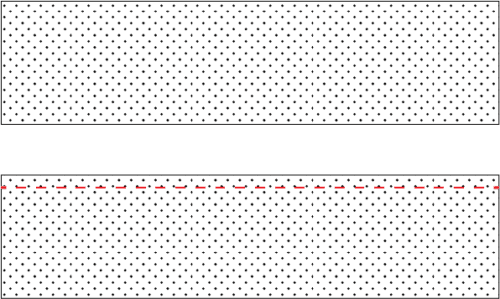
We will be using a 1/2″ seam allowance for all the projects.
If you do not have a sewing machine, please use the article below to do it by hand, no one will notice, and you will have fun and relaxation making scrunchies.
How To Make Scrunchies Instructions
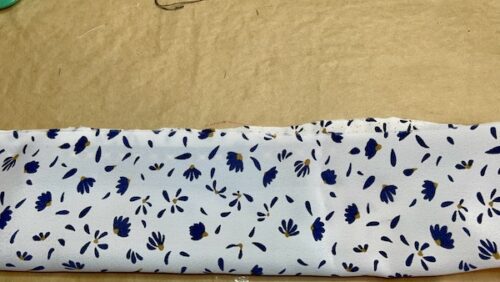
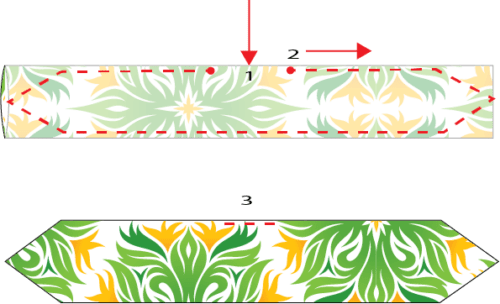
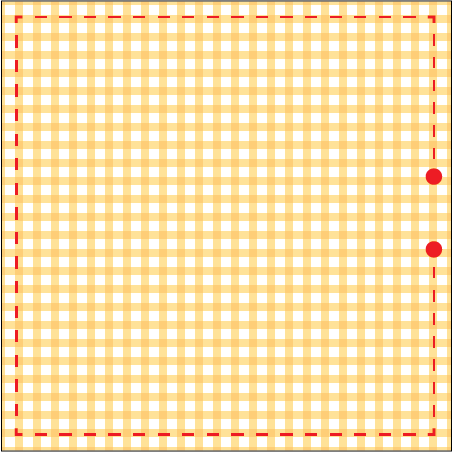
Fold the rectangle print side facing to form a tube. w at 1/2″.
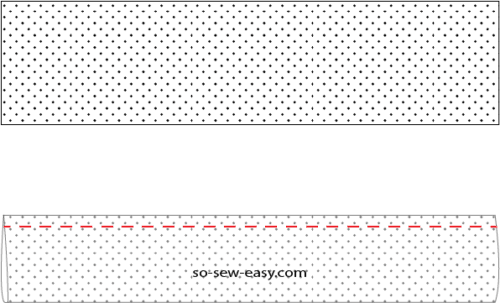
Turn the tube inside out so the print shows.
Insert the elastic.
We will form a band with a gap in the middle to insert the elastic.
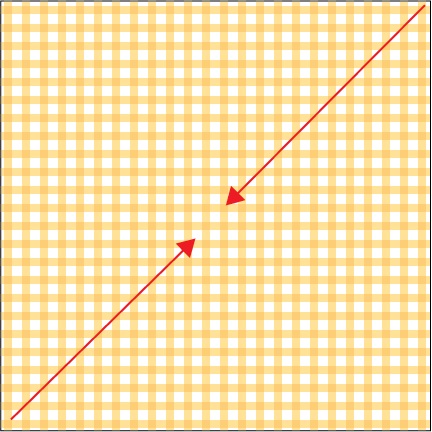
Fold the rectangle lengthwise, print sides facing each other, and sew, leaving a 1″ gap in the middle.
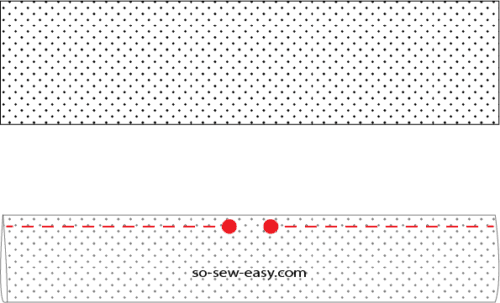
Turn the band inside out, or print the side out.
Sew the edges using a running stitch or fold the seam allowance and sew the edges at 1/8″.
Insert the elastic through the hole left using a hairpin or a bodkin.
Sew the elastic edges using a bodkin, hairpin, or a paper clip.
Close the gap using your sewing machine or a needle and thread, making a running stitch.
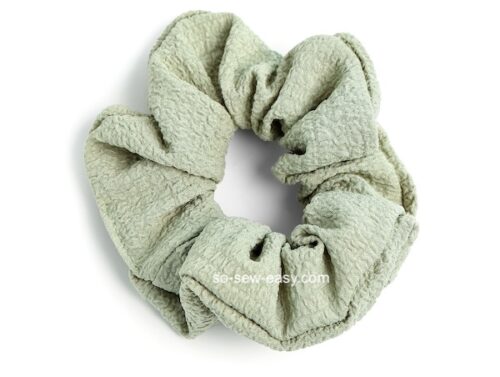
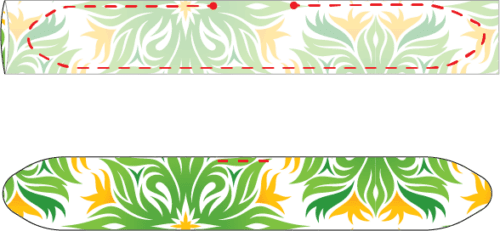
1. The Basic Scrunchie
You will need a rectangle 20″ X 3 1/2″ in diameter and one piece of elastic 8″ in length.
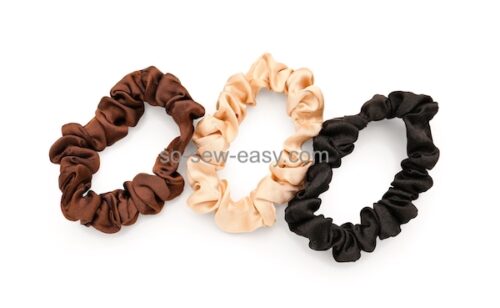
The Small Scrunchie
Cut a rectangle that is 18″ X 3″.
Cut one piece of elastic 7″ in length
The Big Scrunchie
Taffetta, Stiff Organza, Raw Silk, Cotton Quilting, Heavy Weight Satin use a rectangle 20″ X 7″.
Silk Chiffon, Light Weight Satin, or Crape cut a 24″ X 7″ rectangle.
Other Variations
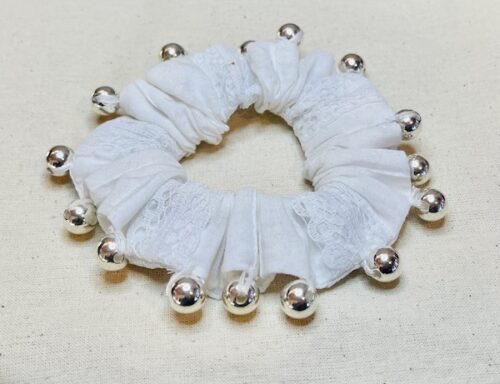
2. Small Scrunchie With Silver Beads
This is very easy to make; make a small or basic scrunchie and sew beads 1 1/2′ apart. I used 15 beads but happily would use one every inch.
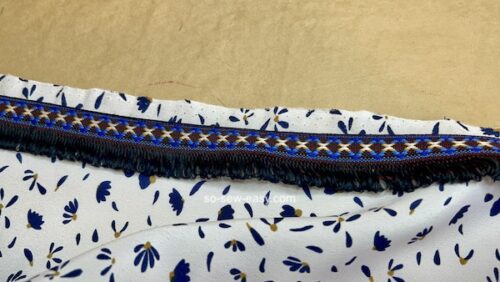
3. The Fringed Scrunchie
This is a bit more complicated, but you can have a lovely headpiece to tie your hair.
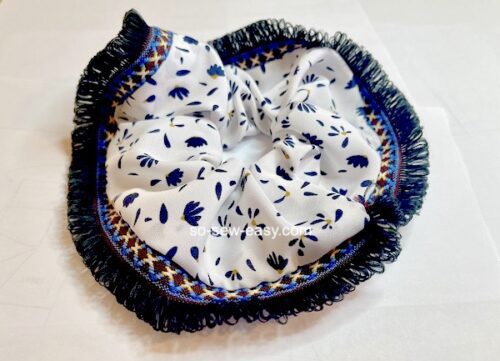
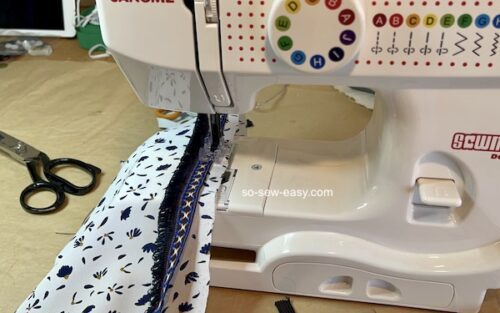
Mark the seam allowance on the fabric on the print side.
Sew the fringe following the seam allowance mark. Make sure the fringe faces away from the seam allowance. We will sew the fringe the same way you would a piping cord.
Fold the rectangle over the fringe, turn, and use the previous stitching line to guide you through sewing the band close.
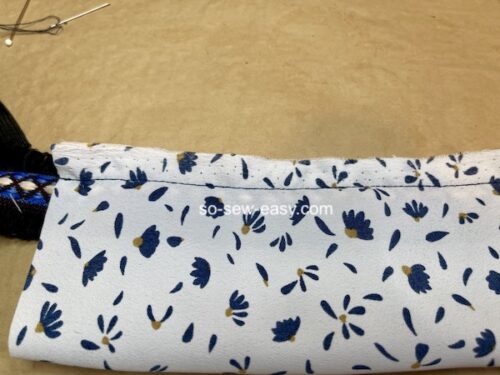
Insert the elastic and finish the band by hand or machine.
A variation using cotton tape instead of a fringe.
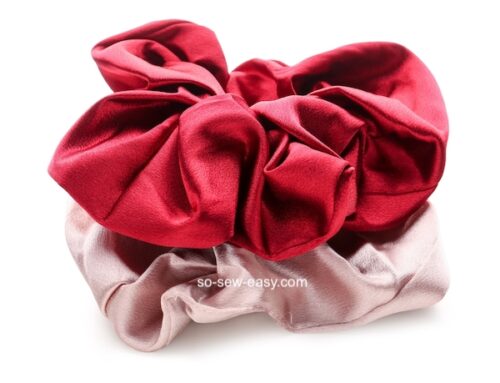
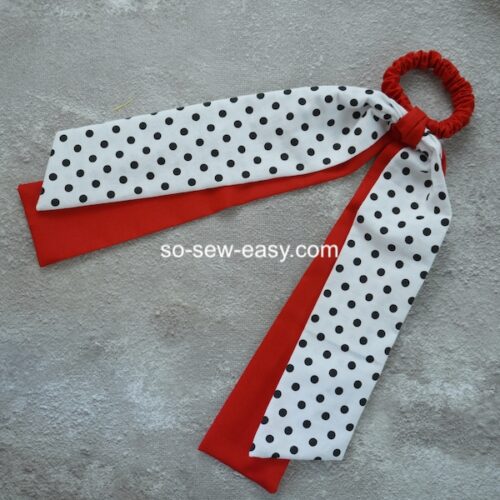
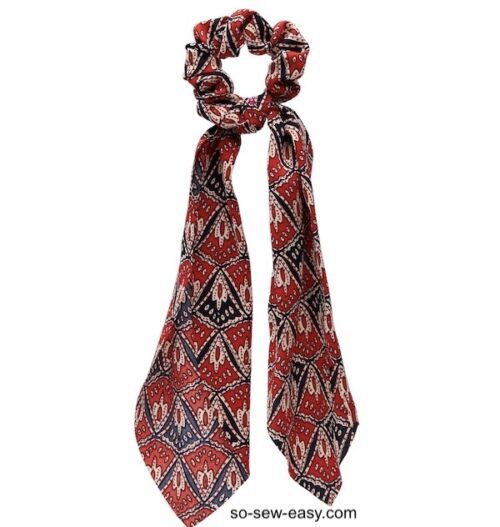
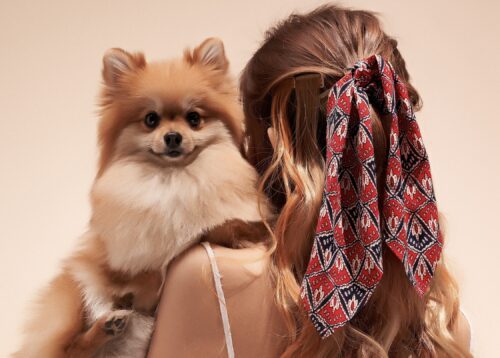
4. The Scrunchie With A Sash
This is one of my favorites to give as a present because it takes less than an hour yet it looks so elegant inside a box and on the hair.
Silk Satin is the best for this project, and the large scrunchie makes more impact.
Start by making a large scrunchie; then, you will need to make a sash and loop.
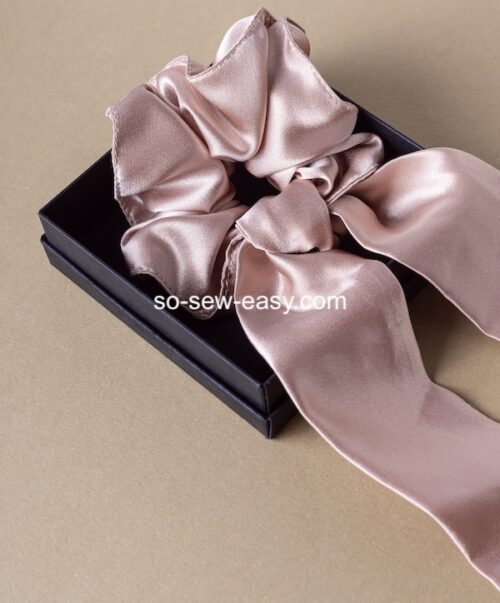
The finished sash is 25″ long and 2″ wide.
Cut a rectangle that is 26″ X 5″ and a square for the loop 5″ X 5″
Fold the rectangle print side in. Leaving a gap in the middle.

Sew from the center (1) to the side(2), pivot the needle, and sew at an angle, thus making a point(3).
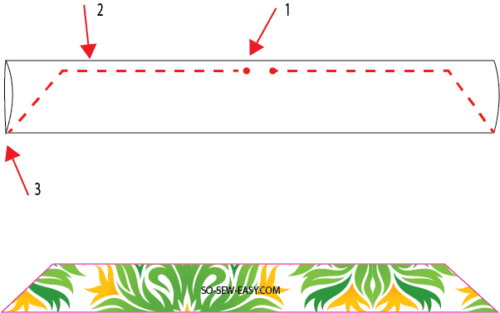
Turn the sash print side out and close the gap by hand using a running stitch. You can also complete the hole with the machine since the stitching will not be seen where you make the knot to tie the sash to the scrunchie.
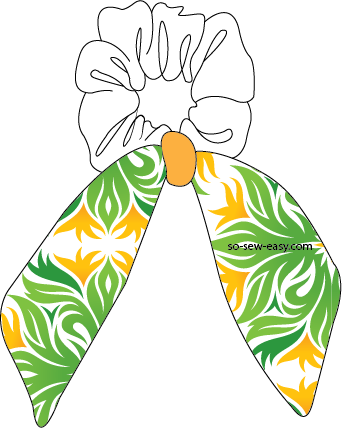
The loop is made the same way, print sides together and sew at 1/2″. Turn the small band print side out. Loop the band around the scrunchie and sew to close the loop. Turn the loop so that the stitching line faces the print of the scrunchie and will not be seen. Secure the loop using a small drop of hot glue or fabric glue. Loop the sash.
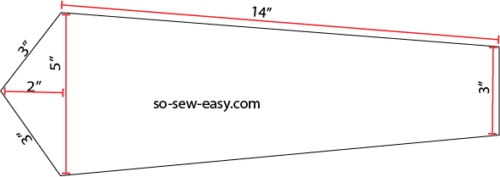
Double sash in cotton quilting. Perfect for children.
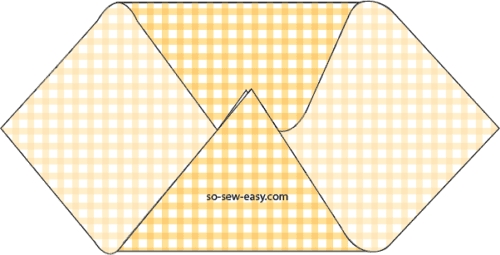
Changing the length of the sash and the shape of the point.
You will require a rectangle 32″ X 10″ for this style. Make the shape require with the dimensions given in the picture.
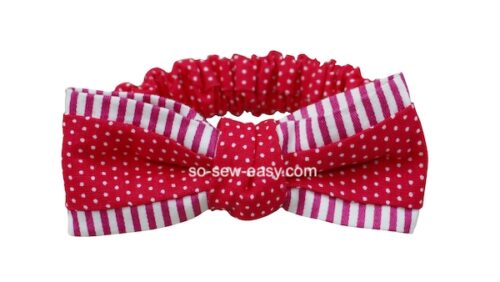
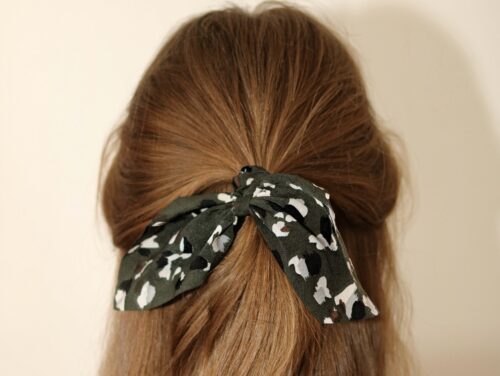
5. The Scrunchie With A Tied Bow
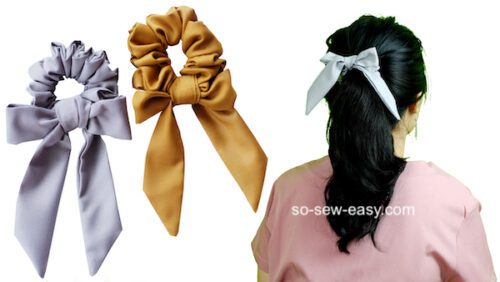
This style is similar to the Sashed one, except you need to make the sash longer to tie a bow.
I recommend a rectangle 33″ X 4″ with a seam allowance of 1/2″.
Follow the instructions for making the sash without the loop.
6. The Scrunchie With A Bow
You can let your imagination run wild with this style. Please make a small scrunchie, then add a bow to it. I have a tutorial on how to make a bow with silk satin. It is easy and detailed, so I leave the instructions here.
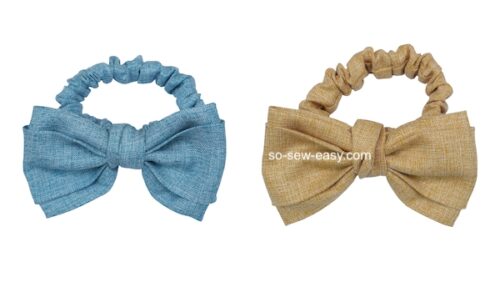
Instead of a loop, you can make a covered button and secure the bow using a hand needle and threading the scrunchie.
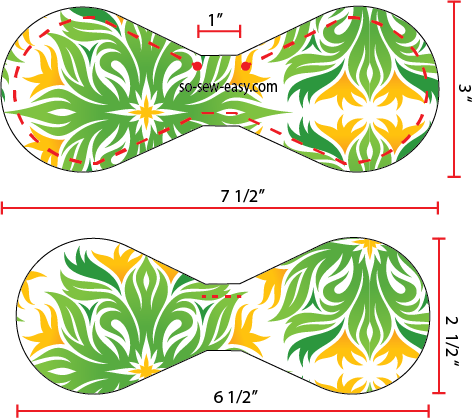
7. The Scrunchie With Ears
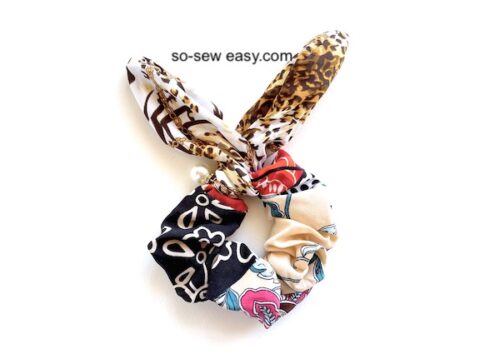
This style has two variations; the ears stand up, and the other does not.
For the upright ears, you will need the following:
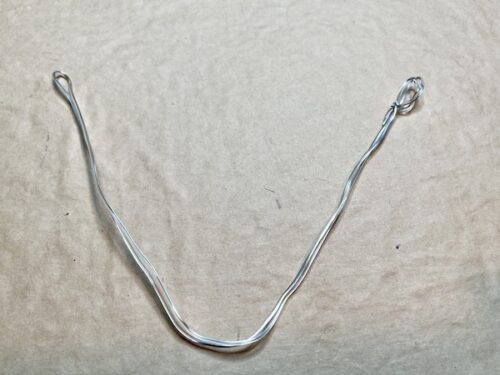
One piece of soft covered wire 22″ in length; you can find this type of wire at a flower shop or craft supply store.
Fold the wire in half and make a loop at the end, wrapping the wire to hide the point. The finished wire should not be longer than 12″.
Cut a rectangle 13″ X 6″. Print side up, fold over, and mark the middle (1).
Starting on the left side of the center and leaving a one-inch gap, draw the seam allowance (2). You will need this gap to turn the ears and insert the wire(3). In other words, begin drawing the seam allowance half an inch from the center and stop half an inch before the center.
If you are using silk or satin, there is no need to cut the seam allowance at the points. For cotton quilting, jeans, and velour, please trim the corners of the end to 1/4″
Start with a small scrunchie. The instructions and dimensions are the same as above, except you will round the ears slightly.
Instead of the point at the end, we will have a softer end to the ears.
In the picture below, the ears are completely round. You will need to make a loop to attach the ears.
Cut a rectangle 8″ X 3 1/2″ and round the edges. The wire needs to be 18″ long.
Insert the wire and close the gap. Stitch the edges of the wire to the top of the ears to keep the round shape.
Soft Ears are made with a rectangle 14″ X 6″.
A Variation Of Soft Ears
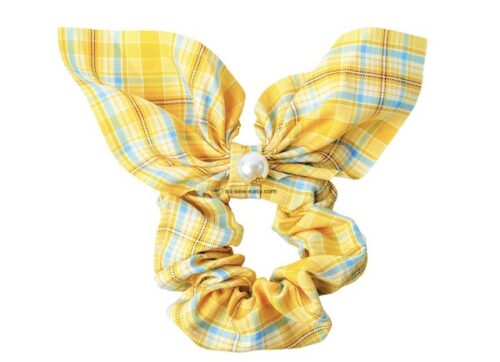
You will need two squares 8″ X 8″ for this scrunchie with ear, a small rectangle 4 1/2″ X 2 1/2″ for the loop, and one Pearl for decoration.
Join the squares together, print sides facing each other, and sew around the square leaving a gap to turn the square print side out. Iron
Join the corners across together.
Make a loop, insert the ears, and sew the pearl to attach the ears.
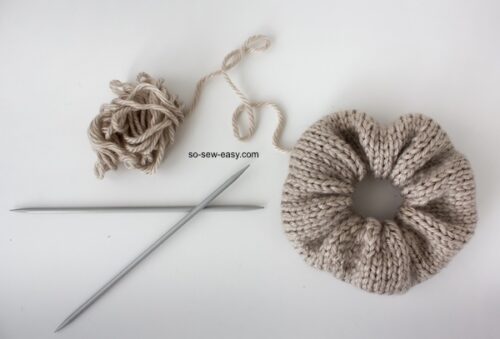
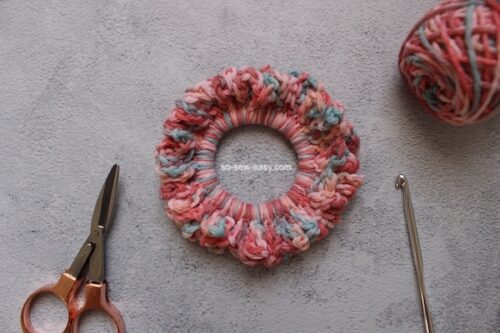
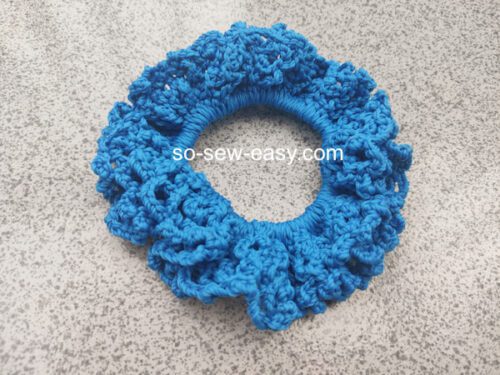
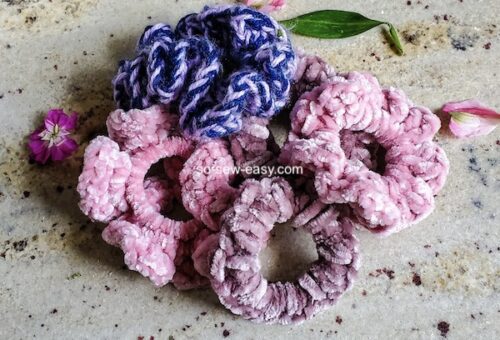
8. The Crochet or Knitted Scrunchies
Here again, it is a favorite of mine to make at the beach, at a cafe, while watching a movie, or sitting by the fire. To make the following examples, you must know how to crochet and knit with two needles.
In this type of scrunchie, make the elastic band first and then crochet or knit around the elastic.
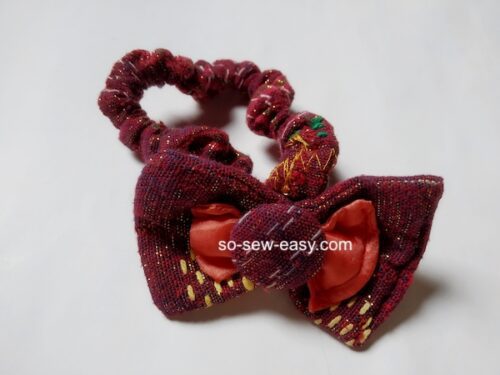
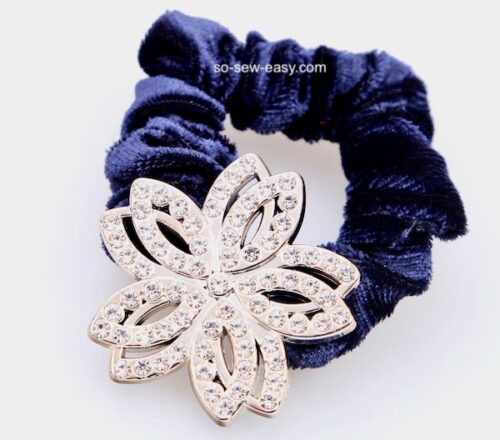
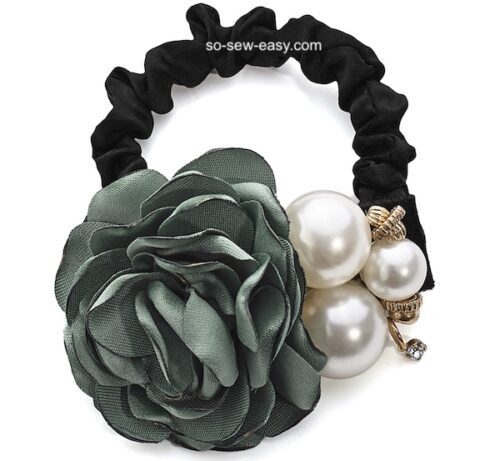
8. The Jeweled Scrunchie
The queen of all due to the enormous possibilities limited by your budget and another favorite of mine for presents.
I will not discuss this style, but I will share a few places where you can get materials to embellish your scrunchie. Here are a couple of samples for your inspiration.
I will leave it here for now because the options are numerous. I am exploring a stuffed animal and an Haute Couture scrunchie, so I must update this article soon.
I hope this article inspired you to make scrunchies different from what Rommy Revson had first in mind. Although a simple design yielded her millions, for us, it will add something exciting to our online store or summer market stall, not to mention a scrunchie with a twist will make a great present.
Until next time, happy sewing!
Let's keep the world together one stitch at a time…


Wonderful selection of projects!
Great, practicle and fun tutorial.Thank you!
My pleasure!
Thank you for this wonderful, comprehensive guide to so many cute scrunchies! I will save this tutorial since I have so many girls in the family that would love these!
Yes, they would, and they are all very easy to make.
This a neat tutorial, thank you. I like that it has all the variations because we are all individuals and have different tastes even in our hair ties. Blessings!
My pleasure LynneDe, Indeed!