It seems there are more ways than one to sew a French seam. Continuing on in my quest to learn more about the various types of seam finishes and getting a nice neat result on the inside of my projects, I've been reading several tutorials and books on the French Seam. While the end result often looks the same, there are a few variations and I've cut it down to what I think is the best/easiest way.
Where and why to use a French Seam
The French Seam is a two-step process that encloses the raw edges of the fabric within the seam itself to leave a neat and finished seam on both the inside and the outside. Although it could be used on most fabrics, you will find it most commonly used on very fine, sheer, or delicate fabrics such as chiffon, silk, or organza.
Best used on light to medium weight fabrics because of the additional bulk created in the seams, and also best on straight or only slightly curved seams for the same reason. Not really suitable for set-in sleeves unless you are an expert!
How to sew a French Seam
My research shows there are two ‘camps' when it comes to sewing a French seam. Those that pre-plan and add the necessary additional fabric to all seam allowances in advance, and those that do not and sew very narrow seams within the original width of the seam allowance. In the interest of keeping everything ‘So Sew Easy', let's have a look at the second method and just work within the seam allowance we already have.
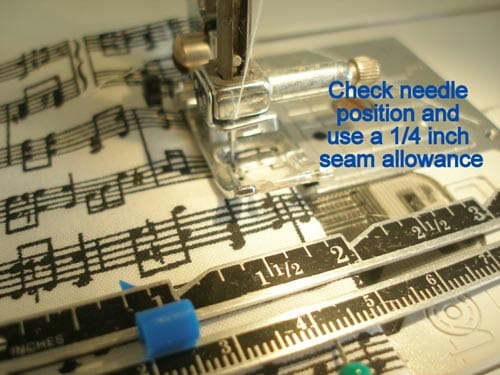
First, let's look at a standard seam allowance – on commercial patterns it might usually be 5/8th of an inch. So if we divide that by the two seams we have to sew, we can make one at 2/8th (that's the same as a 1/4 inch) and one at 3/8th of an inch. It makes sense to make the narrower seam the first one because that has to be sandwiched in the second one.
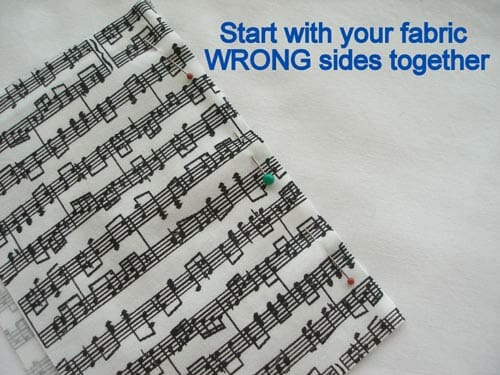
Start with your fabric WRONG SIDES TOGETHER. Yes, I felt I had to shout because this goes against everything we've always been taught about seams. But it will work out just fine in the end.

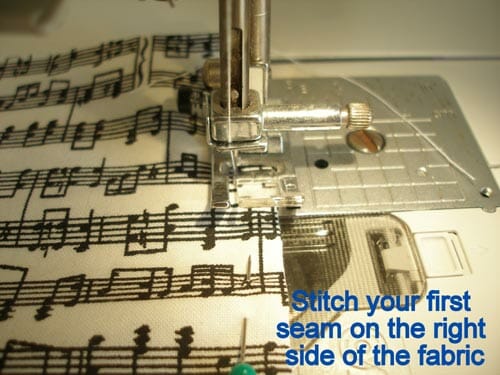
Sew your first seam at 1/4 inch.


Press the seam flat exactly as sewn and then trim it down a little. If you have a fabric that frays a lot do take care to remove all the little strands or these might pop through to the finished side later. If you have pinking shears that leave the little zig-zag edge, you can use those, or simply use a rotary cutter or your regular fabric scissors to trim the seam.
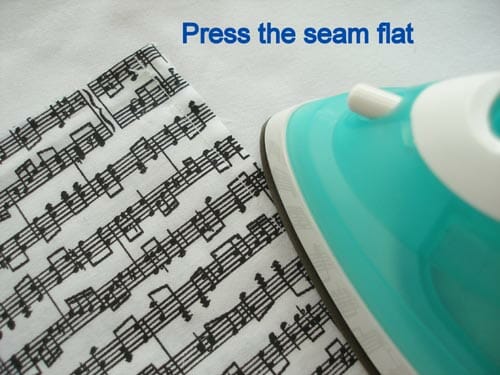

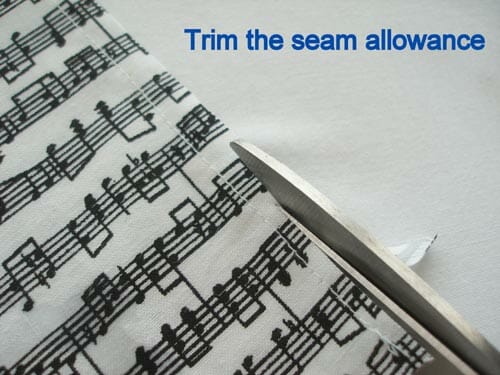

Press the remaining seam over to one side.
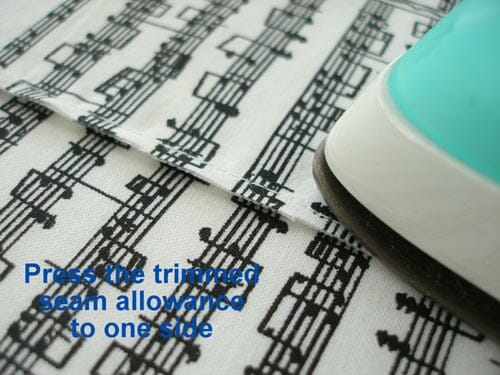

Then fold the fabric along the first seam line with RIGHT sides together and press again.
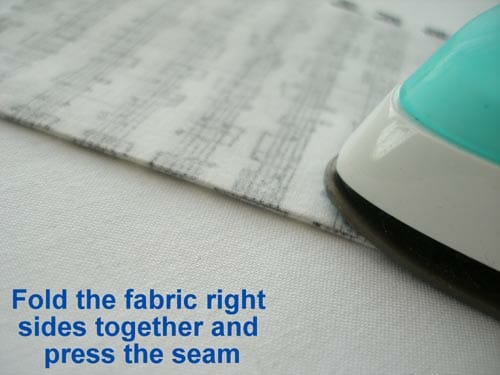

Now you are ready to sew the second seam, using a 3/8th of an inch seam allowance.
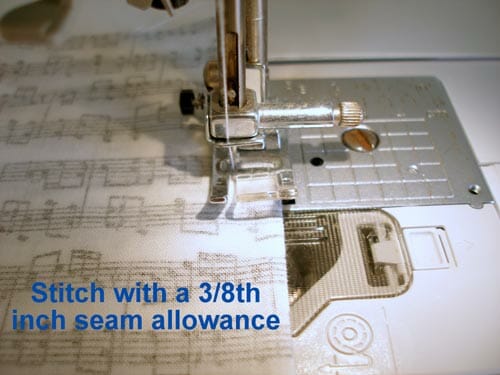

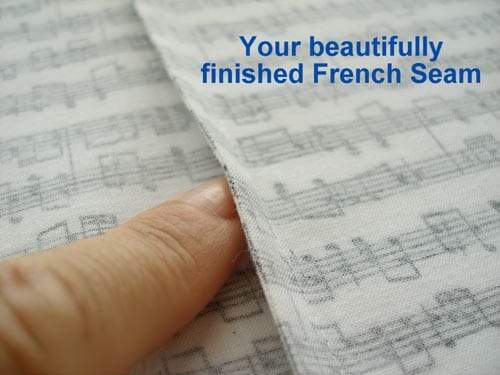
Press this seam over to one side and there you have it, beautiful inside and out, all within the original width of the seam allowance and really not that difficult.

There will be many opportunities to use this pattern including in a fun new design we will launch next week for a layered top.
Next in the series – the Turned Under seam finish. Looking for previous seam finishes?


I’ve always wondered if purchasing a set of specialized feet is worth it. (More storage issue then $) I wonder what feet you use the most and for what. I have a walking foot I use for quilting and thick layers (oven mitts); a zipper foot and I think a button hole but that’s about it. A series on the “Feets of sewing” would be welcome.
After experimenting with a bunch of hem finishing options I bought a rolled hem foot. Now I just sew two fabrics right side together with one fabric slightly offset with a longer edge. Then I put both through my rolled hem foot with the wider fabric being rolled, and voila, enclosed hem without any ironing.
Thanks for the tute. (I thought that the fabric showed right and wrong sides quite clearly.) I’m wondering and hoping you might have a post on faux felled seams.
[…] the sides using the french seam. Use a 1/8″ turn and sew at […]
Pity for the choice of material. I have difficulty to follow the steps in the photos.Thank you, anyway.
I get why you said that; it is a sheet music pattern. If you can see what that looks like, it might clear things up. I think if the thread had been bright, you might be able to see more. Try reading the text, it is really very well explained and illustrated.
[…] Sew the outer layer on the sides using your serger, if you do not have a serger use the french seam. […]
[…] seam allowance to the pattern. Use a 5/8″ if you do not have a serger and want to use a french seam. Add 1/2″ for the […]
How much seam allowance do you need to start with to do a French Seam? I come from a quilting world where we use a quarter inch seam allowance but I sew in some of the seam tutorials you start with a half inch. Thanks for all your tips!
HI MaryJO you start with a 5/8″. Then you so 1/4″ first then 3/8″.
Forgive my many questions. If the pattern, say a purse or bag, calls for 1/4″ seam, and I want to do a french seam…how much more fabric should I cut so I don’t shrink my end product? (Can you tell, math is not my first language?) Thanks
Hi MaryJo, you need to add an extra 3/8″.
Thank you for sharing. Need more be said? Lol yes! Love it! I hadn’t even thought about the French seam before and could have known this for a few projects I have done! Thank you x ?
Thank you for your tips. You are always so helpful.
Thanks for the info on this. But wish you had used a solid color fabric because this fabric is too busy to grasp it.
Great tutorial, easy to understand, thank you!
My beautiful mother was a true seamstress, with much patience. So, I had beautiful clothes growing up. She was also a master knitter and knitted beautiful sweaters for my brother and myself. Learned how to do French seams. However, thank you for including the refresher course for the young lady who turned a mere 76 on July 10.:)
Wow ! Never thought it’d be that easy – never thought of doing it that way before – brilliant – thanks so much !
My favorite way to do the first part of the seam is to do a narrow three thread overlock stitch on my serger/overlocker. By using the serger, it eliminates those pesky fine threads you may need to trim. I haven’t found it to add much of any bulk to the seam.
That sounds great. I hope to get a serger one day and I’ll give that a try.
Thank you for this! I am going to make a garment from mesh-like fabric, and was a bit afraid of doing the French Seams – but I see now how staright forward they are 🙂
That was the way i learned it about 35 yrs ago. I had to make a flower girl dress for my brothers wedding and i had a friend that her mom was a pro and she taught me how to do it. I was so scared when i started it since i hadn’t been sewing for very long. It turned out perfect and it was so easy.
Damn! That was easy! I was kind of confused by the whole French seam thing, somehow it seemed very convoluted to me, but you have made it so (Sew lol!) easy! Thank you! Love your blog!