I was looking through my class list (which is pretty large now) on Craftsy and I noticed nestling down at the bottom the Sewing Texture Class. This was the first ever class I bought from Craftsy in the early days when I wasn't sure what direction my sewing would take and I loved the look of the project examples. But I had never even watched it – shame on me! So in a quiet afternoon when my husband was asleep on the sofa, I got out my headphones and enjoyed a little ‘me time'.
Sewing Texture Class Review
There are a total of 10 lessons, and they take the format of a lesson showing the technique followed by a lesson featuring a project using the technique we just learned.
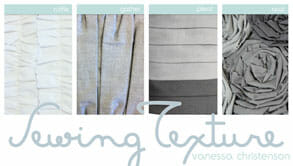
This class is good for – beginners. While I think that the projects are interesting and varied, there are really only 4 techniques taught in the class and those are more suitable for beginners. But everyone would find the creativity interesting and the projects are good for all levels from beginners to more experienced. The ruffled pinwheel quilt for example, is a big project and basic quilting skills would be useful!
Lessons 2 and 3 – Twisting


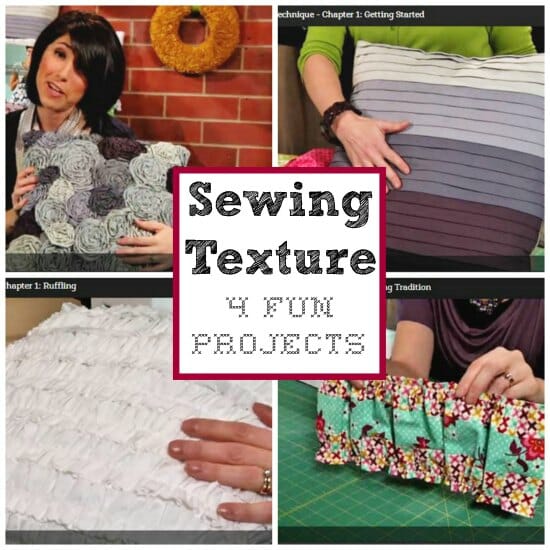
The twisting technique is used to create fabric flowers, and these are shown either as individual or small grouped embellishments or accents for bags, clothing and pillows. The project is a full textured pillow cover and I admit, I LOVE the look of this pillow. Quite honestly, there were several projects I wanted to make from this class, and this one came a close second. I'll probably tackle it in the future.
Lessons 4 and 5 – Faux pleats


We learn about how to create these faux pleats, and how they can be used in all sorts of widths and styles, and several projects are shown including this ombre pillow cover with the narrow pleats. I loved the look of the printed pleats too and think a mixture of prints and solids together could also look cool.


The class project is a much larger one, a small quilt with much wider pleats which I also liked the look of, but I can see this being used as a panel and then bordered to be used in a full quilt project. Again, its something I can see doing in future, when more sewing time allows (dream on…?)
Lessons 6 and 7 – Ruffling


Covering the whole pillow like this is quick and simple but really does make something as everyday as a plain white jersey, look like a very nice pillow. Imagine how dramatic this would look in a bold print too.


The project for this section of the class is pinwheel block which is repeated and made into a quilt. But its a pinwheel with a difference because although you can't see it well in this picture, the colored parts of the pinwheel are ruffled! Gives some really nice surface texture to the quilt, although this design has rather too much white for my taste, but match it with a print for the plain squares and it would be great. One reservation – the edges of the ruffles are just pinked, so I think with repeated wear and washing, it could soon look a little worn. But if that's your style – great!
Lessons 8 and 9 – Gathering


In the gathering lesson we learn how to create the panel above using gathering top and bottom to create a textured piece of fabric to use in other projects. Along with the pleats, this might be one of my favorites I think because I like the way that it is finished on all the edges and won't be subject to some of the potential fraying you might get by leaving edges raw and pinked.
The technique and panel can then be used in all sorts of projects, again ideal for pillow covers, maybe as a panel on the top or bottom of curtains, or on a towel, etc.


The class project is a simple lined tote bag incorporating this gathered panel front and back – I really like it! I learned a new way to sew lined bags which I hadn't thought about before so I'll certainly be giving that a try when I get a chance. I like this gathered panel and am thinking of creating a basic zipper pouch with this type of panel as an upcoming project. It's on the to-do list!
Lesson 10 – bonus lesson on shirring


So overall, its an interesting class. The reviews on it are a bit mixed. Some people love it, and some are rather less enthusiastic. The less positive reviews tend to focus on her comfort in front of the camera. It's true, she does use the words ‘actually' and ‘umm' a lot and if you sat down and watched all the lessons in one go over several hours, this could get on your nerves a little bit.
Overall, well worth investing in if you want to add a bit more spice and texture to your sewing projects. Especially good for bags and home decor I think.
If you like the sound of the class, you can enjoy an exclusive So Sew Easy 33% discount – just $19.99. Read more about it here –>
If you like the sound of this class and want to find out more, please use this link to claim your 33% off the class price - just $19.99.


Thanks for the review Deby! I’ve been eyeing this class, but hadn’t taken the plunge yet.