


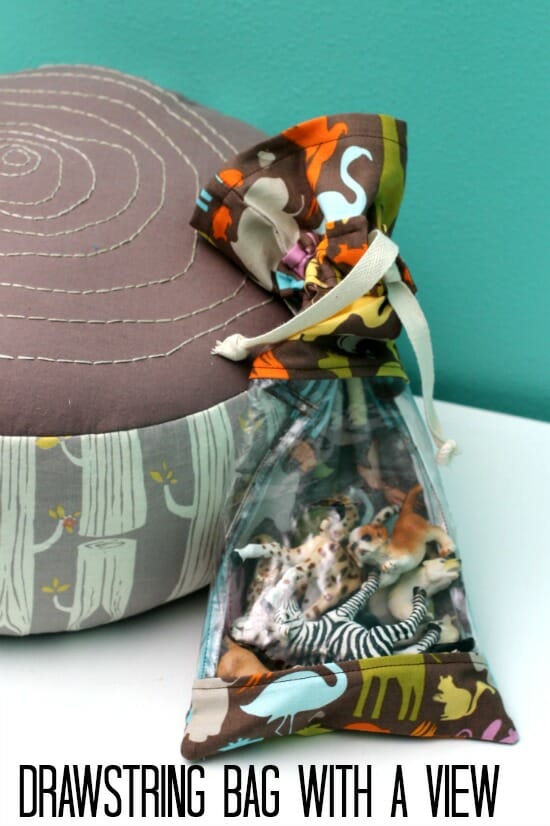
Hi, Stephanie from Swoodson Says – a new year brings renewed organizing and decluttering energy, so I have the perfect tutorial for you –a simple drawstring bag with a view!
The older my son gets, the more small toys we have building up, so I sewed up a drawstring bag with a vinyl window. I've found kids love seeing things peek out at them – the most played with toy in our house is this camera softie, it has a vinyl “view-finder” on the back!
I put the drawstring on the outside so it is a little more durable, enclosed all the seams so it's neat and pretty, and added a loop on the back so it can be hung up. The animal fabric I used goes perfectly with his log slice pouf – you can see more pictures of that project here.
Because this small sewing project uses only regular shapes like squares and rectangles, you can measure and cut the pieces of this simple drawstring bag without a sewing pattern.
Are you ready to sew some organizing bags for yourself? They'd be great for makeup too!
Supplies
- 1/4 yard of quilting cotton
- 1/4 yard of vinyl (I use scraps from bedding bags and packaging!)
- 1 yard of twill tape
- Bodkin or safety pin
- Iron
- Sewing machine & coordinating thread
- Scissors
- Press cloth
Steps to make the simple drawstring bag
Use 1/4″ seam allowance, unless otherwise indicated. Use a press cloth when pressing vinyl portions.
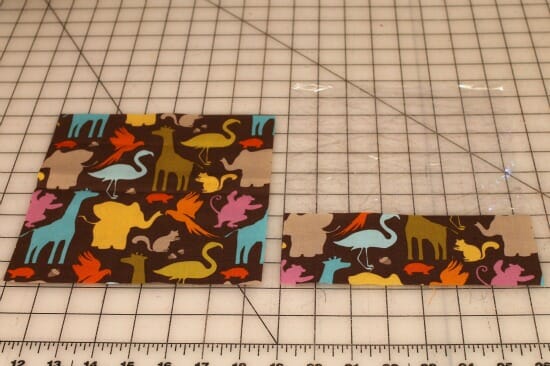
1. First, we will assemble the front panel. Cut a vinyl rectangle measuring 7.5″ wide by 6.5″ tall. Cut two cotton rectangles, one 7.5″ wide by 8″ and one 7.5″ wide by 3″.
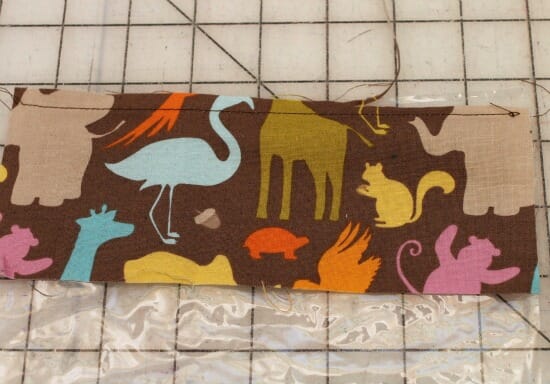
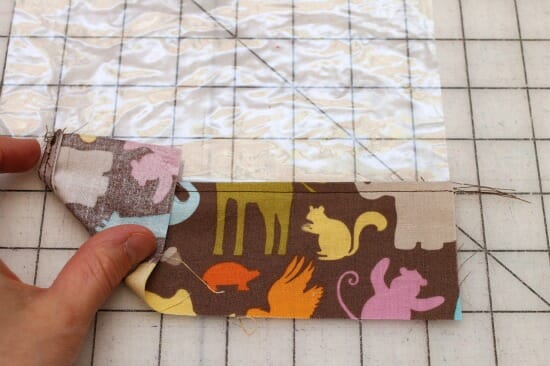
2. Sew the vinyl and smaller rectangle, wrong sides together. Trim 1/8″ off of the seam allowance.
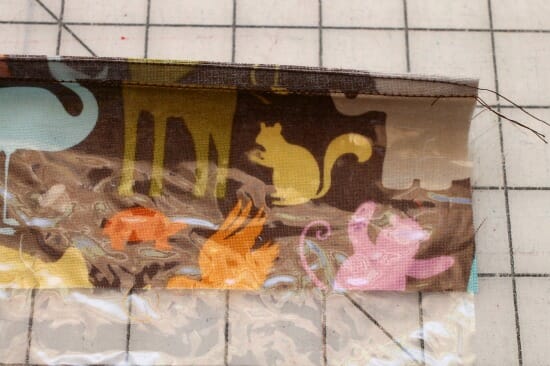
3. Push the seam allowance down, finger press, and place right sides together and sew.
4. Press the encased seam allowance down, away from the vinyl. Topstitch. Repeat the same french seam process for the top rectangle, creating the final front panel.
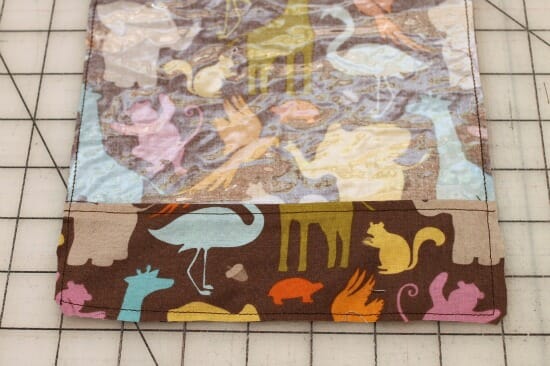
5. Cut a second fabric rectangle, measuring 7.5″ wide by 14.75″ tall. Place wrong sides together with the front panel you just created, sew along all three sides leaving the top open. Trim the bottom corners and trim 1/8″ off the seam allowance. Flip inside out, press the seams, and sew again, repeating the same french seam procedure. Turn right side out and press.
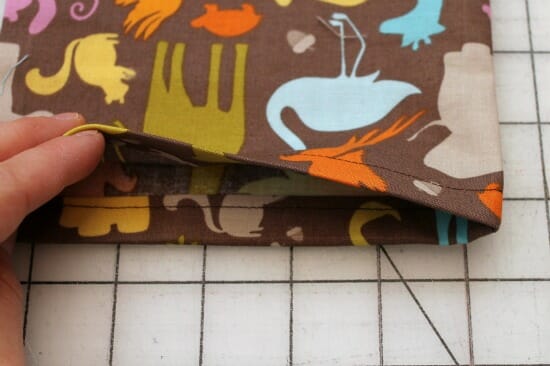
6. Press the raw edges on the top 1/2″ down, and then 1/2″ down again, encasing the raw edges and pressing the seams towards the back of the bag, away from the vinyl window. Top stitch and press.

7. Cut two rectangles, measuring 12.5″ wide by 2″ tall. Sew them right sides together, leaving a 2″ opening to turn. Trim corners, turn right side out, and press.
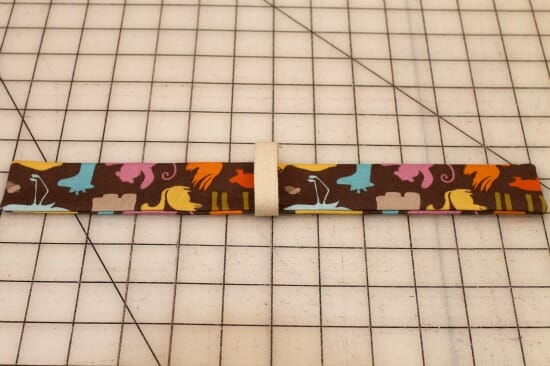
8. Cut a piece of twill tape 3.5″ long and sew it in a loop at the middle of the rectangle.
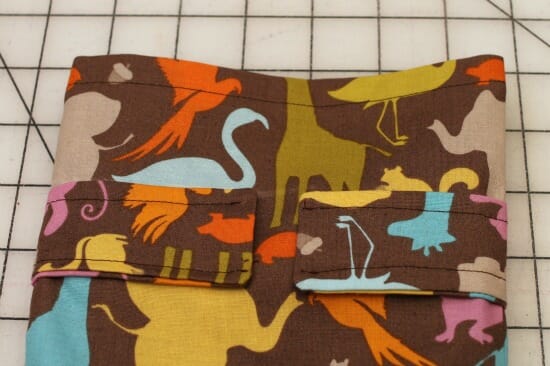
9. Sew your rectangle 2.5″ below the top edge, 1/4″ from each long edge and leaving the short ends open, roughly 3/4″ apart from each other. Cut a 22″ piece of twill tape, knot each end, and use a bodkin or safety pin to thread it through, tying in a knot to close!
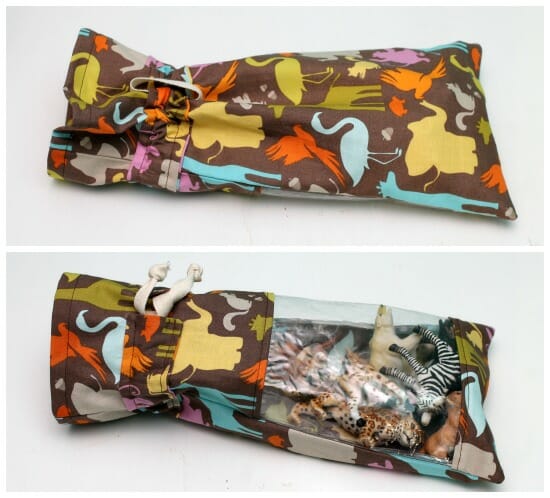
Ta-da! You now have the perfect bag to stow toys, trinkets, game pieces, makeup, or toiletries.
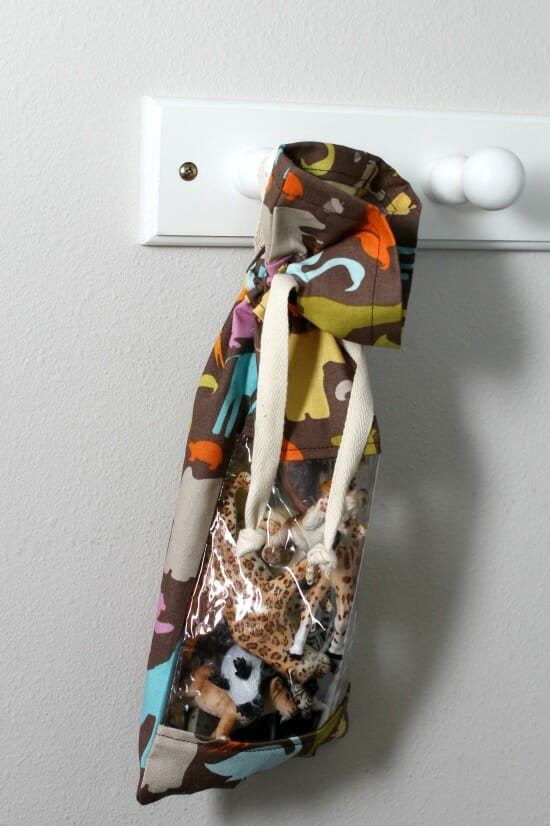
I love when I can hang things up – off the floor is always better in my book. If you're thinking of giving this simple drawstring bag as a gift and looking for ideas to fill the bag, check out my monster finger puppets or woodburned matching game!
If You'd Like To Support Our Site
If you want to help us continue to bring you a wide selection of free sewing patterns and projects, please consider buying us a coffee. We'd really, really appreciate it.


[…] Check the FREE Tutorial HERE […]
How did you know just last night I was designing (when I should have been sleeping) a similar bag for the dolls I refurbish and dress and donate to Dolls for Appalachia? This is a charity to give the poor children in our poverty -stricken Appalachia wonderful dolls and Teddy Bears all year long. I wanted to make it easier for the woman who coordinates this project to see the faces of each doll without having to open every bag. This way she can decide the age range for the recipients. Thank you very much.
Rainbow lorikeets! I have a soft spot for this guys 🙂 Adore them! So great how you are involved in such a good cause 🙂
This is a great idea, been looking for a way to package items cute for giveaways for a moms in need baby shower I’m throwing this summer. This is way better than packaging everything in cellophane as bags can be reused for baby items or essentials , so nothing tossed in the garbage.
Will use your idea but need to make the bags way bigger for my giveaway gifts, and gonna use heavy duty clear shower curtains for mine 🙂
Thank-you for the inspiration!
I would like to have had another chance to enter for the fabric.com giveaway, but I could never find the site again…please tell me how I might have found it. I entered once,but planned on entering everyday…I think the drawing is the 26th? ..I am disappointed.
Hi Anne, not sure what is going on but here is the link https://so-sew-easy.com/new-fabric-com-giveaway-50-winners/
This bag was fun to make. It did take me a few minutes to figure out just how the French seam was suppose to work! When I put the rectangle on, I pin it around so it ends at one seam and then I mark on the rectangle where the other seam is. I put a button hole at that mark and then sew the rectangle on. I like a pull string at each side seam because it pulls together easier and more fully closes.