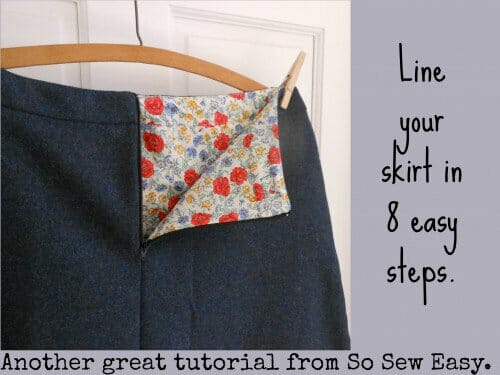
 We will be continuing with sewing the skirt lining, the second part of our Easy Pleated Skirt Pattern sew-along. You will need the first part of this series if you're just seeing this episode for the first time. You can download the FREE pattern below if you missed it but you will still need the instructions from Part 1.
- Part One: Print, cut and sew the skirt and pleats.
- Part Two: How to sew a skirt lining with an invisible zipper. (YOU ARE HERE)
- Part Three: How to make pleats and hem a pleated skirt.
- Part Four: How to fit and alter the pattern to make the skirt bigger or smaller.
Pattern Download:


You can download the pattern for this Easy Pleated Skirt from our account at Payhip.
For help downloading and printing PDF patterns, please CLICK HERE.
I have received a few questions and on why and should you add a lining to a skirt. I am going to be straight with you, ultimately it's your decision and your budget that will dictate whether or not to use lining. A skirt lining is a misunderstood item and it is sometimes viewed as a superfluous annoying extra step to get rid of.
However, you have already put the effort on picking fabric, deciding on a project, printing and pasting a pattern together, fitting and sewing time. After all this, why would you skip on the lining?
When and why use a skirt lining?
While it is an extra step in making a skirt, adding a skirt lining is important in my view for the following reasons. A skirt lining:
- covers interfacing, interlining, finishings, boning, and internal seams that otherwise would make the garment feel unfinished
- provides extra warmth in cool weather
- keeps you cool and absorbs sweat when using synthetics fabric on the outside and cotton on the inside
- prevents a lot of friction, wear and tear, and lengthens the wearability of a garment
- adds elegance to a garment and make it look professionally made
If you are making the easy pleated skirt in any of the following fabrics, please add a skirt lining: cotton, sateen cotton, silk charmeuse, linen, twill, gingham. Personally, I would line cotton quilting as well, regardless of the color as it is in this beautiful dark print. I want the skirt to look fun, elegant and well made inside and out, so a lining is imperative.
Best fabrics for lining:
You have a lot of options when choosing fabric for a skirt lining. Here are my thoughts on what to select:
- Silk and silk satin is the best option when you need to keep warm in winter and cool in summer and when using wool, fur, and leather.
- Cotton, cotton batiste, fine muslin (cheese cloth), or light linen for keeping cool and when sweat absorption is the required as in fabric for children's wear.
- Polyester satin a very cheap alternative to line pants, skirts, coats and jackets and is the preferred fabric for ready to wear clothing.
- Acetate is the most durable lining fabric of all, with the drawback of shrinkage and retaining perspiration.
For a skirt lining quick reference guide on the main lining fabric option, please check out this additional tutorial on How to line a skirt. Also, these lining materials are usually slippery by design and the fabrics can be difficult to sew, so please follow these tips to make your life easier.
Method for attaching a skirt lining
There are three methods:
- By hand sewing, mainly used in Haute Couture garments and see-through delicate fabrics.
- By machine sewing, we can see a sample of this in this tutorial, used mostly in ready to wear, mass produced garments.
- A combination of both machine and hand. This technique is mostly used when you are using delicate fabrics and see-through fabrics. For additional information on How to hem sheer or lightweight fabrics, please check out this tutorial.
I will be showing you the third method.
Materials and Tools:
- sewing machine
- thread to match both lining and zipper
- hand sewing needle and thread
- rolled hem foot (optional). Here's How to sew a tiny hem with a rolled hem foot.
- thimble
Attaching the lining to the Easy Pleated Skirt:
Turn your skirt inside out, and mark where the zipper ends. Transfer this measurement to the lining. 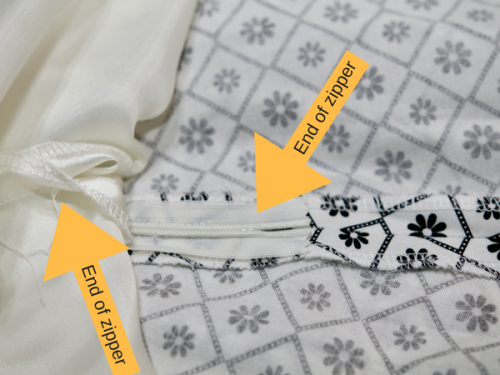

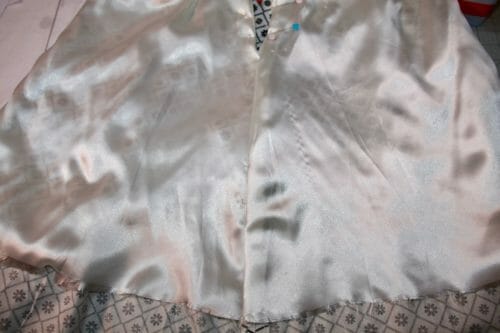

From the end of the zipper to the waist, you will use a running stitch on either side of the zipper. Thread a hand needle with matching thread. Sew 1/8″ from the zipper teeth. Attach the lining to the zipper tape.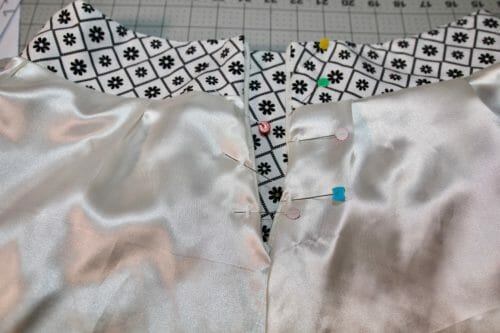

Finally, attach a hook and eye (optional).
Hemming the lining:
It's easiest to use a roll hem foot for this step. The 5mm would be the best. However, below are the instructions on how to do it without the rolled hem.
Cut off the threads that have unraveled from the lining. I am using silk satin and because it is a filament fabric it ravels easily. 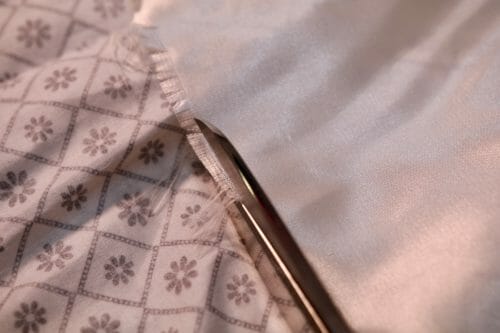

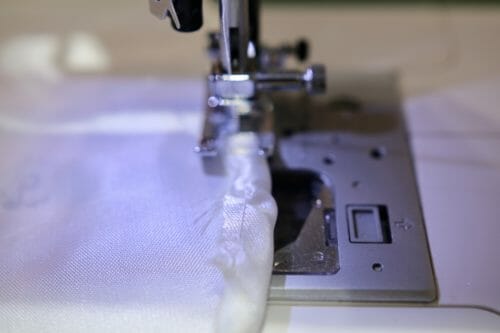
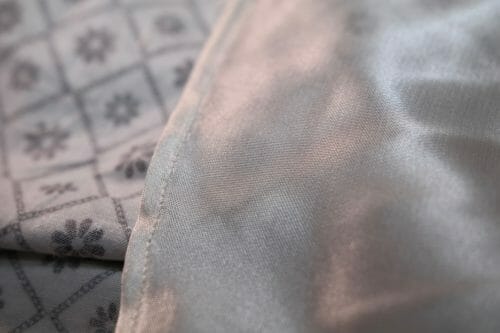
Sew 1/4″ from the edge using a straight stitch medium. With my machine, I am using the “3” stitch length. 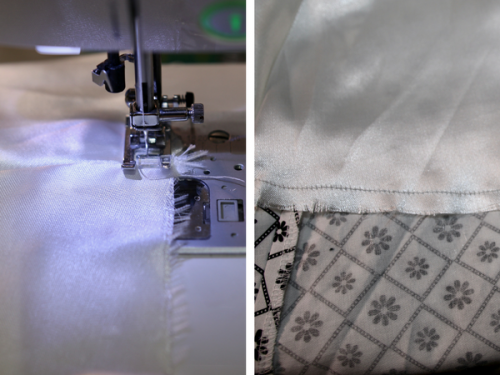

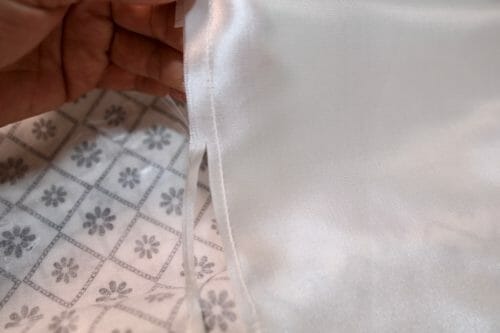

Working on the wrong side of the lining, fold the hem 1/8″.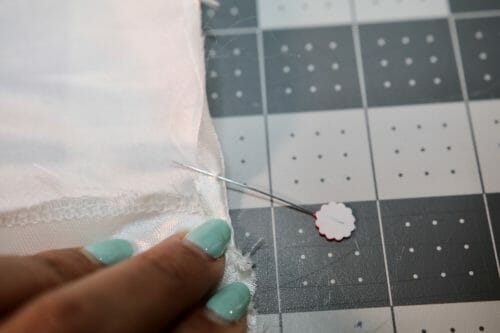


I like to start working on a hem 1/2 ” before the side seams, it makes it easier to finish the hem on a semicircular or circular skirt. 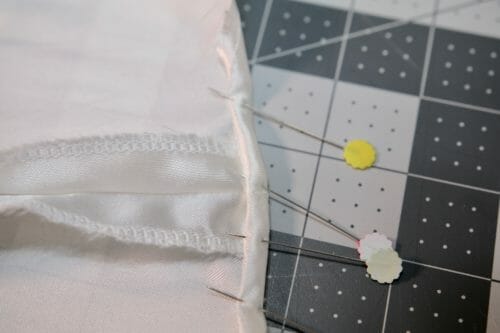

At a few points during the hemming, you will have a hard time turning the hem. 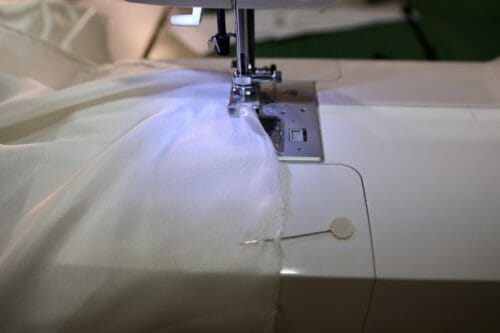



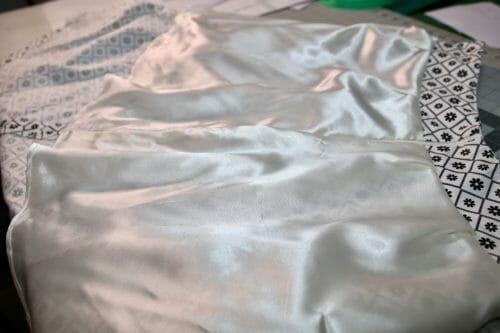

In the next step in the sew-along, we will be making the pleats and hem. Please stay tuned!
- Part One: Print, cut and sew the skirt and pleats.
- Part Two: How to sew a skirt lining with an invisible zipper. (YOU ARE HERE)
- Part Three: How to make pleats and hem a pleated skirt.
- Part Four: How to fit and alter the pattern to make the skirt bigger or smaller.




Hi Again.
Just wondering when Parts 3 and 4 will be posted.
I am patiently waiting to finish my skirt. Can’t wait!
Thanks for all your help and support.
Suzanne
Hi Suzanne, Part 3 came out a week or so ago: https://so-sew-easy.com/how-to-hem-a-skirt-and-iron-pleats/ Sorry you missed it then. Make sure to sign up for the news letter and you’ll get a summary of all the week’s articles. You can also sign up for instant notifications if you want them by clicking the “Get Notifications” tab on the right side of the screen. Part 4 should be out this weekend. Please stay tuned.