


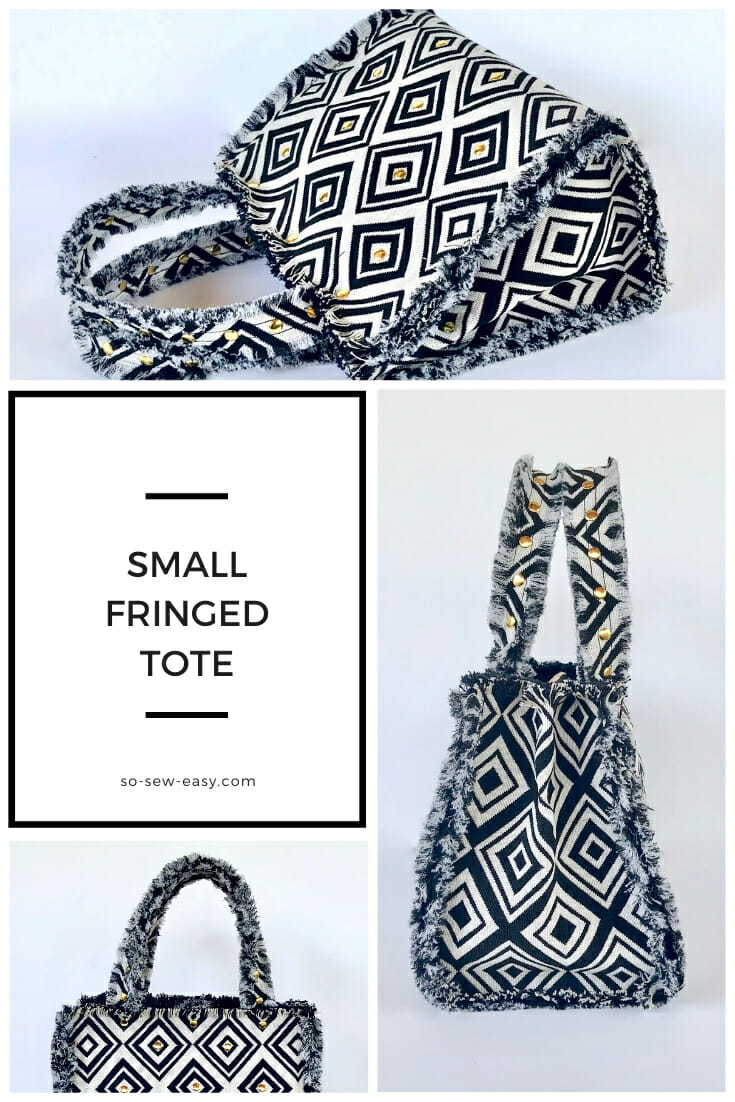
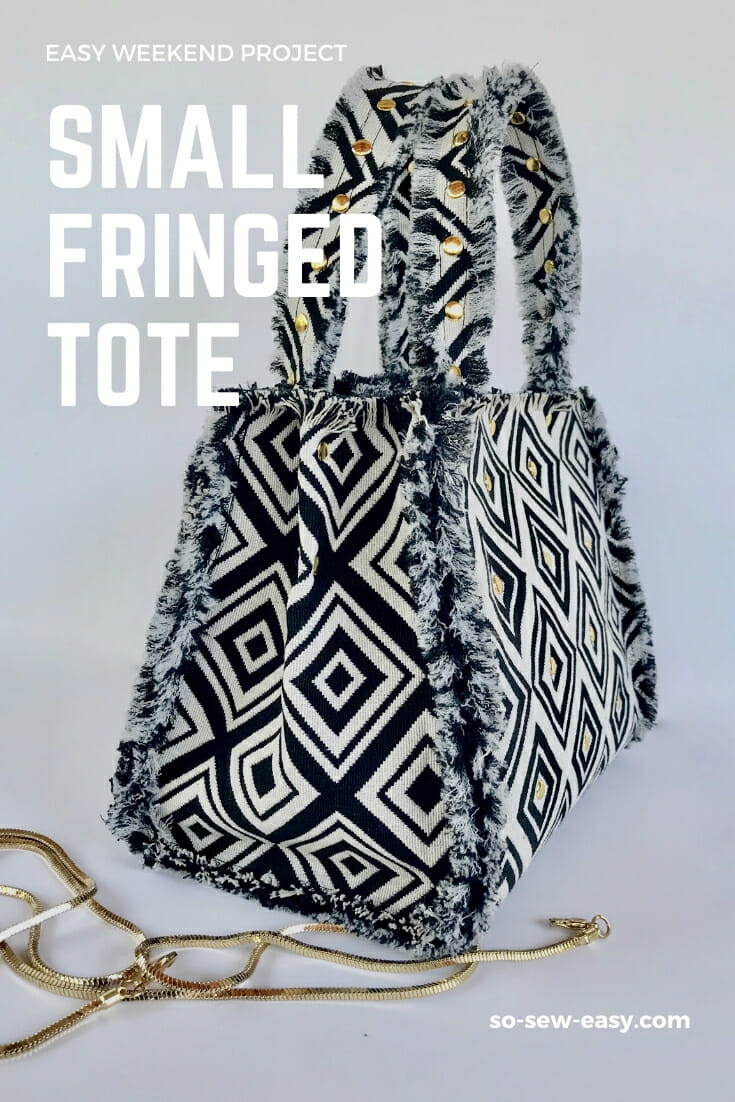
For this weekend's project, we have the Small Fringed Tote Bag pattern. Bag-making is my go-to project when I get a bit bored with making clothing. I love making bags because there is no fitting to do, plus I can push myself by using different materials and techniques as a sort of extra puzzle.
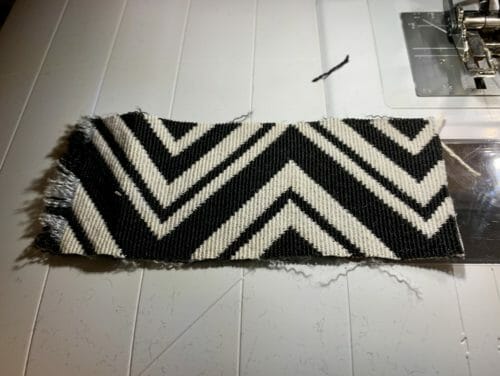
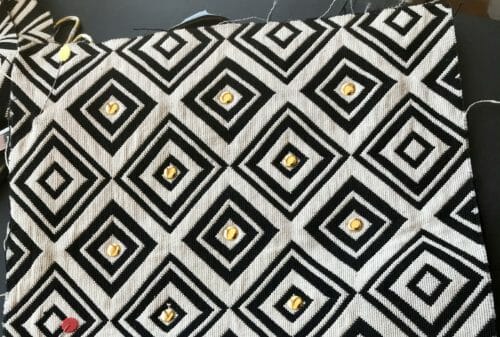
I am using woven tapestry fabric that can be used on either side. This assembly technique I am sharing with you will not work with a printed fabric. I found mine at an interior design shop that sells their leftover fabric, or offcuts. Normally these places just want to get rid of the leftovers from jobs and there are normally just a couple of meters left.
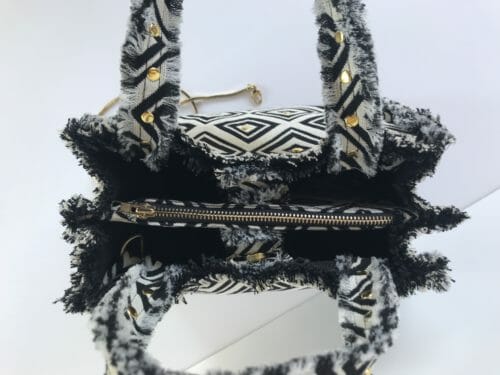
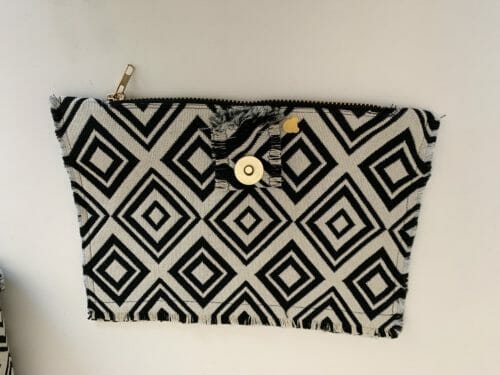
This small tote bag has an inside pocket big enough for a wallet and a phone.
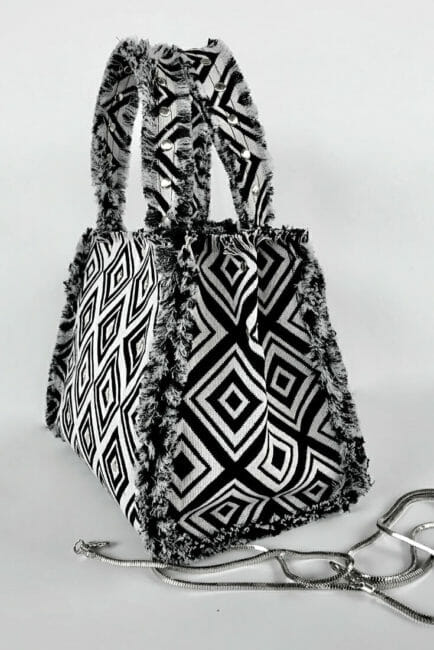
The rest of the bag is big enough for a small iPad, a book, and sunglasses. I have also sewn-in two D-rings to convert the bag into a crossbody bag so your arms are free.
Of course, you can always add more zippered pockets just by following the tutorial below.
Sewing Skill: Confident Beginner
A confident beginner who has made at least two bags from any sewing pattern. You will need the ability to sew a zipper, attach tacks and magnetic snaps and know how to use a walking foot. Other than that this is a very straightforward project.
Materials
- 1 yard of woven or yarn-dyed upholstery fabric (heavy to very heavyweight)
- 1 yard of lining yarn-dyed fabric
- Pellon mid-weight (23″ X 12″)
- 8″ zipper
- 50 tacks
- 10″ X 2″ fusible interfacing
- 2 D-rings 7/8″wide
Tools
- Walking Foot
- Kam tool
- Punch holder
- Rotary cutter
- Cutting mat
- Pencil
- Ruler
- Seam ripper
Fabric Suggestions From Amazon.com
How To Download Your Small Fringed Tote Bag Pattern
We will continue using the new Payhip web store to distribute our patterns.
Our patterns are still free, but now you have the option of making a small contribution if you like our work! We'd appreciate it, and it will help us keep going with new and fun designs like this. Even a dollar or two goes a long way.
Thanks so much in advance for helping us out. You can use any credit card, and you don't need a Paypal account, although you can use one if you have one.
Pattern Download
How To Put Together Your Pattern
This is a question I get asked all the time from new subscribers, please read through this handy tutorial on How to print and assemble a PDF pattern.
Pattern Layout
Step One: Preparing The Accessories
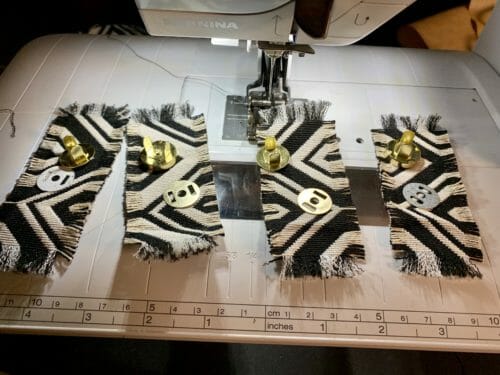
Magnetic snaps tabs:
We are going to start by making the magnetic snaps tabs, there are four.
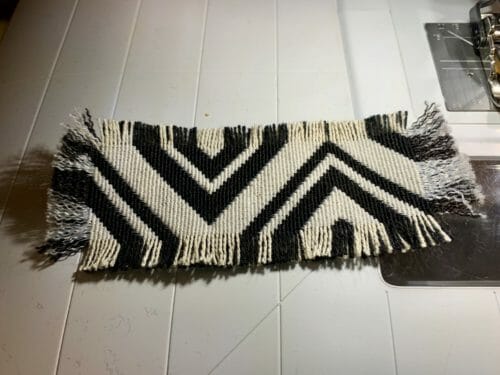
Make the fringe around the rectangle of about 3/8″ in length then zigzag around the rectangle to avoid it from unraveling any further.
Attach the magnetic snap parts 3/8″ from the center of the tab. Fold.

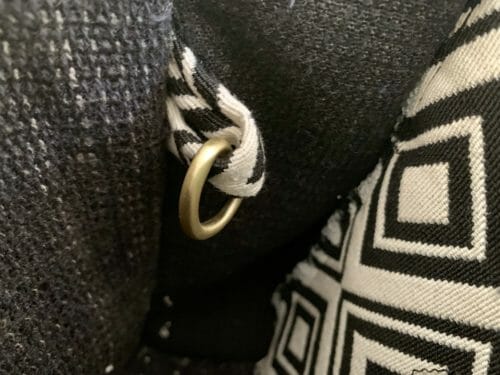
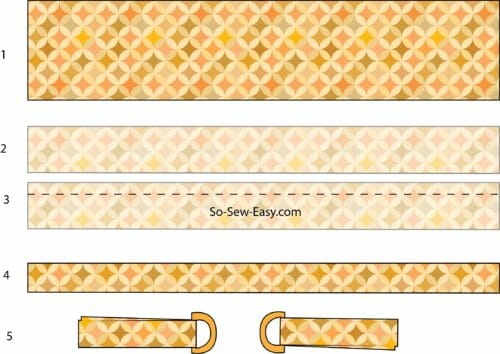
D-ring tabs:
This D-ring and tabs are going to be used either to attach keys or to make the small tote bag a crossbody bag by using a chain.
- Place the D-ring rectangle print t-side up.
- Fold print side facing each other.
- Sew at 3/8″.
- Turn and cut the tab in two,
- Thread the d-rings and put them aside.
Middle zipper pocket:
Fuse the fusible interfacing in the middle of the zipper pocket rectangle. Draw the slit of the zipper.
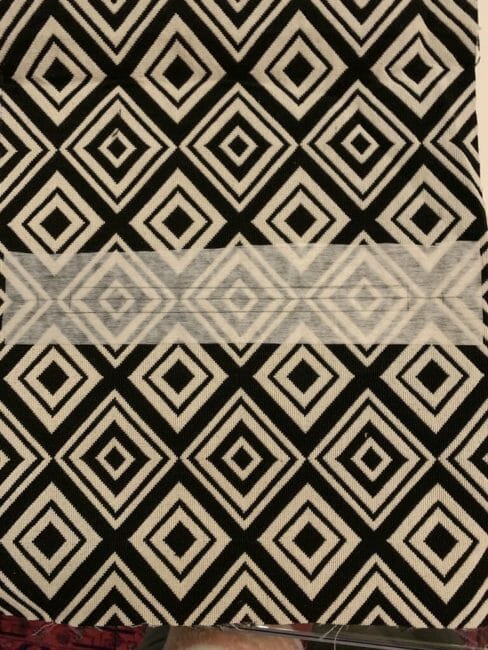
Sew around the zipper opening, cut and iron the fabric towards the wrong side of the fabric.
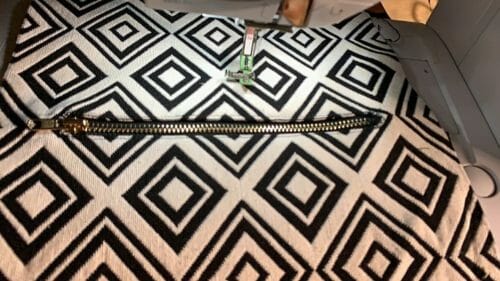
Place the fabric over the zipper and sew around the zipper.
Turn the pocket wrong sides together and sew on the sides. Grab two of the magnetic tabs and sew one on each side of the zipper pocket. Fringe the sides. Put aside.
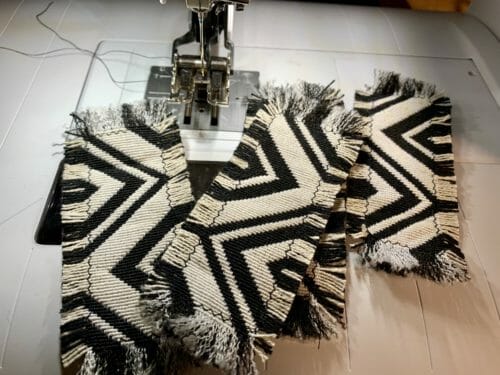
Fringed Handles
I've put the tutorial for making the fringed handles in a second tutorial so it can be used for this or for other bags. Please follow the tutorial on the link below.
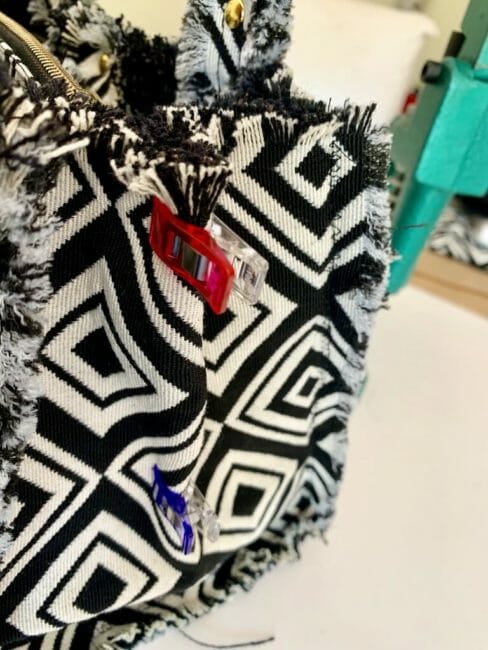
Step Two: Assembling The Bag
Lay the fabric print side down, with yarn-dyed, jacquard and any other fabric where the print is part of the weave sometimes its difficult to know which one is the right and wrong side. In my case, it is a matter of taste. I have chosen to use the lighter side of the fabric.
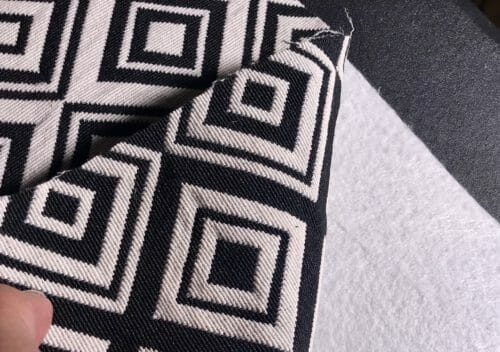
Lay the Pellon on top leaving a 1/2″ around the margin. Iron.
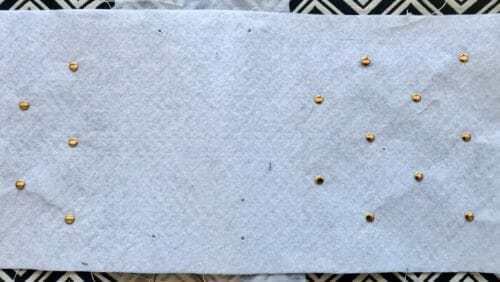
Attach ten tacks on the front and 10 on the back of the small tote bag. The amount will differ depending on the pattern of your fabric.
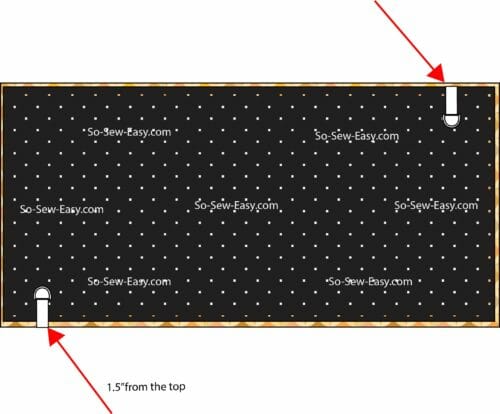
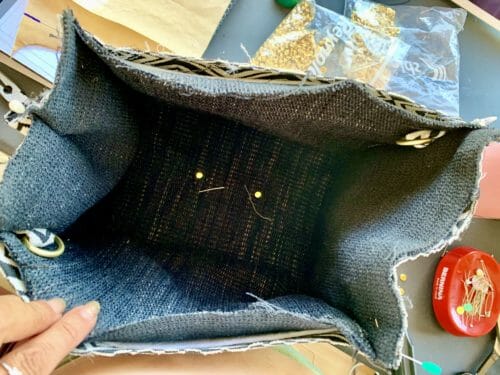
Lay the lining right side up, on top of the Pellon, pin in place.
Place the D-ring on the opposite corners.
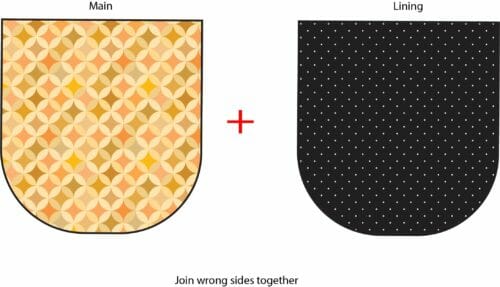
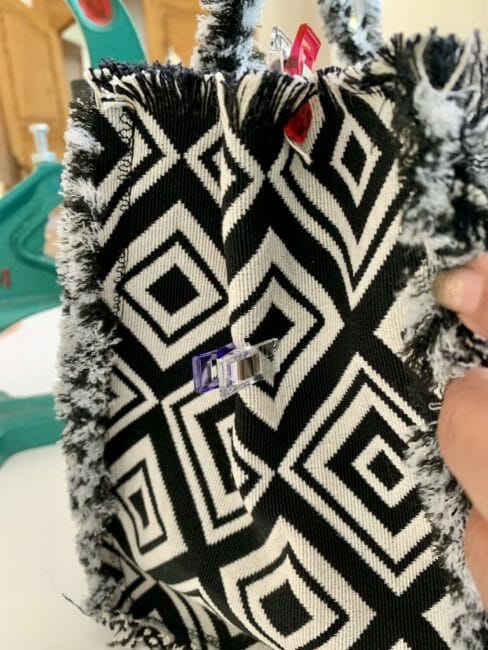
Pin the gusset of both the main fabric and lining wrong sides together.
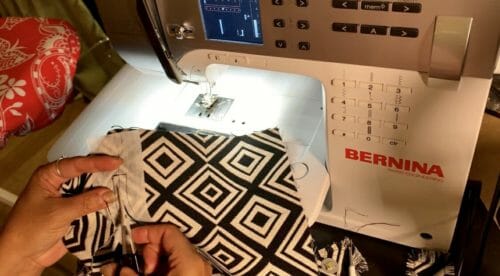
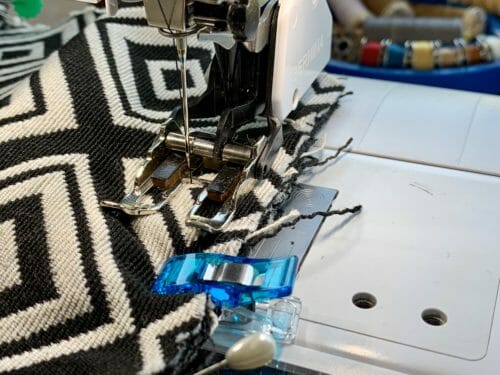
Join the gusset to the main body of the bag and sew at 1/2″ on the outside of the bag.
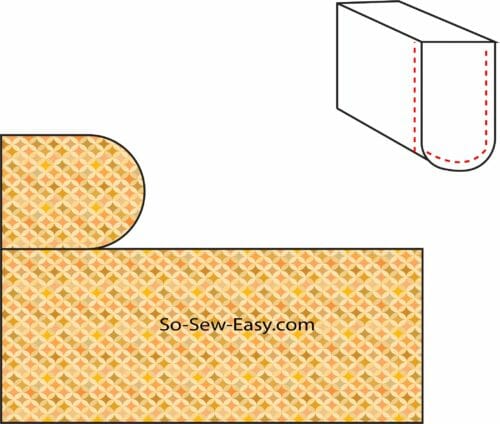
Sew the tote the gussets to the main fabric using a 1/2″ seam allowance, you will need your walking foot to be able to handle all the layers.
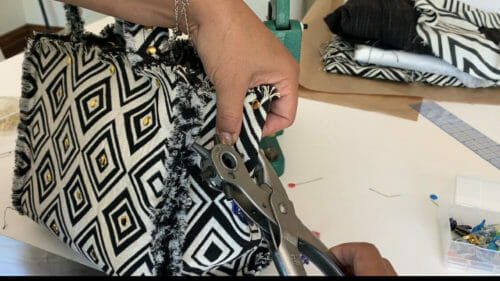
Pull the threads out of all edges leaving a 3/8″ fringe. Attach the other two sides of the magnetic snap tabs.
Step Three: Adding The Zipper Pocket
Insert the zipper pocket and pinch the gusset trapping the side of the pocket.
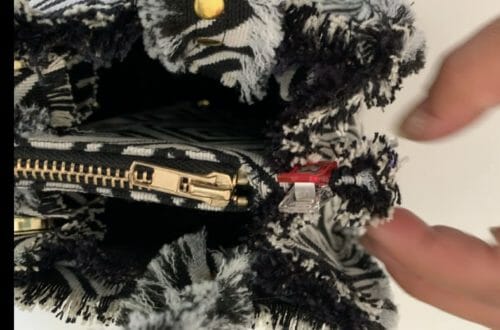
I have used two tacks here but you can sew you would like.
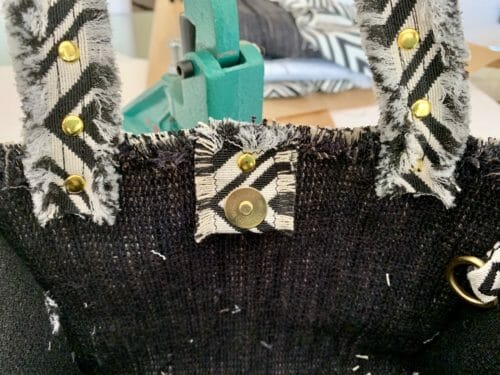
All that remains now is to attach the handles. I am again using tacks but you can sew if you would like. Align the handles leaving 3 1/2″s of space in the middle.
In case you are wondering, you can use this small fringed tote bag pattern without the fringe, in leather, vinyl, cork, or canvas fabric.
And That's All
I hope you find this small tote bag pattern useful. This will make for a very chic bag for any of the ladies or girls on your gift list.
As always, leave your comments and questions below, it is really the best way to get in touch with me since I read just about every single comment.
Have a lovely week ahead, Happy Sewing!

Need another little fringed crossbody bag or purse? Especially one that's quick and easy to do? Check out the videos below!


Thanks for sharing! I have been gifted a gigantic collection of woven tapestry fabric that I had no idea what to do with… fringed bags is the perfect project! Great tutorial!
Wow, how lucky you are; happy the project inspired you. Let me know how your bags turn out.
Cute Bag.
Thank you!
I think the Small Fringed Tote is adorable.
Thank you, Mary.
Sorry I found a PDF thing so I can print. Thanks
Love the pattern and I did purchase it, but the instructions are not included. I’m disappointed about that as I have a hard time without printed instructions. I do not like working from a computer screen. 🙁
The print-friendly button is on the left of the article.
The bag is adorable! What are the finished dimensions?
Love this little bag what size rivets did you use, I have the Kam tool just need to get die set & rivets
Hi Anne, I used 10mm rivets. Just big enough to add some bling.
Love the pattern I have the Kam tool, can I ask what size rivets did you use?
I used 10mm rivets. Just large enough to add a bit of bling.
Where can I can get a kam tool and the metal kams? I have a tool for plastic ones. Will that work for metal?
Here is a tool kit that you can purchase that includes the rivets and the tool.https://amzn.to/2RkKvVH and here is the link to the machine I have https://amzn.to/2RkKvVH
I love this purse. I was thinking of using a thick vinyl. Should it still be lined?
If you use vinyl do not leave the edges exposed that would look bad, you will have to sew the traditional way, then see if you like the seam exposed if not do line it up.
I have searched the whole site. I cannot find “Fringed Handles: this part will be covered on Tuesday.” anywhere. I can probably wing it, but I usually prefer to see the designer instructions before I take any shortcuts.
Hi, those instructions will be posted this coming Tuesday. Please check back then.
CANT wait to make this OOT right now but need to get home and this will be my first project. Thank you for your kindness.
My pleasure Vickie, enjoy the project, I would love to see your bag if you have Instagram, please use #soseweasy and I am sure to see it. Have a lovely Sunday!
I’m wondering how this would look in denim.
Perfect!
i know it would be the best thing to move around with….take it on
Wow! What a sweet pattern! I can’t wait to make one! Love the insert pocket- that’s a new skill for me! Thanks and bless you for the inspiration and pattern!
I take your blessings… thank you so much!