Hi everyone! I'm so excited to be guest blogging over here at So Sew Easy for the Seasonal Sewing Series. I am Stephanie from The TipToe Fairy. I blog about sewing, baking, book reviews, and general crafty stuff. I love to sew, especially for them. It's also my creative outlet. One of my favorite things to sew is machine applique. I love to draw out images and create them in applique.
Today, I've brought you two fun little appliques that you can make from one basic pattern. You can have Thanksgiving and Christmas covered with both.
Turkey & Snowman Applique Tutorial
Materials
Several scraps of fabric including white, black, brown, red, orange, plus feather and scarf scraps
Heat n Bond Lite – Lite will not gum up your needle.
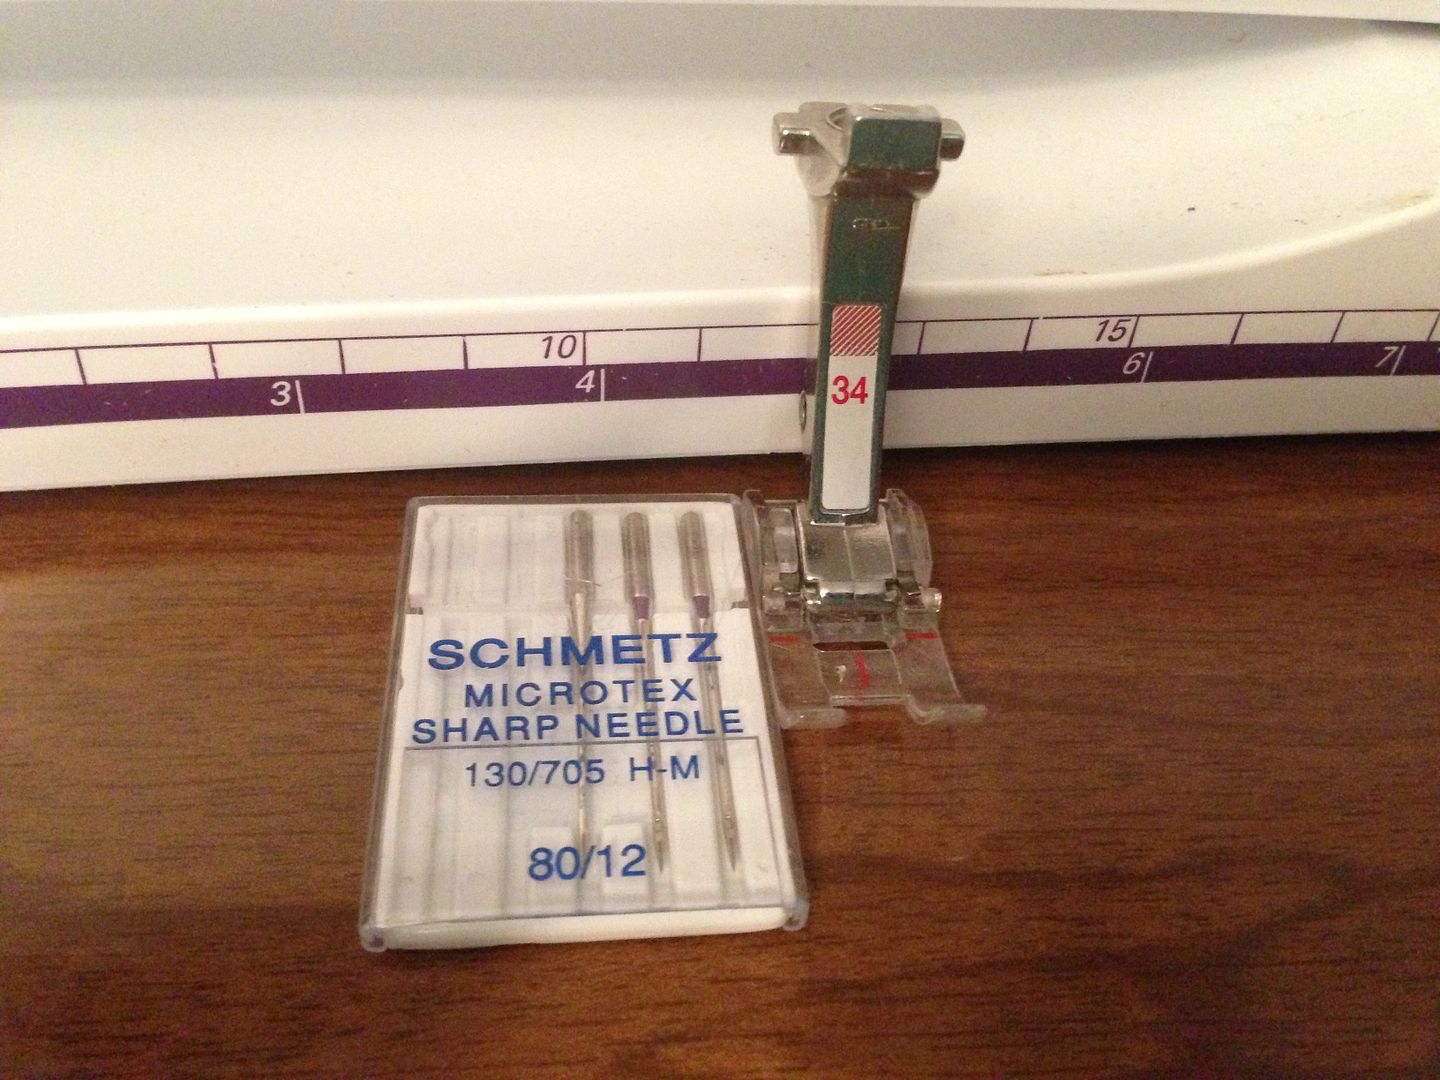
Microtex Sharp sewing machine needles – Schmetz – 80/12 or 70/10
Thread to match as closely to colors of fabric
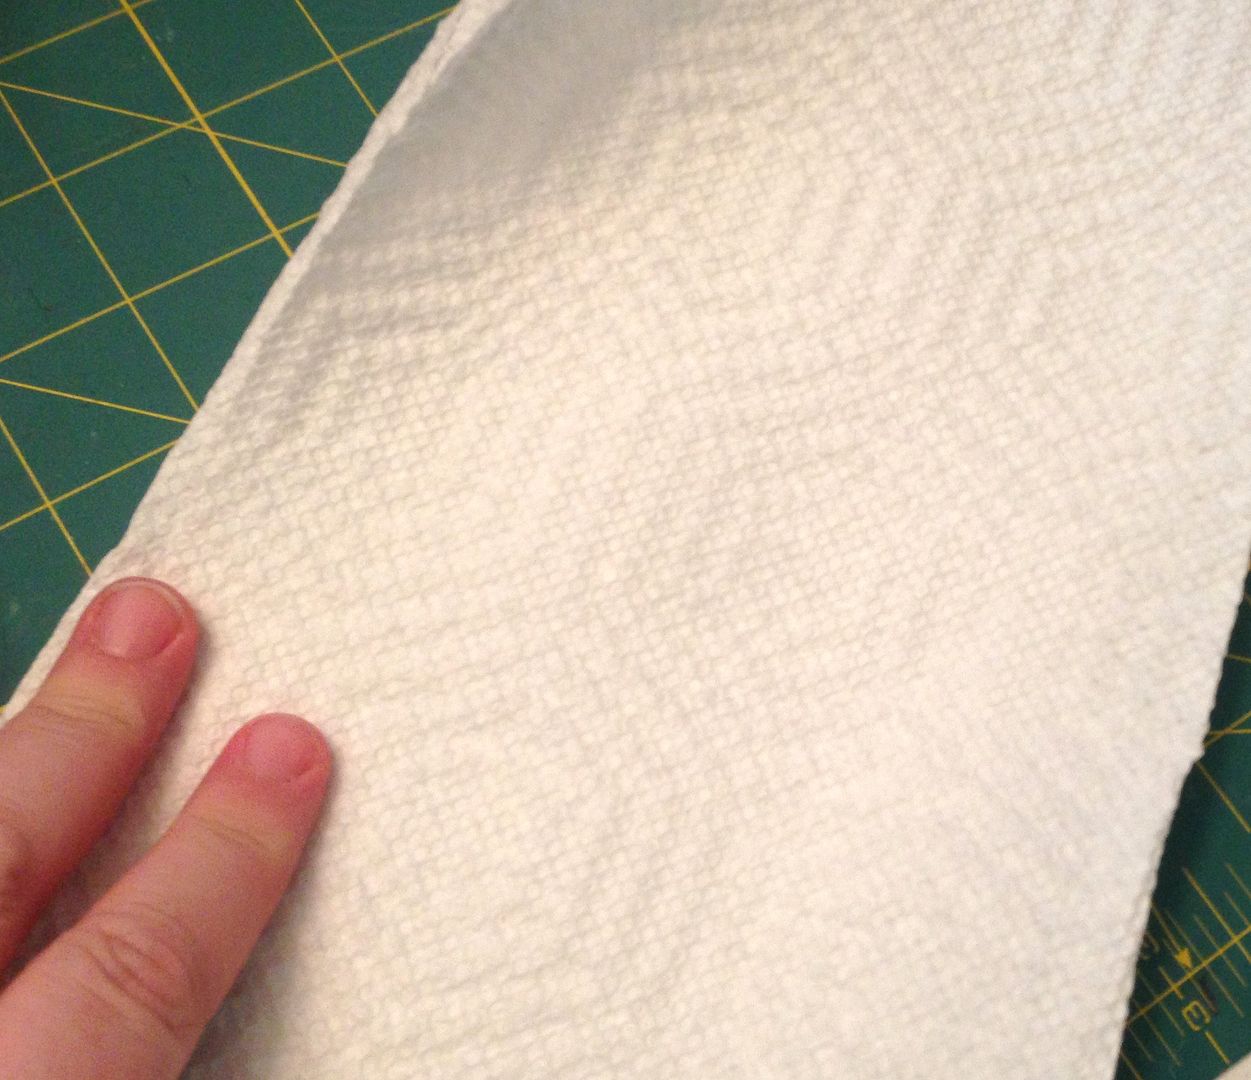
Stabilizer – I like perforated stabilizer but there is tearaway. Paper towels are great, too!
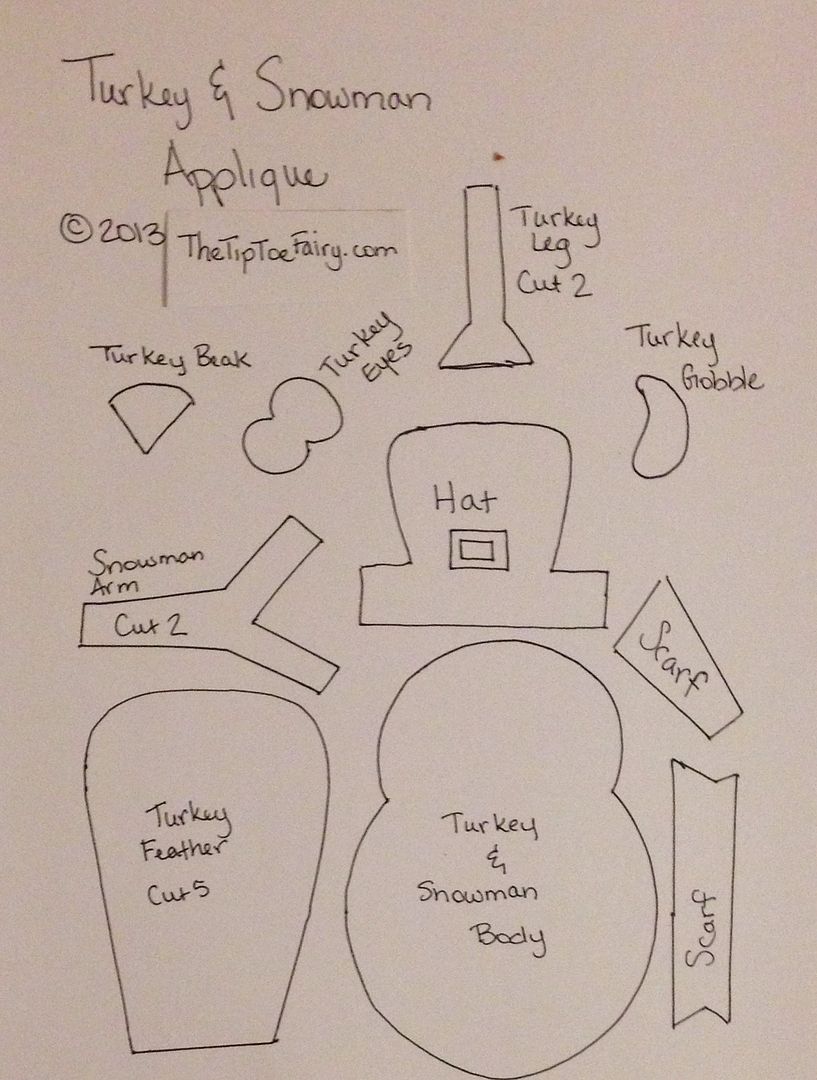
Click here to find full size pattern to print.

TIPS
1. Stabilizer, stabilizer, stabilizer. This will make or break your applique. If you attempt to applique without a stabilizer you will be extremely frustrated with the puckers, sewing, and skipping of stitches. Paper towels are the easiest thing you can use, and they work great. I have found I prefer the Walmart brand Great Value double roll paper towels — it takes only one layer to be a good stabilizer.
2. Try to match your thread as closely as possible. Sometimes you can go a shade darker because it actually looks lighter once the thread is in the applique. If you use a completely different color thread, it is more likely to show flaws and look home sewn.
3. Microtex Sharps needles. These can be found at Joann's and Hancocks. I use them for all my appliques. I've found the 70/10 work best if I'm appliqueing onto a light woven fabric, and 80/12 is good for knits or fleeces.
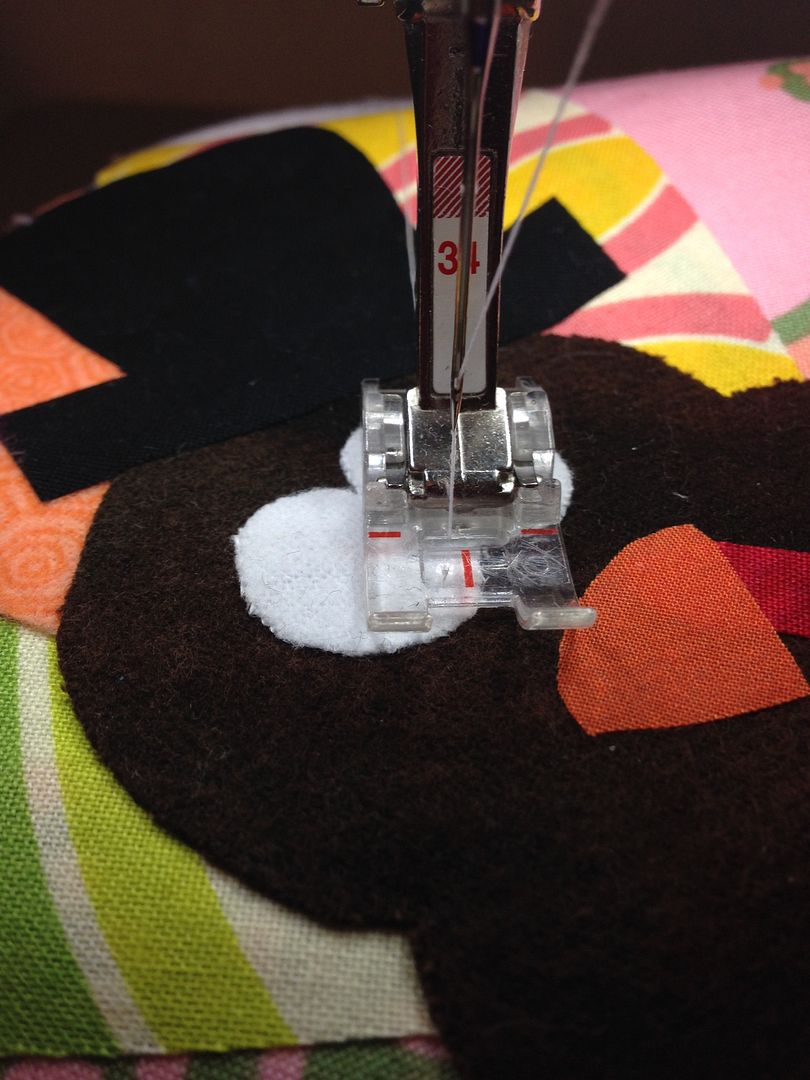
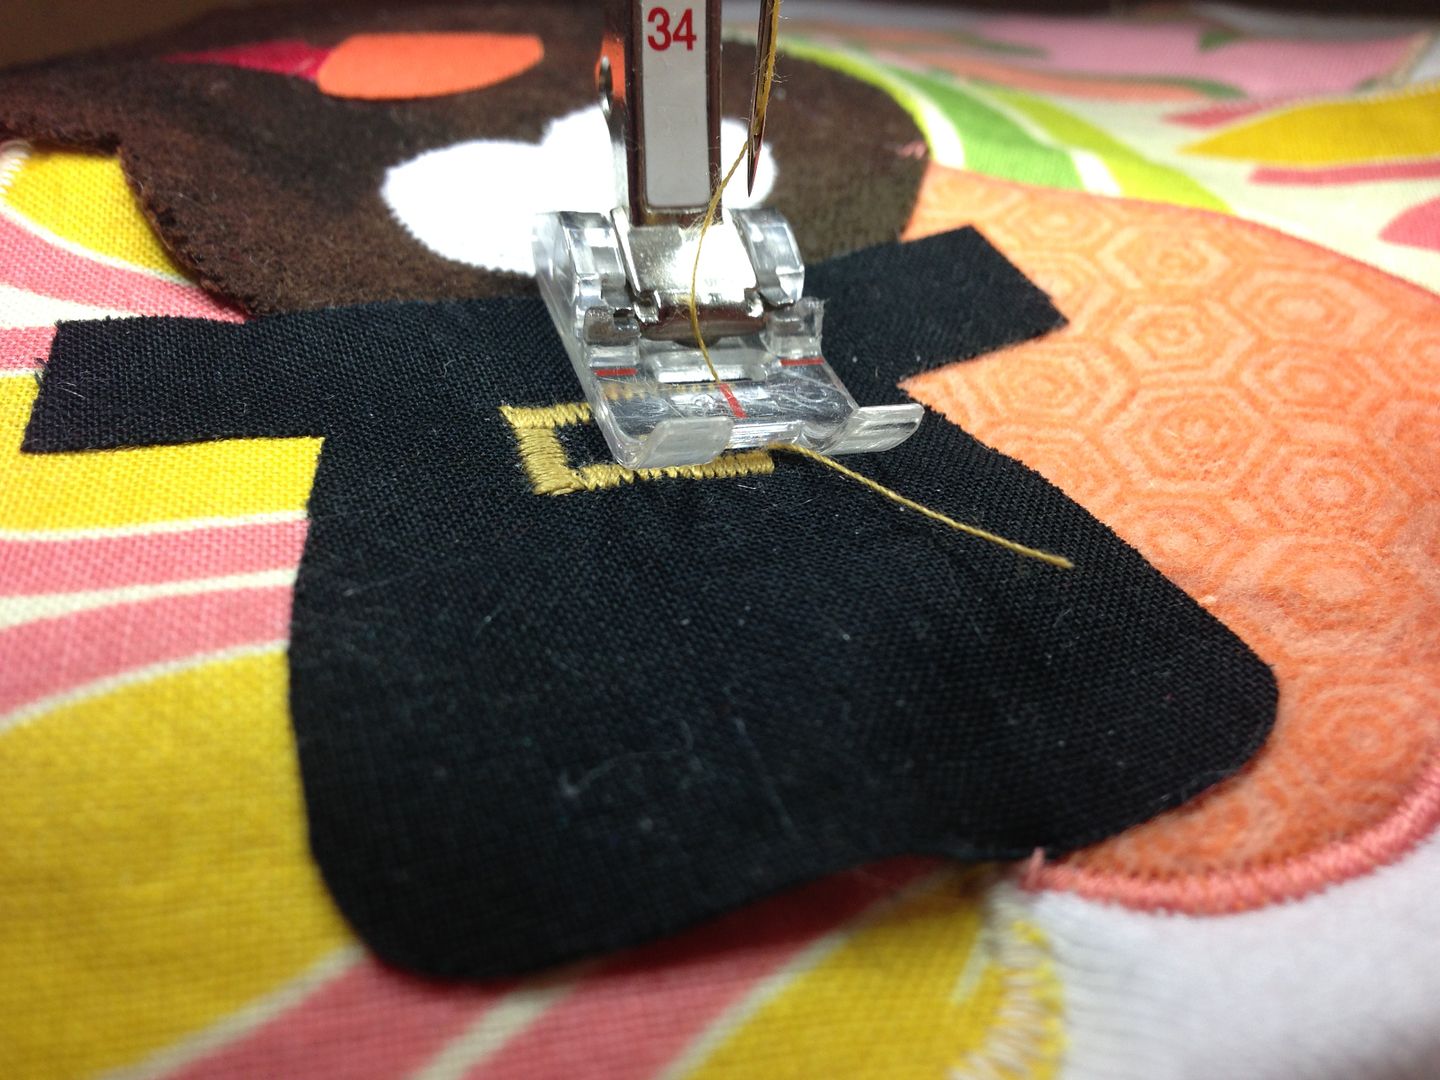
4. Another must have is a clear presser foot so you can see what you're doing. If you use an all metal food, it makes it very difficult to see what's coming up as you applique.
5. Machine settings – I set my machine to zigzag with a stitch width of 2 and a length of about 0.4. You want a nice thin zigzag. If you use a wide zigzag, it can show flaws and look wonky. I have a Bernina sewing machine, so you might need to tweak these settings just a tad for other brands of sewing machines.
6. Go fast around curves. This sounds completely counter intuitive, but it's true. The faster you go around curves, the smoother and nicer they look.
Instructions
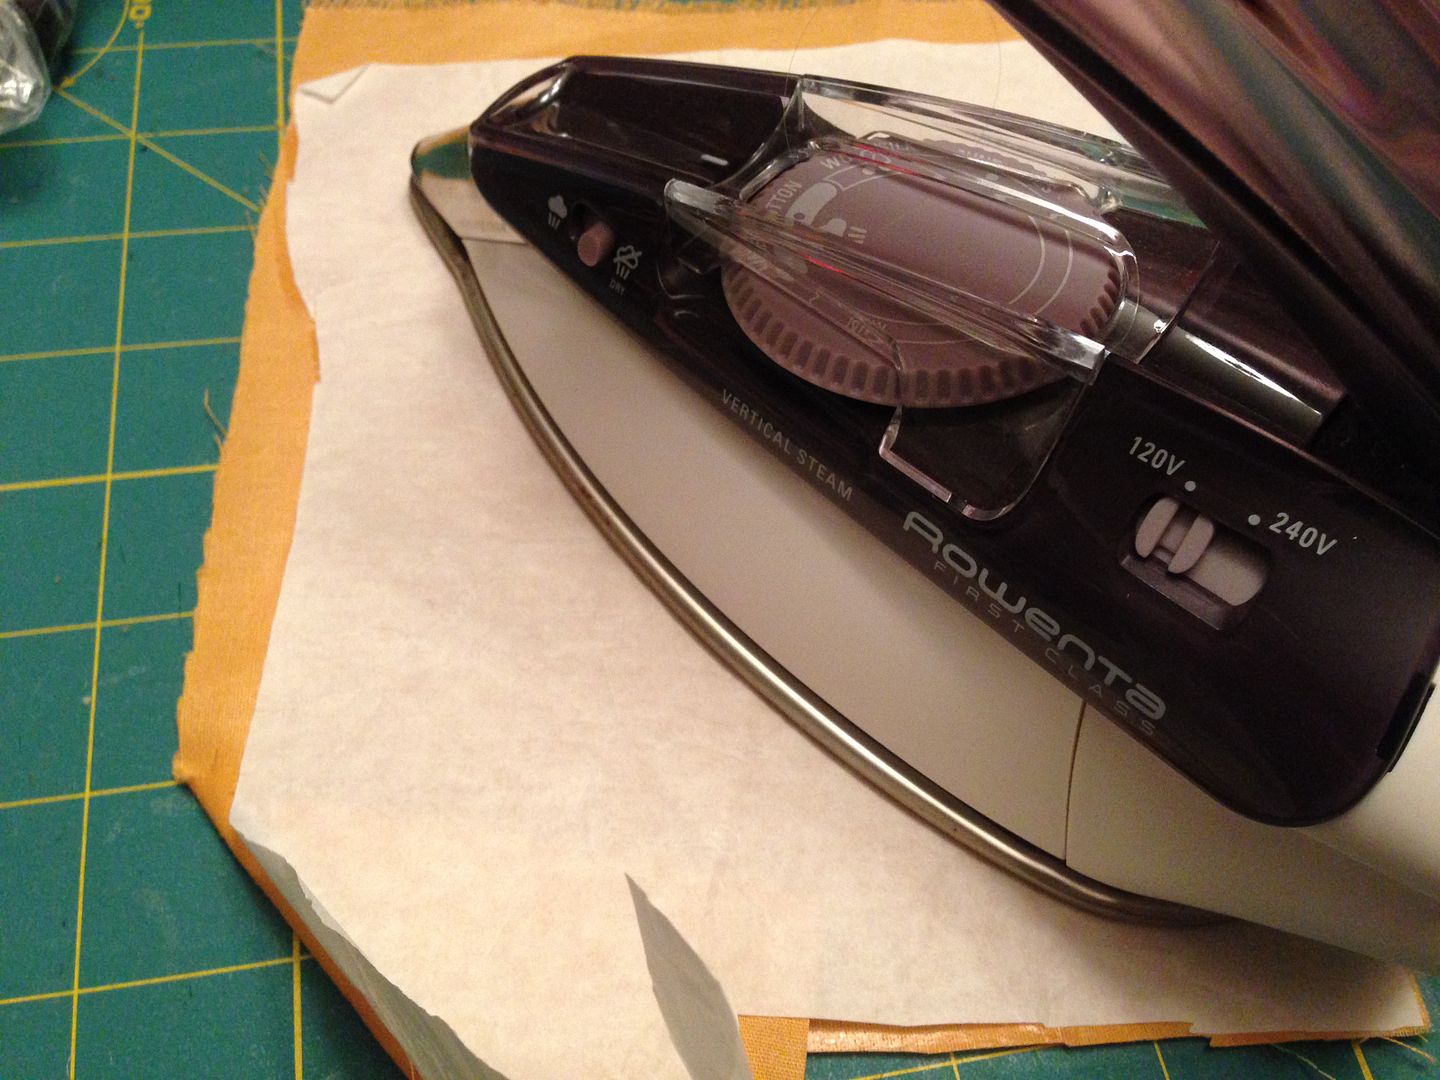
1. Iron Heat n Bond Lite to the backs of your fabrics.
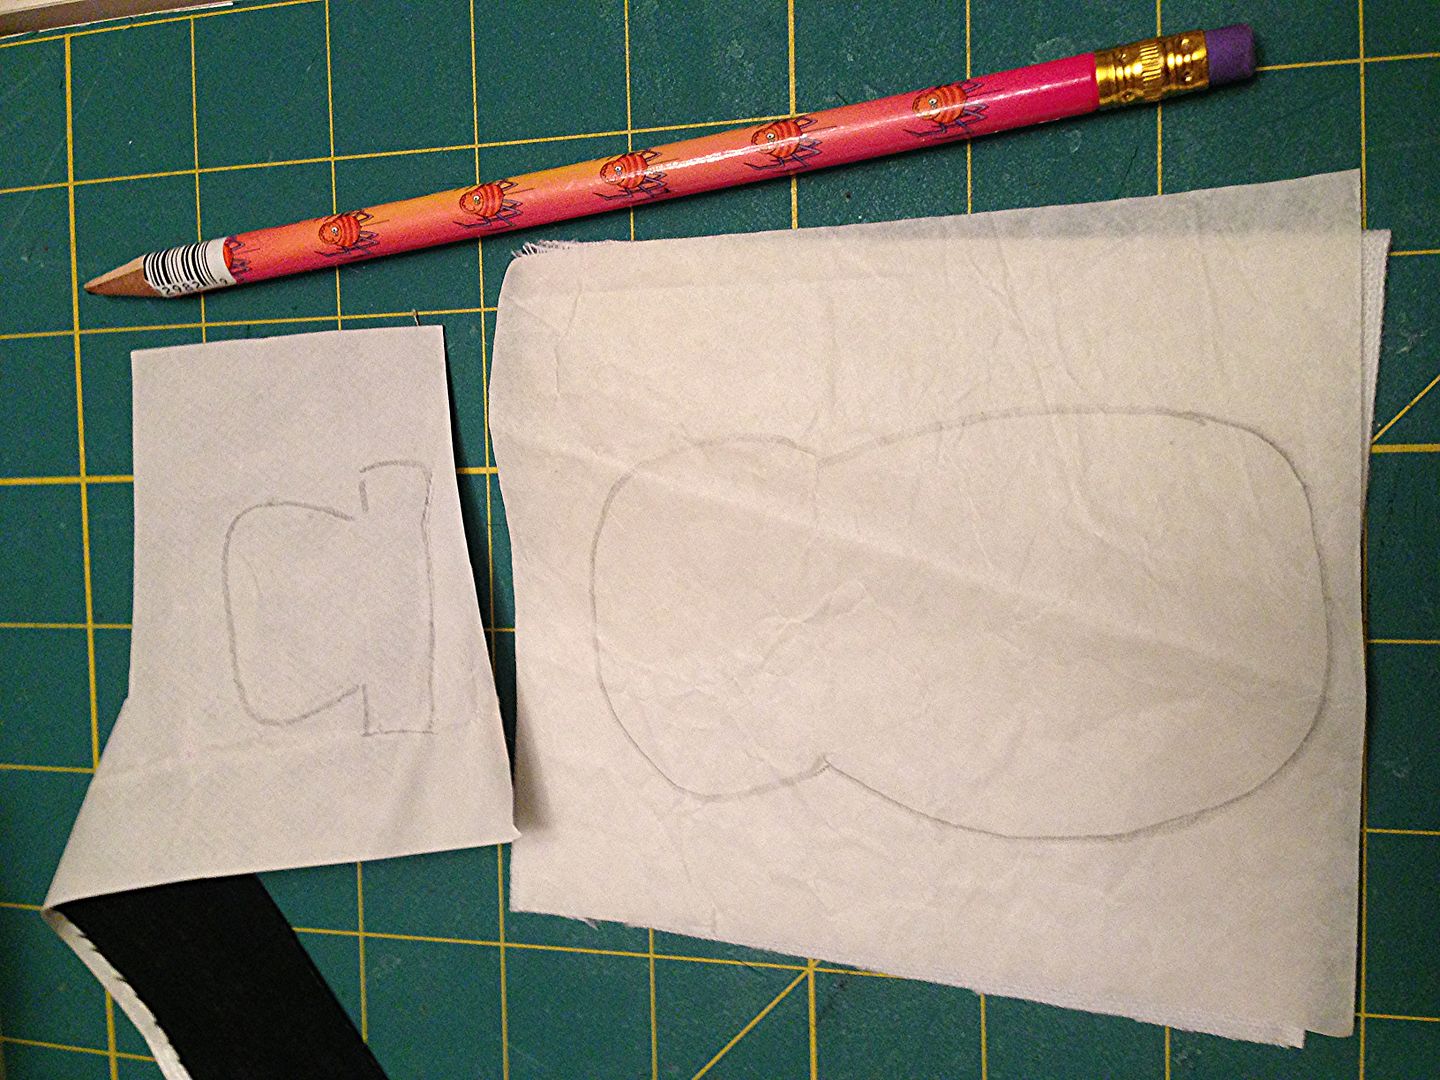
2. Keep the paper backing on the fabrics from the Heat n Bond, and then trace your designs on the backs of each fabric.
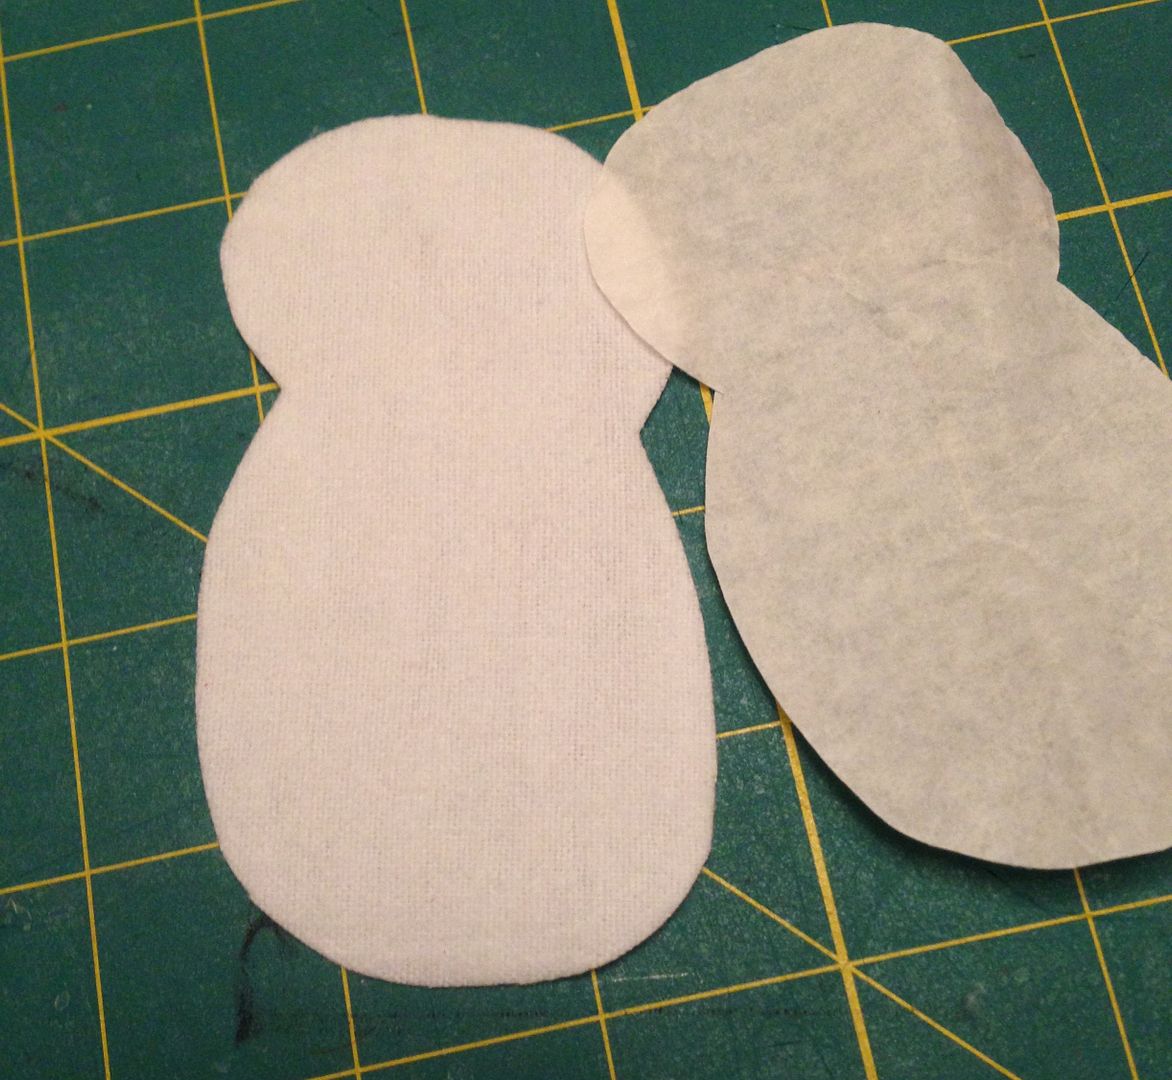
3. Cut out your designs, remove the paper backing and place on the clothing and lay them out to get your best placement.
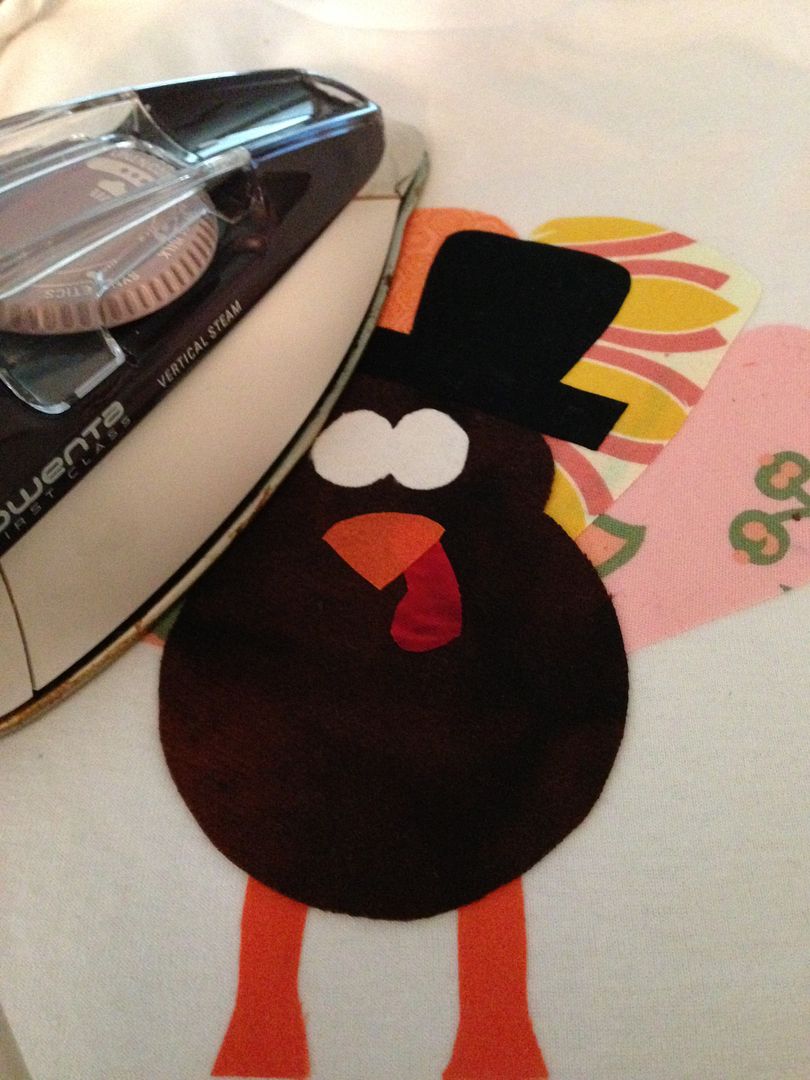
4. Make sure you like how they look before you iron. Then, iron the appliques into place. Just set the iron on each section, do not move the iron as you applique or can move your designs. Also if your iron is dirty, use an iron clothing like a lightweight towel to cover the appliques so you don’t ruin them.
5. Place your stabilizer behind the applique and set your machine up to applique.
6. You will sew the appliques in a series of what will be covered by another zigzag stitch. For example, on the snowman, you will start first with the arms, then applique the body, then the scarf and carrot nose, and finally the buttons and hat. At the end of your very last applique stitch line (this would be on the bow), do 1 backstitch, no more is necessary.
7. For the turkey, you will add a yellow applique square of stitches right above the hat brim for the “pilgrim hat” look.
8. For the eyes, there are a few things you can do. I just turn the applique sideways, lengthen the stitch to 3 and sew a short zigzag at each eye. Other options are hand sewing a satin stitch or adding googly eyes or even sewing tiny black buttons.
And that's it! You're done!





Love the designs. Great idea for a Christmas gift for little ones. Thanks for sharing. BTW- The PT you showed is Bounty Basic. I never thought of using a PT as a stabilizer. Great idea!
I’d like to make a runner for the top of our piano
for my tree skirt
I would use them on throw pillows.
I would love to do some holiday t-shirts for my little ones.
I’m making tee shirts and tutus for my nieces. The snowman with the silver/white/shades of blues tutu will be PERFECT!
I love these! Thanks for sharing them at Monday Funday. I’m pinning to our board!
These are adorable appliqués! I will use them on mug rugs,and maybe stockings & placemats!
Love the turkey and snowman. The would make a great wall hanging for the season.
Adorable! this would be a cute applique on a towel! Thanks for sharing at our Mommy Club Linky Party! I can’t wait to see more ideas and projects that you have!
I would use them on pillows or children clothing. Thanks. crystalbluern at onlineok dot com
I think they would look nice on a table runner.
I would like to use them on a mug rug. Thanks.
I usually do a towel or set each year, so will be adding these appliqués to my list this year. As far as near sea naturals, I whole heartedly agree…their fabric is luxurious!
love these little guys. i never appliqued with felt before. will have to try it!
maybe on giftbags
Hi Deby! These appliques are so cute. I’m having a “pinning good time” with them!
Maybe on a pillow
Cute patterns – I’d use them on holiday table runners. Thanks.
These designs would be great for Santa gift bags!
I have a pillow that has buttons in the corners so that I can switch out front panels … these designs would be great for making seasonal panels for that pillow!
I love appliques … quilt squares, pillows, sweatshirts.
Could use on a blanket or sweater. Really cute.
I found this applique tutorial at Carolyn’s homework link party! Great applique design for DIY holiday gifts for kids ..thank you for sharing 🙂