


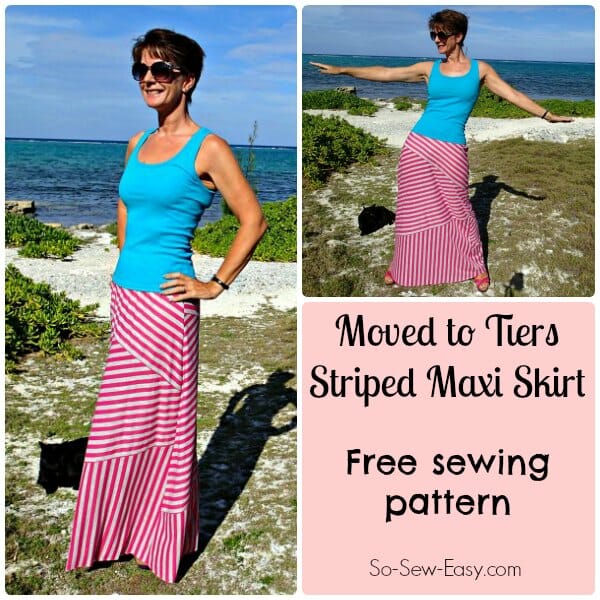
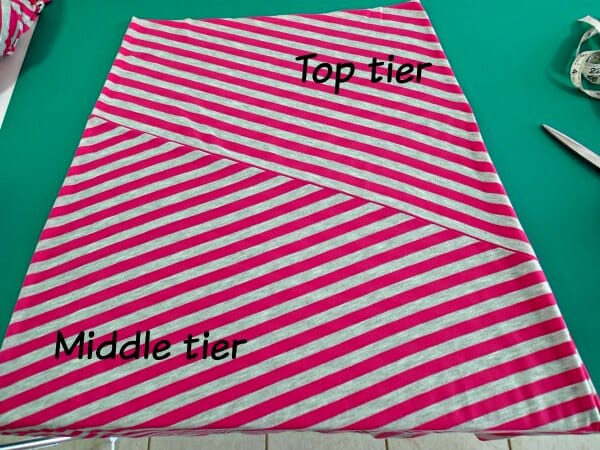
In our sewing chat group, sometimes we chat about seeing clothes and thinking “I could make that!” I carry around a notebook and make a quick sketch – my book is nearly full. Others sneak around the mall taking pictures of strangers in clothes they'd like to make for themselves! (Mary, you know who I'm talking about!) One skirt in particular was in my book and also featured on the chat group recently – a maxi skirt with stripes that go across the skirt in diagonals.
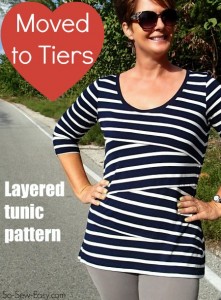
This is just like the Moved to Tiers Tunic pattern I made a little while back, and I love this so much, a skirt in the same fashion is ideal. Obviously I'm not suggesting you wear them both together or you'll look a little odd and give people a migraine.
Features of the Moved to Tiers Striped Maxi Skirt Pattern
- Large range of sizes – 34 to 56 inch hips
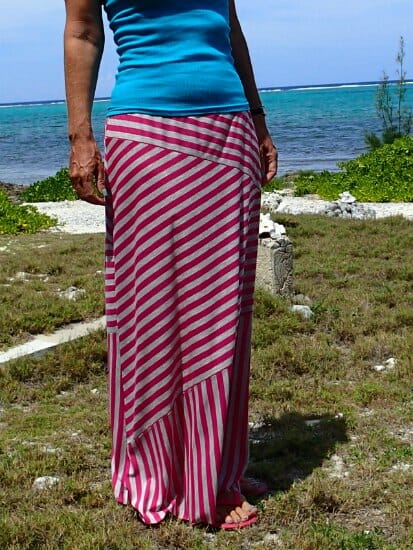
- 3 tiers
- Option to have the bottom tier with horizontal or vertical stripes
- Layered PDF file – only print your size (Read here about how to do that)
- For knit fabrics only
- Comfy elastic waist
- Plenty of volume for swishing about. Keep it long for an elegant look.
- Standard length to suit height 5'6″ (42 inch finished length approx)
- Looks good in wide or narrow stripes
- Of course, you don't have to use a stripe – you can use any fabric!

You will need:
- Stretch knit fabric – striped or not, about 2.25yds for the smallest size/3.5 yds for the largest size
- Enough elastic for your waist
- Matching thread
- The pattern download
You can download the pattern from my design account on Payhip. Add it to your cart and check out - its FREE. The pattern will be saved in your Pattern Library safely until you are ready to sew, then you can download and print it at any time.

How to sew the Moved to Tiers Maxi Skirt
Print out your pattern. Note – this is a layered PDF pattern which means you can just print the lines for your size and not all the lines, if you choose. Read more about how to do this here.
If you need to lengthen or shorten the skirt, do this evenly across each of the tiers. Fold up the extra, or cut the pattern to add more, at about the center of each pattern piece to make sure your horizontal seams still match in length.
Lie out your pattern on the fabric, with the fabric face up and in a single layer. Cut each piece twice. The top two layers have the bottom of the pattern piece running along a stripe in the fabric. For the bottom layer you can choose to have your stripes running horizontally across or vertically up and down – you choose.
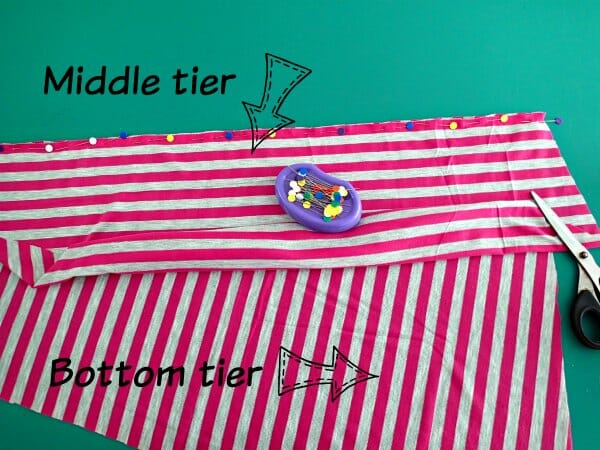
Now simply sew the layers together, top, middle and bottom for the skirt front and the skirt back. Both are the same.
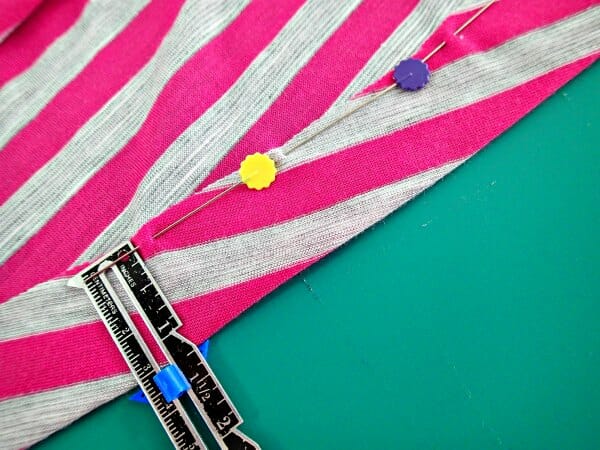
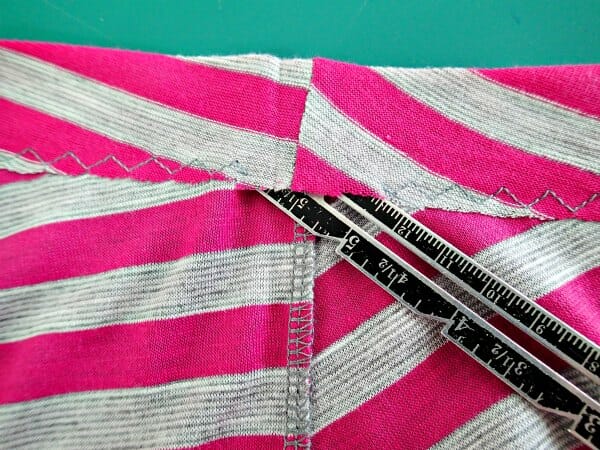
You can use the stripes in your fabric as a guide to make sure you sew an even seam allowance so the stripes look good on the outside.
Then place the front and back right sides together and sew the side seams so you have a tube of fabric. Try on and make any fitting adjustments to suit you.
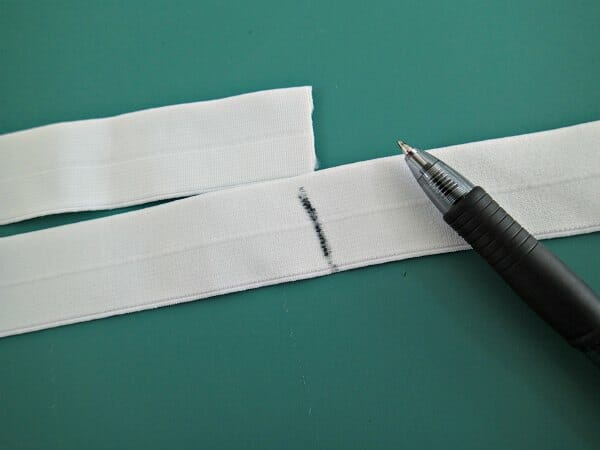
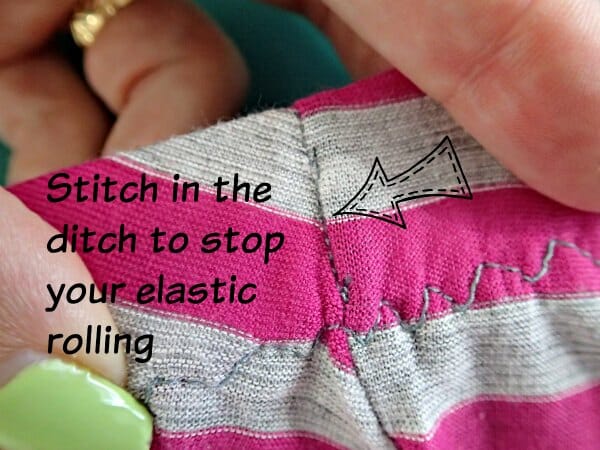
Place the elastic around your waist where it feels comfortable and mark how much you need. Don't cut it off yet, it will be easier if we do this later.
Turn to the inside at the top of the skirt a wide enough piece to make a casing for your elastic. I'm using 1 inch wide elastic, so I turned 1.25 inches to give me room to sew.
Stitch the casing with a stretch stitch, such as a triple zig-zag, leaving a gap open at one of the side seams for inserting the elastic.
Feed the elastic through the casing, then trim it to size, join it, and close the gap in the casing. Stitch in the ditch in your side seams to secure the elastic in place and stop it twisting.
Try on the skirt and check your length. Trim off any if necessary. Turn up 1/2 inch and finish with your favorite finish for knit hems. I like to use a twin needle (read how to use a twin needle here.)
Now enjoy your skirt and have a great summer 🙂
You can download the pattern from my design account on Payhip. Add it to your cart and check out - its FREE. The pattern will be saved in your Pattern Library safely until you are ready to sew, then you can download and print it at any time.


Thank-you for this pattern. I believe it is going to be worth much more than a dollar to me. If I have success with it, I will certainly send you some cups of coffee
I used this pattern with only 2 tiers and then reversed the pattern, inspired by Mondrian the artist who used white & black and the primary colours. I made it out of old tee shirts and entered it in the up-cycled category in a charity fashion show in NZ, it modeled by a friends daughter.
Thank you for sharing Fiona it is fantastic, wish you good luck!
I love the diagonal stripes! Any way to turn this into a dress, specifically a maternity dress?
Hi Sarah, as in any other pattern anything is possible, and this pattern will make a great maternity dress.
Wonderful pattern. Thank you so much for making this available to us all. Sooo easy, fits perfectly, well written instructions and well drafted pattern. I will be making several skirts from this pattern. From cutting to finish only 3 hours. Cut bottom tier even with selvedge and no hemming needed.
Sounds perfect. Do we get to see it modeled?
Oh, yikes! LOL! I will see if hubby can take a good enough picture! Thanks, Dianna
It’s the different directions of stripes that totally make this skirt, Deby!!!
I love this design as much as I love the Moved to Tiers Top. However, with the top I had difficulty with shortening the pattern for my height (I am short) because of the shape of the pieces. I am thinking that the same would happen with the skirt.
The best way is to cut each piece across its center and then move the bottom section up and overlap it over the top. Do more in the lower 2 sections that the top one. Then smooth out the edges so that the top and bottom edge of the pattern piece stay the same width, and they’ll match when joined to the next section. You’ll alter the shape very slightly, but it will still work. Then you can also take off some at the bottom edge if you need it too. Hope that helps.
Love, love, love the maxi skirt pattern! Can’t wait to make it. I just wish I looked half as good as you do in it, Deby!
I love it that I can print only the size I need! Thank you for that Deby!!
This is really gorgeous. I wish I had more time to sew! This is definitely going on my to-do list.
Love the maxi skirt! It looks wonderful on you! You look so tall and slim. I also love the look of the “moved to tiers tunic”. I have the pattern, but have not made it yet. I am look for just the right stripe. I think it would also look great with color coordinated solids! I can’t wait to sew it up!
Thank you 🙂 Yes the skirt and the top would both look good in a color block, in fact one of the pattern testers made the Moved to Tiers Tunic in different colors and it looked great. Now I’m feeling inspired to give it another go with this skirt and use solids. Must see if I can get fabrics that work well together. Thanks for the idea.
I agree with Kathleen! That skirt does make you look tall and slim, but you really already were. This cute skirt just really shows it off. Another wonderfully cute pattern. I have a hard time mixing the colors like that, but the turquoise top looks great with the pink/white shirt. Thank you!