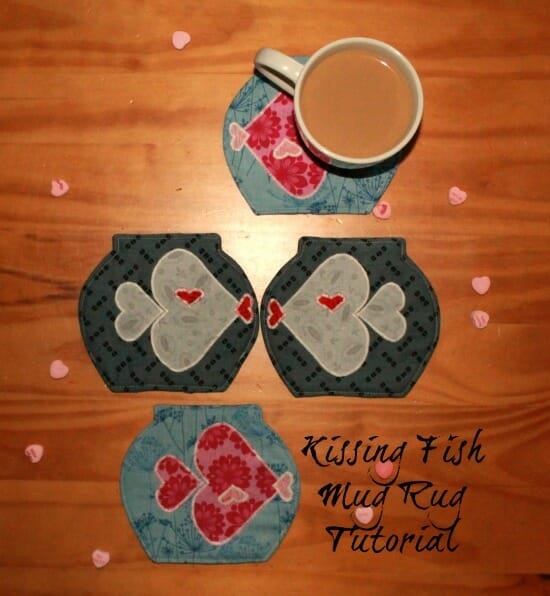
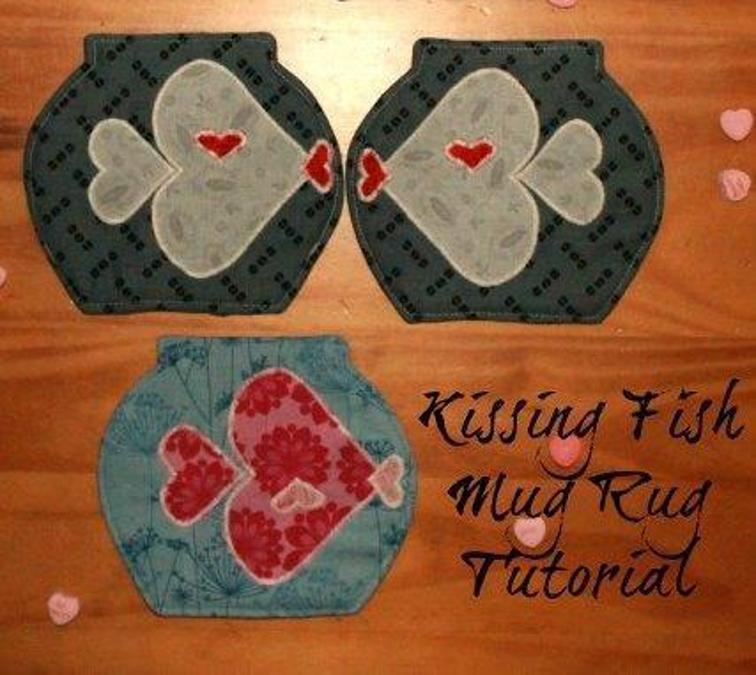
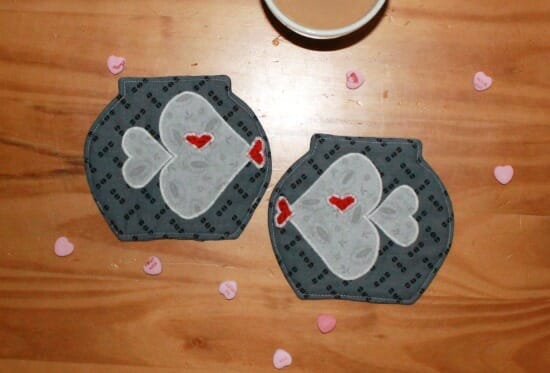
Hi there! Amy from Friends Stitched Together, back with a new tutorial and a little confession: I've never been a huge fan of Valentine's Day – I'm not really the flowers-and-chocolate type! This year though, I thought I'd challenge myself a little and come up with a tutorial for a holiday I'm not really into. The fish are made with tiny amounts of fabric, so it's a great scrap buster!
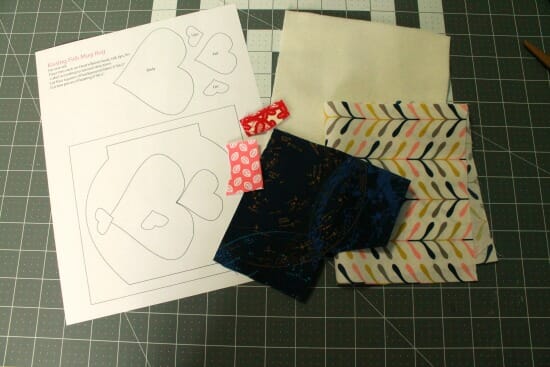
For two mug rugs, or one set, you'll need:
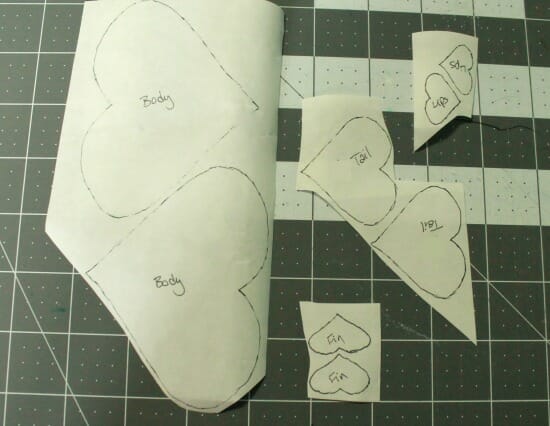
- The Kissing Fish Mug Rug downloadable pattern
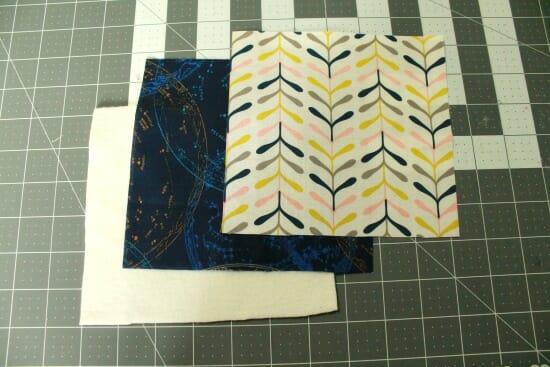
- 1/4 yard main fabric for the fishbowl. You could use a contrast for the back if you prefer.
- Small scraps (OR 1/8 yard of fabric each) for the body, tails, lips, and fins. You can mix and match as much as you want with this – I like to use at least two different fabrics.
- 1/4 yard batting or fleece (for two 6'X6.5″ rectangles)
- 1/8 yard lightweight Heat'N'Bond
- Seam allowance is 1/2″
Pattern Download

You can download the pattern for these Kissing Fish Mug Rugs from our account at Bluprint.
For help downloading and printing PDF patterns, please CLICK HERE.
Cut 4 rectangles that are 6″ high and 6.5″ wide from your main fabric (or two from your front fabric and two from your backing) and two from your batting.
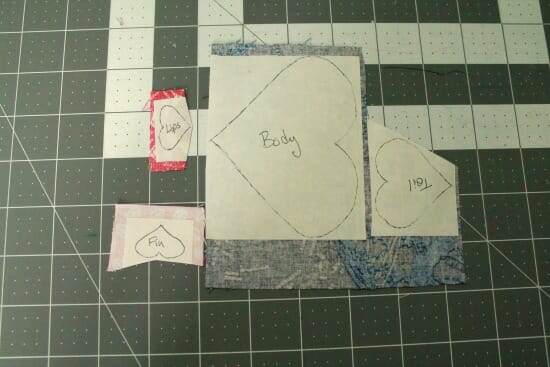
Trace the fish pieces onto your Heat'N'Bond. You'll need two each of the body, tail, fin, and lips. If your fabric is directional, make sure that one set is reversed so that your fish will be mirror images. Only the fins should be the same.
Iron onto the back of your fabric scraps following the manufacturer directions and cut out.
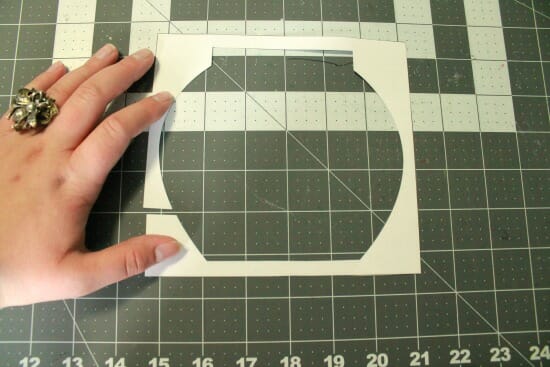
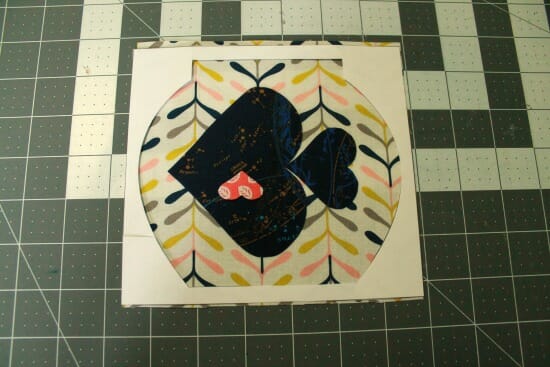
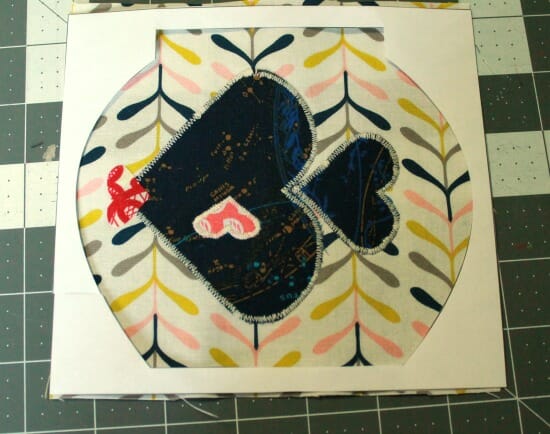
Cut out the fishbowl from the pattern page, as shown in the picture below.
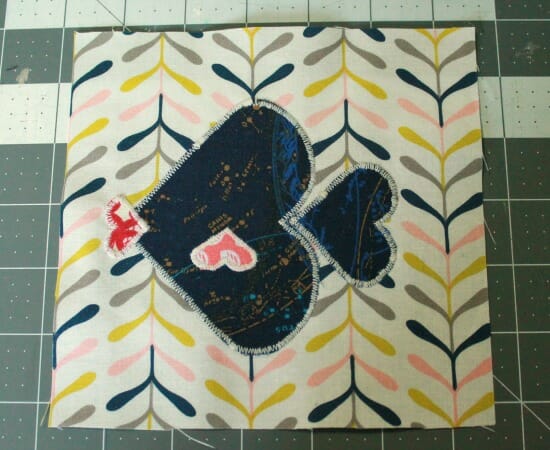
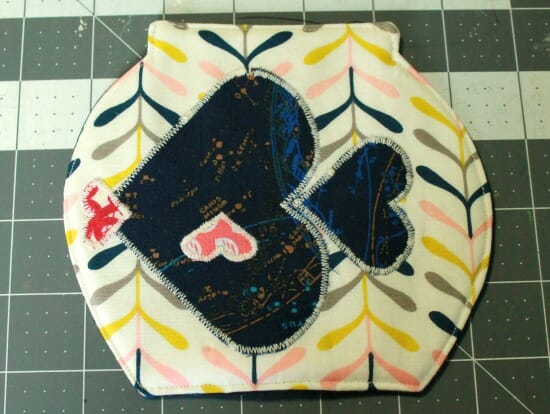
Take the front fabric rectangles and lay the fishbowl template on top. Arrange the fish pieces, minus the lips, and iron on. Make sure the fish are facing each other! I set my fish slightly closer to the side they are facing so they look like they're on the edge of the bowl.
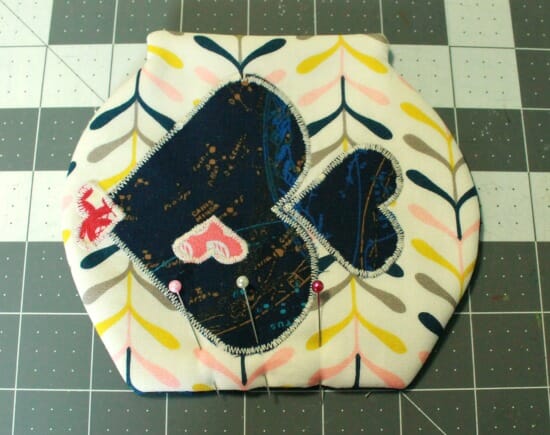
I originally had the small heart as a fin, but after making a happy mistake, I realized it also works as an eye! So you can flip the fin whichever way you like.
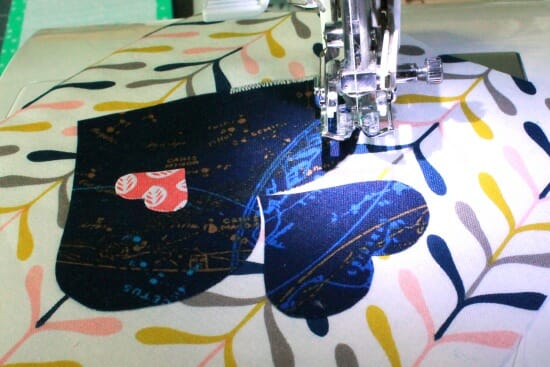
Use a satin stitch to go over the edges of the hearts. On my Singer, I set my zig zag stitch at 3.0 wide and 0.6 high. When you're going around the curves, occasionally set your needle down on the outside of the curve, lift the foot, and rearrange the fabric a little. This will keep the curves looking smooth.
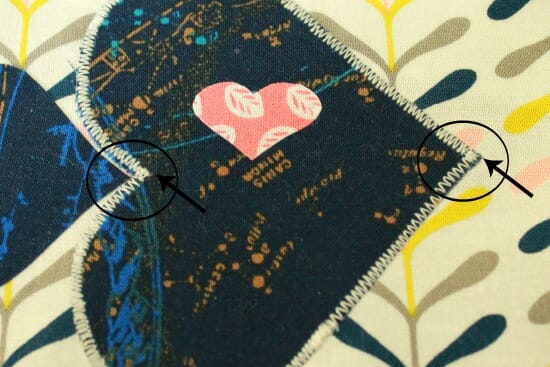
The hearts have two points. For the concave point (on the left in the below picture) you'll want to go slightly past the edge (where the arrow is pointing), set the needle down, lift the foot and turn. For the convex point (on the right), you'll go right to the edge of the corner, set your needle exactly at the tip of the heart (at the arrow), lift the foot and turn. This will give you nice, crisp tips.
Set your fishbowl template on the fabric again, arrange the lips, and iron them on.
Stitch over the lips, again using a satin stitch.
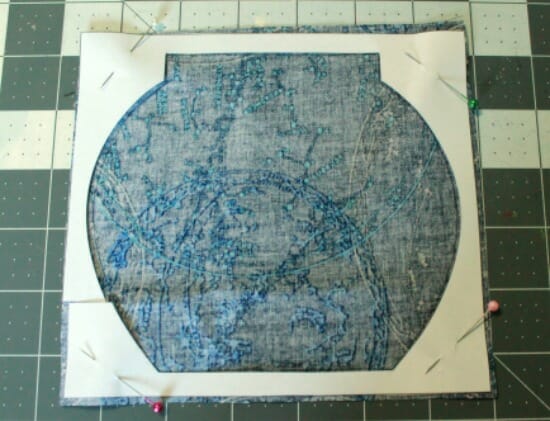
Use the template to draw the fishbowl shape on the wrong side of the backing fabric. I use a pen or fine-tipped Sharpie, but if you're worried about it ruining your fabric, you can use a fabric marking pen.
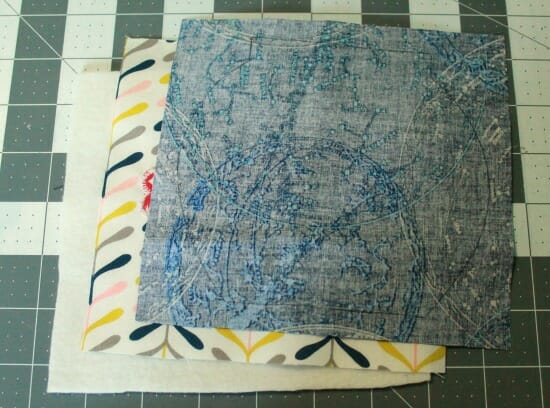
Layer the three rectangles in this order: batting, fish fabric (right side up), backing fabric (wrong side up) and repeat for the other mug rug. Make sure the fish are facing the right way – that's how my fins ended up as eyes 😉
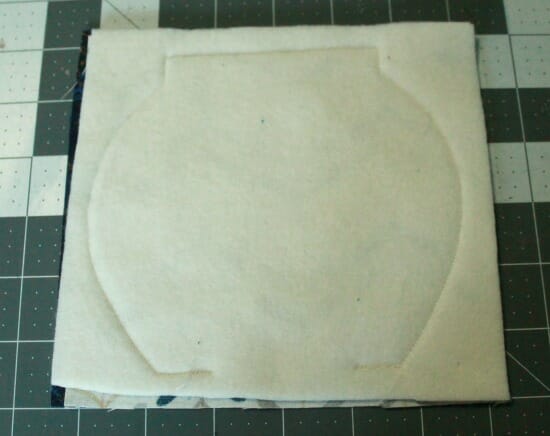
Stitch on the line you drew on the backing fabric. I'm showing the batting side because it's easier to see the stitching. Leave an opening at the bottom of the bowl, backstitching where you start and stop.
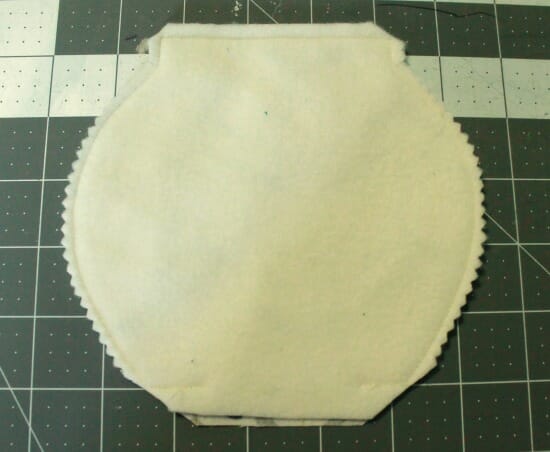
Trim the edges close to your stitching. Clip into the corners just to the stitching, but make sure you don't cut the thread. I used pinking shears along the curves, but you could cut a series of notches instead.
Turn right side out. Use a chopstick or crochet hook to carefully push out the corners and smooth the sides. Turn the edges of the opening in and pin.
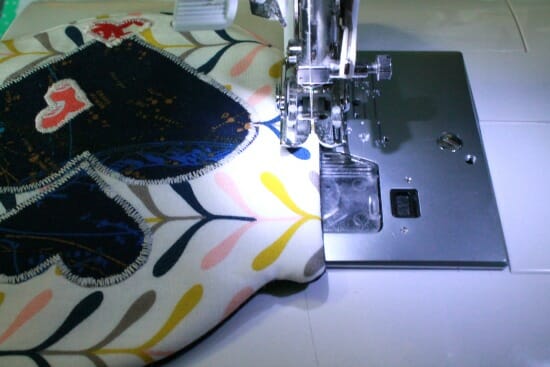
Topstitch close to the edge all the way around the bowl.
Give it a good press and you're done!
I've made four sets of these now and they are so fast! I think just playing with the color combinations would make them suitable for wedding or anniversary presents, and not just Valentine's Day.


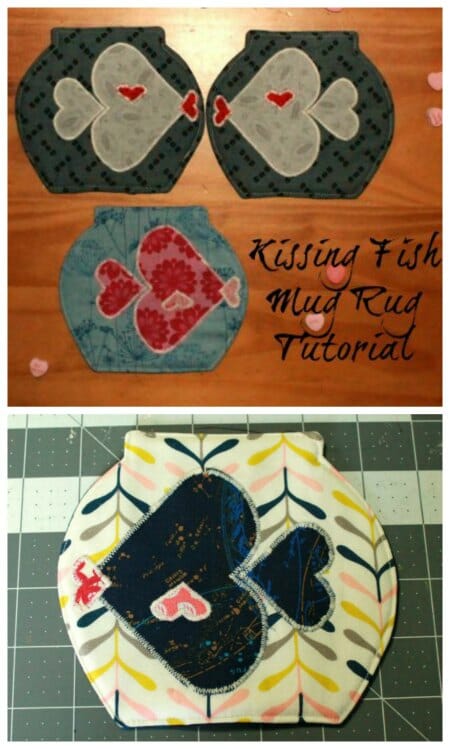




Loved this and made goldfish for my adult granddaughter who always had fish tanks as a child.
So cute! Have a friend who makes us laugh by showing how she kisses her pet fish!!!! So guess who I’m making one for!?!
It seems I cannot print the instructions clearly. I get white lines going through the instructions. Pages get cut off.
I just love this project. Could I ask what specific fabric should I be looking for? It’ll be great help to know it since there are so many different types of fabric.
Thank you.
Hi, Jen quilting cotton is perfect for this project.
I could not get the template either. When I click on it opened other page and go after clicking between these two pages. Looks like I will have to do my own template. Otherwise, I like the kissing fish.
click add to cart and then purchase ( its free ) then click to download –i had to figure it out too i’m gonna make some patio pillows
I loved it at first sight, I’m making mine on a potholder. Thank you, thank you, thank you.
Thank you so much for the kissing fish mug rugs.
Love this project, I have some ‘Fish’ friends that would get a kick out of a set of mug rugs. But am I the only person that can not access the pattern?
It all seems to be working OK Mary. Can you drop me a line with what the problem is and I’ll try to help you.
A VERY INTERESTING MUG RUG; PLUS THE APPLIQUE CAN BE USED MANY OTHER WAYS. THANKS FOR ALL YOUR HARD WORK AND SHARING YOUR TALENTS WITH OTHERS. ETHEL
Love the fish rug, but I think I would make a round eye, and keep the little heart as the fin. Make some for my desk at home and work.
I love the fin as an eye and will definitely make a few of these. Love it Amy! 🙂
So, so cute, Amy. I agree, these would make great gifts for anniversaries and maybe also an engagement present.
Featured today, Amy…