 A webbing belt is one of the most versatile belts you can possibly own. This type of belt is very strong and versatile while being very easy to make. It can be used as a belt for sports pants, as a dog collar, or even as a way to hang things when camping, to name only a few.
The size of the belt will be adjustable and can vary according to the waist. To buy the right amount you need to have the waist measurement plus one more yard (36″).
Materials
- 2″ Webbing tape
- Thread to match
- A buckle
- A slider
Where To Get Nylon Webbing Tape
How To Make Your Webbing Belt
Before assembling the belt, we need to understand the pieces that we are going to use.
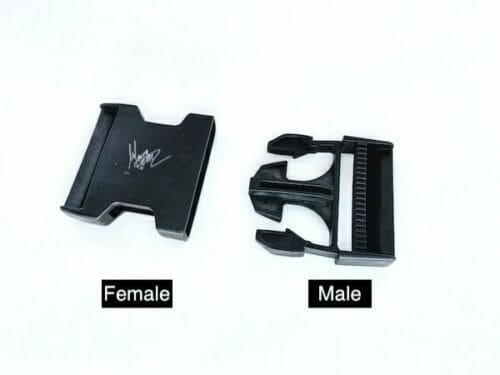
A buckle has a female and male piece,
and a slider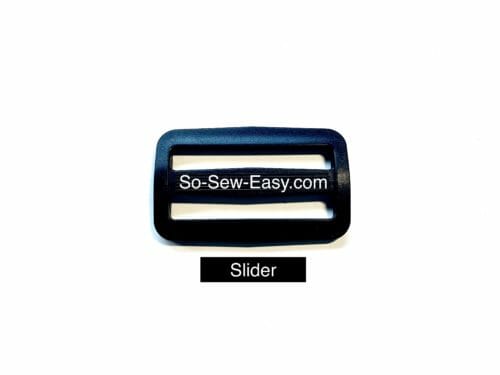
The slider has two parts: the holes and the bridge. 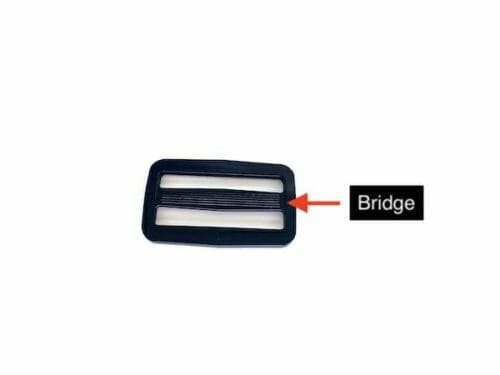
You will need to burn both ends with a candle or a lighter to stop the webbing from unraveling.
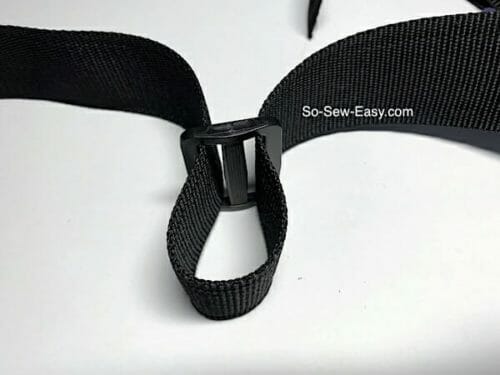
Firstly, insert the webbing tape through one hole over the bridge and through the other hole.
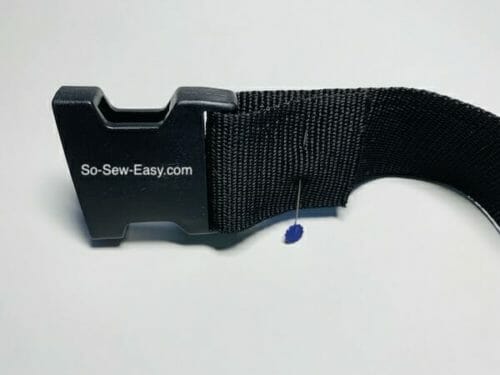
Slide into the male part of the buckle.

On the other side of the belt, slide in the female part of the buckle. Place a pin to stop the buckle from coming off.
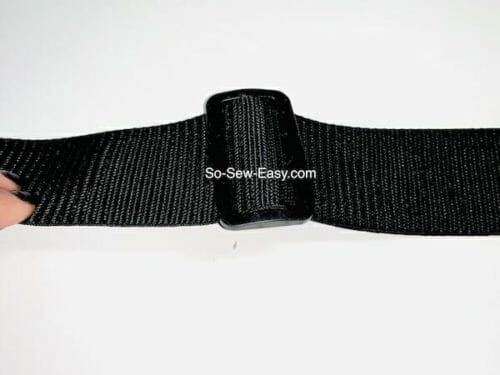
 Working on the side where the male part of the buckle is, threaded the webbing the tape through the bridge. To make this easier pull the webbing up to be able to insert the other side of the tape through the bridge.
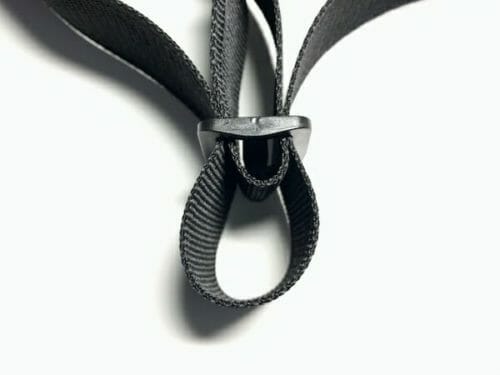
Thread the webbing tape through the right hole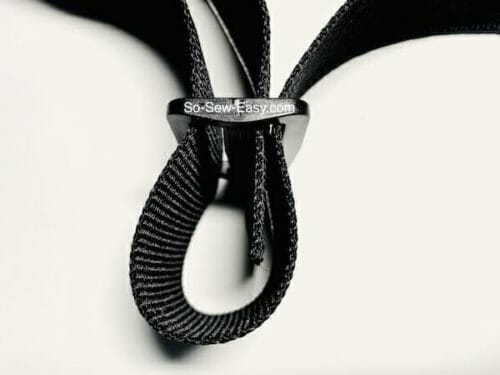
Over the bridge and through the other hole. Pull around 3″ to sew the belt.
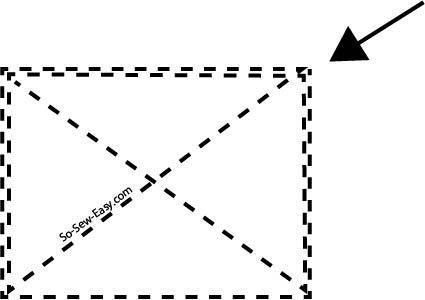
Sewing the Ends
The best way to sew the ends on a belt that is going to hold some weight is to make a square with a cross in the middle. Start at the upper right corner and continue to make the square then sew the X in the middle.
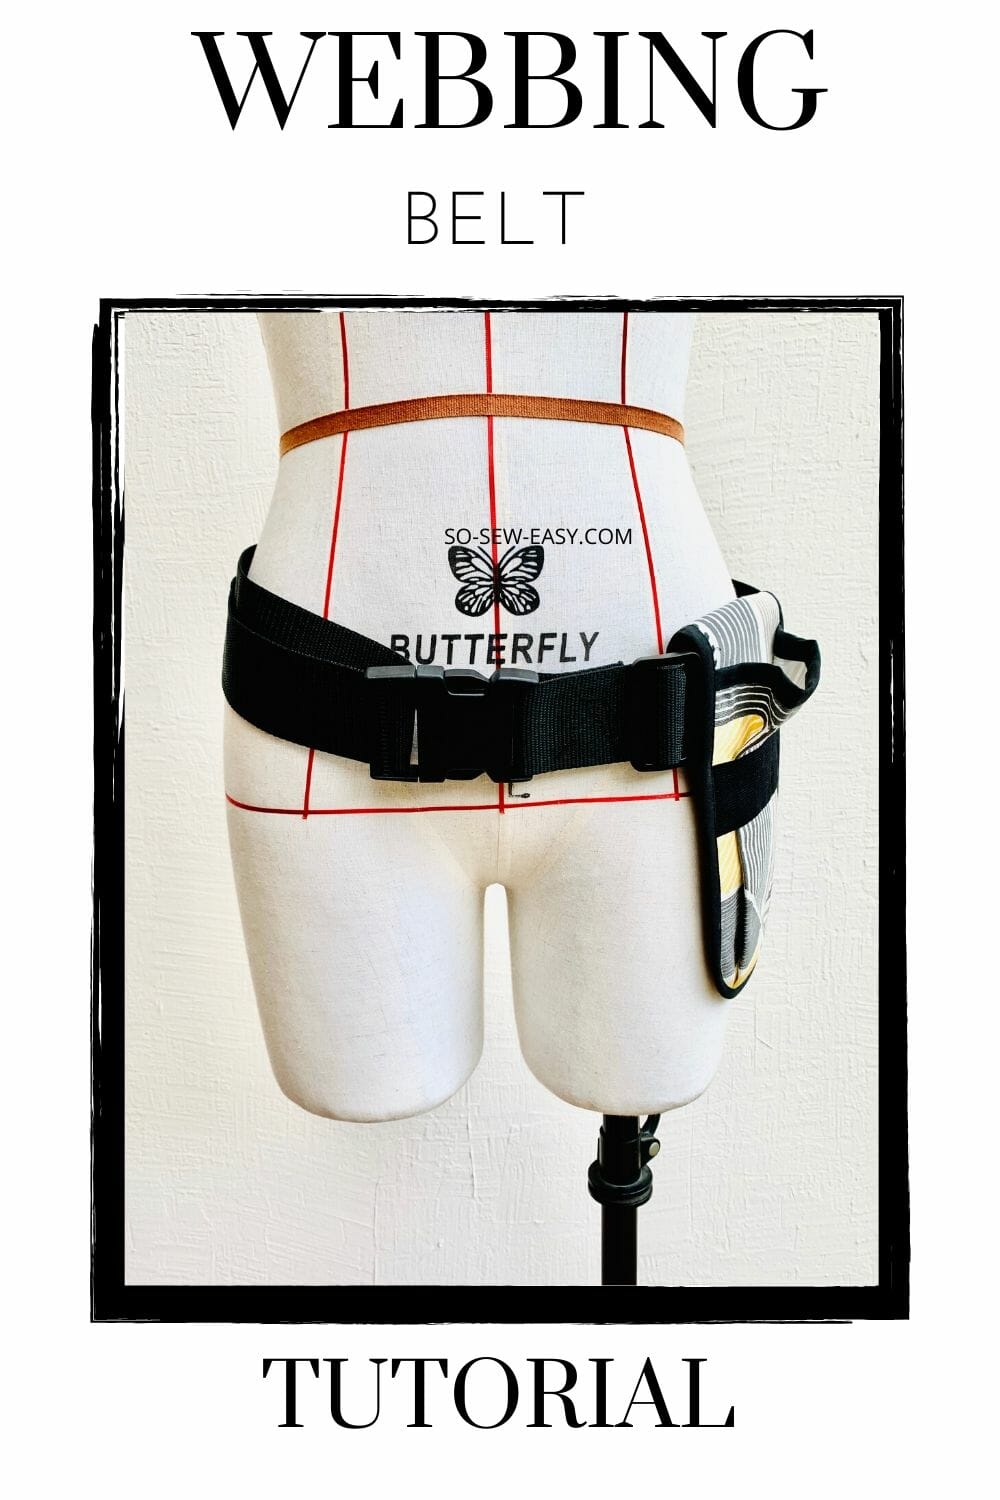
The use of this belt is very versatile you can vary the size of the tape and use it on your favorite pants or with the belted pouch.
This webbing belt is the companion belt to the Garden Tool Belt project below.
If You'd Like To Support Our Site
If you want to help us continue to bring you a wide selection of free sewing patterns and projects, please consider buying us a coffee. We'd really, really appreciate it.