


Here's another idea to use up some of that cord that you may have lying around. Recently on the website, we have been doing a couple of projects using cord, so you might have some left over. If you don't it's pretty inexpensive stuff and easy to find.
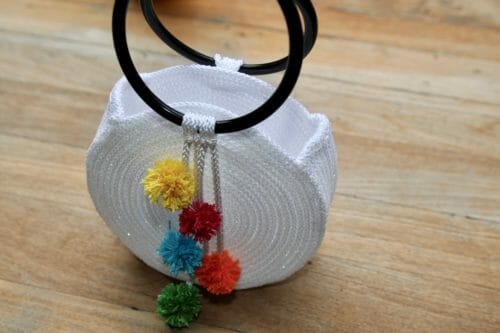
This project is the round tote bag. It makes a good accessory for a quick trip to the store and a fantastic gift for a friend or family member. This project will make a great present for the upcoming holidays or a birthday.
If you remember, I previously made a couple of place mats for an auction using this technique, but I still have a lot of cord left over. This project is fun and very simple. All you need is a bit of patience and a couple of hours.
The dimensions of this round tote bag are 8″ in diameter.
Material:
- Polyester Thread for upholstery
- 21 Yards of 1/4″ Braided Nylon Cord
- Extra 8 yards of cord for the straps if you're using this technique for cord handles.
- Plastic or Wood handles
- Pompoms or Tassels(Optional) See Three Easy Ways to Make Tassels here.)
- Mod Podge Sparkle-Scintiller-Destello (Optional)
- Art brush (Optional)
- Glue E600 (Optional)

Tools:
- Lighter, match, or a torch
- large hand sewing needle
- Scissors
How to Make a Round Tote Bag Using Only Cord
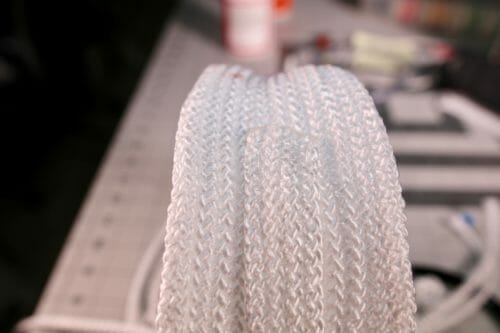
If you saw my last tutorial on how to make a table mat using cord, you will be familiar with how to join two cords and cover them with extended bias tape. In this round tote bag, I will be using the cord as it comes from the tube. I like the texture of it and I think at the end the bag is going to look as if I had knitted it. I
Step One: Making The Sides
We will need of course two sides to make the front and back so you will be doing this step twice.
I am using approximately 6 yards and 10″ to make each side of an 8 1/4″ mat.
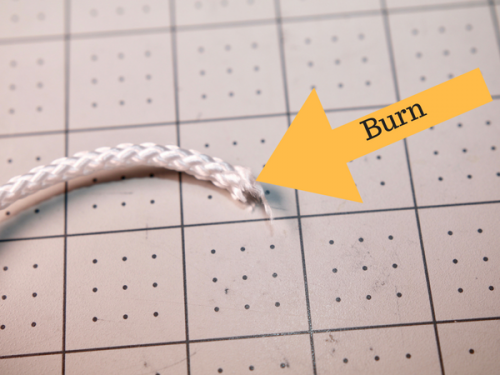
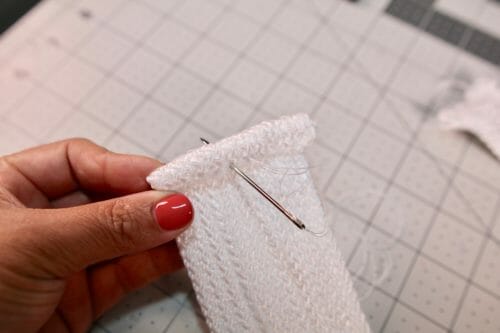
Use your lighter, match, or torch to seal the end of the cord to stop it from fraying. Do not allow it to burn so much as to turn black. This wouldn't look good.
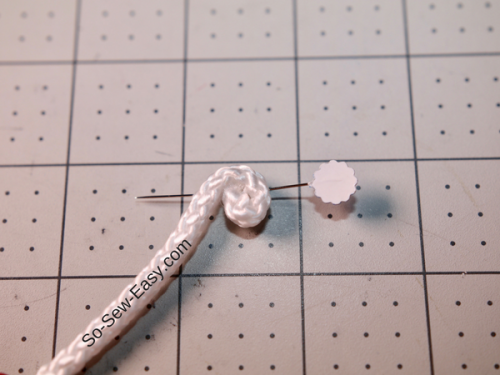
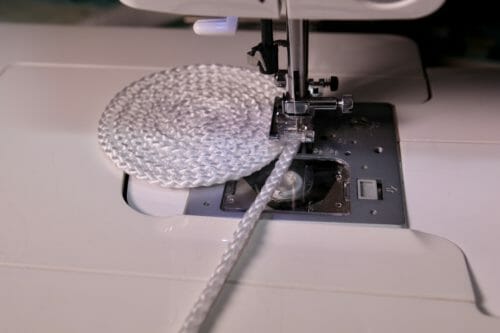
Fold about 1/2′ of the beginning of the cord clockwise and start making a circle.
Use a large size zigzag and start joining the sides of the rope together.
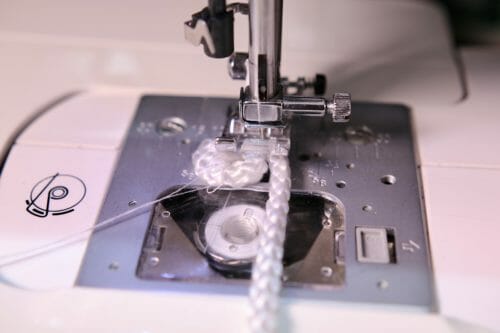
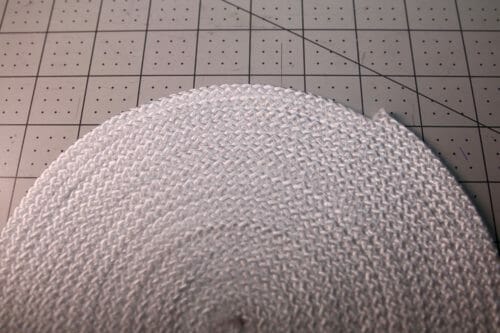
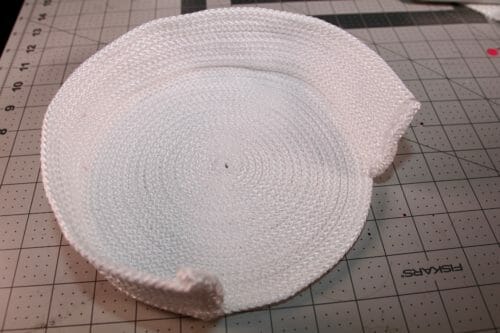
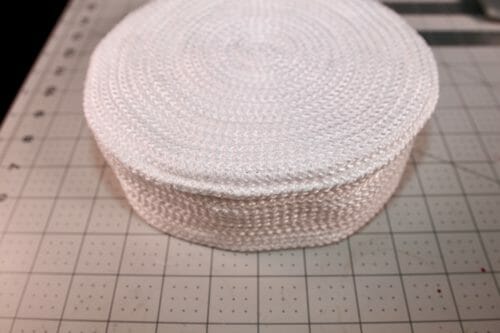
Continue sewing until you have an 8 1/4″ circle in diameter.
You will need two sides. One for the back and one for the front of the corded tote bag.
Step Two: Making The Gusset
Cut 11 strings of the cord 24″ in length. This will give you a gusset of 2 1/8″ wide and 20 ” in length. This means that the opening of the corded round tote bag will be roughly 5 1/2″ in length. Join them together using a zigzag stitch. Cut the ends off until the strip measures 21″.
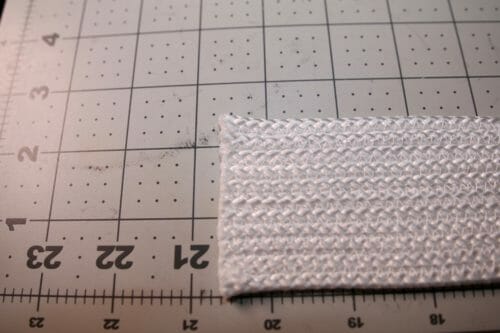
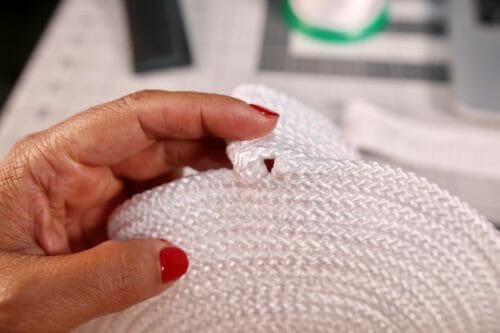
Burn the ends slightly to stop them from unraveling. Turn the ends 1/2″.
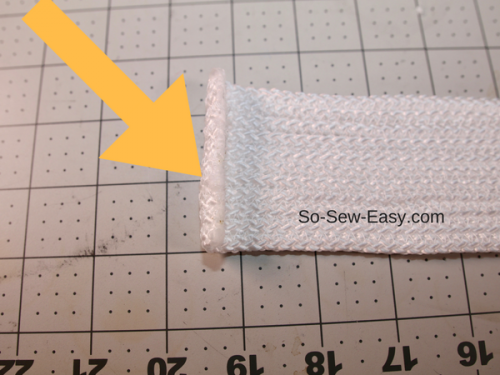
Using a large needle and 4 strands of the polyester thread sew the edge down. Repeat on the other side of the gusset.
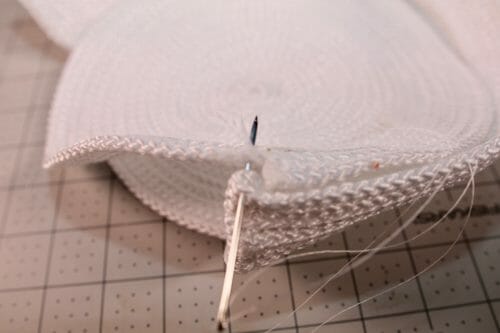
Step Three: Sewing The Gusset
Thread the needle with 4 strands of thread. Place the beginning of the gusset on top of the end of one of the sides or where cut off the cord.
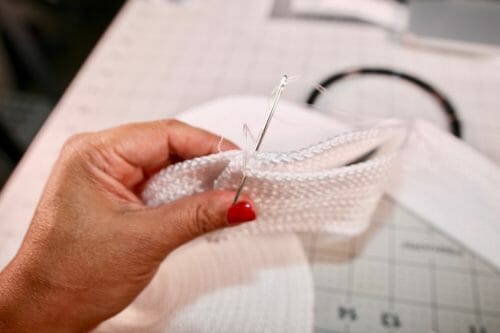
Make a couple of stitches in the same spot and continue to sew using a running stitch.
Place the other side on top and repeat the procedure.
Step Four: Adding The Handles
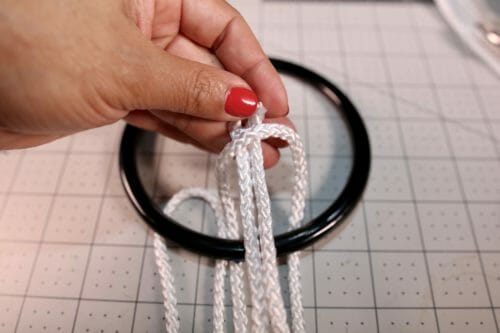
Cut two strips of the cord 20″ in length each. Fold the strips in half. Place them on the table side by side.
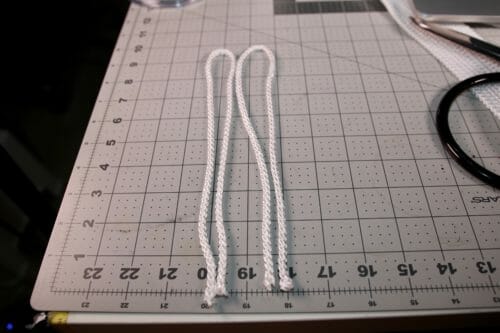
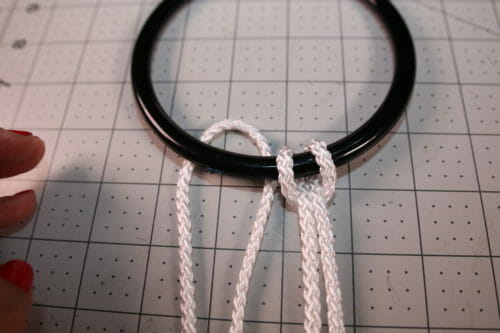
Place the handle on the top of the strips about an inch from the top forming two loops.
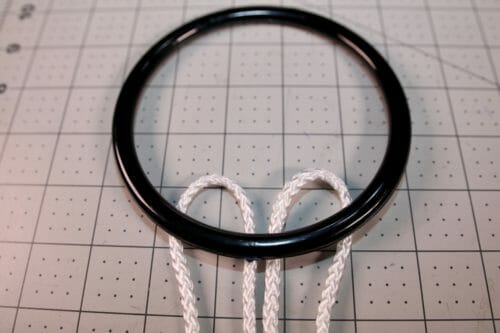
Pass the ends of the strips through the loops.
Using your zipper foot, sew the handle to the top of the round tote bag. Sew the strings at least 4 times using your sewing machine.

Step Five: Making The Strap (an option I'm not taking in the sample image)
This is an optional step if you want to make a strap to use the corded tote bag as a cross body bag.
The straps are easier to sew if you sew them before you attach the gusset to the sides. It does not mean you can not add the straps as an after-thought.
Cut four strings of cord 2 yards in length and sew them using a zigzag as we have done before. Apply glue to the middle of the gusset. Align both ends of the strap at the center of the gusset and let the glue dry.
Once the glue is dry sew the strap down using a needle and thread if you have already sewn the gusset to the body. You can use your sewing machine if the gusset is still not sewn which makes it a little easier.
I have applied a thin coat of Mod Podge with a brush to add a bit more stiffness to the bag and some sparkles. All that remains now is to decorate the small corded tote bag, and yes it looks as if I had knitted it instead. Pompoms come to my mind or perhaps tassels. How would you like to decorate it?
As I am finishing this small corded tote bag, I have come up with another four ideas on how to use the rest of the rolls I have laying around. I'll be sharing them with you in the weeks to come. It is 5 am and I am jet-lagged from traveling. I will force myself to sleep for a few hours.
As always keep your comments and ideas coming! I love to hear all of your opinions. Until Next time!


You always have such cute and interesting ideas for us to try! Thank You. God Bless you. Be safe.
Thank you so much for sharing this project I think it’s so neat.Im gonna go buy me some cord and try to make one.Will let you know how it comes out.
Love ❤️ this❣️
Great! Looks like fun and easy. Leslie
It is 🙂 Enjoy the project!
That’s an amazing looking bag! I didn’t know 1/4″ braided nylon cord could be sewn with a sewing machine! I’m going to have to get some cord and try this.
I did not either but I had so much at home I needed to see how I could use it. Wait to see what I did with the rest of the cord:)
I love this! I have made baskets and bowls from clothesline wrapped in fabric, but this method would be so much easier. Thank you!
My pleasure!
what?! This tutorial is genius. I would have never thought of this. Thank you so much for sharing.
Perfect timing. I recently dyed a whole bunch of cord and made bowls by zigzagging to sell and give as gifts. I have a lot of cord left and am going to try this and the placemats!! Thank you.
So easy and beautiful
Fun idea. I would make the gussett by laying down the cord the length I need and then instead of cutting it I would loop it and bring it down beside the first piece and then loop it, etc. until you reach the width you need/want. Would make a nice finished edge without a lot of hand sewing. Going to try this. Thanks!
You say to use 1/4″ cord, but the link you used is for 1/8″ cord. A lot of people probably will not realize this and order the wrong size!
Thank you, Arline, Thank you for pointing this out and hope people check the description of the product before purchasing. As usual, the owner of the shop has the right to amend the product. I will change the link to the right size ASAP.
So, I’m not sure which you are saying is correct. Please answer. Thanks.
HI Gail, it is 1/4″ is the correct size.
So, so, cute!! Such a neat idea!
I just picked up a new set of round, faux tortoise shell bag/purse handles at a thrift store a couple of weeks ago. I knew I would find something to do with them. I should have gotten the big spool of macrame yarn, next time…
Really like this and plan to make for granddaughters who like to “play store”!
I think it’s a cut idea. I would add a liner just because I think it would give a nice finish.
Is there a video for the How to Make a Round Tote Bag Using Only Cord.
Hi, Pamela, shooting starts on Wednesday, will let you know.
It would be easy enough to line each piece separately (each of the sides and the gusset) but a bit more difficult after the pieces are sewn together. Which way were you thinking? A white lining would be elegant but maybe more interesting in red (or another bright colour) or a colour matching the handles.