


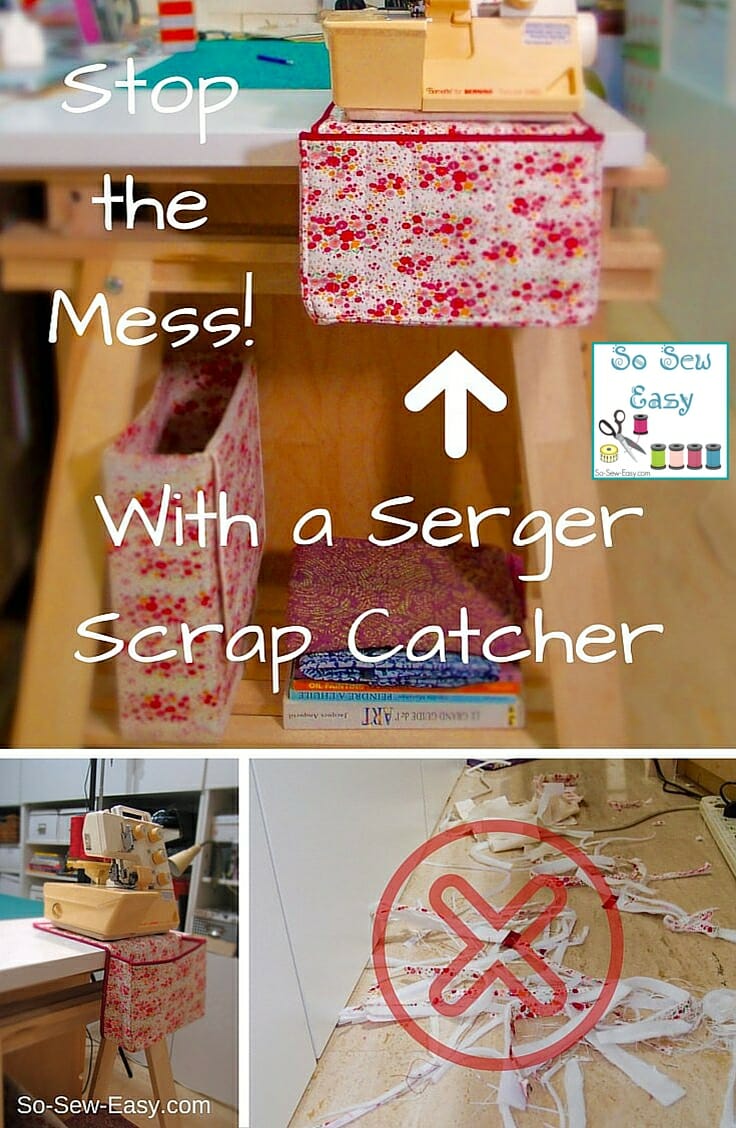
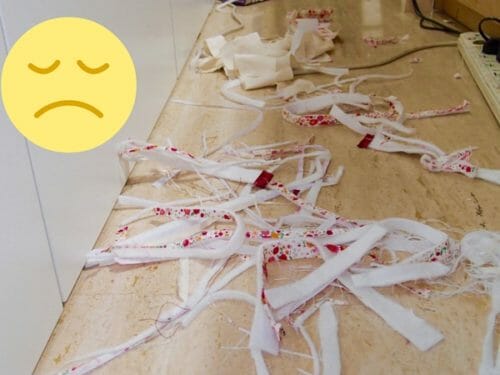
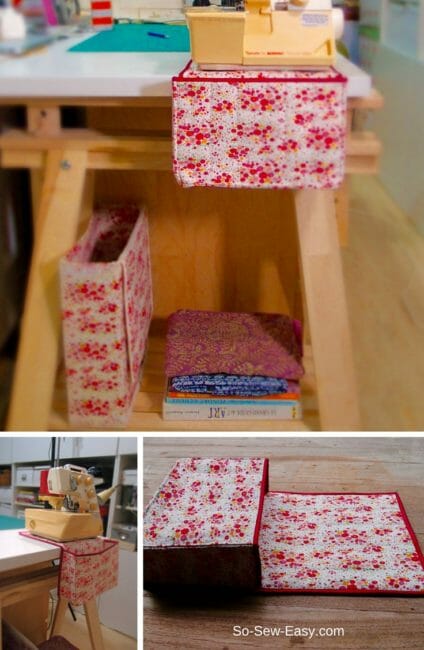
An easy serger scrap catcher will put an end to this nightmare!
My sewing area, which is on the way to the kitchen, is a terrifying sight almost every day. It's only when I finish a project that I look around to find the embarrassing pile of scraps, paper, and thread all over the table and floor. Sometimes I use a plastic bag or a cereal box, to catch the mess, but after a while, the bag or the box falls off the table because of the weight of the scraps and it's a mess all over again. To be frank the plastic bag ends up being a sore site anyway and really brings down my sense of order in my humble workroom. Since I know I am not the only one that happens to inflict this nightmare on their family members, I have decided to come up with an easy and hopefully elegant solution.
For this serger scrap catcher, you will need very few materials. All of which you can probably find among your leftover fabric, so there is no need to go hunting for more fabric. In case you do though, we've put some helpful links in the materials list.
Materials List
- 1/2 yard of fabric to match your furniture or taste.
- 1/2 yard of contrasting fabric. I am using a leftover scrap of linen.
- stiff fusible interfacing.
- batting: the thinnest you can buy (optional)
- 2 yards of 1″ bias tape. Follow this tutorial to make your own: Making continuous bias binding tape
- thread
- sewing machine
The FREE detailed PDF instructions are available on Payhip.com.
You can download it FREE there.
Fabric Recommendations from Fabric.com
Step 1: Cutting your pattern
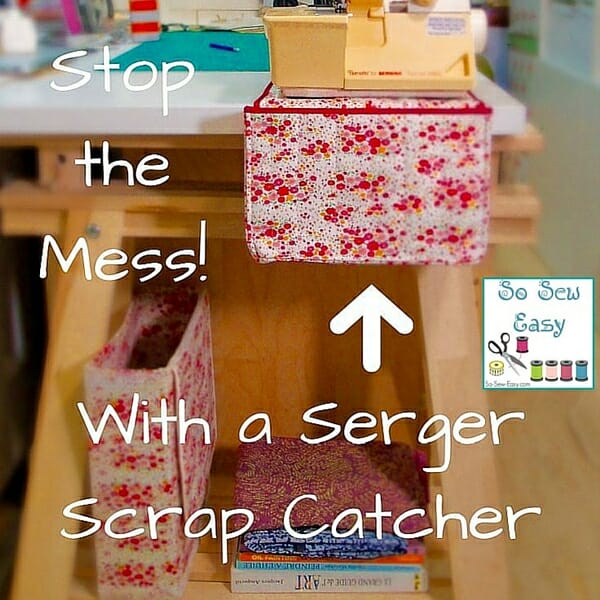
This serger scrap catcher is designed to fit most home sergers. Mine is a Bernina with a base which will be sitting the mat measuring a depth of 8″ and width of 11 1/2″. You can see a picture of it in the photo. If your serger is around this size, which most are, the catcher will fit perfectly. The design leaves about an inch spare around the base so there is some flexibility as well. If your serger is a considerably larger, professional model, you may have to adjust the size of the pieces in the cutting schedule below.
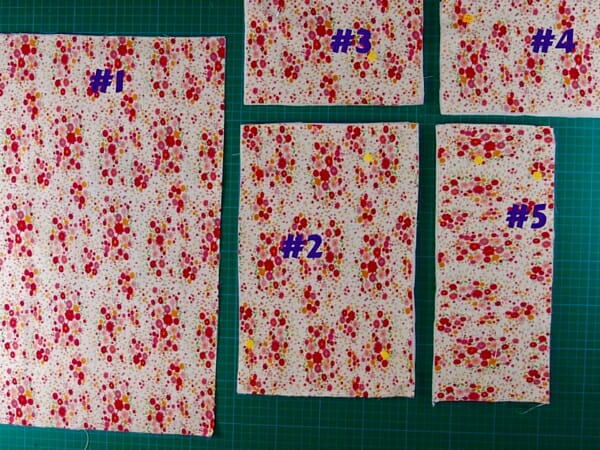
I have made the pattern in a simple series of rectangles with the following measurements. You can modify this if you have a larger or smaller than standard machine. Basically, you just want to make the pattern 1″ bigger than the width of the bottom of your machine.
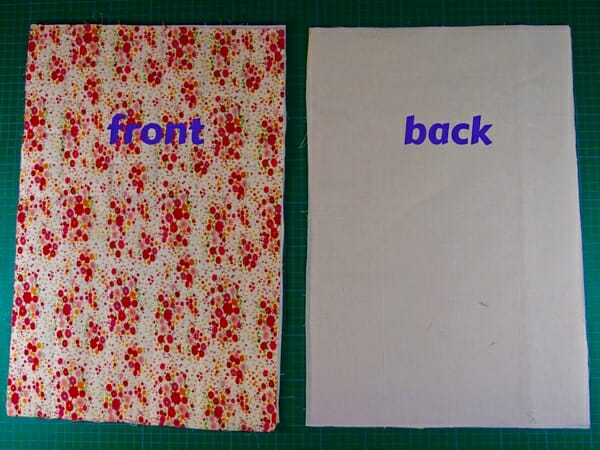
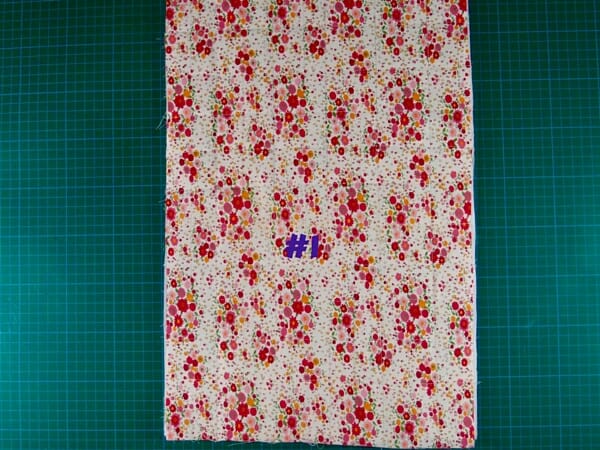
- Piece #1: 12″ X 18 ” Back/Mat Cut 2 pieces. One piece will be for the front and another for the back so you can use contrasting fabric as you will see below.
- Piece #2: 12″ X 8″ Pocket Cut 2 pieces. One for the front and one for the lining.
- Piece #3: 8″ X 4″ Side Cut 2 pieces. As above.
- Piece #4: 8″ X 4″ Side Cut 2 pieces. As above.
- Piece #5: 12″ X 4″ Bottom Cut 2 pieces. As above.
When tracing your own rectangles make sure pieces #1, #2 and #5 are the same width.
Cut pieces 1 to 5 of batting and fusible interfacing as well. Please note the batting is optional. I used it because I wanted to give the catcher some body and rigidity to make sure the pocket would remain open at all times to be able to catch any size scrap.
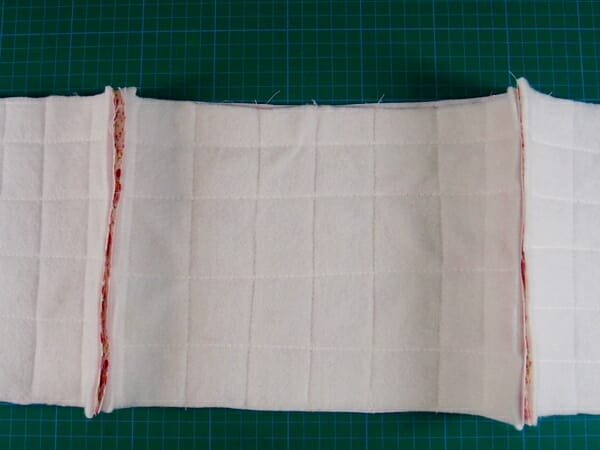
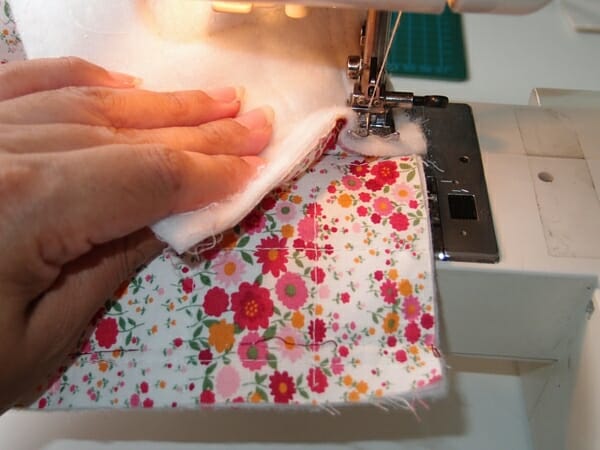
Step 2: Fuse the interfacing to all pieces
If using the optional batting, sew the batting to pieces 1 to 5. If you are an accomplished quilter, I am sure you could make a true work of art. Unfortunately, I'm not yet a real quilter, so I sewed lines up and down the rectangle as best as I could. Not very impressive I know, but I am keeping my focus primarily on the practicality of this project. From the plastic bag that I was using before to what I have in mind is already a big leap forward.
Step 3: Making the pocket
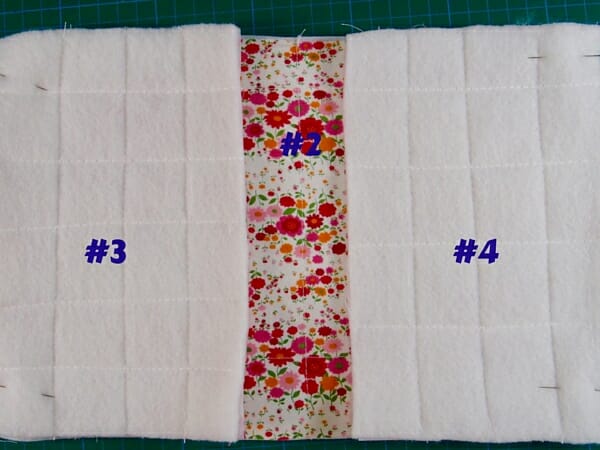
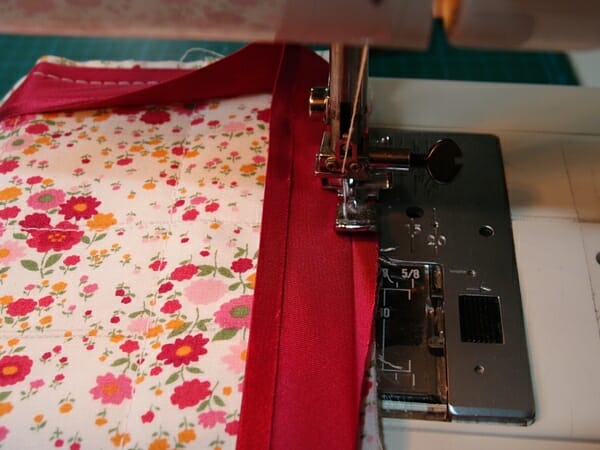
Take piece #2 and place it print side up, then take pieces #3 and #4 and pin to the sides of pieces #3 and sew 5/8″ seam allowance.
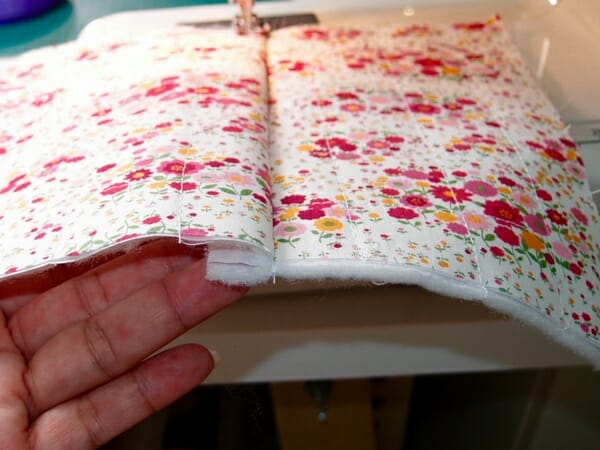
Top stitch both seam allowance and trim. This is an optional step which I have done it to keep the seam allowance flat. It will help guide me to not trim too close to the seam. I am finding the batting a little thick, but I am using the materials I had.
Step 4: Attach decorative bias binding to the top of the pocket
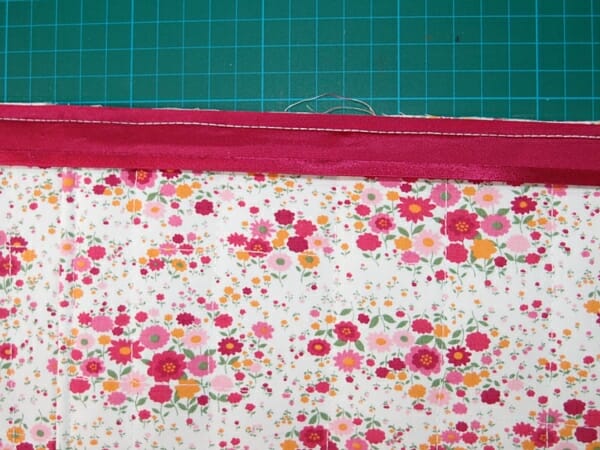
I have used satin bias binding, but you can use cotton or a stretch lace.
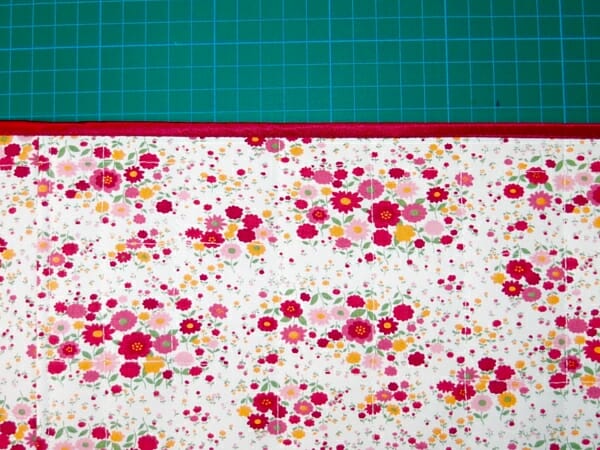
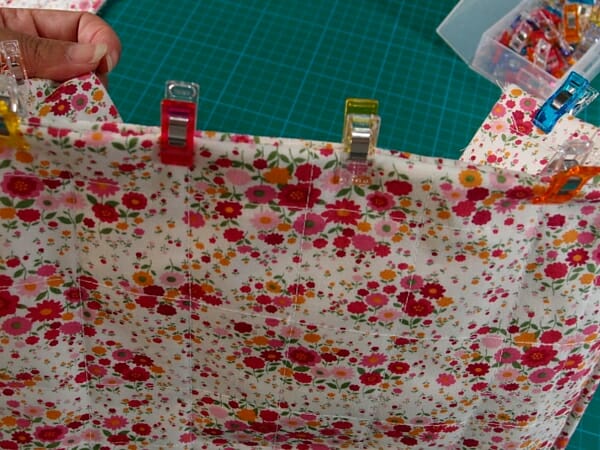
Step 5: Topstitching the pocket

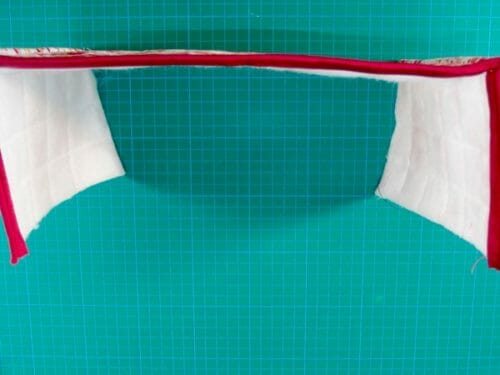
Topstitch 1/4″ from the seam on both sides to shape the pocket. This how it should look at this point.
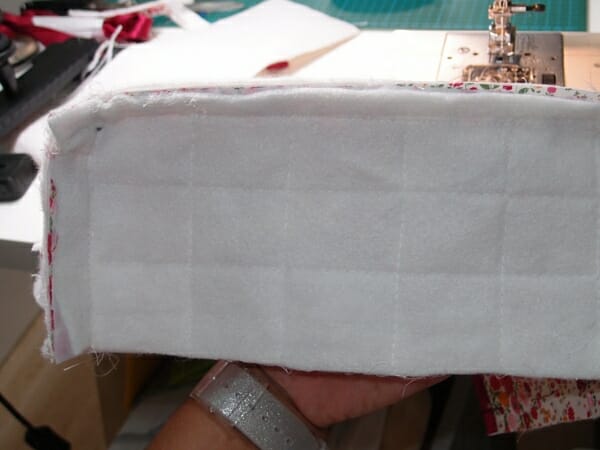
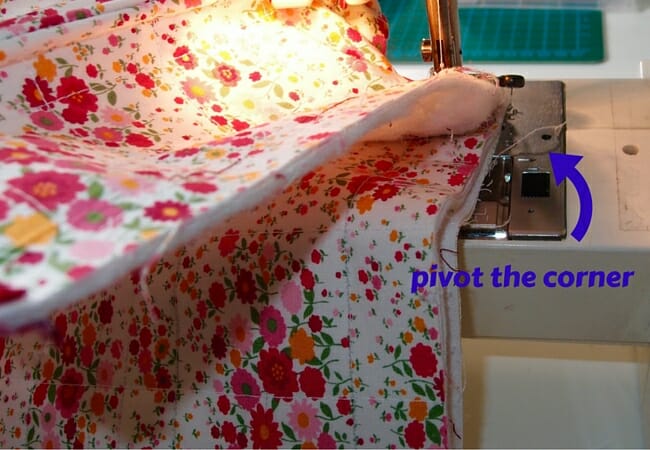
Step 6: Attaching the bottom (piece #5)
Start sewing on the shortest side of the bottom.
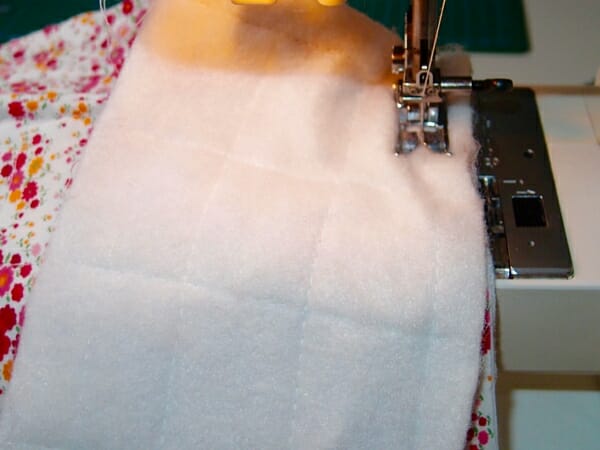
In the end, I did not line the bottom. I only used the fusible interfacing and the batting. Another layer would have made it too thick for my machine. If you use a very thick fusible interfacing, you will not need the batting at all.
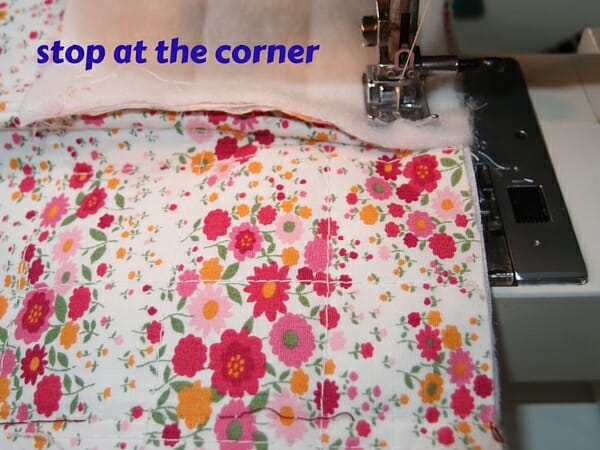
When you get to the corner, stop, and keep the needle down, lift the foot and turn the top piece around to align with the bottom one. You are in fact pivoting the corner.
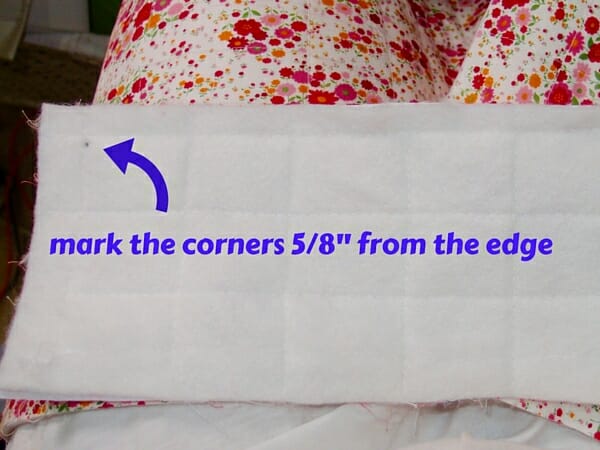
I have used the pencil marks that I have made before to guide me so I know see where to turn the corners.
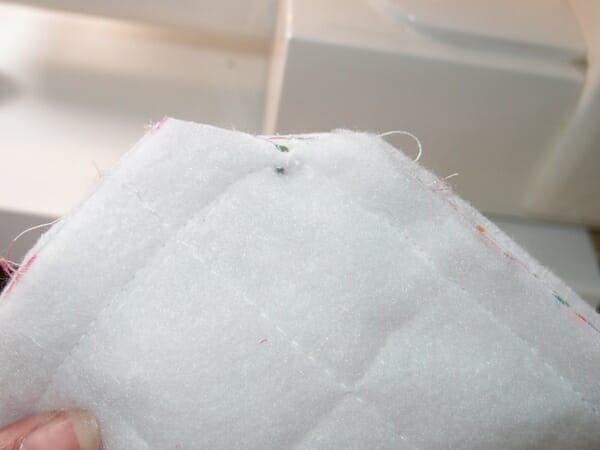
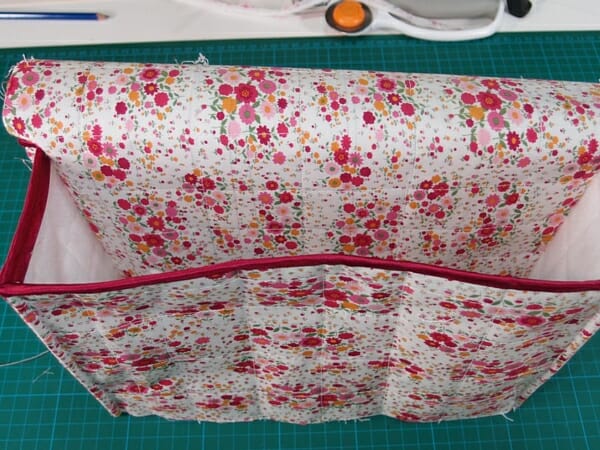
Trim the corners to 1/4″ and turn the pocket right side out to topstitch the sides.
This step can also be done at the end, but because the pocket is very thick, I think it will be better for me to do it while I can manage the size of the scrap catcher.
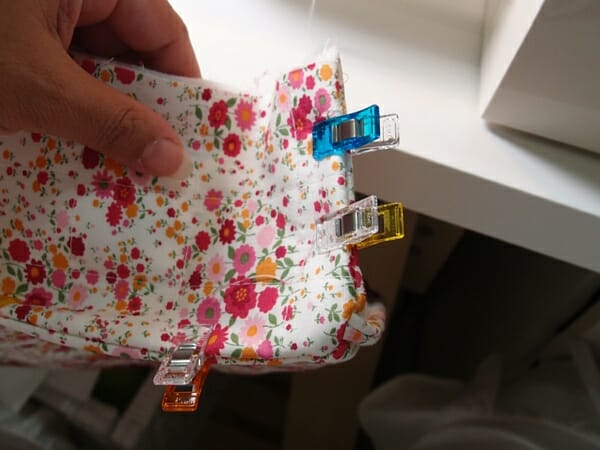
Step 7: Putting it all together
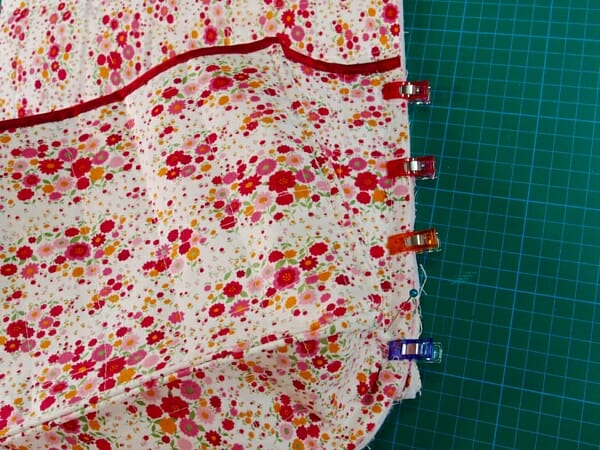
Start by sewing the sides. I am forced to use the quilt clips you see in the picture because of the thickness of my work. Sew one side at a time. Remember to mark the corner as in step six. The mark will help you pivot the corner.
Step 8: Sewing the bias tape
Start anywhere where the serger will sit, miter your corner as in this tutorial. If you don't know how to it, this tutorial will help you:
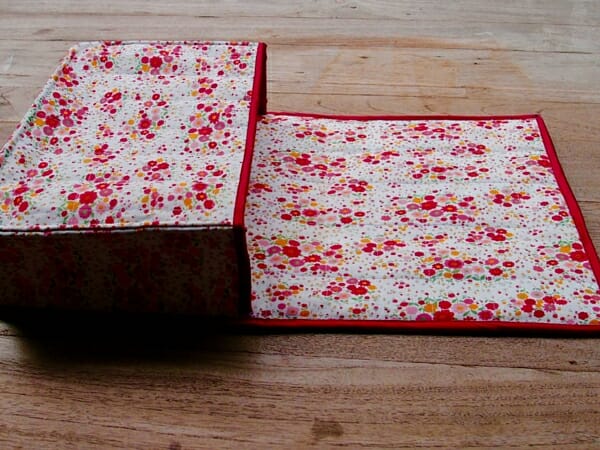
The finished product measures: L 17 3/8″, W 11″. The pocket depth: 3 1/2″, H 6 3/4″
I am looking forward to using this scrap catcher and no more cereal boxes or ugly plastic bags taped to my serger. In fact, I like the concept so much that I am going to make one for every sewing machine I have. This is my take on a solution for the mess from sergers and sewing machines. Of course, it is not the only one out there and perhaps you may not even agree with the construction.
We'd really love to see what other options and variations you may come up with. Please keep us posted in the comments below.
If You'd Like To Support Our Site
If you want to help us continue to bring you a wide selection of free sewing patterns and projects, please consider buying us a coffee. We'd really, really appreciate it.The FREE detailed PDF instructions are available on Payhip.com.
You can download it FREE there.


Myra, I love the quilt clips you use to hold this all together. May I ask where to find them? I love all your varied tutorials. Thank you for posting them!
Hi Pam, they are made by Clover, but they lost the patent and now many companies produce them here is a link you can see for yourself https://amzn.to/3zcWA4b
Thank you so much! Happy quilting!
I’d love to make the Scrap Catcher but found that the photos and the instructions were too difficult to follow for a beginning sewer like me. I think the Catcher is rather deep and would end up pushed up on my lap. I think 4 or 5 inches deep would be enough. If you ever decide to do a sew-along, I’d be interested in watching. It’s a very nice Scrap Catcher, I like the shape of it.
Hi Donna, I need a new scrap catcher to video record myself. Thank you for your feedback. However, I think you should never do a project for which you do not understand the instructions. I am not known for being the best teacher so yes please wait for the video. Kind Regards, MC
Thank you for another great pattern! I’d like to see your critics design and write instructions for something that is even half as complicated. I can’t wait to make one for my little Babylock serger.
My pleasure, and thank you for your support.
It says the pattern pieces are at the end of the instructions, but I haven’t found them anywhere no matter how I download, please help?
Hi Myra, many thanks for your pattern for the scrap catcher. I have just completed it right now and also found it too deep but could not bother to cut it down like one of your other followers/commenters. However, I would also love a video as at the end, I had a little trouble with the bottom, as I used heavy duty interfacing throughout. Even though I did this, I still lined the bottom with cardboard to make it more boxy like and make it stick out a bit. The next one, I will make a bit shorter in the pocket so less deep.
Hi Anne, thanks for the feedback. Feel free to post an image of your work here in the comments. I’d love to see it.
I completed the serger scrap catcher and love it, but realized the catcher pocket is too deep to fit my legs underneath. I kept bumping into it and pushing it up. So I took it apart and cut down pocket and backing by 3 inches and it works perfect. I made a similar one for my sewing machine (wider of course, and use the the pocket for dropping items in during sewing instead of scraps and the wider mat left room beside pocket for a slip-in place for my scissors. Love them both and they look cute all matched up and sitting side by side. Thanks for your great projects!!
Thank you, Cindy! I love it when people adapt patterns to their particular needs… this is called creativity.
This is a first for me, I have never complained about a free tutorial and hesitate doing it now but I have a friend who wanted me to help her make this. I have to do a prototype before I teach anything, I understand about your machine not handling the lining and you only used what you had but putting a half made tutorial on is not a good idea. I read the comments and one asked if she was just to put the lining together and insert it and you said yes but that will not work. Also I am surprised your threads and scraps will not stick to your polyester exposed in the pocket. I thought So Sew Easy was a professional website and was surprised they added this tutorial until it was a complete tutorial. I know this is offensive and I truly feel bad but just thought this tutorial was not ready to be published. I am now cutting out a complete new pattern and working on a way to insert the lining. I did finish your project by binding all around the mat and inside the pocket to enclose the seam but not totally happy with this look. That’s all.
@pamelaebennett Have you ever heard the old adage: “silence is golden”? It certainly came to my mind when I read your long-winded, whiny diatribe. God forbid she took her time to develop a useful product, put it together, chronicle the whole thing in step-by-step format AND took pictures of it all. That hack! Come on. You know threads are going to stick to batting, so why not just cut a piece of lightweight cotton, like I did, and add it as your lining/back piece. Each of my 5 pieces were a little sandwich of (as it is written on the patterns I made for this project): cut 2 main fabric , cut 1 of interfacing and cut 1 of batting. I then quilted this sandwich together. I used a lightweight interfacing and since I used the last of my batting, I cheated and used some felt I had from a bolt. It worked beautifully.
What I’m trying to say is, sewing is not an exact science. We all make compromises and substitutions to fit the project we’re working on. I, myself, am thankful for this tutorial. I have been needing a catcher on my commercial serger and this is PERFECT. All of my industrial machines are tip top…..it just seems to be the pesky home machines. WHY?!?! Instead of pointing out what you feel she did wrong, how about just simply saying “thank you”. Are you so incensed over her tutorial that you have to point out the inequities of it?
THANK YOU FOR THIS WONDERFUL TUTORIAL. There, I did it in all caps so it comes from both of us.
I’m not understanding why your having to cut 2 pieces of 1 through 5. As in your directions and pictures I’m not seeing the second pieces being sewn into the serge catcher. I’m only seeing the front fabric side and batting side – not understanding where the second fabric/contrast is being sewn in. Please clarify when to sew in the second fabric/contrast pieces of 1 through 5.
Thank you for sharing this pattern. I used a reversible quilted fabric. I’ll be making covers for my machines using the same fabric. Very easy to put together.
Great idea Jo, i will be using the same next one, because I did not sew a lining the thread catches onto the fleece of the fabric. My machine could not handle all the layers but next time I will sew by hand if I have to.
in the measurement are you using inch or centimeters not sure
I use Inches Belinda.
Your finished product looks great. But
I could use a little more directions, please. I followed and with help of pictures figured out the pocket. But at pc1, you got in a hurry to finish, “put it all together.” k Is (pc1 the back), stitched to the pocket with edges of its sandwich unfinished or has it first been turned inside out by stitching lining on
as you did with pocket. Hope you understand my question as I really want to make this scrap catcher.
I’m currently trying this pattern and I have 2 of everything only it doesn’t say what to do with it all? I am not good at reading between the lines if that’s what I’m supposed to do, sorry but maybe a video would help us beginners, thanks
Yes, I understand you can not follow my instructions, as a rule, if you can not understand the instructions the project is too advanced for you at this moment and indeed a video would help. I just need to find the extra 4 days I need to make a video.
I love your Serger Scrap Catcher, it’s so pretty. But like her, I’m a new beginner and I found the instructions difficult to follow. No rush, but I’d really be interested in your sew-along video for us newbies. I could really use this Scrap Catcher and I love the shape, it’s the best-looking one out there. Thank you for sharing your Scrap Catcher with us all!!
Hi Donna, just now, I was thinking about making a video. This is the perfect project to get back to making videos. Thanks for the push.
I can only download the instructions but not the pattern it self. I keep seing references to the pattern being at the end of the instructions but alas, nothing to print, no pictures even. I have followed all possible instructions but no luck. What am I doing wrong?
Hi Johanna, please read the article. You will find in them the measurements for the rectangles so you can cut the fabric. There is no pattern to download.
Love the pattern… thank you! I tried it!
My Pleasure Jean!
Oh help! I have finished two mat pieces, two pocket pieces (sides attached) and two bottom pieces. All pieces have both stabilizer and canvas (canvas instead of batting for structure). I’m supposed to attach bias binding to the top of the pocket but I have two pocket rectangles (each made from piece #2 with #3 & #4 attached). In the finished photo, your pocket does not look lined. What did I miss?
i did not lined in because my machine at the time could not handle the thickness, you continue as you are.
So either I just wasted all the lining material or I have to figure out how to line after adding the bias tape pert your instructions. I am an advanced sewer but use patterns exclusively -,not intuitive. Could you help us out here – I don’t even see where you tell how to attach the back. I’m sure the few missing steps would not take much of your time and would be worth the goodwill. Please give the steps needed!!
Hi Patricia, to lined the scrap catcher all you need to do is cut another pieces or pieces of the one you want to line, then attach the bias tape. So in other words you will have a sandwich formed by outter fabric, the stiff fusible interfacing then lining, joining that together as you would a quilt then attach the bias tape. It is a simple precess, the trick is that your sewing machine can handle the thickness mine did not that is why I skipped the lining.
Just made this, excellent photos to assist with construction. I twisted two pipe cleaners together and inserted them into bias binding around top of pocket to hold shape and only used fusible interfacing. Already had a request to make another. Will add a belt loop with same fabric as contrast bias to inside pocket at top to hold a pair of small scissors. Thank you for another great sewing make.
What a great idea, you could improve on this post by sending me your Photo, will give you credit of course.
GREAT idea to add a belt loop for small pair of scissors. LOVE this tute, as I have been very remiss in making myself a scrap catcher for my serger. Thank you, Mayra AND Sylvia.
MY pleasure!
Just wondering how to cut a 12″ x 18″ rectangle out of a 1/4 yard of fabric/
-Mary
I could tell you to cut the fabric in half and join the pieces together, but it is a typo and i have fixed it. Thanks for noticing the mistake.
[…] found a free pattern at So Sew Easy and took my sewing machine on its maiden voyage. I would say that it wasn’t quite like riding a […]
I can’t pull up pattern for serger catcher!!!!
can u send me pattern??
Hi Mayra, I am somewhat new at sewing and am having trouble understanding the lining part. Should I stitch the lining so as to sandwich the batting in between the outer fabric and the lining fabric? What impact will not using the fusible webbing have? Is it just to keep the pieces together better while sewing? Thanks so much!
Yes make a sandwich and close it all with the bias tape. Use fusible webbing that would be the best. In my part of the world, it is ridiculously expensive that is why I do not use it.