


 I just meet the nicest people online! One being Susan who is an expert quilter and quilting instructor and produces the most amazing quilts she has shared with me, including exquisite hand applique quilts. She doesn't have a website or anywhere I can share on her behalf, but I know we share an enthusiasm for introducing people to sewing.
She's been helping some friends get into sewing just recently and a couple of them asked her to write them some instructions on how to make one of those crayon roll ups for kids. So she made one, took some photos and some notes and sent it on to them. Then she kindly thought of the So Sew Easy community and sent the instructions on over here too in case you'd like to use them.
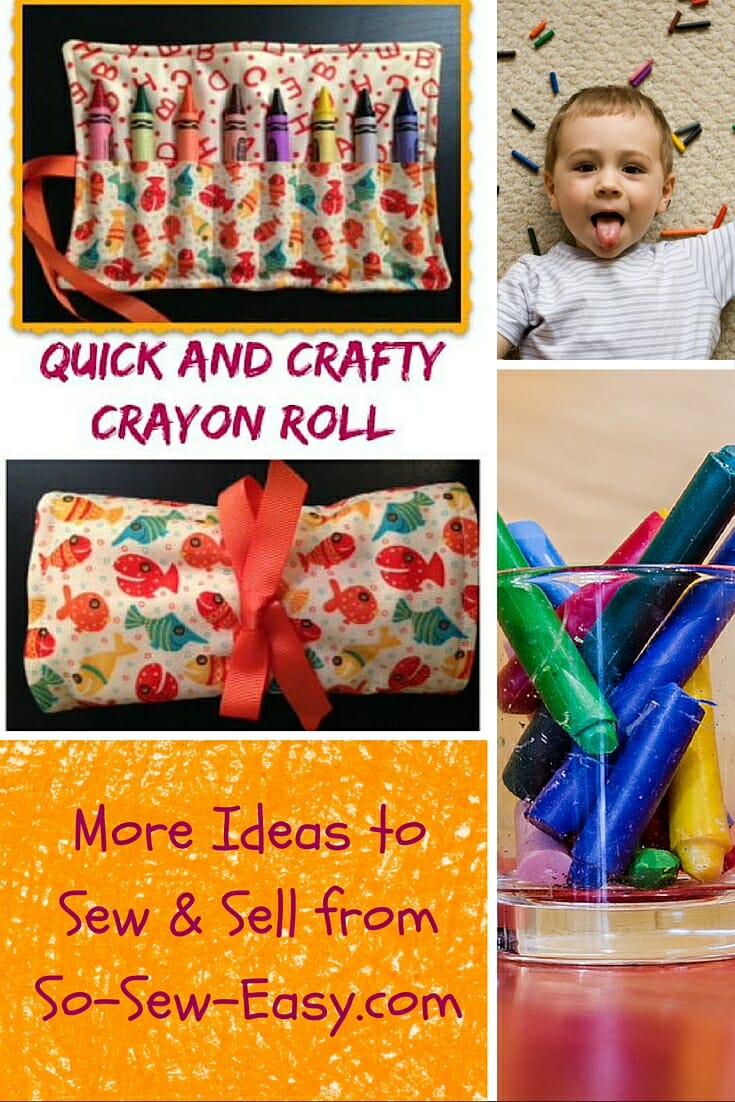
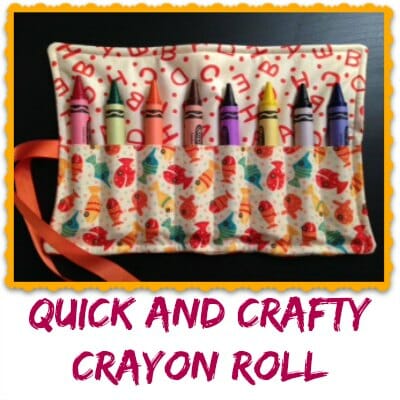
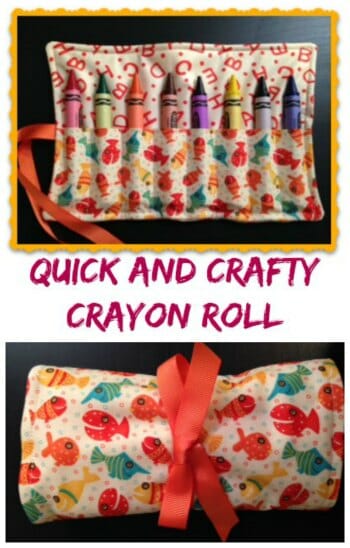
A Quick and Crafty Crayon Roll is a perfect beginner project. Your kids will love it as a beautiful and functional place to store crayons and it would also make a terrific gift to take to a birthday party. I think these would also be great items to sell in your Etsy shop and we'll be adding this to our popular post about sewing ideas to sell which is linked at the bottom of this post as well.
So here is Susan's tutorial on how to make a Crafty Crayon Roll Up.
The Crafty Crayon Roll up by Susan G
Supplies You Will Need
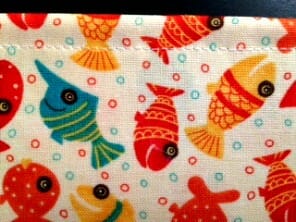
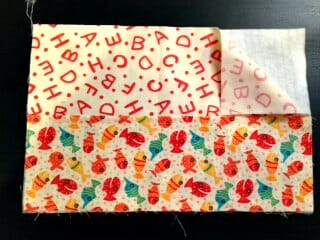
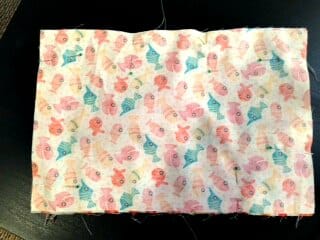
- Main Fabric (2) 8 x 12 pieces
- Lining Fabric (1) 8 x 12 piece
- Batting (1) 8 x 12 piece
- Grosgrain Ribbon (1) 5/8” x 24
Directions
- All Seams are ½”
How to assemble the crayon roll
- Cut fabric pieces to size as above

- Fold one of the main pieces in half for inside pocket – will measure 4 x 12
- Topstitch the folded edge of the pocket to keep the layers from shifting.
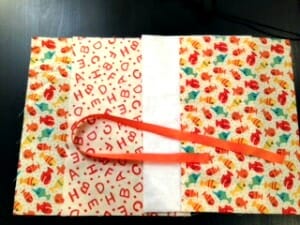
- Layer Batting, Lining (Right side up) and Pocket with the raw edges at the bottom. Pin through all the layers to stop them shifting.
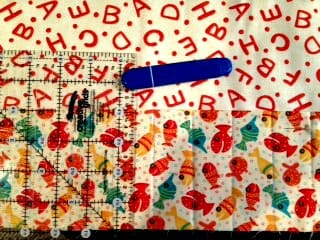
- Mark the pocket for crayon slots. Start with center – Mark with a chalk marker or something that will wash away. Mark from the top of the pocket to the bottom edge
- After you have marked center – continue to make marks every 1 5/8” to the edges.
- If you want your crayon roll up to hold more crayons, you can space your marks closer, but not so close that the crayons won't fit!
- Sew on the marked lines. Backstitch a couple of times at the top to make sure the stitches will hold when the crays get pushed in and out.
- Fold ribbon in half and pin to lining at the center, with the fold on the edge. I like to singe the ends of the ribbon with a match to keep them from fraying, or you could use a commercial product like Fray Check.
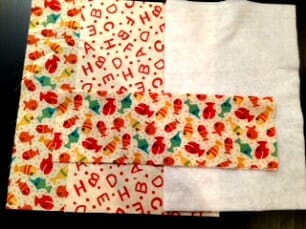
- Place remaining piece of main fabric right side down on the lining/pocket/batting piece so that the right sides are together. Tuck the ends of the ribbon in one of your pockets so you don’t accidentally sew them and sew a seam ½ around leaving a 3” opening on one side.
Clip your corners.
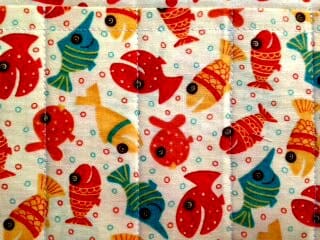
- Turn your roll up right side out and press. Topstitch ¼” all the way around and you are finished.
- Load with crayons and you have quick and easy gifts for little ones.

 Clip your corners.
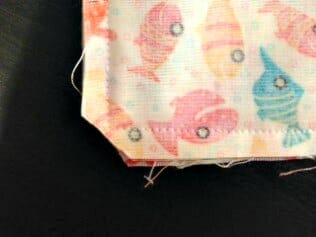
Thanks very much for sharing Susan and I hope your friends enjoy their sewing lessons with you.

This project definitely a good potential for your Handmade Shop. See the post linked below for some other neat ideas.


I just made this as a cord and earphone holder to keep in my purse, as I need to transfer them from work to home. I just made the spacing a little wider and the whole roll a little shorter. I also made some self-fabric ties and attaches them in the same fashion as the ribbon. So cute! I love it and it was really quick to make, which is really saying something for me because I tend to overthink things and make them take way longer than they should! :-p
Hi – Cute crayon holder. My math didn’t come out the same using the spacing indicated of 1-5/8″ to hold 8 crayons. 12″ width minus 1″ for seam allowance (1/2″ on each side) leaves 11″. 11″ divided by 8 = 1-3/8″. Not sure if this was a typo or if I’m doing something wrong. At any rate, it’s adorable. Thanks for sharing.
Thanks for sharing this fun and easy to make tutorial -great idea for using up some scrap fabrics 🙂
This is fantastic and looks really easy to make. Going to try one now for my little nephew. Thanks for the fun idea.
[…] Today’s project is crayon cases! They are so fast and easy to make, and are a great way to use up extra fabric as they don’t use very much. Check out the free instructions at So Sew Easy. […]
Also great for keeping makeup brushes tidy or for storing eyeliner/lipliner pencils – just adjust the height and stitching lines.
These are a great idea for Mums on the go. Featured… http://www.threadingmyway.com/2016/05/showcasing-how-to-make-crayon-roll.html