


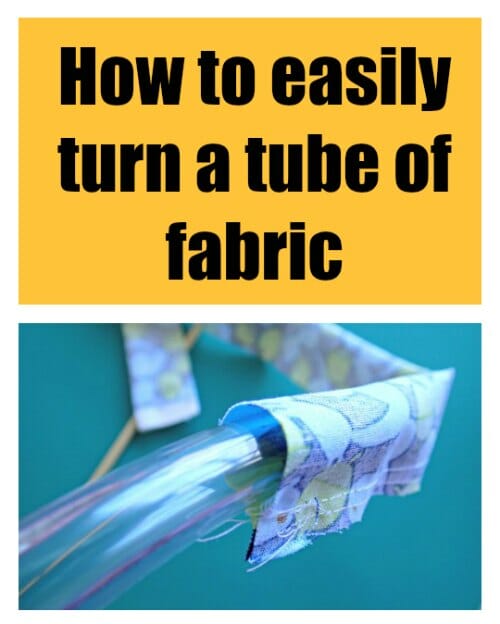
I was working on a bag design and wanted to create a particular type of handle. Not the usual bag handle where you simply fold the fabric into 4 and topstitch. I wanted a ‘nicer' handle, one with two different fabrics so it would be reversible and feature both of the fabrics from my bag.
What was stopping me?
Turning the darned thing the right side out again once I had stitched the tube! It's bad enough on a tube of regular fabric, but both of these pieces were interfaced making them thick and stiff too. It just all bunches up and gets too thick to turn.
I don't mind telling you I flung it across the room and cursed loudly. My cat hid under the bed! Until I tried the straw and chopstick trick. Or rather, in this case, the plastic hose and wooden dowel trick. At last! Success.
Here's how it works.
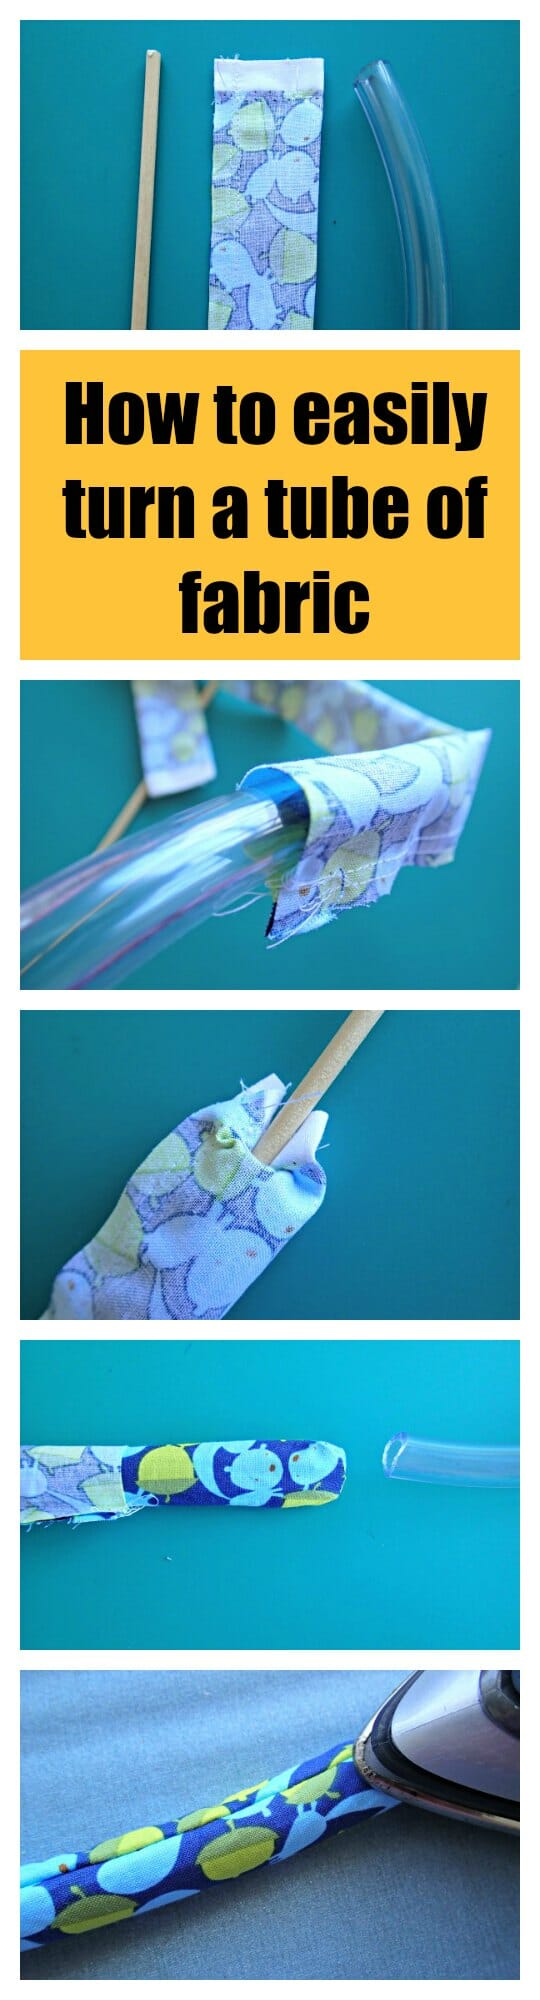
How to turn a tube of fabric right side out
You will need:
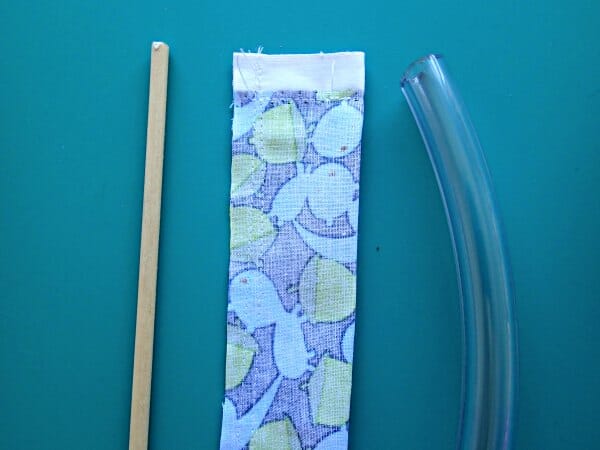
1 – a hollow cylindrical object, which is fairly stiff and will slide inside your tube of fabric. For a small tube, use a sturdy straw. For a bag handle, I used a piece of plastic tubing intended for aquariums I think.
2 – a pokey thing. Something rigid and not hollow, that just fits inside the hollow tube from point 1. For a small tube, a chopstick or similar. In my case, a thin piece of wooden dowel we had hanging around for reasons unknown.
Step 1
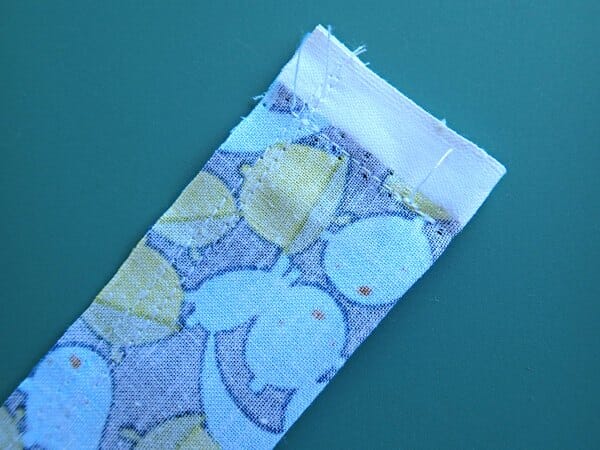
Sew across one end of your tube to close it. This may be temporary and unpicked or snipped off later or can be a finished end on your tube.
Step 2
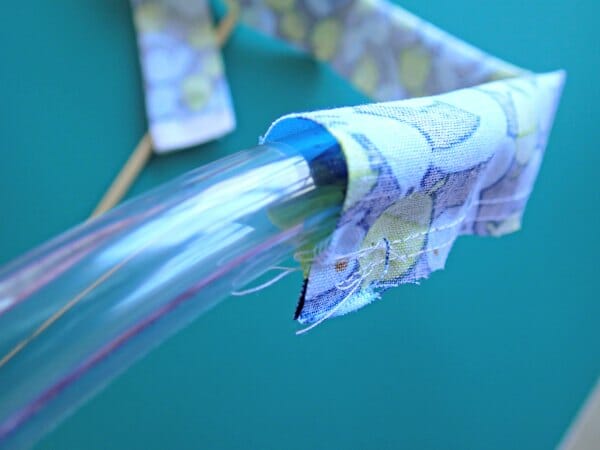
Slide your hollow tube down inside the fabric tube all the way to the closed off end. It doesn't really matter if your fabric is longer than the tube.
Step 3
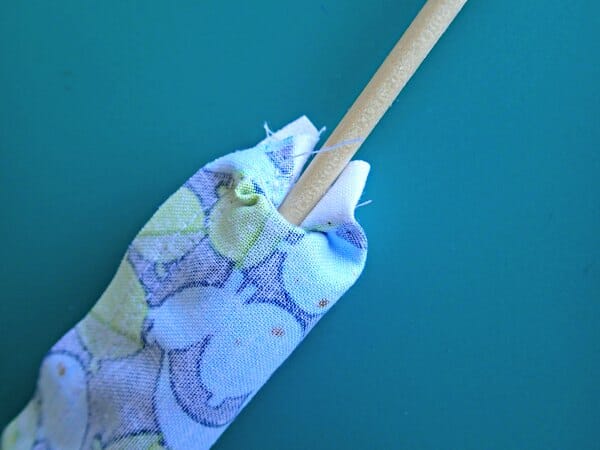
Stick the end of your pokey tool into the hollow end of the tube inside your fabric.
Step 4
Now slide the fabric off the tube and onto the pokey stick. Somehow it now seems to slide easily without all bunching up, and you can transfer the fabric off the tube and onto the stick.
Step 5
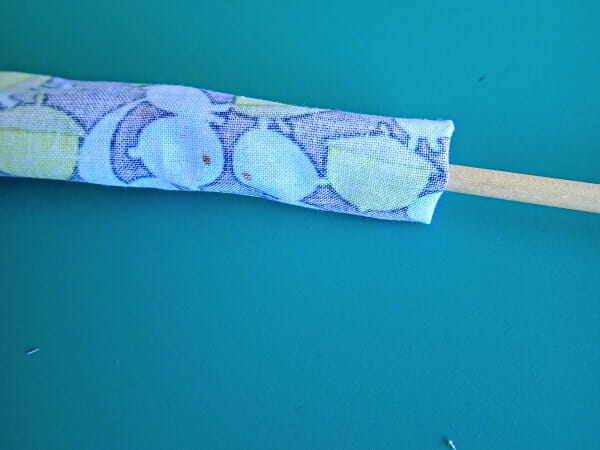
Once you get it started, it goes quickly and you can then simply pull the end through. Eventually, your fabric gets turned all the way down and the plastic tube becomes free.
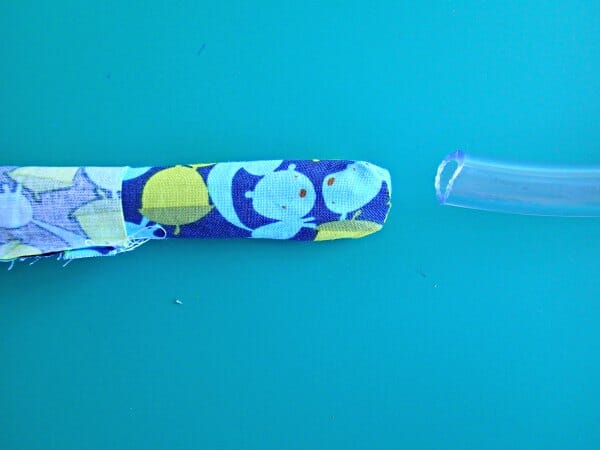
Your right side will start to show on the end of your pokey stick.
Step 6
Keep pushing the fabric down the stick until the whole tube is turned the right side out.
Step 7
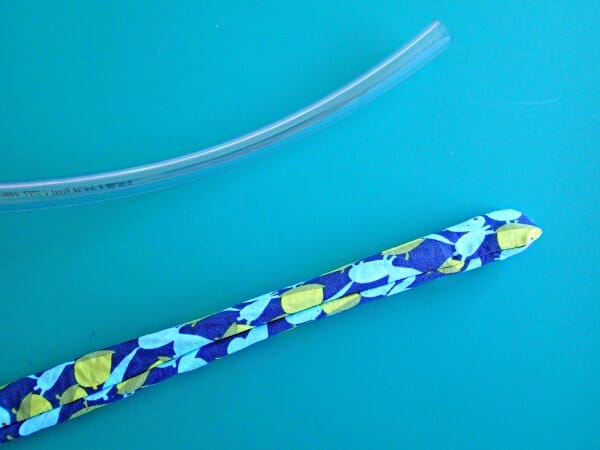
You can then use the tube or the pokey stick to press your tube of fabric if you don't want to press it flat.
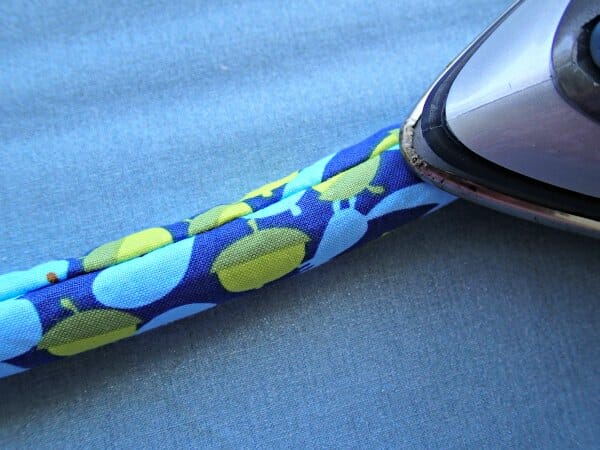
Step 8
Store your stick and tube together. You'll be wanting to use them again next time for sure.
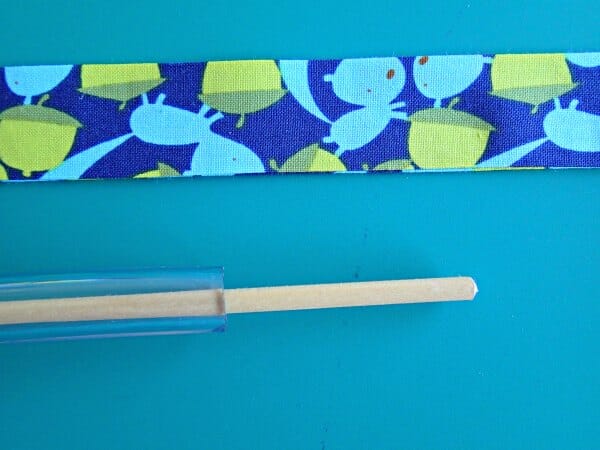
Give your tube a press and admire your new strap/belt/whatever it is you are making.
Here's the handle I was working on. I love the faux piped look I can get from using the two different fabrics.
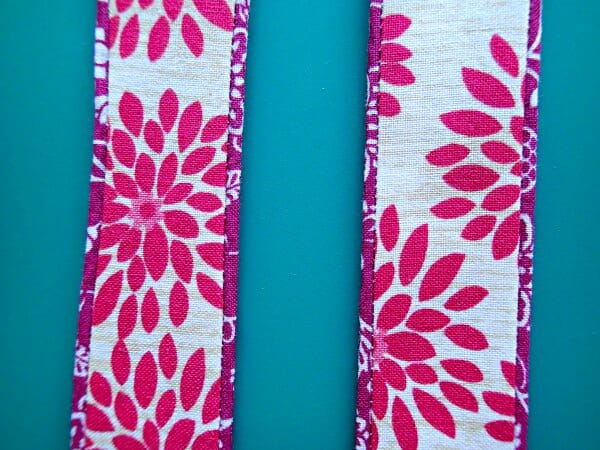
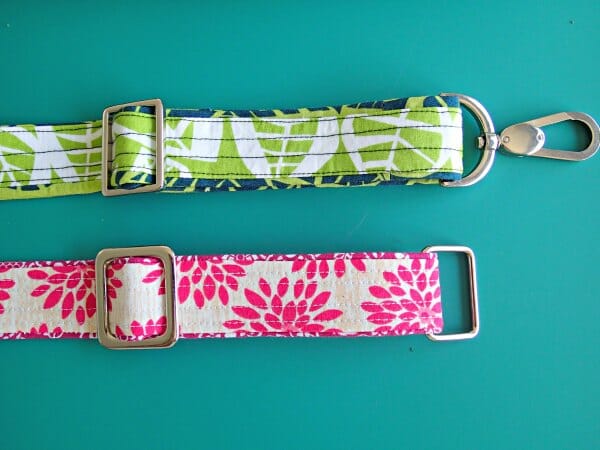
More coming soon about this handle and the bag it's going on.

In the meantime, PIN THIS to share with your sewing buddies. They'll thank you for it!































What if it’s a very NARROW “tube” and no space for anything to push it right-side out?
Hi Dorrie, I have another way to turn a long strap without using a tube. Stay Tuned please, I am in the process of writing the tutorial.
Just use the pokey tool or a knitting needle
can anyone give suggestions for thick AND very fragile fabric, such as vintage chenille, and an impossibly small tube. Any suggestions would be very appreciated! Thank you ☺️
Where did you find that tube?
I came to a solution when I had to make a handle on a bag I was making. Searched around till I found a knitting needle and pushed the head thru my piece of fabric but first had to start it with turning the end of the tube with my fingers which took some time to get it going. It worked well and have seen the tube method just pictured here so thats the next few gadgets I will get from the hardware store. Love seeing hints and tricks to make our sewing projects more enjoyable and not being frustrated with not having the necessary tools. This site has been very helpful for me and thank you!
Another way to turn a tube: With a thin but strong cord, heavy string, etc., sew one end into one end of the the strap (or whatever you’re going to turn), making sure it will be long enough to extend out the other end of the tube when sewn together. Sew the tube, handle, etc., together (if it is in two pieces or if you’re folding to make a tube. Be sure to keep the cord/string free When you’ve finished sewing the seam/seams, pull the cord, etc. until you’ve pulled it wrong side out. The cord, string, or whatever you’ve sewn into the end can then be cut off. Pat H.
Should’ve read this incredibly innovative solution before posting my question! Such great advice. I’m sure it’ll work perfectly with my fragile chenille fabric and it’s a very small tube. So grateful, thank you! You saved Christmas, as I’m sewing holiday gnomes using fabric from my belated sister (that has fusible backing ironed on to preserve this precious fabric further) to gift her son and my mum. Very grateful!
Will definitely be using this method on my next project! Thanks!
Amazing, I am definitely going to try it.
Thank you for the great and easy idea but I am wondering if sewers should avoid ironing the material actually on the plastic tube as suggested here. Won’t it melt or distort the plastic somehow if the iron is hot?
You are a genius! Fabulous idea. I always sew down a ribbon at the end first and then sew the sides with the ribbon inside making sure you don’t catch the ribbon. Then you pull the ribbon and flip out the whole thing. When making thin spaghetti straps I use a strong thread works great on satini fabric. I will try your method next time I turn a thick strap. I always hate wasting ribbons! Thanks again!
Oh my gosh you have given me the biggest help in making 2 toned ribbon!!!!! Now instead of having to sew the smaller ribbon to each edge of the bigger ribbon, I can make it into a tube, turn using your method and iron!!! Perfect and so much easier!!!! Thank you!!