


A few weeks ago I shared an article on what simple embroidery stitches you can find on your sewing machine.
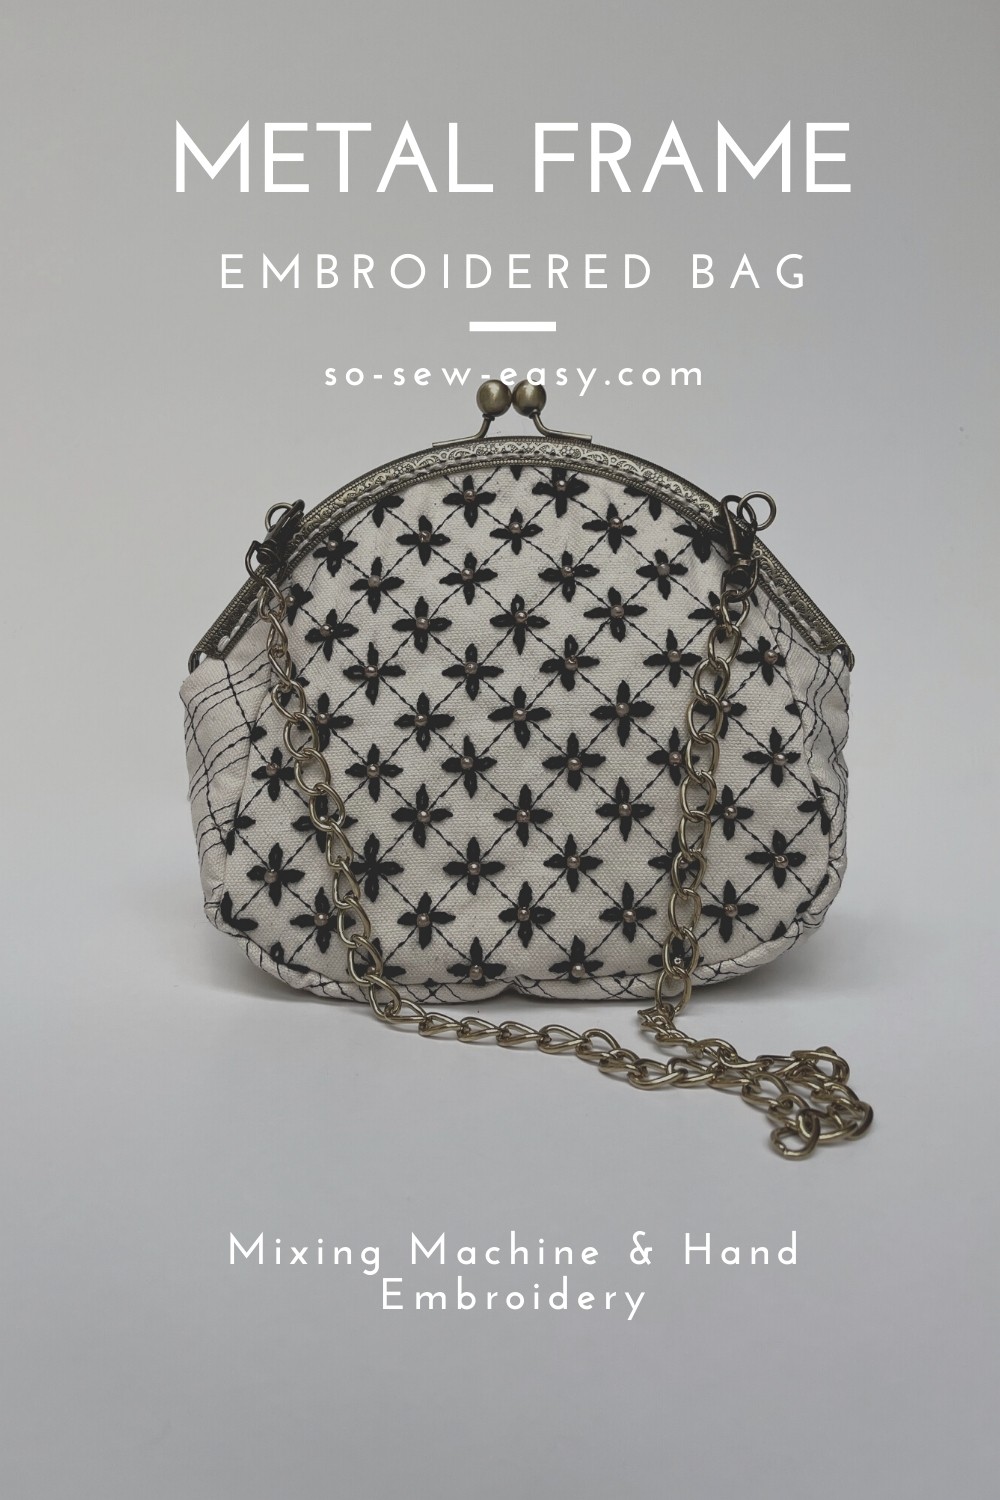
In my case, I have a total of 85 stitches. I am trying to make a new project for each stitch, and for this one, my metal frame embroidered bag, I used my stitch numbered 77 and some hand embroidering.
This is a project for exploration not so much about the bag but more about the possibilities of mixing two media to change the texture of the plain fabric.
I hope you enjoy it and learn as much as I did with the project.
Materials
- 1/2 yard of canvas
- 1/2 yard of lightweight fusible interfacing
- 1/2 yard of piping (Optional)
- 1/2 yard of lightweight fabric for lining
- 1/2 yard of Flex Foam Stabilizer
- 1 20cm metal frame purse
- thread to match the fabric
- embroidery floss DCM 310 or Perle 116-5-310 thread or crochet thread with a little shine
Tools
- hand sewing needle
- Iron
- needle threader
- embroidery scissors
- erasable pen or tailors chalk
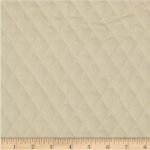
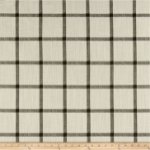
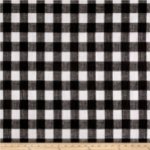
Fabric Recommendations from Fabric.com
I am using heavy intreated canvas. Here are some recommendations of similar materials you can source from Fabric.com.
 |
 |
 |
 |
Sewing Level: Advanced Beginner
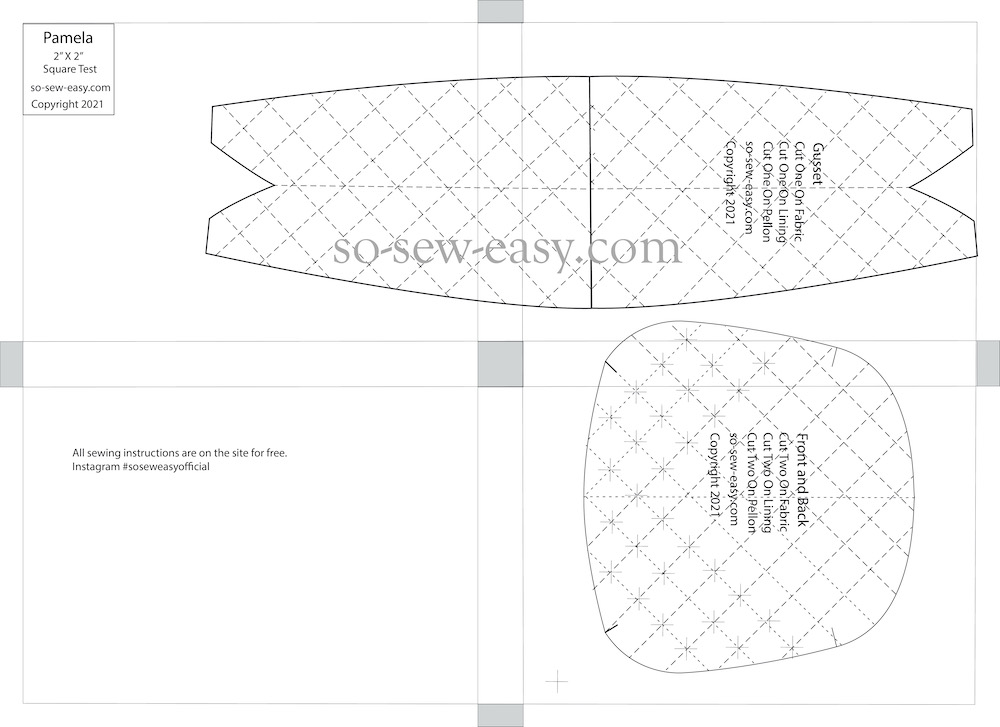
How To Print And Download The Metal Frame Embroidered Bag Pattern
Please use Adobe Reader, print in Landscape Mode and do not scale.
Pattern Download
Like most of our patterns, this pattern is free. But now you have the option of making a small contribution if you like our work! We'd really appreciate it and it will help us keep going with new and fun designs like this. Even a dollar or two really goes a long way.
Thanks so much in advance for helping us out. You can use any credit card and you don't need a Paypal account, although you can use one if you have one.
Pattern Layout
Sewing Instructions
The seam allowance of 3/8″ is already included in the pattern.
This is a very easy bag to put together, the key is to find a metal frame that is 20cm long and curved. But if you can not find the size for the pattern, please take a look at this article where I teach you how to make your own pattern.
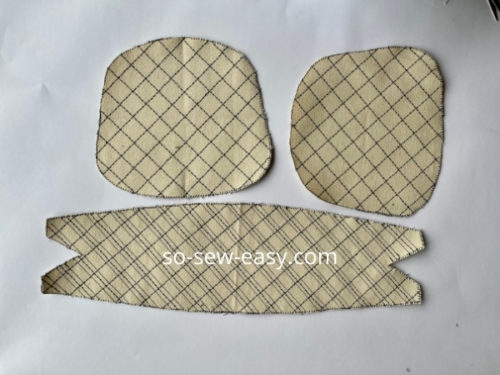
Cut all the pieces on the outside fabric, the lining, and the Pellon layer.
Mark the notches of the pattern onto the fabric using an erasable pen.
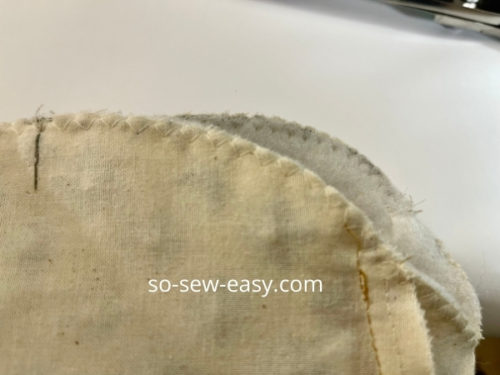
Zigzag the edges of the outside fabric to prevent it from fraying.
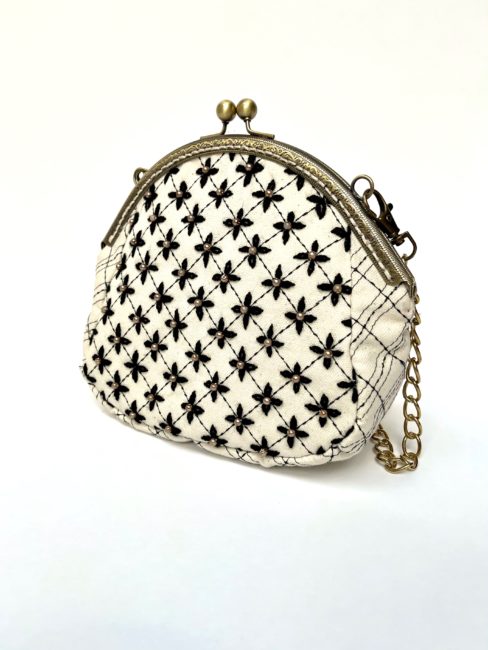
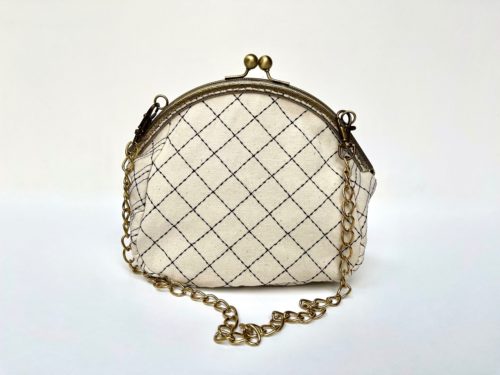
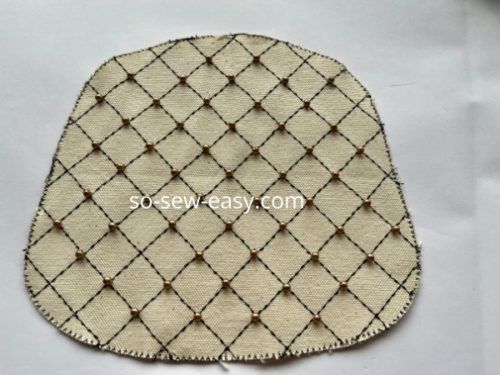
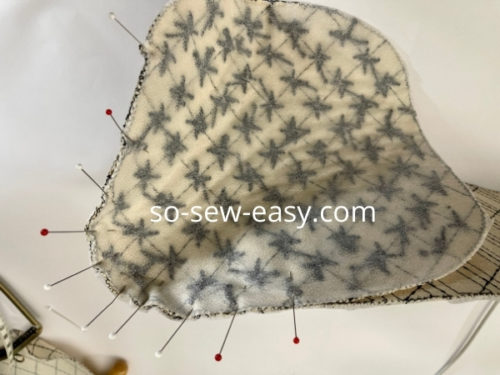
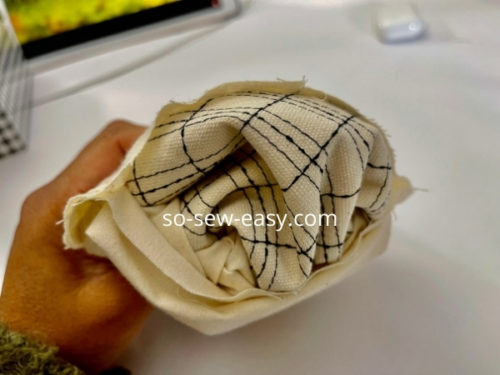
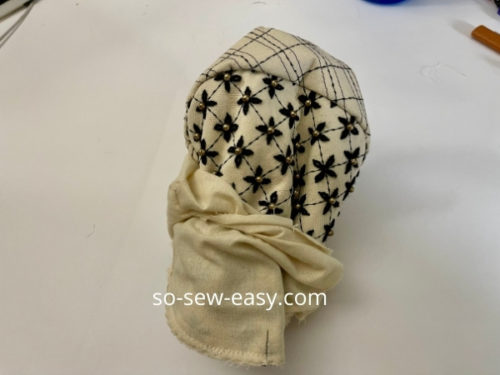
I used stitch number 77 on my Bernina 350 Patchwork Edition to sew a honeycomb pattern. This took me around two hours. Then I added Gutternman beads and sewed them on all the corners.
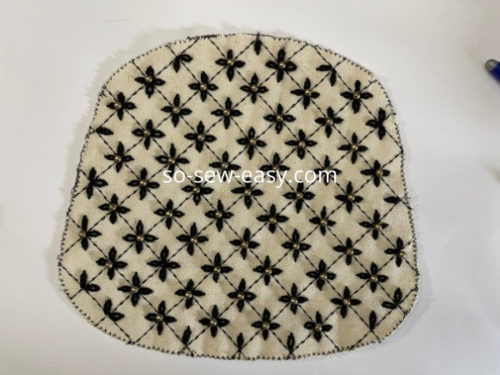
Next, I embroidered detached chain stitch around each bead.
The following steps are the same for the outer fabric, the Pellon layer, and the lining.
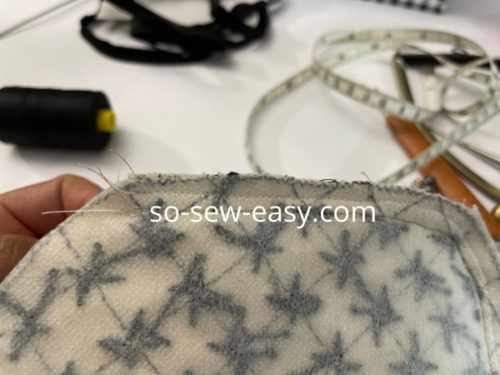
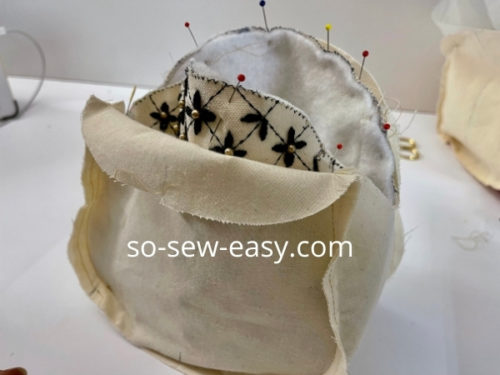
Pin the centre of the gusset to the bottom of the centre front.
Pin from the bottom to the top. I find with experience this is better than pinning around. In case you cut the fabric wrong this will help you distribute the gusset evenly.
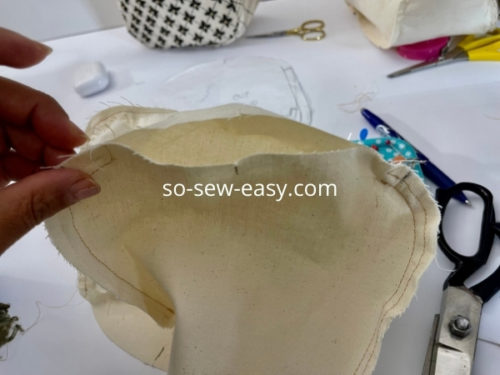
If you have never sewn curves before the best tip I can offer you is to change the normal foot to a zipper foot and sew as wide as the foot, then sew again at 3/8″ as the pattern calls for. You can trim the seam allowance by half.

NOTE: When sewing the lining leave a space between the notches marked in our pattern so the bag can be turned right side out.
Assembling Your Metal Frame Embroidered Purse
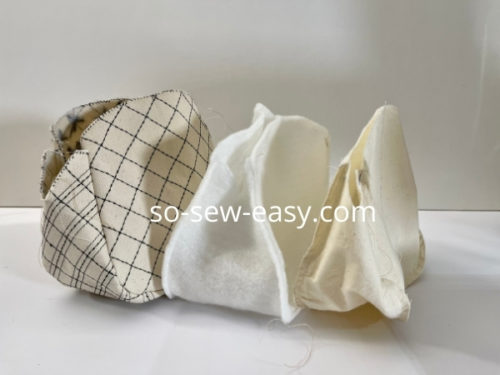
Place the outer layer of the purse right side out.
Insert the Pellon layer inside the outer layer.
Take this two layers and insert it inside the lining. The lining should have the seams outside.
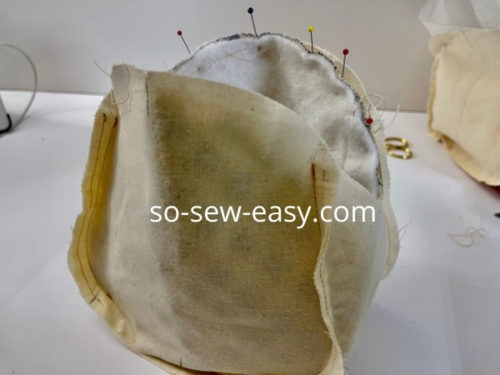
Note: Turn the seam allowance to the gusset.

Zigzag the three layers together then sew at 1/4″. Notice below the seam allowance is turned to the gusset.
Turn the bag through the opening of the lining.
Sew the lining using a running stitch.
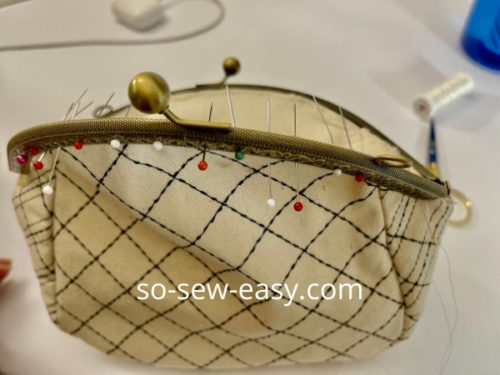
Sew the frame to the the purse using the running stitch.
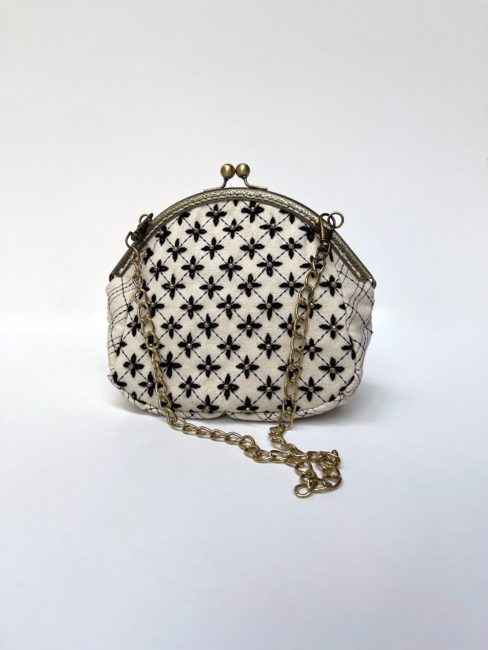
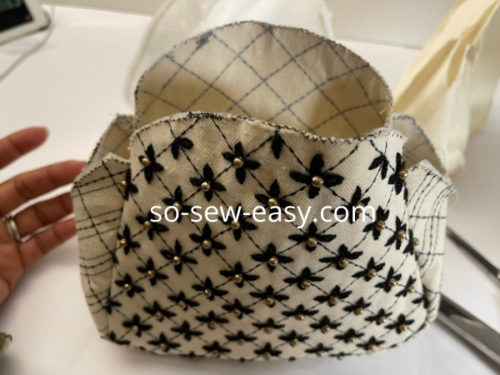
I liked how this metal frame embroidered purse turned out. All in all, it was easy and fun to make and I hope it will serve you well as a good-looking introduction to bag making.
Adding your own texture to a plain fabric makes your work so much more appealing and sets it apart from the rest, especially if you are selling your purses at a market. Go ahead and try, please do let me know how it turns out for you.
Does the pattern of this metal frame embroidered bag not work for the frame you already have at home? Try making your own pattern with this step-by-step tutorial.
Until Next Time, Happy Sewing!


Super torebka i oryginalna 🙂
Thank you!
Beautiful!
Why did you miss a bead near the bottom left?
I did it to see if any would catch this detail! well done!
This is absolutely beautiful.
Thank you, Jennifer! Hope it inspires you to make one and share a photo with me. Kind Regards,
A lot of work but a fabulous result! 🙂
HI Anne, actually writing the article and sharing took the longest, but yes! I am happy with the result.
You did a beautiful job on this bag! Thank you for sharing it.
I get a thin gauge treated canvas painter’s dropcloth and us it for making bags. It’s inexpensive and water resistant.
For purses there’s less chance of anything inside getting wet if the bag gets placed on a damp surface.
In the case of grocery totes, if anything leaks, there’s less chance it will get all over outside surfaces.
I wish I could get my hands on such a fabric…where do you get yours?