


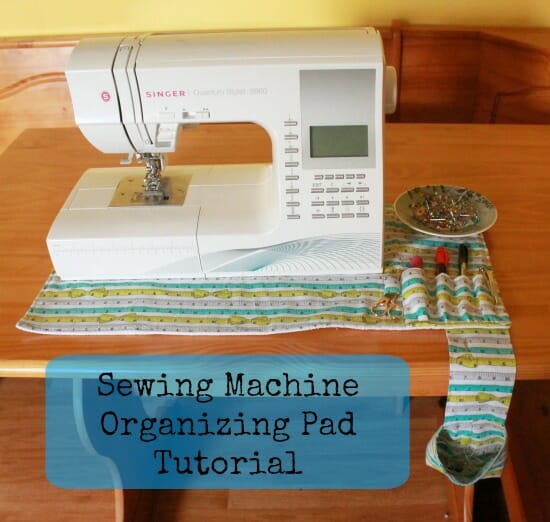
 I've been slowly working on organizing my sewing space and made this sewing machine pad to keep some tools handy. This is Amy from Friends Stitched Together and today I'll show you how to make your own! The pocket sizes are customizable and the thread catcher is detachable which means it's easy to pull off and empty when it's full.
You will need:
- 1/2 yard cotton fabric
- 1 13″x25″ piece of non-skid “grip stop” fabric
- 1 13″x25″ piece of fleece or batting
- 2.5″ piece of velcro
- All seam allowances are 1/2″ unless stated otherwise – backstitch at the beginning and end of all seams
Download this tutorial to keep
You can download these instructions from my design account at Payhip. Keep on your computer or in your pattern library and sew at your leisure. Enjoy!
Cutting out your pieces
First, cut your cotton fabric pieces. I made a little cutting chart so you can fit it all on 1/2 yard:
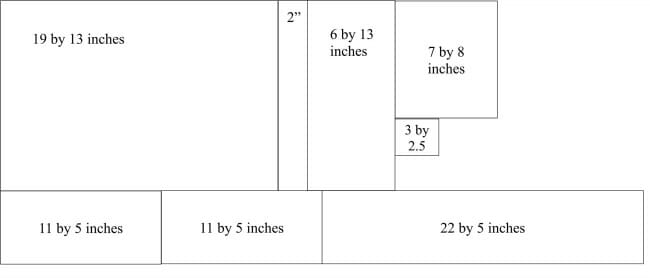
- 1 – 13″x19″ (main panel)
- 1 – 13″x2″ (scissor panel)
- 1 – 13″x6″ (pocket panel)
- 1 – 7″x8″ (thread catcher strap)
- 1 – 2.5″x3″ (scissor strap)
- 2 – 11″x5″ (thread catcher)
- 1 – 22″x5″ (pocket)
How to sew your sewing machine pad
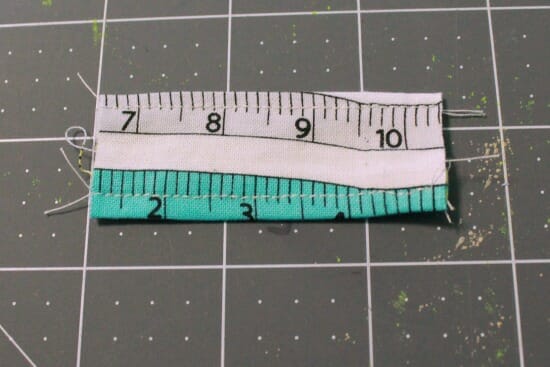
Take your scissor strap and fold it in half so it is 2.5″ wide and 1.5″ high. Sew the long side to form a tube. Trim the seam allowance.
 Turn right side out and topstitch the long sides
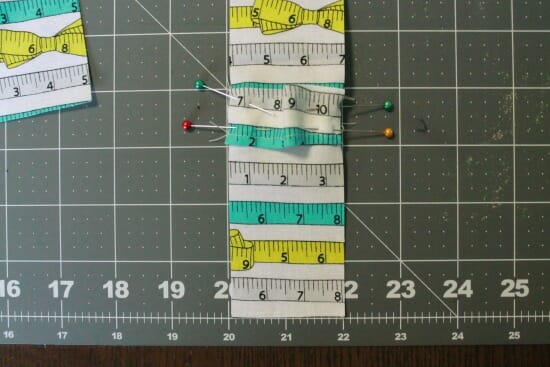
 Pin this onto your scissor panel, about four inches from the bottom. There will be a slight bump in the middle – this is for your small scissors to fit under. Set this aside for a minute.
 Fold your pocket piece in half, short sides together. Sew along one long side.
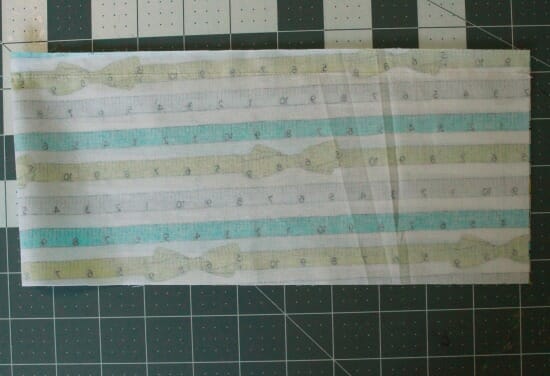 Turn right side out and topstitch along the seam you just sewed.
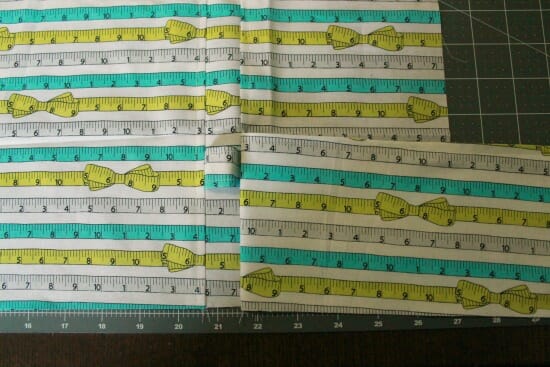
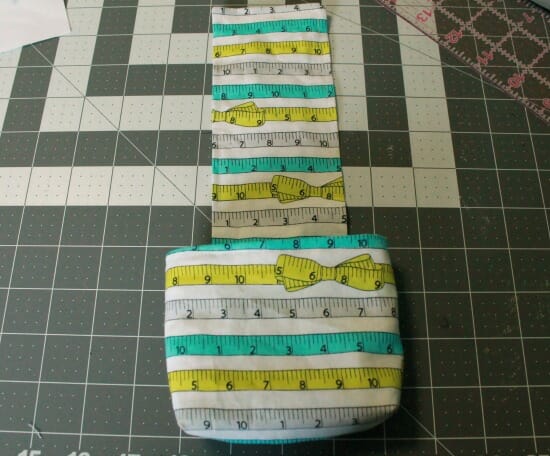
 Set it at the bottom left corner of the pocket panel as shown below:
 Sew the left side to the scissor panel and then that piece to the main panel. Topstitch the seams away from the scissor panel, making sure to flip the pocket piece around so you don't catch it in the stitching.
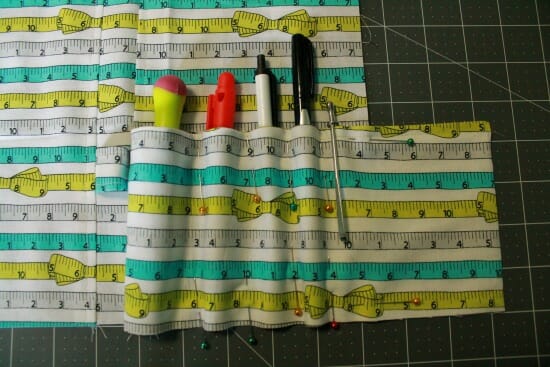
 Now we'll start making pockets for your tools. I wanted spaces for my seam ripper, my small screwdriver, a couple pens, my bodkin, and my tweezers since those are all things I use often. You can customize the pockets to fit whatever you want. Lay the tool down and lay the pocket over the top, pinning at the other side. Don't make it so tight that you won't be able to pull the tool out again. Repeat for the other tools. Remove them and sew along the pinned lines you just made.
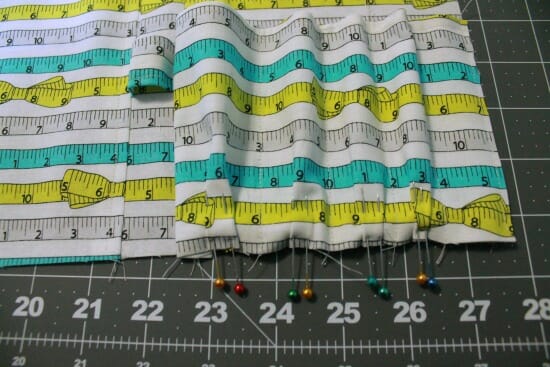
 Trim the excess fabric. At the bottom of each pocket, form a small pleat and pin. Baste these down using a 3/8″ seam allowance so it won't be seen when you're finished.
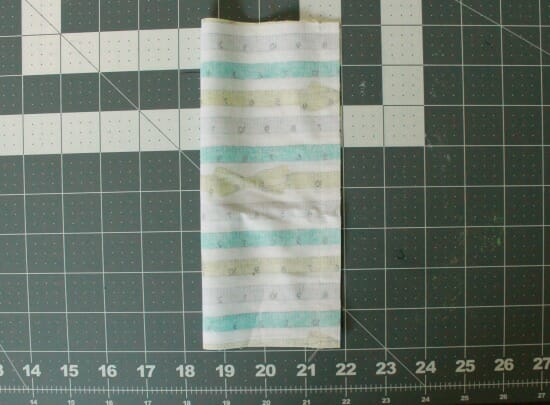
 Take your thread catcher strap piece and fold in half, long sides together. Sew one long side.
 Refold the tube so the seam is in the middle of one side and sew one short end (make sure it's the top if you're using directional fabric). Trim the corners.
 Turn right side out and topstitch the three finished sides.
 For your two thread catcher pieces, use the same method to make a tube and finish the short side (this time, make sure it's the bottom if you're using directional fabric). On one thread catcher, leave a 2.5″ section in the middle unsewn so you can turn it right side out later – this will be your lining piece.
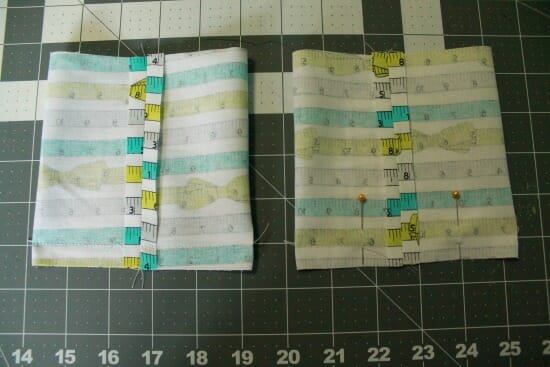 To box the corners: stand the bag up so the bottom seam is lined up with the side and it forms a point. Measure up 1/2″ from the bottom and mark a line – it should be about 1″ long.
 Sew along this line and trim the excess.
 Slide the strap inside the lining thread catcher with the seam towards the inside of the bag.
 Slide the outer bag inside so it's right sides together with the lining. Line up the seams in the backs with the center seam of the strap. Stitch along the top of the bag, being sure to catch all the layers.
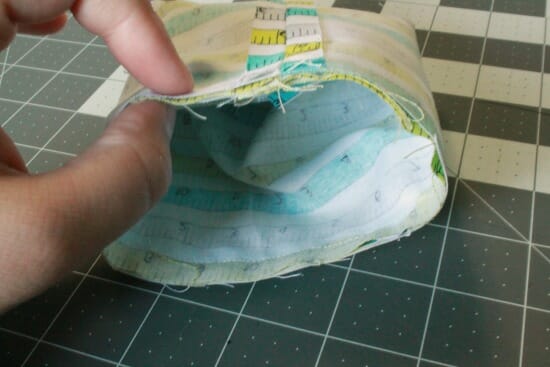 Turn right side out through the gap you left in the lining. Fold the seam allowance in and sew very close to the edge to close the lining.
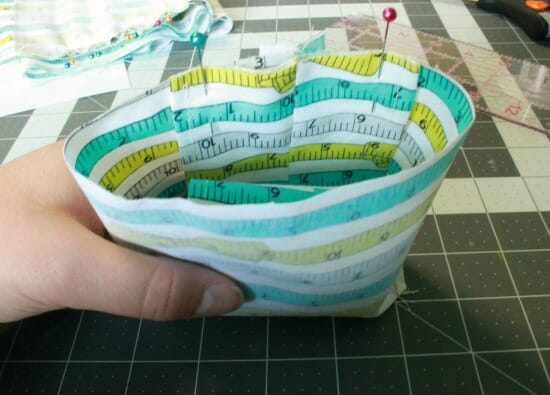
 Pull the strap out of the way and topstitch the top of the bag.
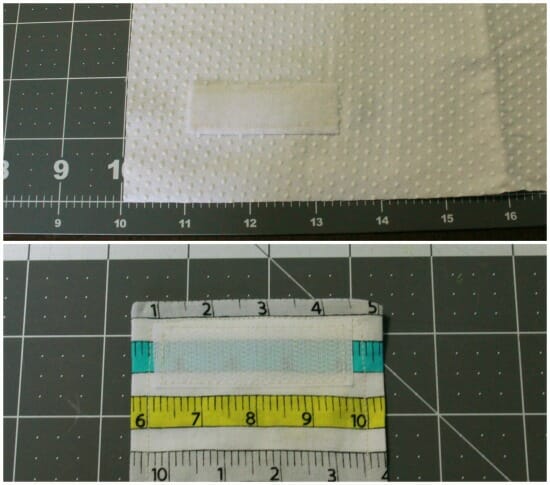
 Lay the grip stop fabric so the non-skid side is facing up. Attach the softer velcro piece to the bottom left corner, about one inch in from the sides. When you are finished, this will be on the bottom right corner. Add the rougher velcro piece to the top of the thread catcher strap.
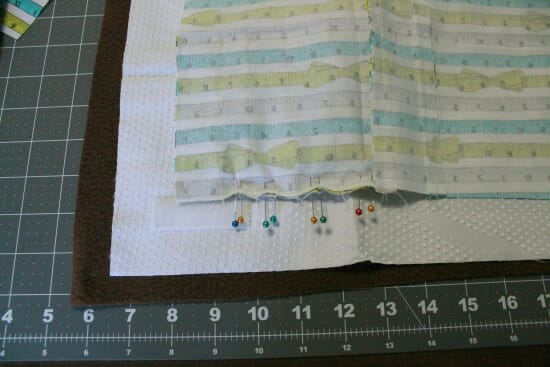
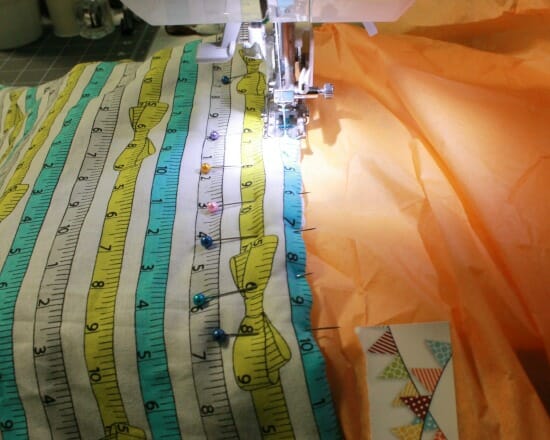
 Make a sandwich of your pieces in this order: fleece/batting, grip stop (right side up), cotton fabric (right side down). You can see that instead of basting the bottom of the tool pockets, I left the pins in – this made it pretty difficult to sew all at once, which is why I recommend basting. Match all the corners and sides and sew around the edges, leaving a 4″-6″ gap at the top or the side without the pockets to turn the mat.
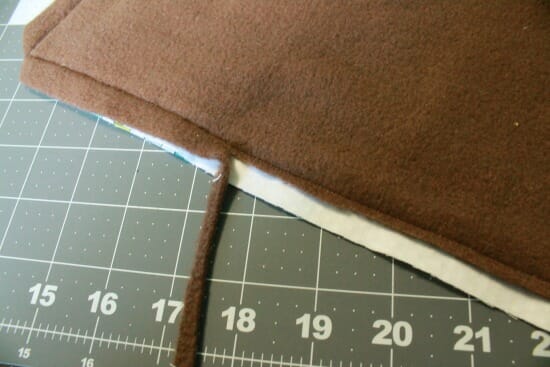
 If you want, you can trim the edges of the fleece to 1/4″ to cut down on the bulk when it's turned.
 To topstitch the mat and close the gap, I found it easiest to lay the mat, grip stop side down on a piece of tissue paper and then sew. This helps the non-skid actually slide through your machine. Don't topstitch over the pockets on the right.
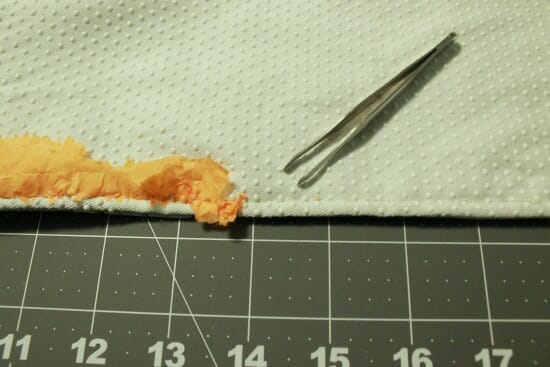
 Rip off as much tissue paper as you can and use a pair of tweezers to pick out the rest (it's faster than it sounds, don't worry).
Set your machine on it and enjoy!


I'm Amy and you can usually find me over at Friends Stitched Together where I blog with my best friend. I love writing tutorials and sewing for myself and my two boys. I've also meshed my love of fabric with my geeky side to co-create CraftingCon!


Thank you for sharing this pattern. I used it for my serger in place of my sewing machine( sewing machine is in a cabnet). It works great and i love it. I made a cover for my serger and now it can sit out all the time and is ready when i need it. Sooo easy.
I love it and thank you for sharing. I belong to a small group “Comfort Quilters” out of Fairbanks, IN 47849 where we make quilts for charity. We usually have five machines set up and this would be good to put under the machines. Will give it a try after the holidays. 🙂
Brilliant idea..I thought I would make it in reverse as I am lefthanded. I thought maybe making it hang over the table to make more storage. Csn never have enough storage…maybe add a pin holder
Love the tape measure fabric, Amy!!!
I’ve featured your fab organiser, Amy…
http://www.threadingmyway.com/2014/12/threading-your-way-features.html
Love it, the only things I would do to make it work for me is
1. have the pockets open to the side to access the contents easier
2, size the thread pocket to hold a yogurt container to make emptying it easier.
Great ideas! Do share a photo if you sew one yourself. I’d love to see your improvements.
That’s great!! I’ve got a Craft Gossip post that links to your tutorial:
http://sewing.craftgossip.com/tutorial-non-slip-sewing-machine-mat-organizer-and-thread-catcher/2014/12/04/
–Anne
Amy, this is fantastic! My favorite part is the fabric. You wouldn’t believe how many times my little ones took a scissors and clipped my tape measure. So frustrating. But this pad is perfect. Great job!