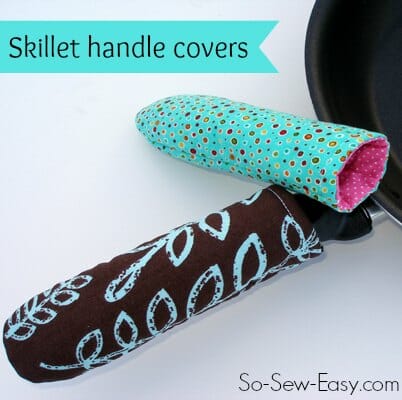
These hot skillet handle covers were the first thing I've ever made for my kitchen and its an essential. I cook like I live – always on full, thinking I can get it done in half the time. Not only does it mean my food is often burnt on the outside and raw in the middle, (my poor husband) but it also means the handles of my pans often get really hot. I used to try to pick them up with the tea-towel but we cook with gas and all to often the towel would touch the flame and oops – something else burnt. So I made these nifty pan handle covers and you can too!
Materials:
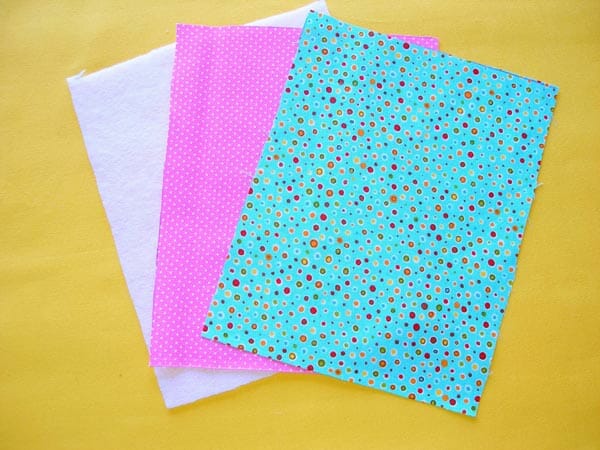
This project is a great scrap buster. You will need:
- Outer fabric – 5.5 inches by 7 inches
- Lining fabric – 5.5 inches by 7 inches
- Batting, fleece, old towel, Insul-bright etc to line – 5.5 inches by 7 inches
Hot skillet handle cover instructions
You can use several different materials to line your pan handle holder and protect you from the heat. I had some fusible fleece on hand because I make a lot of bags, but you could use an old wool blanket, a scrap of an old towel, any material that will help to protect you from the heat.

Layer your fabrics with the fleece or Insul-Bright on the bottom, then the outer fabric face up, then the lining fabric face down. Line up all the edges.
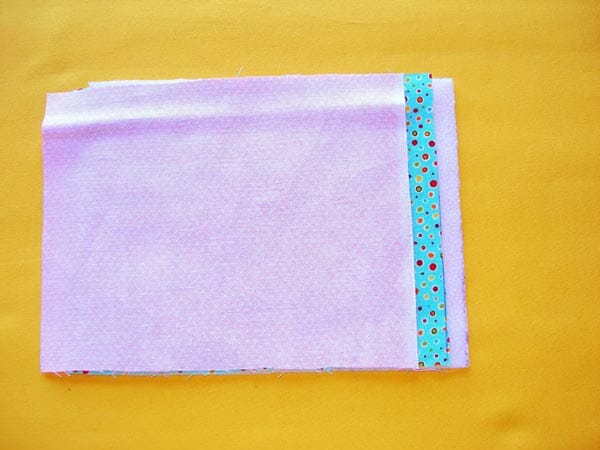

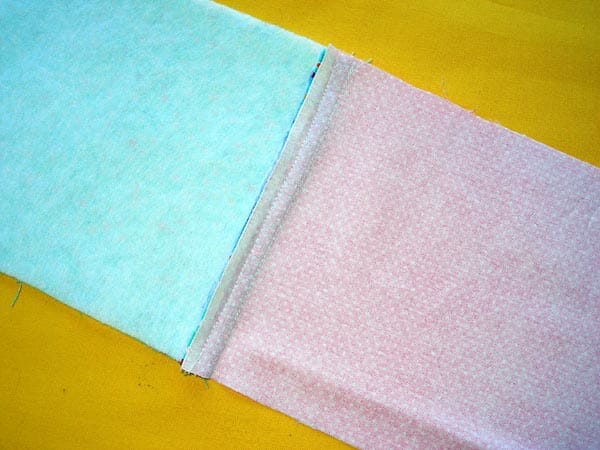
Sew across one short end through all layers. Then fold the lining fabric out the way, fold the seam allowance back towards the fleece on the wrong side, pin in place.
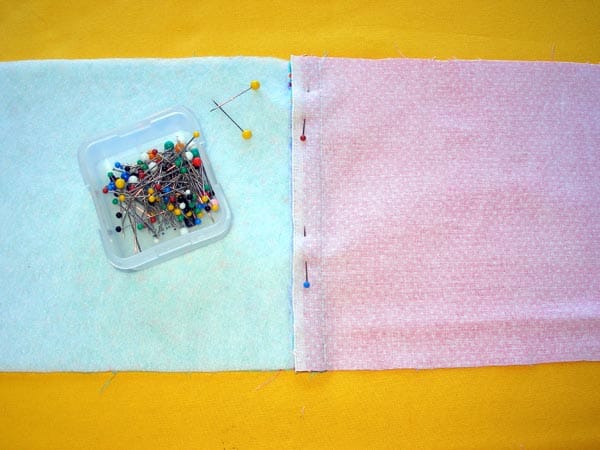

Stitch half way between the stitching line and edge of the seam allowance.

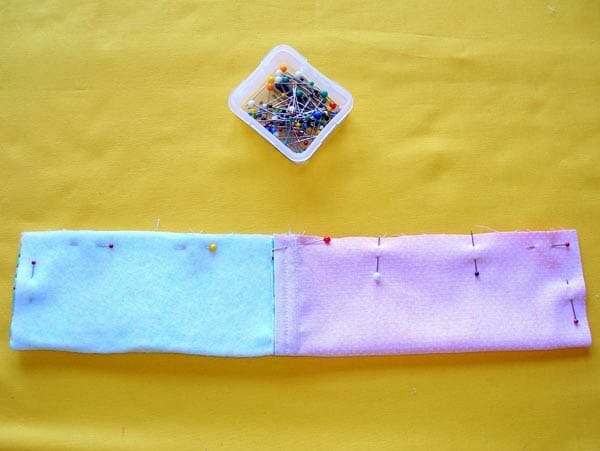
Now fold you piece in half along the length, right sides together and pin in place. Stitch with a 1/2 inch seam allowance as shown, leaving a space open in the lining of about 2 inches that you will use for turning later on.

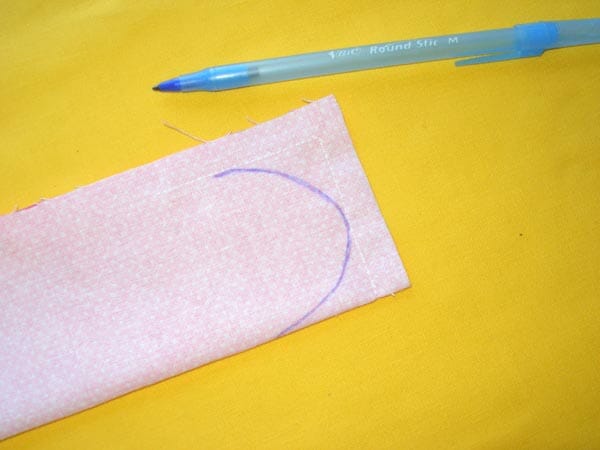
If you like, you can leave your pan handle holder squared at the corners, but I like to make it a little more shaped on the end, so draw a curve on each end, matching up on one side with your line of stitching, and with the fold on the other side.

Stitch along the curves you drew in, back-stitching at each end for security. Trim your seam allowances close to your stitching lines.
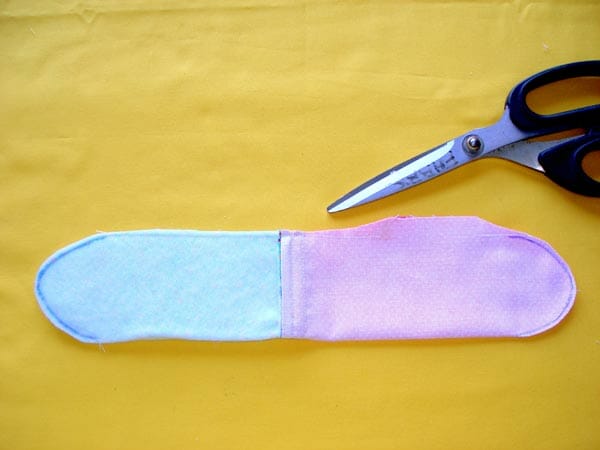

Turn the right side out and close the hole in the lining fabric close to the edge. You can neatly hand stitch or simply top stitch with your machine. Who's going to be looking inside there anyway?
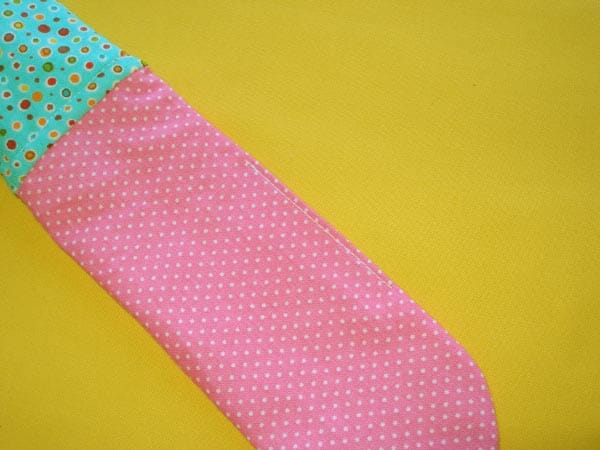

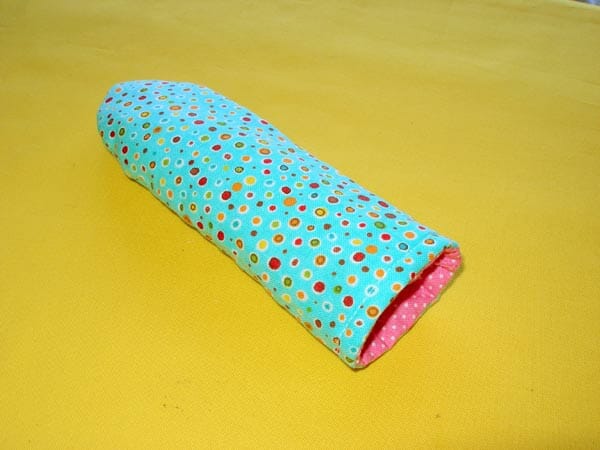
Slip the lining inside and your pan handle holder is ready to use. This is a great project for your fabric scraps, it's decorative but useful, and you can easily make a whole bunch of these including some in seasonal fabrics or even ones that match your apron or potholders.

This project originally appeared on Ellison Lane.
Authored by: Deby at So Sew Easy


I keep the corners “square” and use them for my reading glasses. Works great for your purse!
easy peasy- I’ve been wanting to do this for ages, such an easy project… well, after I ended up with my inside out on the first one I got the hang of it! LOL
I made one of these years ago and have used it to death. Love it. I did forget however what a nightmare it is to turn these. Yikes!! The new one almost landed in the trashcan!
I thought this would be difficult… bought the materials and put it off for a long time. Did it today and it was a breeze! Love the finished product! Thank you!! ?
You are most welcome!
I don’t see where it says what the seam allowance is?
I would say probably a 1/4 inch seam allowance
In picture 4 she writes “Stitch with a 1/2 inch seam allowance as shown, leaving a space open in the lining of about 2 inches that you will use for turning later on.”
Can’t wait to make these as gifts. Thanks for sharing.
I’m just a beginner at sewing and this was super easy, even for me. I used old jeans and they turned out super cute. Thank you.
This is probably a really dumb question. I bought some of the Insul-Bright to make these for the new cast iron skillet we just bought. Does the shiny side of the insul-bright face up, or face down on the layout of the fabrics you showed. I loved your tutorial – so easy to follow! Thank You!
Hello Pat! I don’t think it really matters since you are making a sandwich of fabrics anyways.
Thank you!
I just stitched up one of these as a last-minute Christmas gift, and it came together so quickly and easily! Great pattern, easy to follow… Thanks so much!
Great pattern! much easier than the way I use to make them. I used outer fabric, insul-bright and the silver material that they use for ironing board covers for inside lining.
. That with insul-bright really blocks the heat.
Thanks for the tutorial
Maravilhoso todos os tutoriais!! Obrigada!!
This project is easy to sew up but I couldn’t turn it inside out to complete it. The insul bright that I have is too bulky unless there are different weights that I don’t know of. Is there a trick that I’m missing?
the thicker your batting and fabrics the wider you need to make the opening and the overall width of the holder.
One thing I have to change is add two layers of cotton batting place the insul-bright in between for heat protection for safety reason.
Thank you so much for sharing this project so easy to follow your instructions.
Excellent tute. I might add that doing this with a walking (even feed) foot if you have one makes the project super simple. Just whipped out three in less that 30 minutes.
Fantastic!! This is one of those ‘why didn’t I think of this??’ moments. Ha ha. Definitely going to make a couple as I am starting to teach my kids to cook and I have been so worried about them burning their hands on my cast iron skillet.
Those could be used for curling irons that need to be thrown in a suitcase. I think I would thinsulate as a layer instead of batting
Great idea Vivian, I’ve seen others comment the same on Pinterest. Would be perfect for that sort of thing and using some Insul Bright would replace the batting.
I really like this idea. And, since flat irons, curling irons, etc come in different lengths and diameters, a quick tracing outline of the appliance could make a “custom fit!” Thank you.?
Since Facebook is notorious for not letting page owners know when I tag them, I thought I would stop by myself and let you know I featured this post and my readers loved it! https://www.facebook.com/CraftsbyAmanda/photos/pb.323548680216.-2207520000.1397173019./10153988963965217/?type=3&theater
Wow, look at all those likes and shares. Thank you SO much for sharing this. I could see lots of traffic from Facebook but couldn’t track down where it had originated. I’m so very grateful for the boost. Thank you Amanda.
This is just what I need for our new cast iron skillet! Thank you for sharing this at Brag About It Link Party on VMG206.
~ Megin of VMG206
Thanks for sharing this at Brag About It! I had a store bought one for my cast iron skillet and when it got to be constantly 15 or 20 below zero here in Wisconsin, I got tired of rubbing or huffing on the the dog clip on the leash to warm it up so it would open, that I stuck that end inside my handle cover to keep it warm LOL…. now after all the harsh weather, I’m in need of a new handle cover! ~ MamaGing.com
Just what I need, oven gloves are always too bulky….
Love this!
Wow…what a great project to use for teaching someone to sew! Thank you for the inspiration.
Absolutely, I think I’ll add it into my Easy Sewing Projects for Beginners page.
Thank you so much!! I have been trying to get around to replacing my extremely old, store bought, ragged, and disgusting one for a couple of years now! So pretty with the contrasting lining – love it!
What a great idea! I have a pancake pan that always gets so hot and working with the oven mitt is not comfortable. Pinning it!
Thanks very much Zelda. I’m happy you find this useful. Saved me from catching the kitchen towels on fire!
Awesome! Where were you a month ago when I needed this! Lol thanks for sharing
Those are adorable! I will have to whip some up! Thanks for the tutorial!
very cute,will try to do it,thanks for sharing
Super cute! Love these beautiful hot handle cover. Thanks for sharing tutorial!
Have a wonderful day and week!
Hugs from Portugal,
Ana Love Craft
What a great way to use up scrap fabric!
I’ve been able to make quite a few, they are so quick, use tiny pieces and I just throw them in the wash over and over again. Love your Maxi Dress by the way.
Yes I definitely need to make these. I just burnt my hand really bad the other night because I had a pan in the oven and put it on top of the stove then moved it forgetting it had been in the oven. Thanks for the tutorial!