


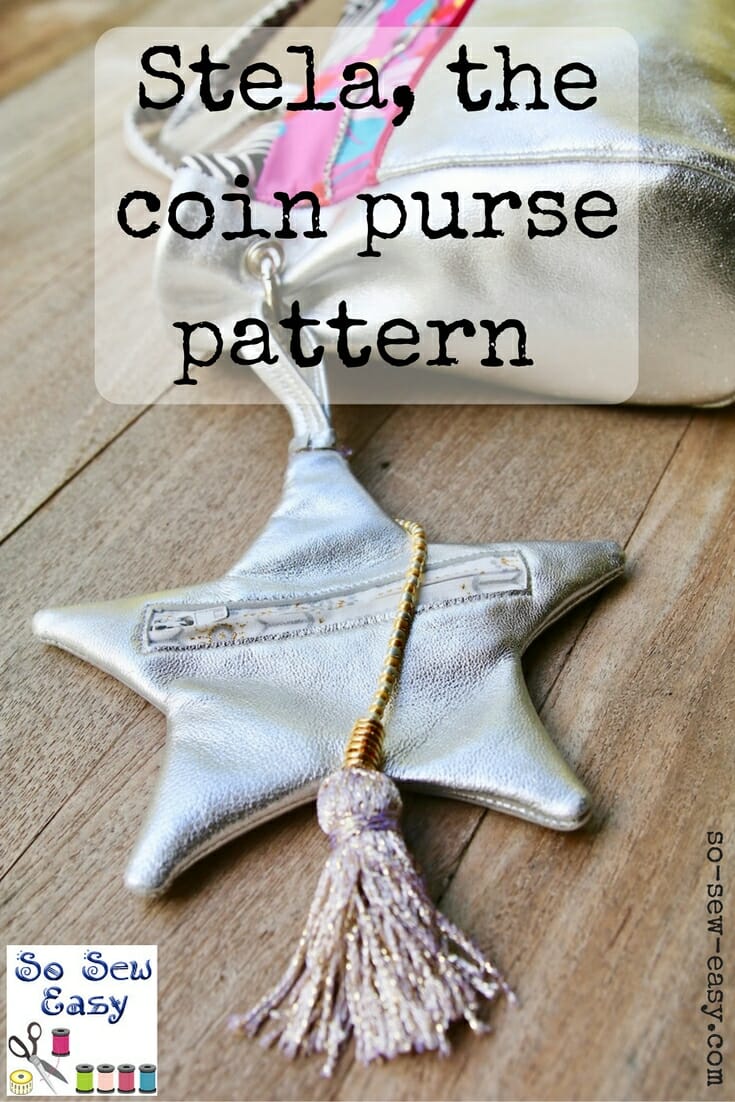
This coin purse pattern and tutorial are a follow-up to the Leather and Fabric Handbag tutorial we posted recently. While you certainly don't need to make this coin purse pattern from leather –you can use vinyl or almost any fabric– it makes a good first project for those who have never sewn with leather before.
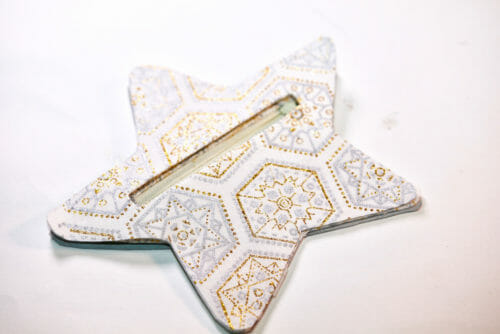
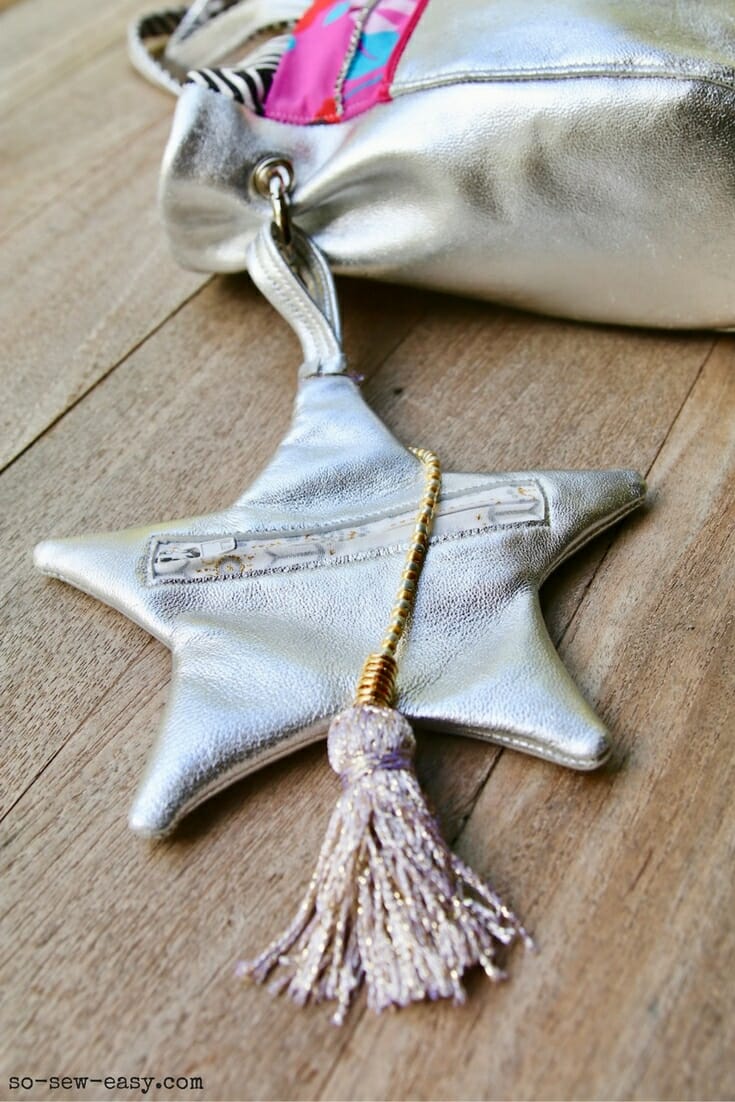
I had originally designed this pattern as an ornament on our Christmas tree if you can believe it, but I found that my teenage daughter was carrying it everywhere because it made such a good addition to a handbag. I also found the concept made for wonderful small gifts as well.
This tutorial is especially for those of you who are taking the challenge with me to learn more about sewing with leather. I think it will be a great addition to our skills. Leather is a great material to use to make more attractive gifts as well as items that would be terrific additions to a market stall. We will certainly be adding this project to our very popular list about Sewing for profit. Projects that are great to make to sell.
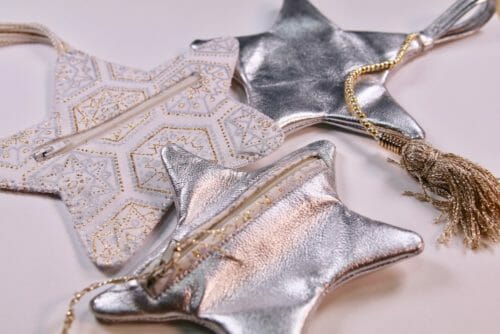
If you bought a whole skin last week, this project will take care of the edges of the skin that might not be big enough for a whole handbag. But as I said before, you can certainly make this coin purse pattern with vinyl, fabric, canvas, or with leather as I have done in this tutorial. It is a terrific little purse for any age and it will look very good hanging inside or outside your handbag as well.
Key Features
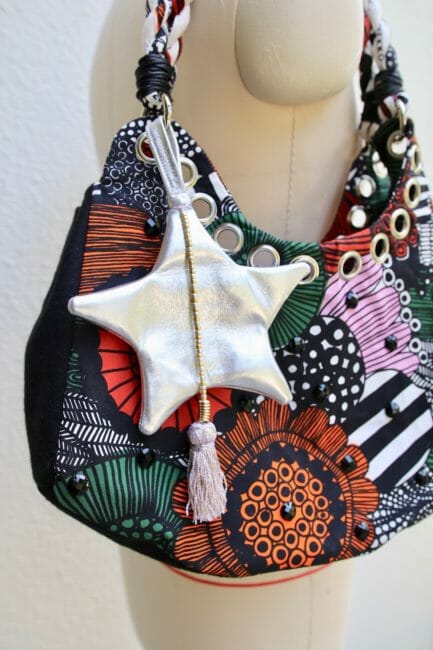
- small enough to hang on the outside of the purse or handbag
- big enough for some coins, a couple of credit cards and a lipstick
- can be used as a Christmas Tree decoration
- good gift, with or without money inside
- can be made with a normal sewing machine
Materials
- leather, 1 to 2 ounces average, can use vinyl or fabric 13″ x 8 1/2″. (See recommendations below.)
- one rectangle of quilting fabric 17″ x 8 1/2″ for the lining and strap
- two rectangles of quilting fabric 5″ x 1″
- water-based leather glue. I used Leather Weld.
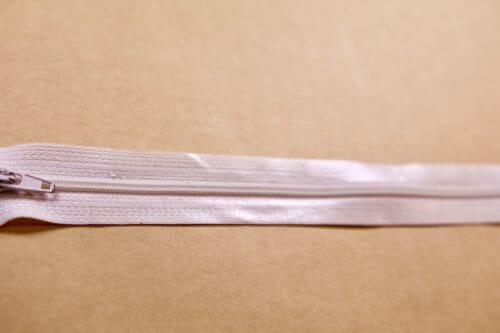
- 5″ zipper
- polyester thread for leather (Do not use cotton.)
- 1/4″ double-sided tape
- one tassel (optional)
Tools
- teflon sewing machine foot
- sewing machine leather needle
- grading or quilting ruler
- craft knife
Video Tutorial
Subscribe to the YouTube channel:
Recommended Fabrics
Pattern Download
You can download the pattern for this Coin Purse from our account at Payhip.
For help downloading and printing PDF patterns, please CLICK HERE.
Finished Measurements
Step One: Cutting the pattern pieces for your leather coin purse
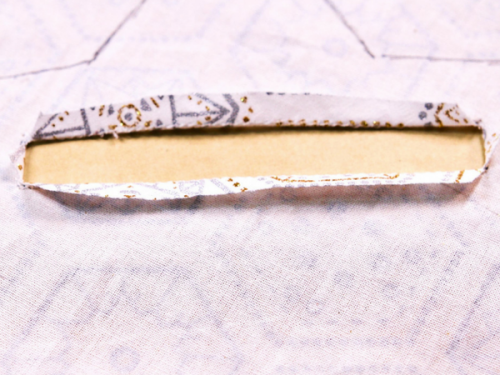
The best practice for making this or any other coin purse is to transfer the pattern pieces to a piece of cardboard thick enough so you can reuse it anytime you want. I strongly recommend this practice because in the future we will be using this pattern for other projects. This will save you time and paper.
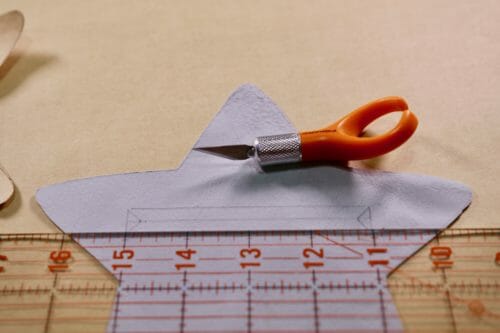
Trace the pattern directly onto the back of the leather or the right side of the fabric using a Frixion heat erasable pen. Using very sharp scissors or a craft knife cut along the lines. I am using a Fiskars Fingertip Craft Knife which is fantastic and I am fond of the quality of their products. Sometimes a bit more expensive but definitely worth the money. Remember the mark will disappear with heat from your iron.
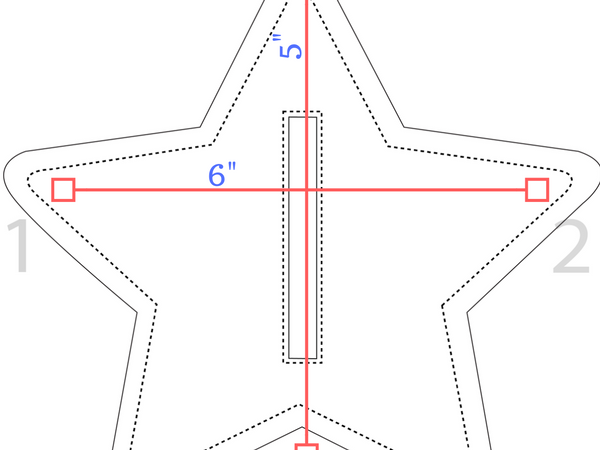
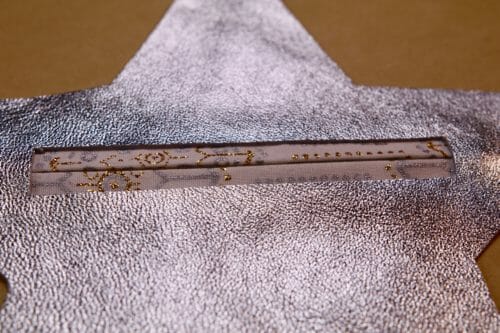
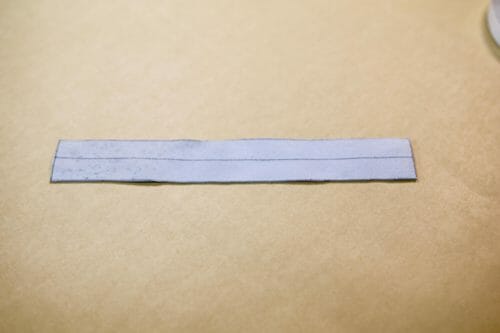
Trace the rectangle, as you see in the pattern. The lines must be as straight as you can manage, so use a transparent grading ruler or quilting ruler for this job.
Step Two: Placing the zipper
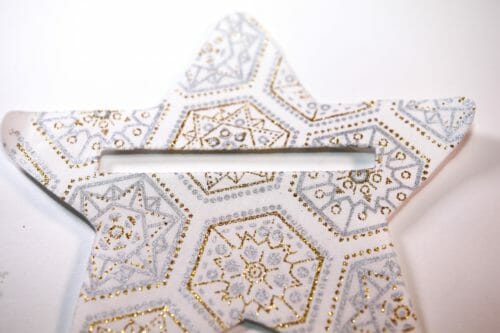
Cut the rectangle on the leather. Make sure you use a very sharp cutting knife and a heavy ruler like a quilting or a metal ruler. Your line must be as straight as possible.
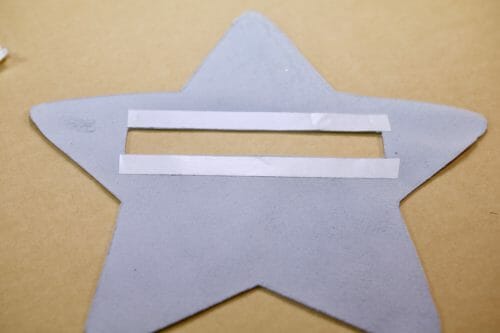
Cut out the rectangle. I have drawn the middle lines and the small triangles inside the rectangle out of habit but you do not need to do that.
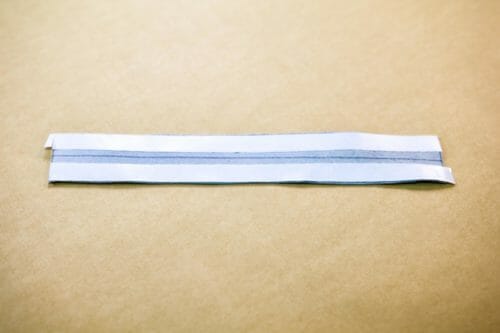
Cut two rectangles of quilting fabric 5″ x 1″. This must be fabric as leather would be too thick.
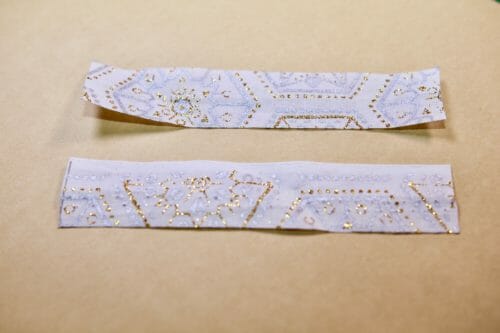
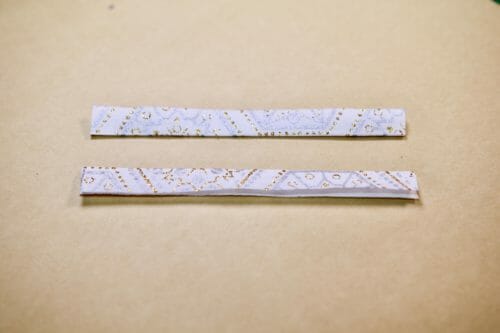
Fold them lengthwise and iron.
Place your 4″ zipper right side up and place double sided tape right at the edges of the zipper tape.
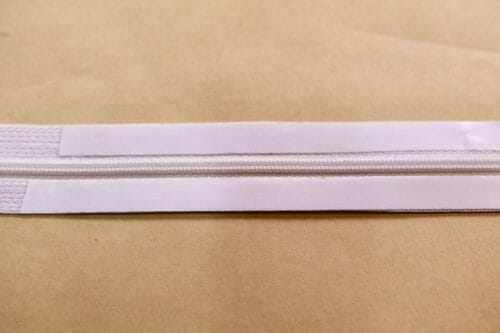
Pull the waxy paper protector off the tape.
Place the two strips of fabric with the folded edge to the center.
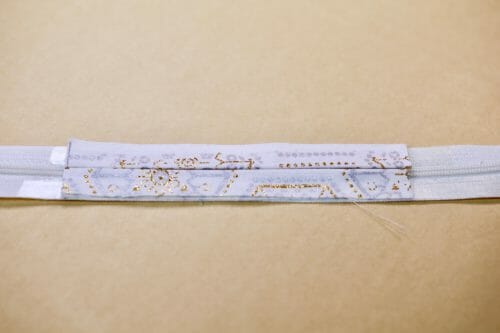
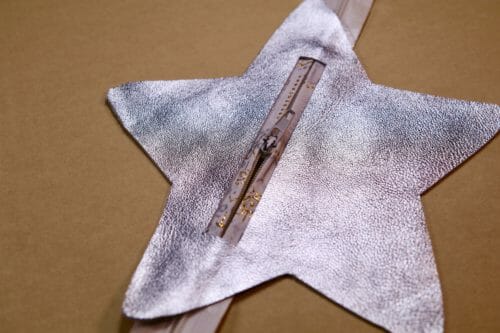
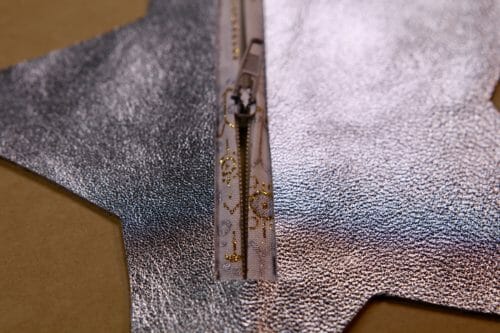
Apply double-sided tape to the rectangle opening of the leather piece.
Peel the waxy paper backing of the double-sided tape off and very carefully place the leather piece on top of the zipper.
Open the zipper to about the middle.
Step Three: Making the lining of the stela coin purse pattern
To make the lining, we need to cut the same size star pieces from the rectangle of quilting fabric 18″ x 9″. This is basically a repeat of Step One.
Mark the rectangle on the lining fabric using the pattern as you have done with Step Two. You can add interfacing if the fabric you are using isn't heavy enough
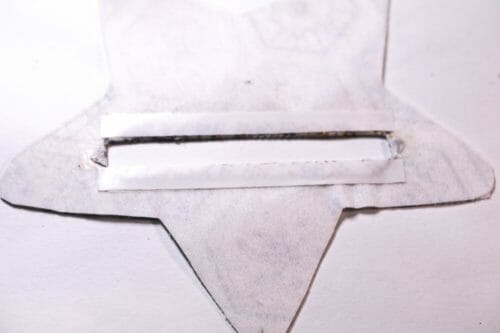
Sew around the rectangle as carefully as you can.

Cut to the corners, but not through.
Iron the lining fabric using the stitching line as a guide and turn the fabric to the wrong side. Make a very neat rectangle.
Place double-sided tape on the back of the lining and line up the rectangles. We're going to be attaching the lining to the leather or fabric you're using for the outer layer of the purse.
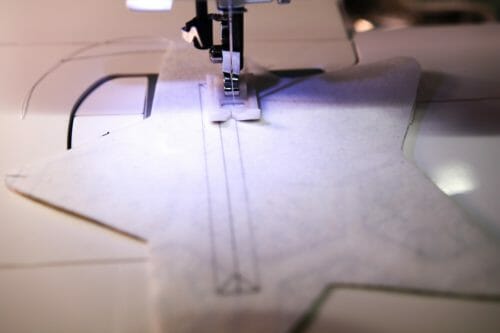
Using your zipper foot align the edge of the leather with the edge of the foot and sew. You must follow the edge of the leather. Pay special attention to the corner pivoting as the step above.

Step Four: Making the strap.
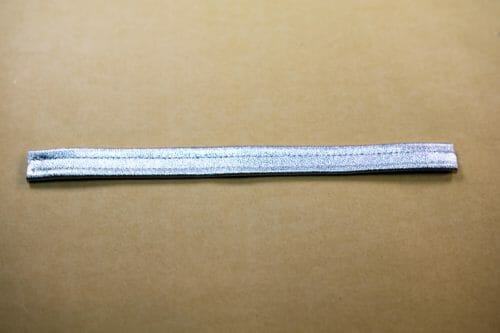
Cut a piece of leather or fabric 7″ x 1″ and make a mark in the middle.
Add double-sided tape on the edges of the leather.
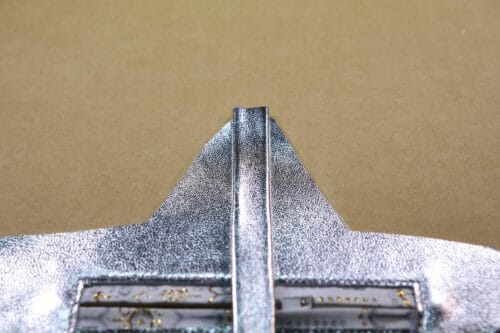
Fold the edge to the center line and stitch it close to the middle.
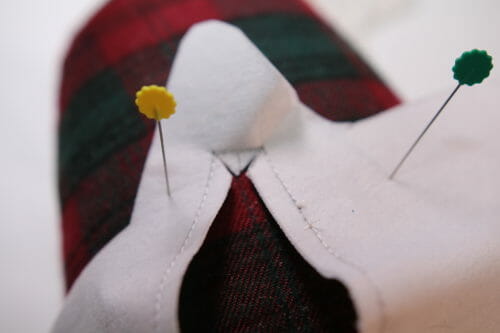
Place this strap over the zipper side of the star.
Place the other side of the star right side down and clip all around the edges. Leave the zipper halfway open so you are able to turn the purse inside out.
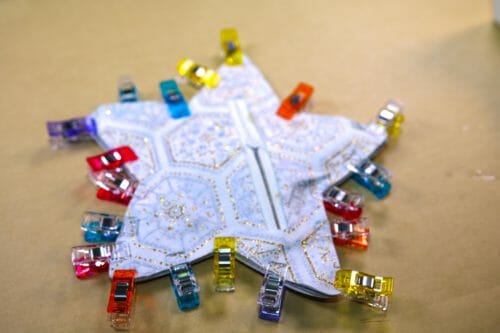
I found it hard to keep all these layers together so I zigzagged all around the star first to hold the layers together. Sew at 1/4″ of an inch.

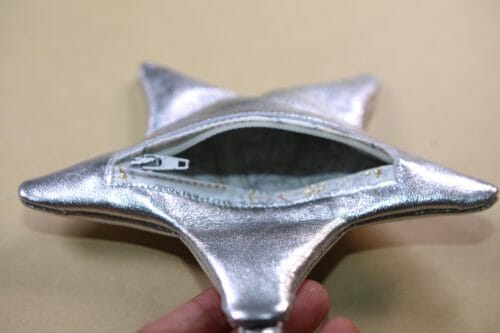
Turn the coin purse inside out.
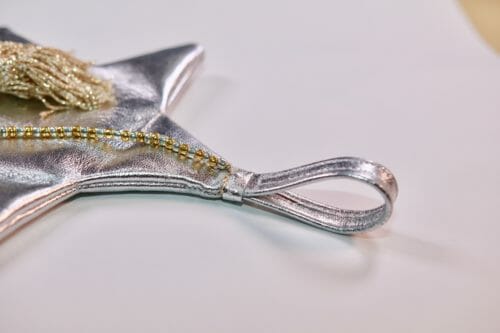
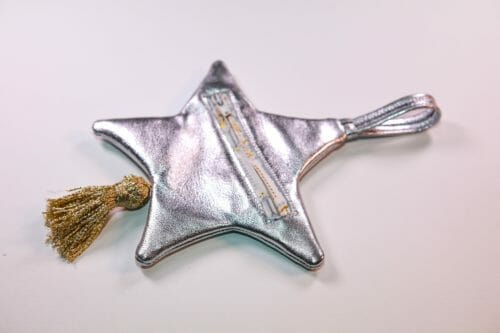
I have added a tassel I made and folded the strap. Glue a little strap of leather around to hide the knot from the tassel. This baby is now ready to hang. I'm going to make a few more for some late holiday presents. What girl doesn't like a little leather coin purse?
Working with leather is not difficult at all and you can use a domestic sewing machine. Everything depends on the pattern you are using. In our next project with leather, we will be exploring the possibility of recycling an old sweater and using leather to make a fabulous handbag that will not require a pattern. Sounds interesting, doesn't it?
I hope you enjoyed the Stela coin purse pattern. Don't forget it makes a very cute decoration as well as an attractive accessory for you or your loved ones.


Thank you for such a cute little gift project.
The download link “has ended”. — would still like to download the pattern. Please assist. Thank you.
Hi Sue, sorry about that. Please check again. I extended the date far into the future. Should be fine now. Kind regards.
Is there any way to get this pattern? I think it is so adorable, but I can’t get to the download.
Hi Joyce, the download button is on the second page. https://so-sew-easy.com/stela-coin-purse-pattern-tutorial/2/
This is a great idea for a purse/tree ornament. You could make them in different colors and trim your tree with them and take them off to give as gifts when the person is there by the tree.
I love it!, it’s going to be my saturday project 😉
what a nice small gift for Christmas.
Pretty neat little purse. My Great Grand Daughters will love these for christmas. They are 5 & 6.
Yes, they’re just the soft of things girls of that age would love. Have fun with it and happy sewing.
I’m thinking it would be a nice small added gift for family.
Indeed it would!
Cute idea!
Love the tree decoration/gift idea! Thank you!
sweet! thanks for sharon
This is absolutely ador!able! I can’t wait to sew some up! And I LOVE your idea of hanging them on the tree and giving them as gifts. I’m so going to do that! Thanks for the pattern
Thanks so much. Perfectly timed. Graet idea!
Love this. Thanks – I now know what to make for my friends for Christmas gifts!
[…] Stela, the coin purse pattern and tutorial – just in time for the holidays – 1 freebie(s)? […]
What a cute idea! I have some leftover black pleather to use up; maybe it would work if I painted on metallic designs?
I think it would fantastic, and I would love to see your finish product!
Thank you for the cute purse. Can’t wait to try it.
This so cute!
What a cute idea! Presents and decoration all in one 🙂
Cute! Thanks for the pattern and tutorial!
This coin purse would make a lovely gift to have on hand for unexpected guests.
What a great idea,just in time for the Holidays. The star is a symbol for light and love.
This is just adorable! Thank you!
I may monogram the non-zipper side to make it even more personal. Thanks for sharing a great holiday project!
I like the coin purse. I think I will try it.
This would be great to add a key ring and clip to a backpack for a kid’s lunch money and house key
What a cute little coin purse. I love the idea of hanging on the Christmas tree and giving as a gift.
You have done a beautiful job of directions for this purse.I want to make a hundred if I only had time. Thank you.
Uead as a “stuffer” instead of a stocking!
great project for the holidays, love the silver leather.
Very nice tutorial. If I questioned something, it was answered in the next few seconds .Well done and thank you.
I have some colorful leathers and vinyl that I found at our local book bindery that will be perfect for this!
looks so cute can not wait to make it thanks
This is lovely! Any chance this will have a fabric option instead of leather?
Hi Mila, there are many fabric options. Look on the second page of the post for some of them. You can use almost any heavier fabric. Canvas would be great.
Yes, I see! I am sorry, I looked quickly when I first got the email update and didn’t read it thoroughly. Thanks!
this little star purse is so cute. I cant wait to try it out. I would really appreciate it if you showed how to make the tassel. Thanks for sharing!
Sure Nadine, I will because we will be using it in another purse.
I can hardly wait to make this little coin purse. And I love that knife holder thingie.
Hi Sue, the knife is very good to control the corners and curves when you are cutting because your hand rest on the table and your pointer finger does most of the work. I really love it specially when I do not want to waste any material.
Cute pattern, I’m anxious to try it!
Let me know how you go, end please do share a picture!
great Tutorial now if I could only the pattern
You can it is on the second page, there are just a couple of things to do before you can see the sharing button. We are not ready to place the pattern on Craftsy just yet. As soon as we can we will In the meantime enjoy!
I can’t locate the pattern??!
Hi Kathy second page of the tutorial.
What a neat coin purse!! Your friends are going to love it!
They will because I am planning to put a small bar of chocolate inside!