


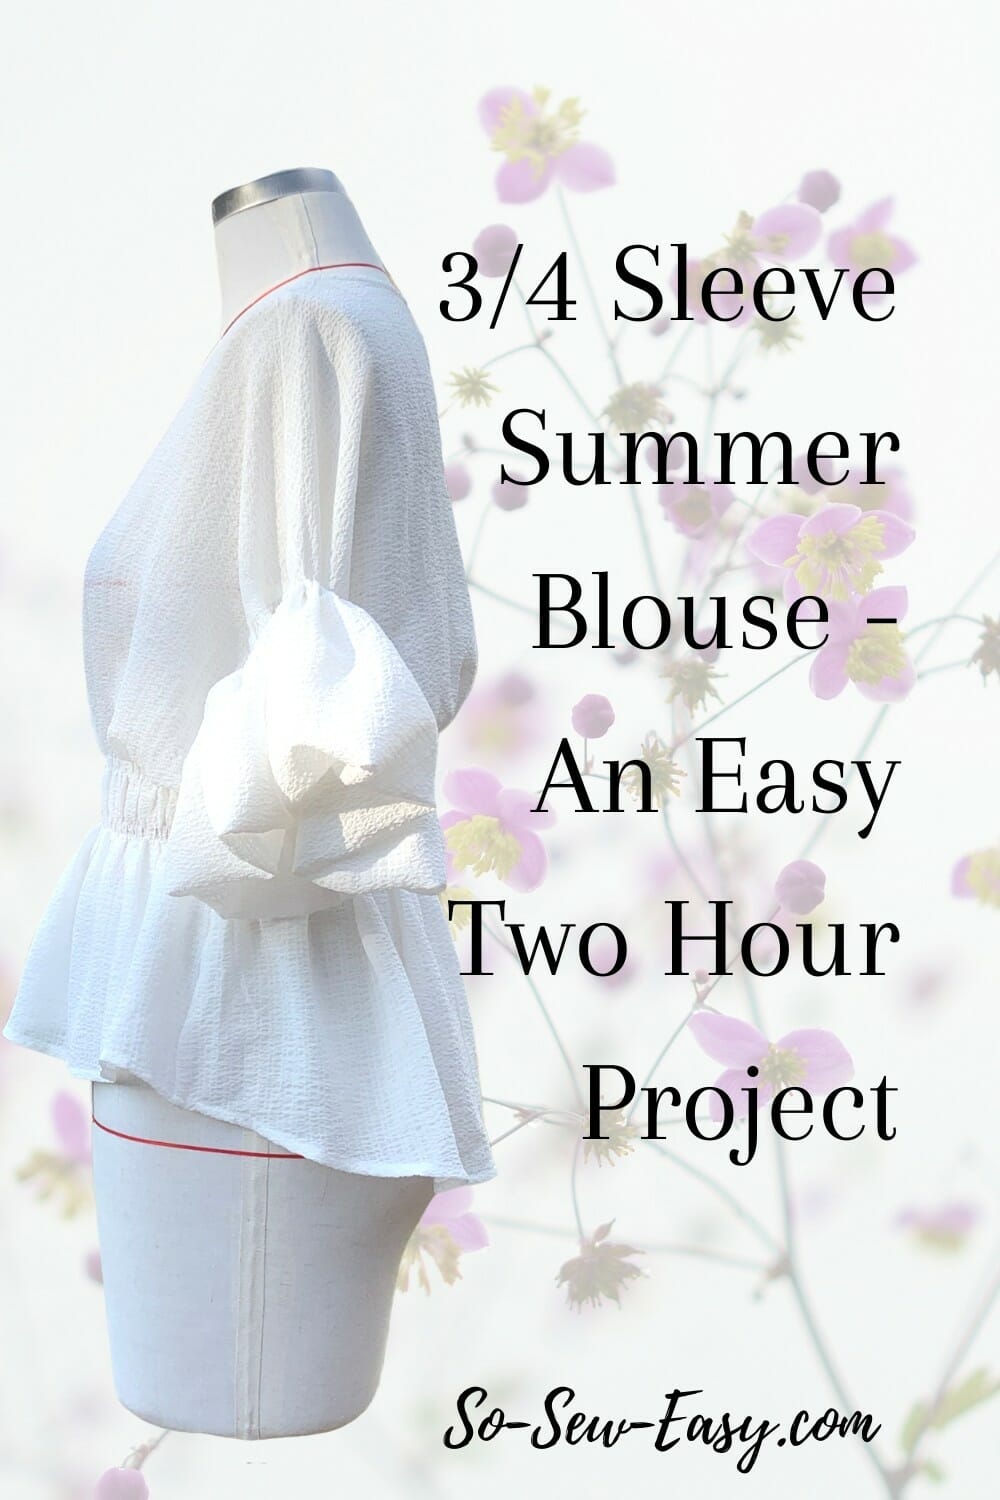
 This is the 3/4 sleeve summer blouse project, designed to take only two hours to complete. I have to admit that I agonized over this project for some time. More than a few days were spent at my desk thinking about how I could come up with the easiest to make, most elegant blouse possible. To be honest, I had thought I'd already pulled it off with the Secretary Blouse and the Office Hours Blouse – but I think this one is even easier!
Please do let me know if you agree. I like a challenge. This is also the 4th more requested pattern on So-Sew-Easy.com “a short sleeve summer blouse easy and elegant”. The only problem I found with this is that the third highest traffic country for this blog is Australia, which is now heading into winter. So how to please both the northern and southern hemisphere ladies? Well this is my attempt, so let me know what you think.
If you would like to see a short video of the blouse please find me on Instagram @soseweasyoffical
This blouse features a rounded neckline,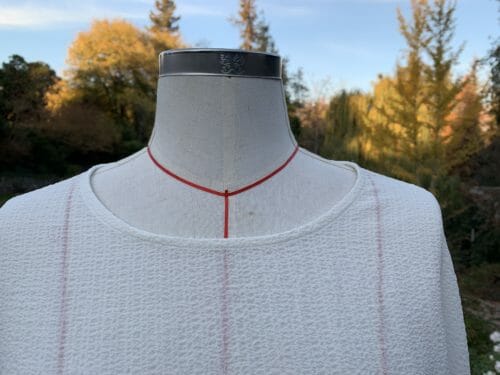
and an easy to close back with a loop and a button.
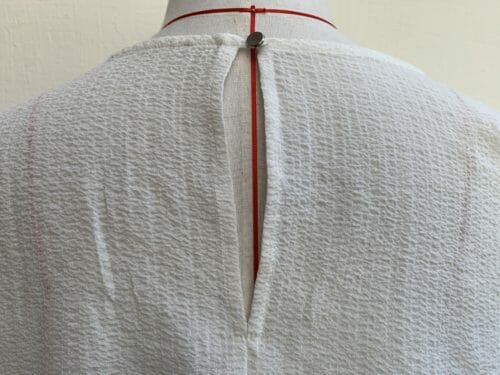
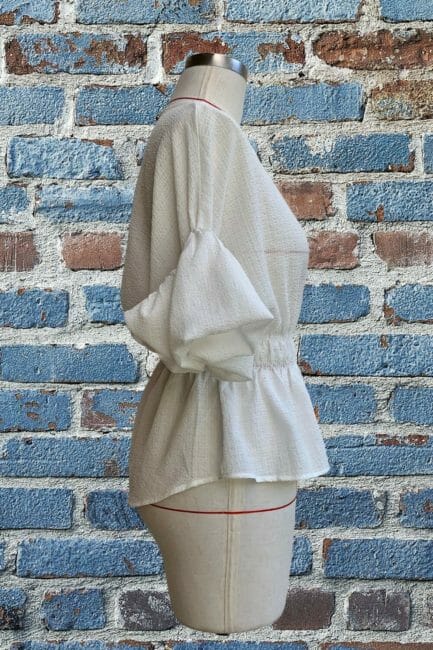
It is lower at the back than the front for those who love the “Parisian tuck” but prefer something more elegant.
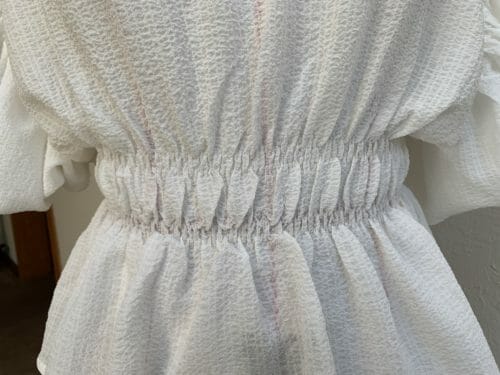
With elastic at the waist so you can show your waistline or make the illusion of having one.
I recommend you to wear this 3/4 sleeve summer blouse with dressy shorts, a pencil skirt, or cigarette summer pants.
But here is the best part, you can roll the sleeves down to make a long sleeve elegant summer or autumn blouse.
I have to warn you though, this 3/4 sleeve summer blouse can only be made with soft drape fabrics such as georgette, silk, rayon. Please have a look at the fabric recommendations.
Materials
- 2 to 2 1/2 yards of woven or knitted fabric
- Elastic thread
- Thread to match
- 1/4″ elastic 22″ to 28″ depending on the measurement of your forearm (above the elbow)
- Bias tape 1/2″ (buy or make your own)
Tools
- Sewing machine
- Serger
- An extra bobbin with elastic thread
- Sewing Needle size 70 or 80.
- Tailor's chalk or erasable fabric marking pen
Fabric Recommendations From Fabric.com
Experience Level: Intermediate Beginner
There is no seam allowance or hem added to the pattern. I recommend a 1/2″ seam allowance.
You will need to know how to finish a collar using bias tape,
and your own bias tape, as well as how to sew a button by hand.
How To Download Your PDF Pattern
We're going to continue to use the new PayHip Webstore to distribute our patterns. As most readers know, Craftsy (Bluprint now) is changing a lot and they have stopped designers like us from publishing new patterns on their site, so we've had to move to another service.
Our patterns are still free, but now you now have the option of making a small contribution if you like our work! We'd really appreciate it and it will help is keep going with new and fun designs like this. Even a dollar or two really goes a long way. Maybe you don't know it takes an average of 26 hours of work to make a post and that does not include a video.
Thanks so much in advance for helping us out. You can use any credit card and you don't need a PayPal account, although you can use one if you have one.
Pattern Download
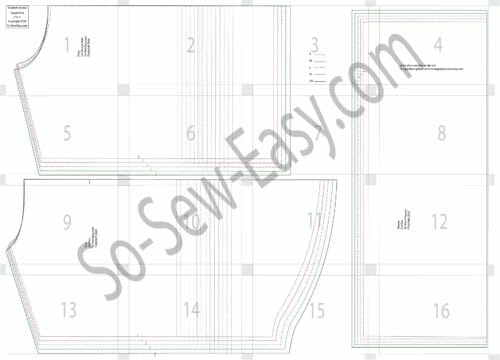
Pattern Layout
Body Measurements
| Size | Bust | Hips | Waist | Length |
| S | 33″ | 34″ | 25″ | 22″ |
| M | 37″ | 38″ | 28″ | 22 3/8″ |
| L | 41″ | 42″ | 30″ | 22 3/4″ |
| XL | 43″ | 44″ | 32″ | 23 1/8″ |
| 2XL | 45″ | 46″ | 34″ | 23 1/2″ |
How To Sew Your 3/4 Sleeve Summer Blouse
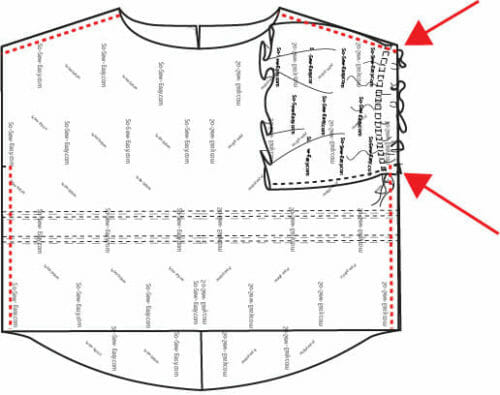
Mark the elastic placement on the front and back of the blouse fabric using your tailor's chalk or erasable pen or baste by hand. I prefer to hand baste with a contrasting color since this is easily removed and will not fade with the handling of the fabric.
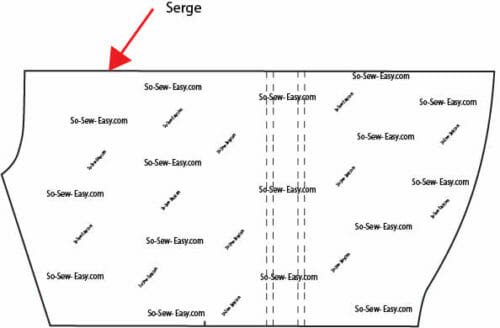
Serge the seam allowance but do not cut the fabric. We are going to need the width of the seam allowance to finish the back opening.
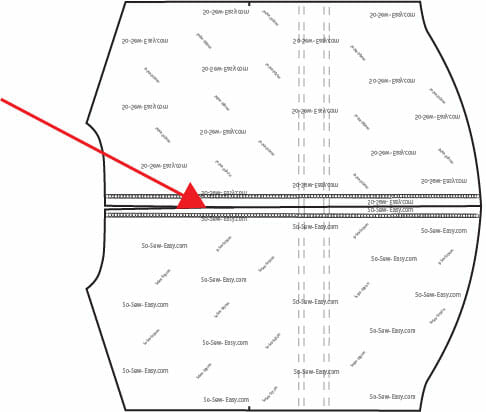
Sew the back until the notch, this is marked in your pattern. Iron the seam allowance open.
Print sides together, sew the shoulder and sides, serge the seam allowance. Iron the seam allowance towards the back.
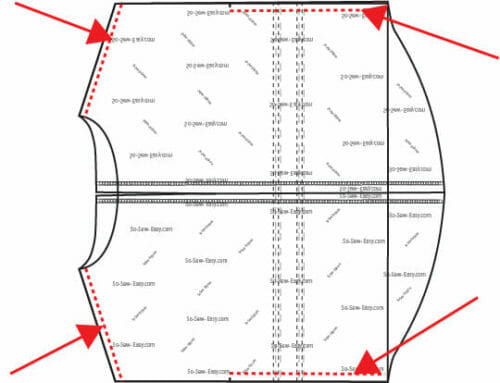
Sew the sleeves along the arm to make a band. One side will be gathered and the other side will have elastic.
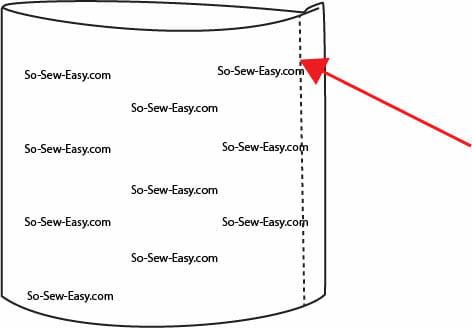
Gather the sleeve.
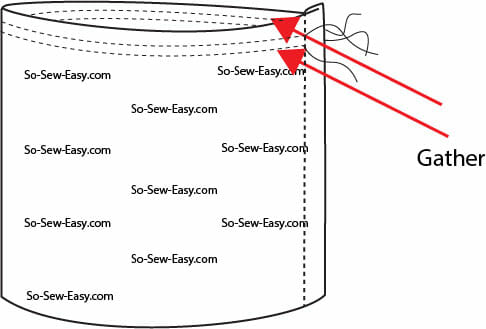
Reduce the width of the sleeve to fit the armhole size.
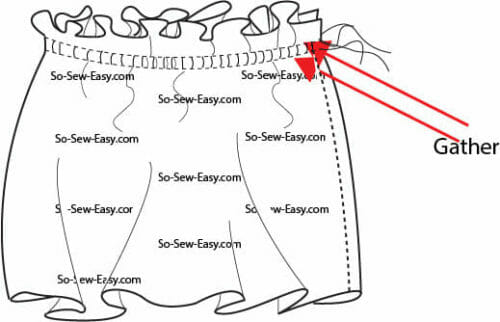
Insert the sleeve inside the armhole matching the seams. Make sure the right sides of the prints are facing each other.
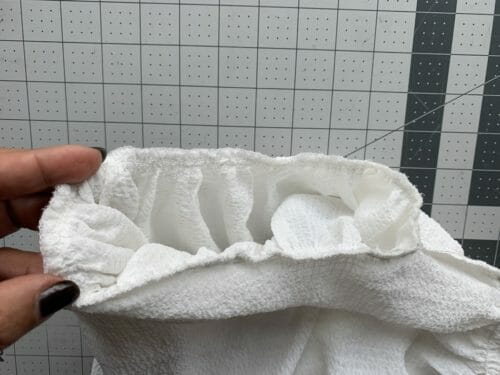
Apply elastic on the sleeve. Measuring your forearm and adding one inch for ease. Fold the edge of the hem of the sleeve making sure the stitching will not show.
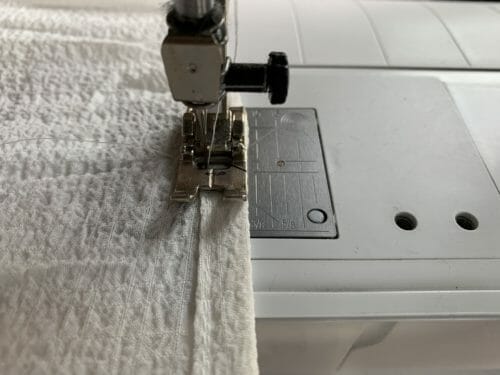
Stitch the back opening folding the serged edge down.
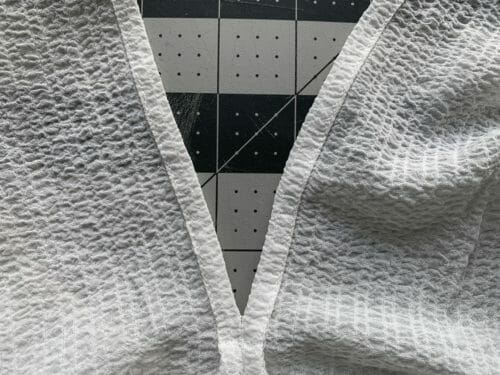 Attach a loop 1/4″ from the edge of the neckline on the left side of the blouse.
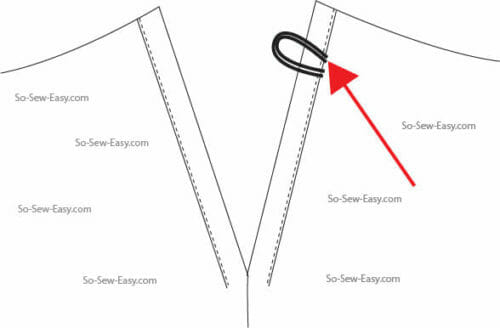
Add bias tape at the neckline. Work on the right side of the blouse turn the bias tape and stitch on the wrong side of the blouse. Attach a button on the right side.
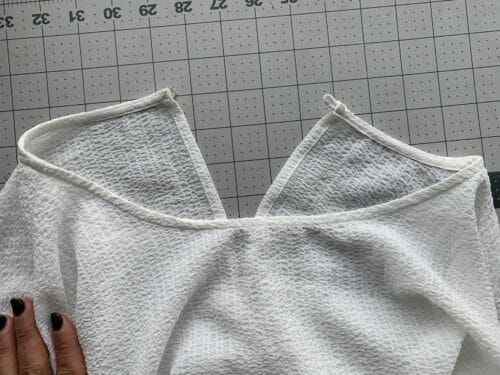
Sew a snap (not shown) here at the edge of the sleeve and another at the hem of the sleeve. Roll the sleeve and snap the sleeve to shoulder. This is what gives the sleeve the romantic balloon effect to the blouse.
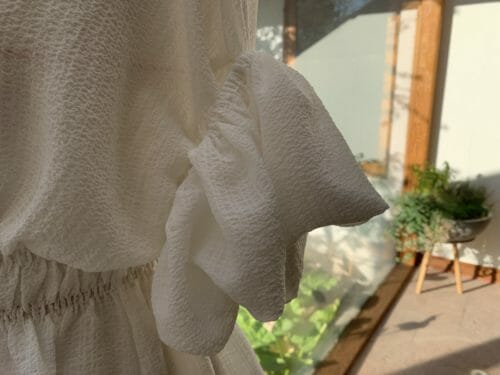
Hem the blouse.
Finally, apply the elastic thread to the waist.
Design Note: If you do not have an hourglass figure I suggest you add a couple of rows of elastic thread in between the ones I have applied, to avoid a bubble between the rows.
As I finish this 3/4 sleeve summer blouse, four different ways pop in my head on how I could finish the sleeves. The blouse can be worn in two ways, long sleeves for the southern hemisphere and 3/4 for the northern hemisphere.
I think you guys can come up with your own designs. Let me know in the comments below how you chose to finish the sleeves, or even better – send me a picture and I'll add it to this post. As a bonus, I'll send the first person to do so a $20 gift certificate for Fabric.com! Until Next Time, Happy Sewing!
If You'd Like To Support Our Site
If you want to help us continue to bring you a wide selection of free sewing patterns, projects, and articles like this, please consider buying us a coffee to keep us going. We'd really, really appreciate it.
As I mentioned this is our fourth most requested pattern for summer. In case you missed the fifth most one, or you just want a more casual blouse, here is one with long sleeves that also works for both the northern and southern hemispheres.































[…] blouse pattern features a rounded neckline, and an easy to close back with a loop and a […]
Do I absolutely need a serger for this project?
No not at all, you can use your regular machine.
I would have liked to see a full photo of the entire front of the blouse and sleeve.
Check my Instagram, there is short video for you to see.
s= bust 33 and waist 25 ; for Barbie! Please design one for a ‘fat’ friend.
That is the small:)
I am loving your patterns Mayra and I just realized the issue with the fabric suggestions not showing up. When I awoke this am I saw your email and said look how cute! I then scrolled down and said oh here are the fabric suggestions. But when i come to my computer I do not see them.. I my laptop uses Chrome and I am looking at them on an iphone.. But this is lovely!
yes then you do have an adv blocker in Chrome. The fabric I used is silk Georgette, I am thinking of making another one in navy blue, to go with my new cigarette pants.
Sigh, it is a LOVELY design but I don’t feel like ‘advertising’ .my waist at the moment. As for the bias, I really prefer making my own since I like it to match. These are both little details are my problem, not yours 😉 Thanks so much for your hard work ❤
Hi Sarah, this is a terrible misconception, would you take a look at this article and perhaps you will change your mind perhaps not about the blouse but about your waistline. https://so-sew-easy.com/a-curvy-girl-dressing-guide-for-mid-season/