


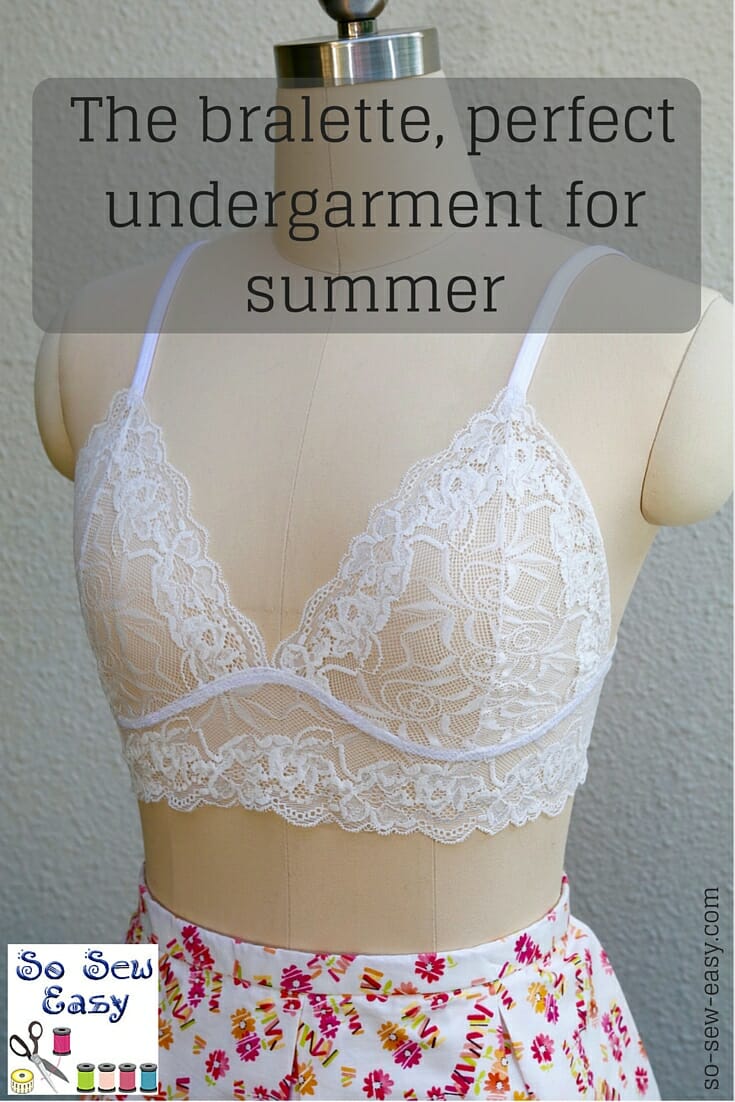
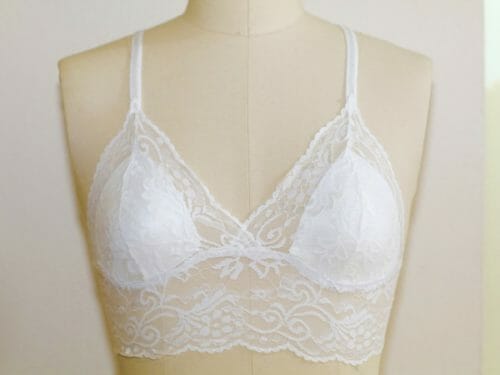
A quick and easy bralette pattern to make the perfect accessory for the summer days to be worn with or without modesty cups. This item of clothing it is not to be worn as support but rather as a pretty and sexy accessory.
It is warm –so warm that the heat sometimes almost knocks the wind out me. I am blaming my bra for it. I want to burn my bra! It is the right fit, but it is so hot here and I feel I should be walking around in a swimsuit. When I walked back home from the train, it feels like I spread butter under my armpits, (too much info I know..).
Seriously, it is warm and humid and I was walking under a dreadful sun on a shopping street called Orchard Road back from you guessed it, buying fabric. I decided to go back and buy some stretchable lace to make myself a bralette. I am not looking for extra support, just a bit of support and some modesty.
I have made the pattern for the following chest measurements 30″-34″(S), 34″-38″(M), 38″-42″(L), 42-44″(XL). May not suit women over Cup Size C.
Full Video Tutorial
Subscribe to the YouTube channel:Materials:
- 1 to 1.25 yards of Stretch Lace or a 10″ wide lace band
- 11mm bra elastic to match your lace
- 3/8″ elastic (1/4″ optional) to match your lace
- bra cups (optional) for added fullness and modesty
- Bra slider and rings
- The pattern is downloadable from Craftsy and it is free.
Fabric Recommendations from Fabric.com
Download the Pattern:
You can download the pattern for this Bralette from our account at Payhip.
For help downloading and printing PDF patterns, please CLICK HERE.
Body Measurements:
Please use a tape measure and find the size that will suit you. Place the tape measure close to your body at the fullest part there will be no ease on this pattern due to the elasticity of the lace.
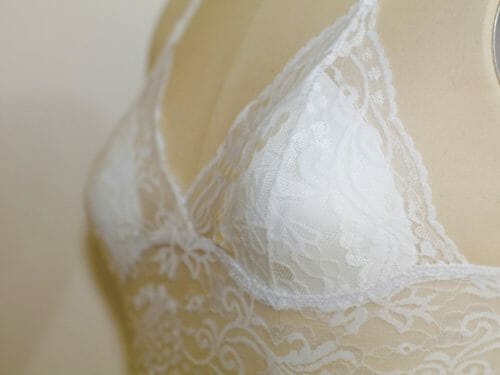
Making the Cups
Sew the cups together using a very small zigzag
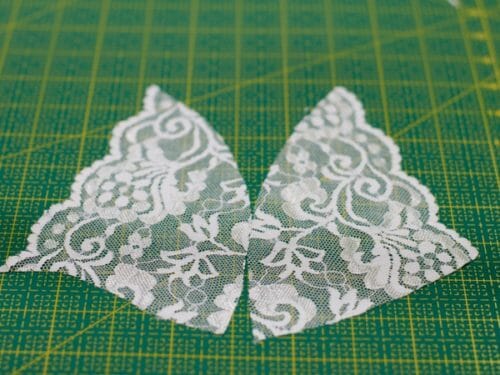
at 3/8″ seam allowance.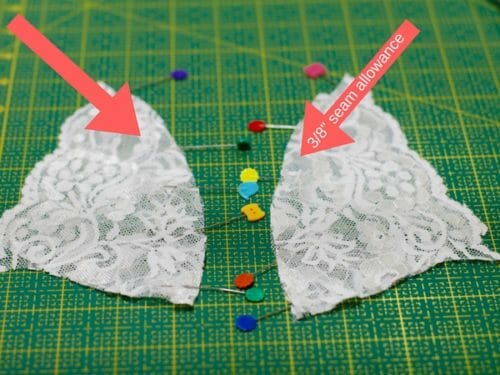 Trim the seam allowance by half. Repeat on the other cup.
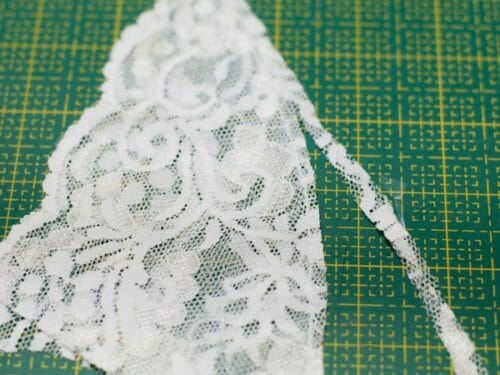
Mark the middle of the cup.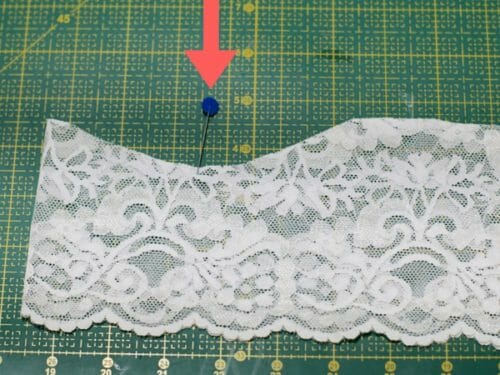 Line the center seam of the cup with the mark you just made. Sew the cup to the band using a small zigzag and a 3/8″ seam allowance. This same seam allowance will become a casing for the elastic so sew at exactly 3/8″.
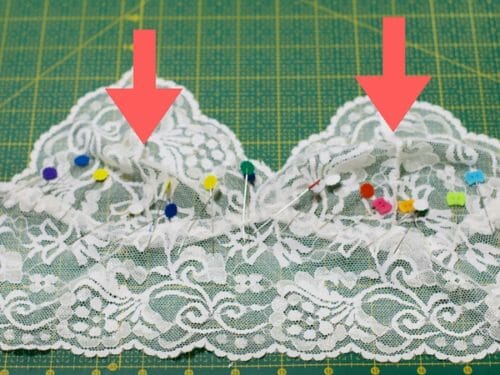 Cut a strip of normal elastic 3/8″ wide long enough to go along the band.
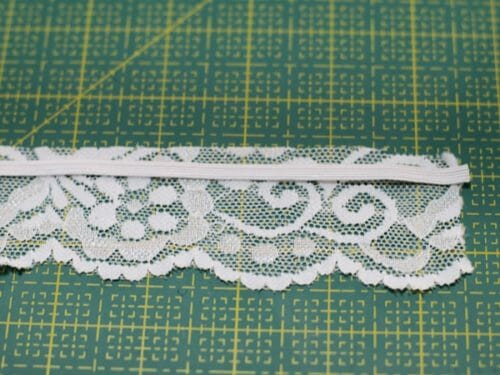 Pin and fold the 3/8″ seam allowance on top of the elastic. Zigzag the edge of the elastic and the edge of the seam allowance together.
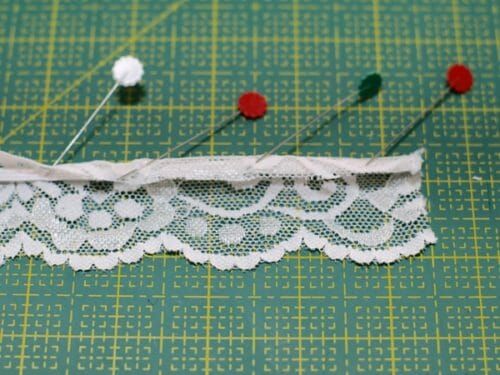 The seam allowance becomes the casing for the elastic and you will not be able to see it.
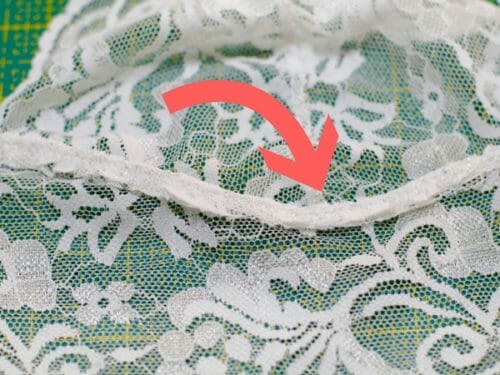
Sew the back of the band using a small zigzag and trim the seam allowance,
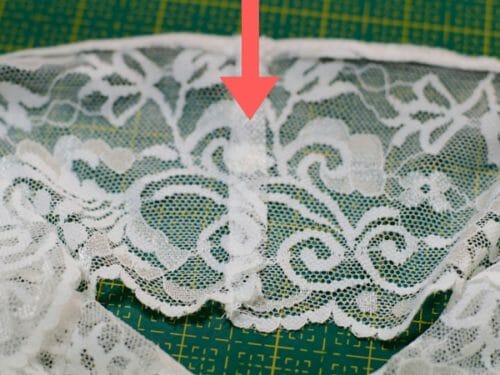 Sew the back of the band using a zigzag and trim the seam allowance.
Making the Straps of Your Bralette
Cut 2 strips of bra elastic 20″ in length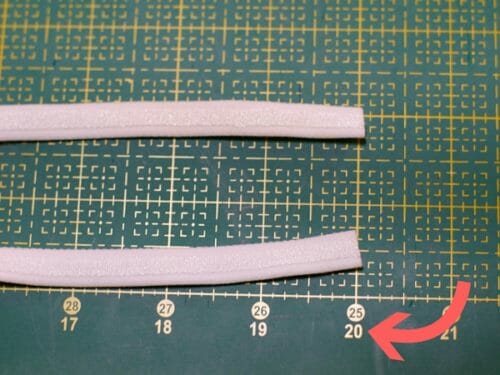
Cut 2 small pieces of the bra elastic 1″ in length. Fold the small piece of elastic and thread a ring through it, pin on the inside of the Bralette band and sew this straps to the back of the Bralette 7″ to 8″ apart.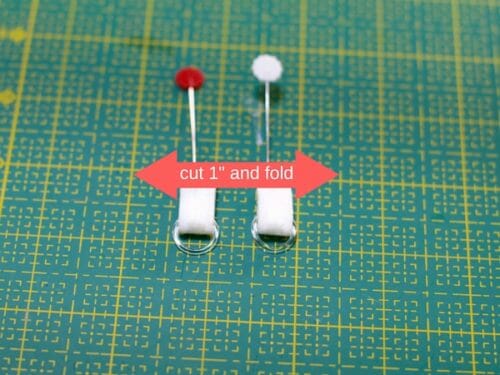 Take the longer strip (20″) of elastic and thread it through the bridge of the slider and sew. Take the other end of the strap right side down and thread it through the ring already attached to the Bralette.
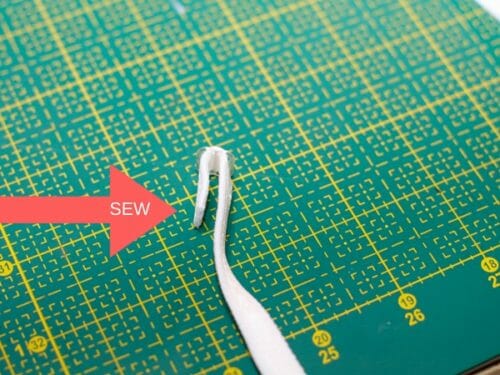 Take the other end of the strap right side down and thread it through the ring already attached to the Bralette.
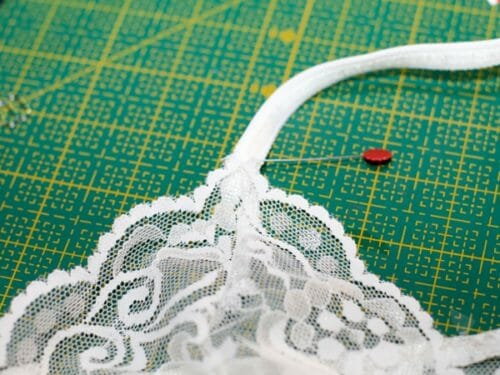
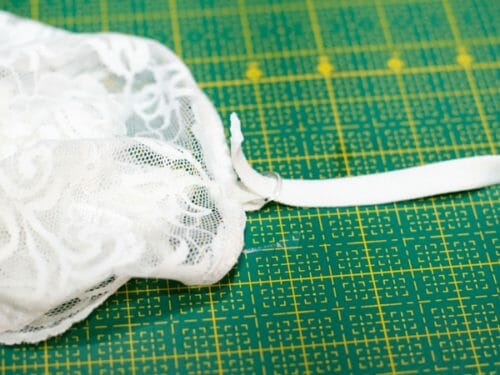 Pass the strap and attach it to the front of the cup.
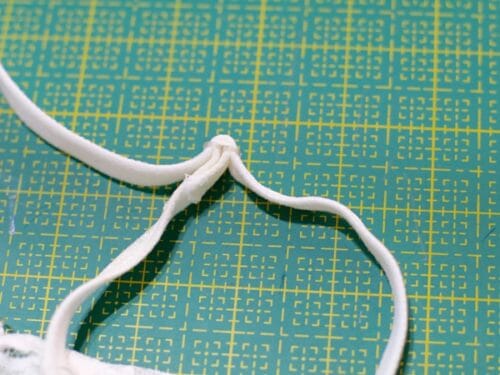 Finally, sew the strap to the top of the cup.
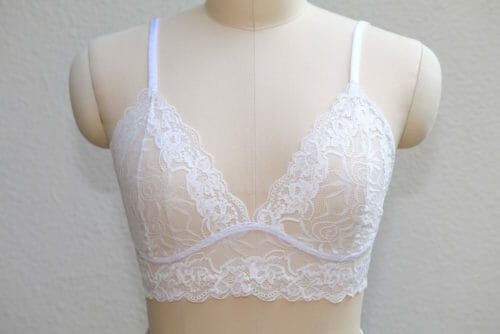
 Front View
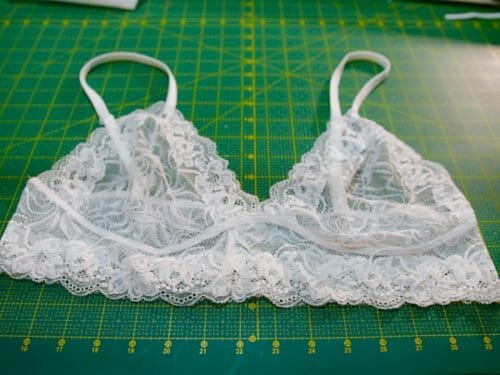
Back View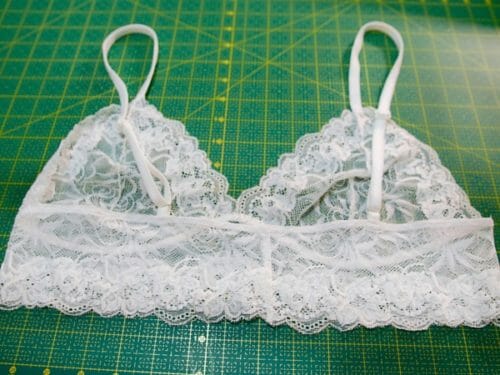

Optional Step: How to add support and volume to your Bralette:
Sew the molded cups with a small zigzag at the bottom of the lace cup and at the top.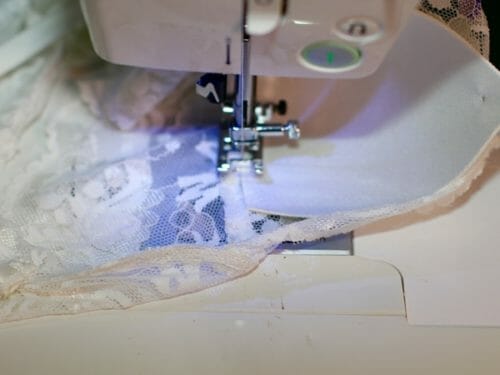
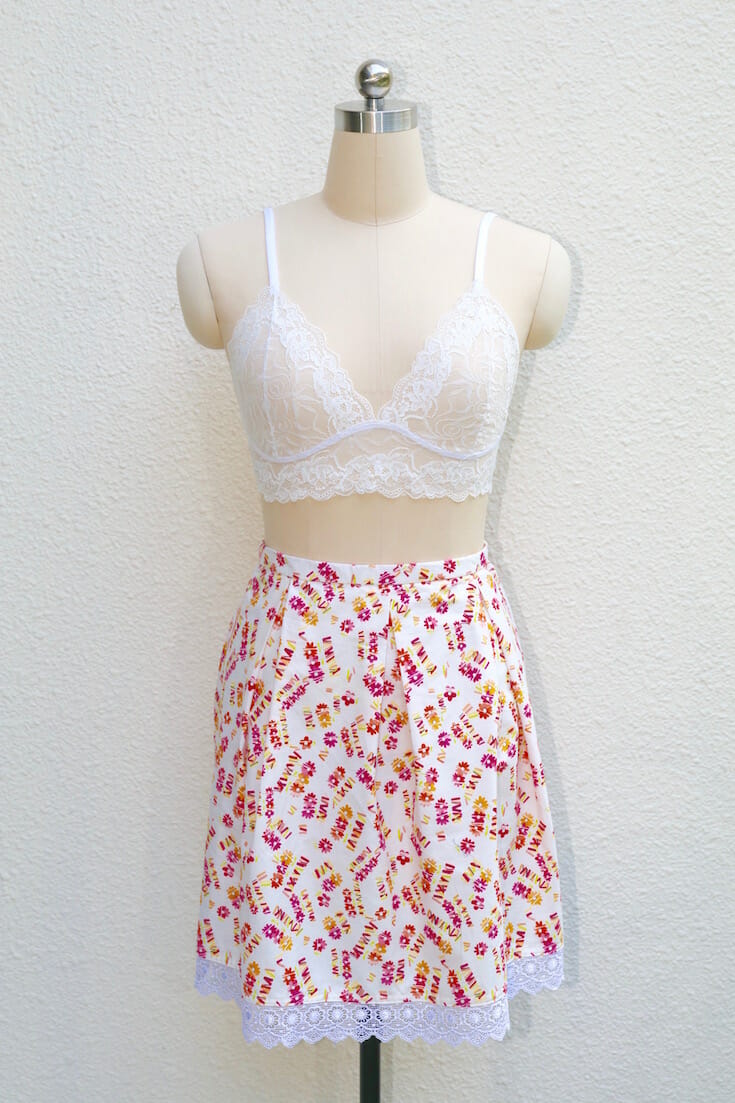
I think this is the perfect way to still have some support and not feel you are gasping for air while wearing a bra due to the unbearable heat. It is a beautiful piece of lingerie and a great addition to your intimate wardrobe.
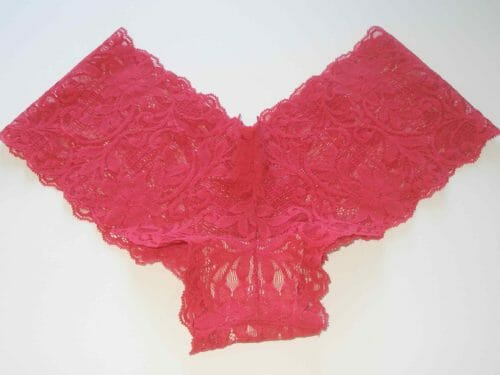
For matching, underwear please check out our popular tutorial on how to sew your own lace underwear.


Hi! I see the pattern comes with several sizes, but there is no measurement guide as to which size to use, do you have a measurement guide for the pattern?