


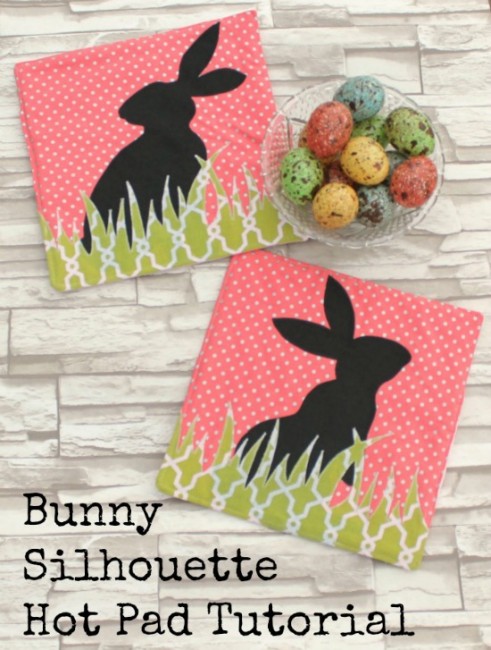
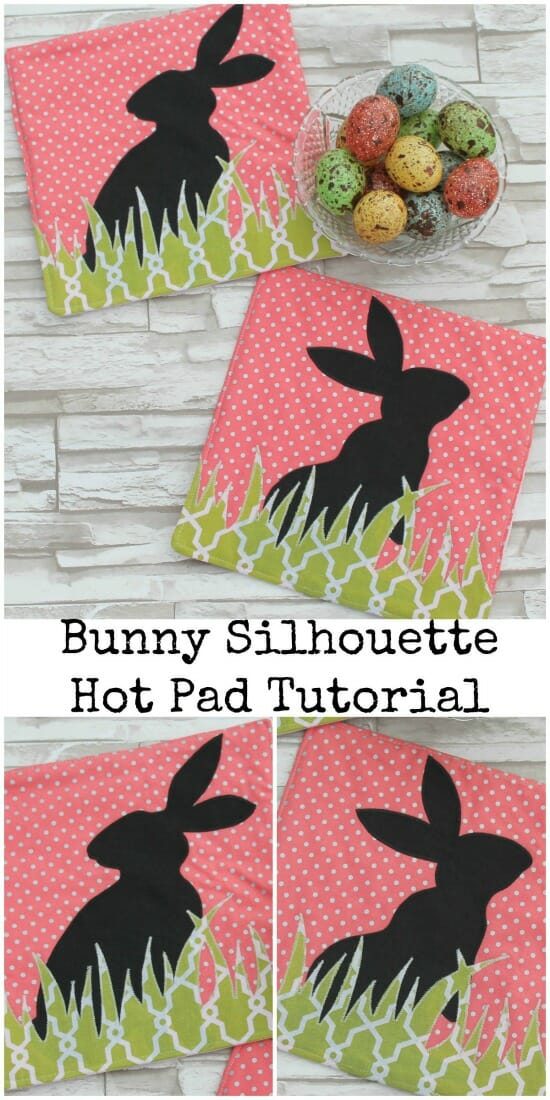
Hello! It's Amy from Friends Stitched Together with a tutorial for these fun Bunny Silhouette Hot Pads! I am so excited for spring and all the fun, bright colors that are popping up in the fabric stores now. I made these specifically for Easter, but I think they'd be cute year round in all sorts of color combinations. The bunnies and grass can be cut from some of those larger scraps we all seem to have sitting around.
Let's get started!
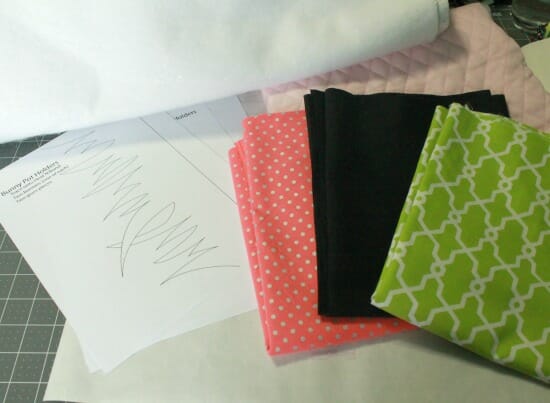
Materials
For one set (two hot pads) you'll need:
- 1/2 yard quilt weight fabric for the background
- 1/4 yard quilt weight fabric for the bunny silhouettes (black or dark colors recommended)
- 1/4 yard OR fat quarter quilt weight fabric for the grass
- 1/2 yard InsulBrite
- 1/2 yard pre-quilted fabric
- 1/2 yard lightweight Heat'N'Bond
- Thread to match the different fabrics
- Bunny Silhouette Pot Holders Pattern
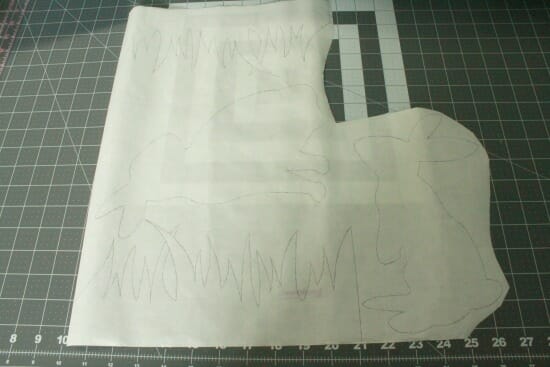
From your background fabric (mine is the pink) cut two 11″ squares. Repeat with the InsulBrite and the quilted fabric. Trace the bunnies and grass onto the Heat'N'Bond.
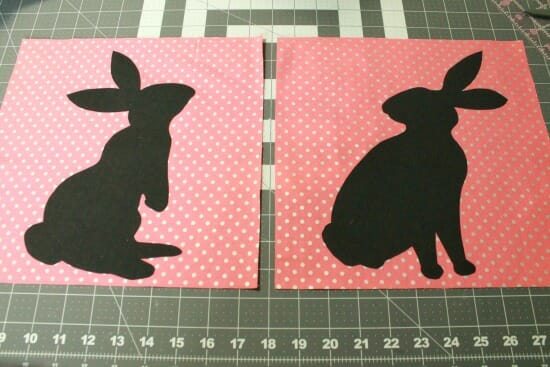
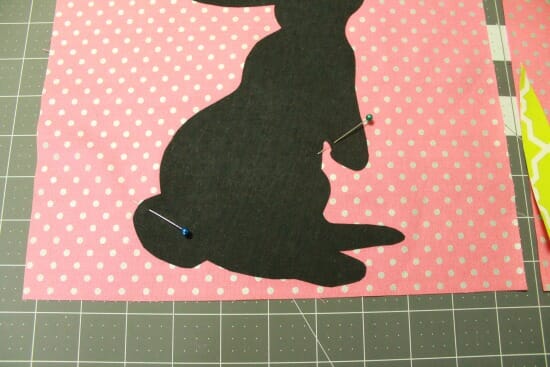
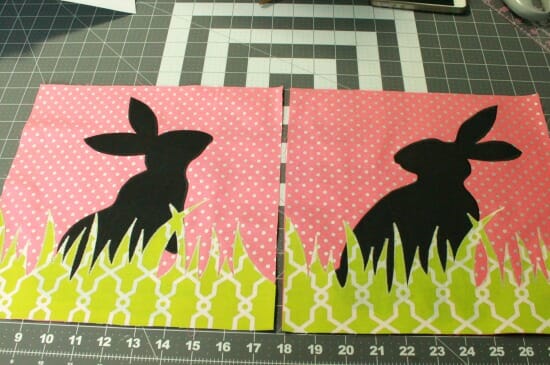
Iron the Heat'N'Bond onto the bunny and grass fabrics, following the manufacturer's directions, and cut out. Center each bunny onto a background square and iron.
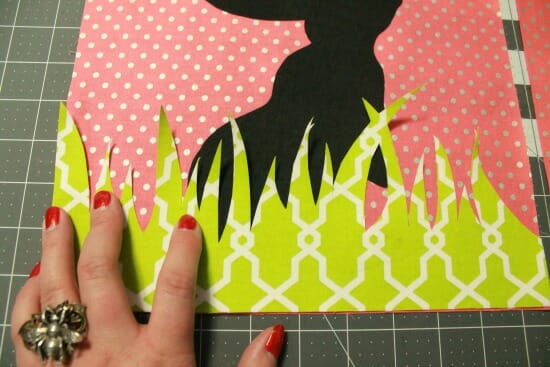
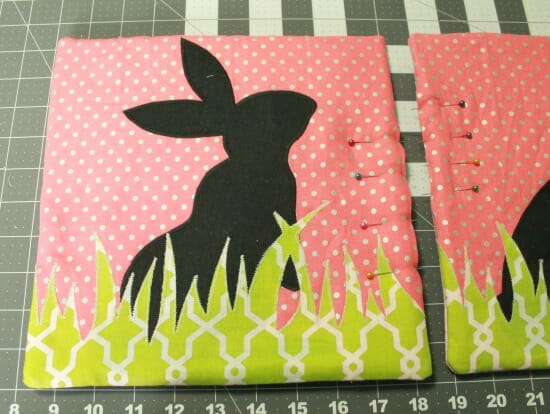
Lay the grass over the bunny (DO NOT iron on yet!). As you can see in the picture, the bottom of the bunnies are covered by the grass.
Pull the grass up and mark a point on the bunny about an inch past where the grass starts to cover him up.
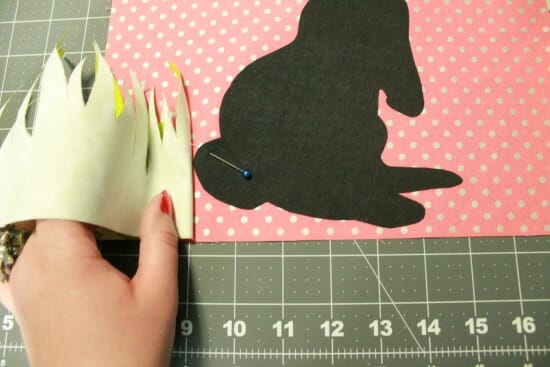
Repeat on the other side.
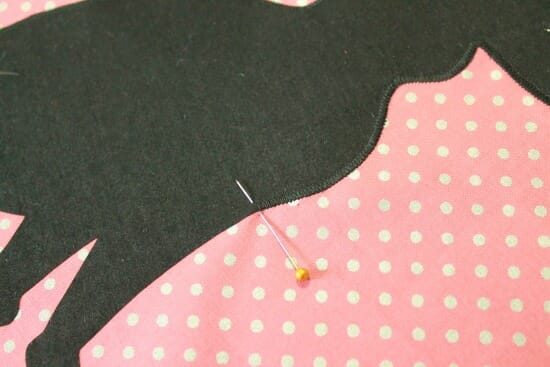
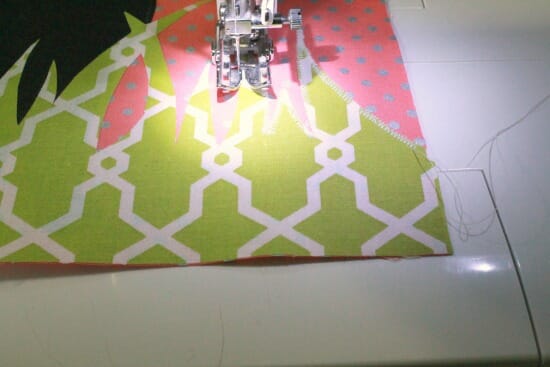
Use a satin stitch (or a wide, tight zig zag stitch) and sew from pin to pin, using thread that matches the fabric.
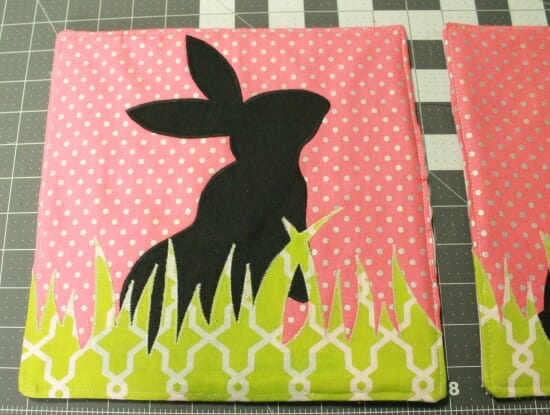
Lay the grass on top, iron, and sew, again using a satin stitch and matching thread.
Repeat for the other bunny.
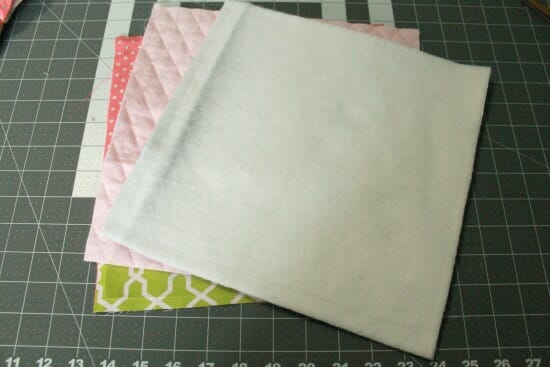
Create a sandwich with the 11″ squares: a bunny panel right side up, a pre-quilted square wrong side up, and an InsulBrite square.
Sew around the edge with a 1/2″ seam allowance. Leave a 4-5″ hole on one side to turn, backstitching on either side to secure.

Clip the corners. If you like, you can trim the InsulBrite and pre-quilted fabric to 1/4″ to cut down on the bulk.
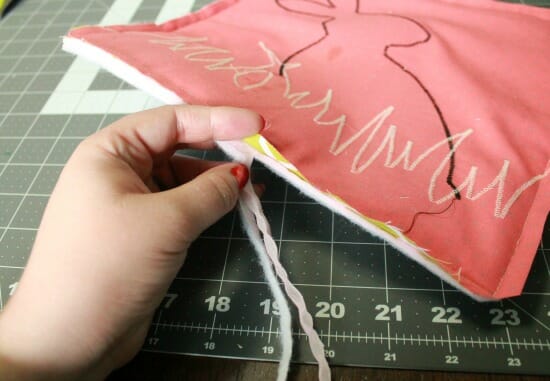
Turn right side out, using something pointy but not sharp (like a chopstick) to push the corners out. Push the seam allowance of the turning gap to the inside and pin.
Sew close to the edge (about 1/8″) to close the gap and to top-stitch around the hot pad.
And you're finished!

If You'd Like To Support Our Site
If you want to help us continue to bring you a wide selection of free sewing patterns and projects, please consider buying us a coffee. We'd really, really appreciate it.
I'm Amy and you can usually find me over at Friends Stitched Together where I blog with my best friend. I love writing tutorials and sewing for myself and my two boys. I've also meshed my love of fabric with my geeky side to co-create CraftingCon!


So cute. Can’t wait to make & use them.
Thank you for these sweet bunnies!
Great tutorial. Can’t wait to make them!!!
Those are so cute! But where did you get the BEE ring?
These are wonderful! I love them. Thanks for the tute 🙂
Super cute Amy. Thank you for the tutorial. Thanks for the guest blogger Deby!