
This is the tutorial for the Easter bunny clothing I promised a week or so ago. The outfits for this adorable pair are very easy to make.
Both bunnies will fit perfectly inside the Easter Egg. I hope you use your imagination and the scraps of fabric that you have laying around. There is no need to use organza but you will need at least two layers of fabric to give the skirt the volume.
As I mentioned on the post about Introducing Daisy, the size of the bunnies can change by just changing the seam allowance. For the female bunny the seam allowance is 3/8″ and for the male 1/4″.
Materials:
- scraps of fabric in quilting cotton, tulle, and organza.
- thread to match
Tools
- pinking shears
- a candle if using organza (optional)
- sewing needle size 70
Pattern download


You can download the pattern and instructions for the Easter Bunny Clothing pattern from our account at Payhip.
For help downloading and printing PDF patterns, please CLICK HERE.
Pattern layout and fabric cutting for your Easter bunny clothing
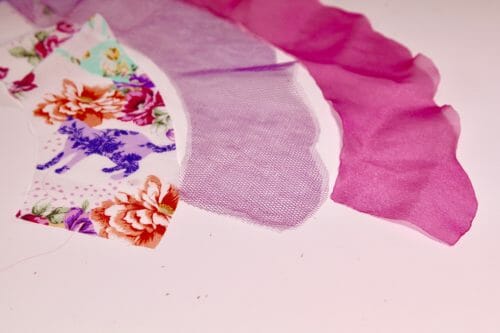

Print the pattern on landscape, actual size and using the latest version of Adobe Reader.
Cut two tops, two sides for the pants and one strap.
Step One: Making the skirt
If you have never worked with organza, it will not take long for you to see how easily it ravels. Once you have cut the organza, take the fabric to a candle and burn the edge, there is no need to get too close to it, about 1/4″ will do. The edge of the skirt will start melting and this will stop the fabric from raveling.
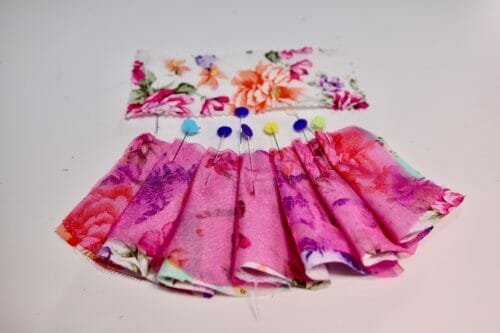

Stack or layer the tulle, cotton fabric and organza to make the skirt. Baste at the waist and gather or pleat to make a waist that is 4 3/4″.
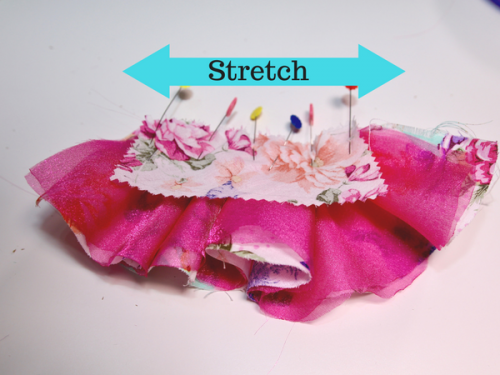

Sew a basting stitch to keep the pleats or gathers together. Pin the rectangle and stretched it to reach the 4 3/4″ width of the skirt and sew at 3/8″.
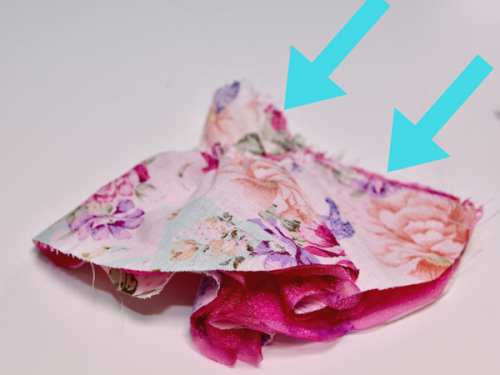

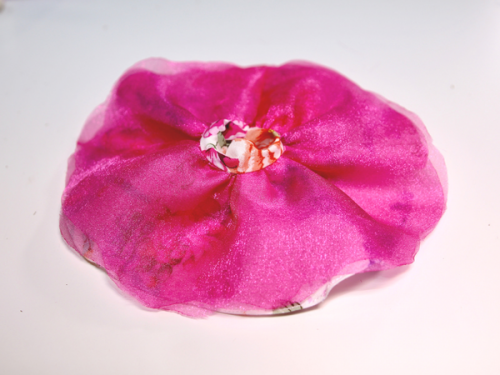

Sew the sides and fold the waistband. Sew the hem of the cotton skirt at 1/8″. The skirt is done.
Step Two: Making the top
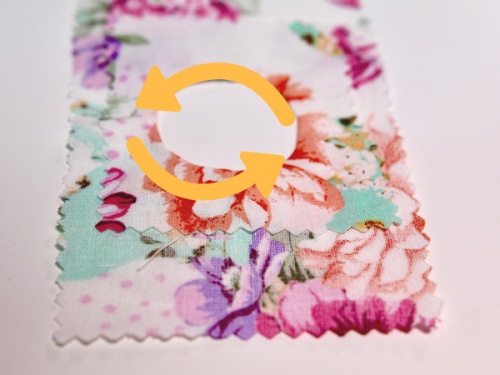

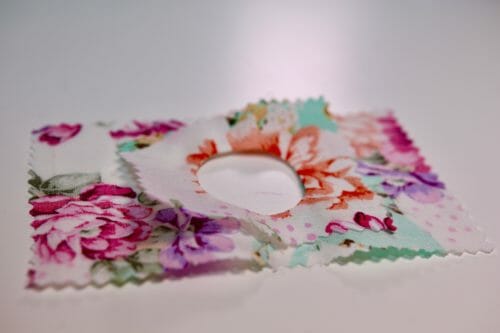

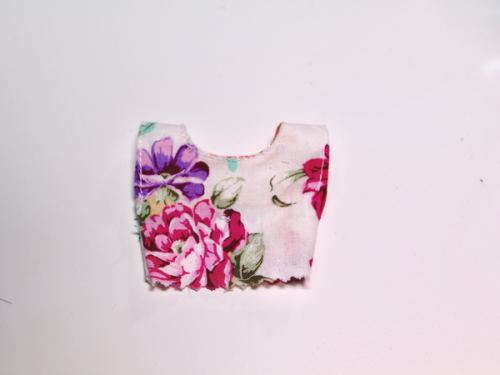

Right sides together. Sew around the neck at 1/8″. Turn the top fabric through the whole and iron. Top stitch the neckline at 1/8″. Cut the under fabric with your pinking shears so it resembles a facing. Sew the sides leaving a space of 3/4″ for the arms. Sew the hem at 1/8″. The Easter bunny top is done.
Step Three: Making the pants
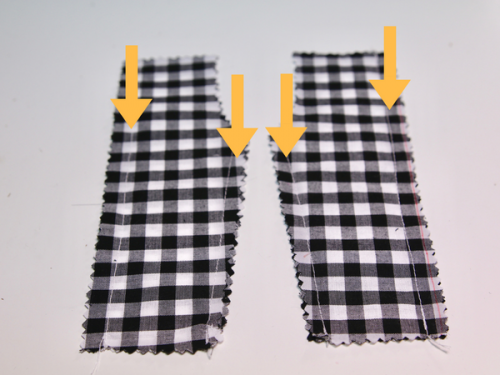

Sew the sides of both legs at 1/4″, then sew the crotch. Leave a slit to pass the tail if you have made one for the male bunny.
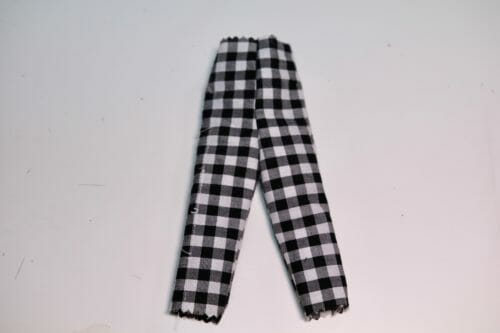

Fold the top 1/2″ and hem the pants.
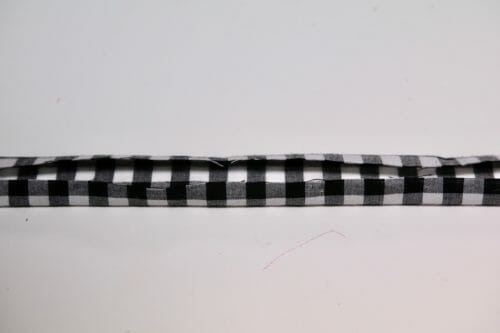

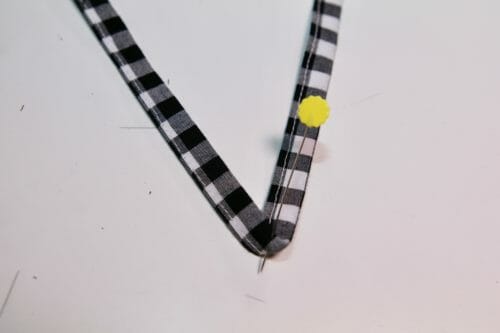

The straps of the pants are easily made by folding the sides rectangle provided in the pattern at 3/8″. Iron and fold the straps in the middle. Sew at 1/4″.
Make a V with the straps by dividing the strap by half. If you find the pants too wide make a pleat at the front and pin the straps then sew.
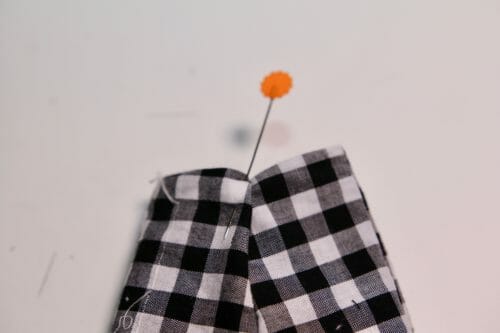

Sew the other two sides of the strap to the back.
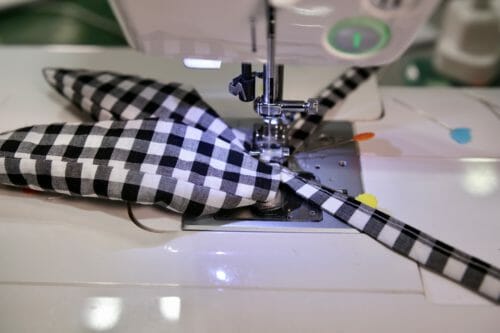

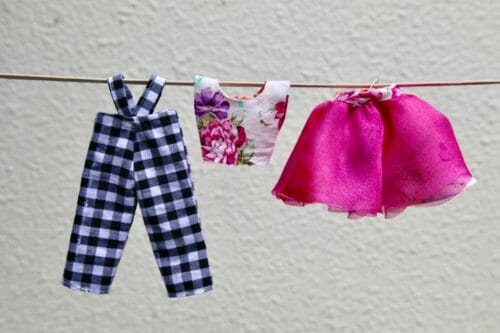
You have finished making the Easter bunny clothing.
Happy Easter to everyone! Make sure you capture the face of the little ones when they open their egg and out comes the Daisy or Duke.


Thank you for the adorable bunny clothes patterns and for the bunny pattern gifted last week. They look simple to do, especially if following your instructions and photos. Many thanks, Jess
I don’t see a rectangle on the pattern for the waist of the skirt– could you tell me the measurements? Making the cloths for my daughters bunny! All 4 eggs are made for my kids tomorrow! Thanks!!!
HI Anne 4″, cut it on a bias, sew the square to the top of the skirt and then sew from the skirt to the hem, fold the square in then hand sew, it is so small might be impossible to use the sewing machine.
Cute!! I’ve got a Craft Gossip post scheduled for tomorrow that features your bunny patterns: http://sewing.craftgossip.com/?p=92242 –Anne
Oh, my gosh, adorable! Thank you! Now, I just need grandchildren 🙂
Love them
Thank you Jeanne!
What a sweet heart you are. They are so cute and I am sure lots of children will just love them , I was just about ready to make my version of the clothes when this pattern popped into my in box, fantastic. the Easter egg and the bunnies are just adorable and are sitting on my kitchen table ready to be dressed. thank you
May I see your version? sounds like a very special little one is about to have a great Easter.
Sew very cute!
Thank you, Susan!
Thanks so much. I love how you both listen to us and our requests.
You are welcome Pam!
going to make these adorable duds for my bunnies tonight! Thank you soooo much for the patterns.
You are welcome Patti!
Thank you!
My pleasure Juanita!
Please inform me how to get the bunny patterns
Hi Lucy, do click on the link and download using adobe reader. Let me know if you need further help.
Adorable.