
I call her “Daisy” the fabric Easter bunny because the daisy flower she represents brings a smile when you stumble upon a hill full of them. Now imagine the face of your child or grandchild when the Easter eggs open and here comes Daisy out ready to play. That would be worth a good Easter egg hunt I'd say. I don't yet have a name for the male bunny, so feel free to come up with one.
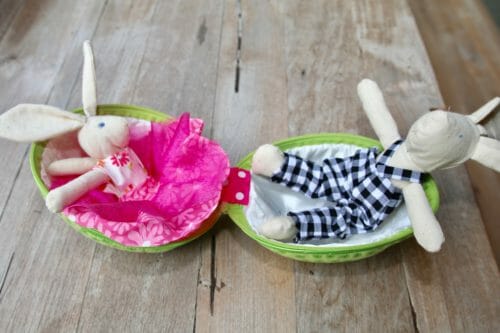

If you read my last post on how to make an Easter egg that doubles as a bag from fabric scraps then you will want to make this little toy and place it inside the egg to hide in the garden or in the house if the weather is not cooperating for the annual Easter egg hunt.
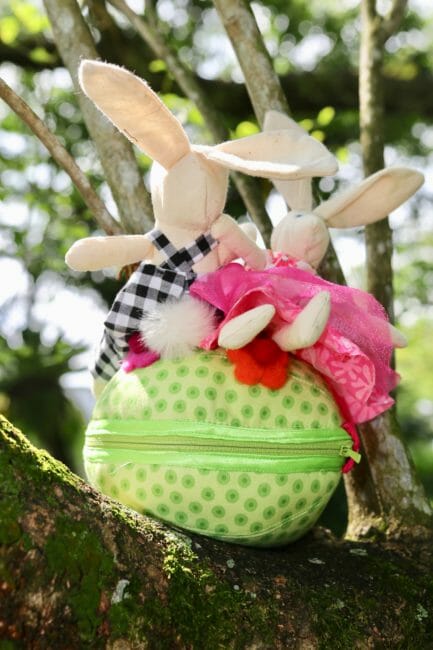

I recommend using a fat quarter and make two bunnies at the same time. Why you ask? This is something that only mothers can really answer. When your child gets attached to a toy and then she loses track of it, your child spends many nights crying about it. Some people would argue that loss is something kids need to learn to deal with, but I argue that life is much too short to introduce sadness into a child's world. Plus, you are making an Easter bunny made with fabric, not buying it. Sell the other one to recoup your material expenditure. That's how I used to sponsor my sewing habit.
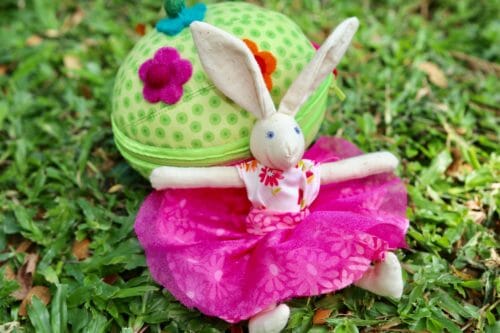

This is a great little project for beginners just learning to sew. It requires little in materials and can be done in about an hour. But your child will play with it and cherish the memories for a long, long time.
Materials:
- 1/2 fat quarter for the body (full fat quarter makes two bunnies)
- thin fusible interfacing about the same size of the fabric
- thread to match
- polyester stuffing
Tools
- hand needle
- sewing machine (optional)
Pattern Download
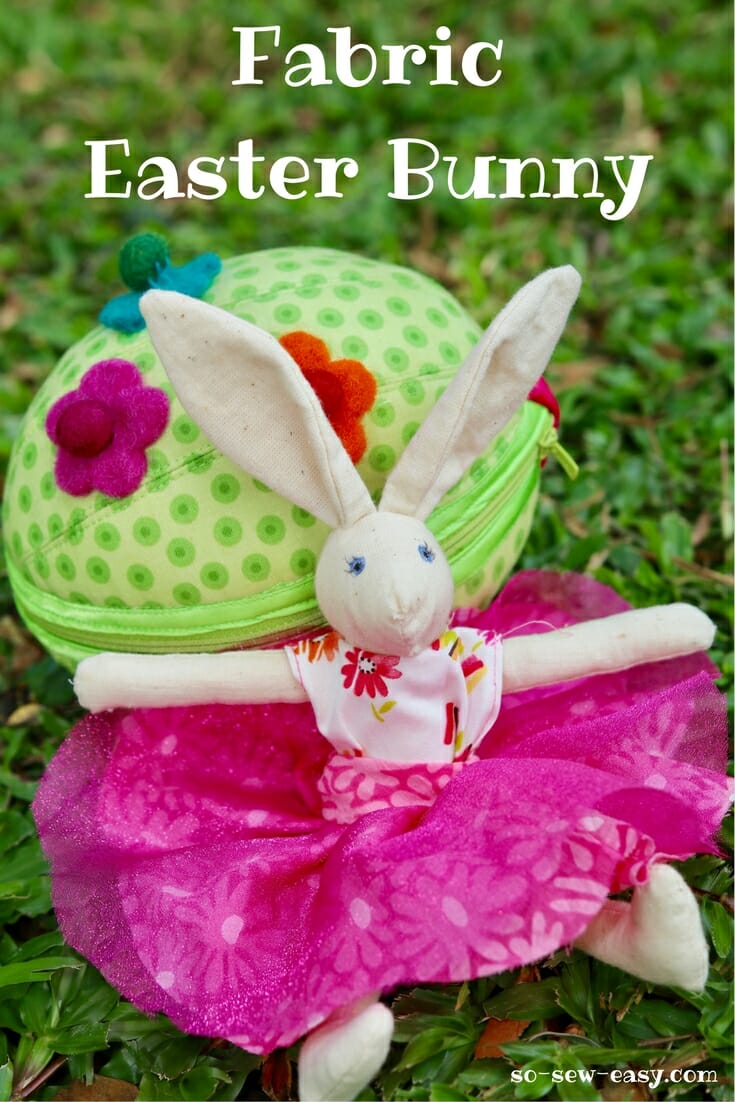

You can download the pattern for Daisy the Fabric Easter Bunny from our account at Payhip.
For help downloading and printing PDF patterns, please CLICK HERE.
Skill Level: DIFFICULT
How to Make Your Fabric Easter Bunny
If you have never made a toy before, arm yourself with a bit of patience and in no time you will have a beautiful little toy.
Step One: Cutting Out the Pieces
Fuse the interfacing to the fabric, then trace the pieces onto the fabric. If the fabric is thick, there is no need for interfacing.
Cut out only the piece you are going to sew. This is to keep track of the work since it is so small. I spent 1/2 hour looking for one arm that fell into my fabric scrap catcher.
Mark all the notches. They will help you when piecing the fabric Easter bunny together.


Optional and very helpful for those just starting to sew: Trace the seam allowance, which is 3/8″, on the piece with an erasable pen or even a pencil. (This will be inside anyway so the markings don't matter that much.) This might seem like extra work but it will save a lot but it will save you time when sewing all those curves.
Step Two: Sew the Legs and Arms
Sew the legs and arms at 3/8″. Turn the pieces right side out and iron.
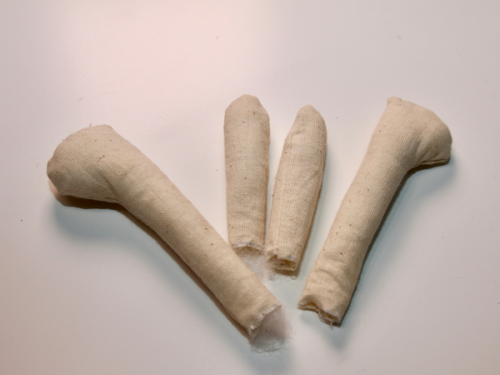

Stuff the legs and arms leaving about 1/2″ at the top. Put aside.
Step Three: Sew the Head and the Ears.
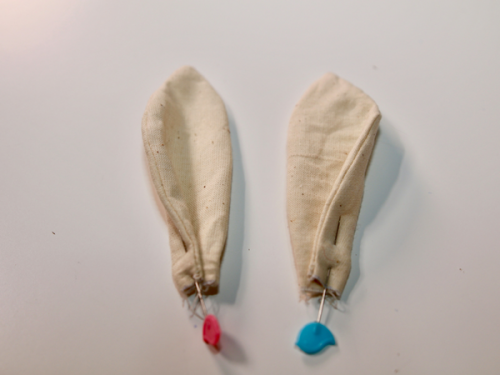
Sew the ears at 3/8″. Fold the curved side in about 1/2″, pin and put aside.

Mark the middle of the head. Fold in half and sew starting at 3/8″ and ending at 1/4″ then trim the seam allowance to 1/4″ as shown in the picture below.
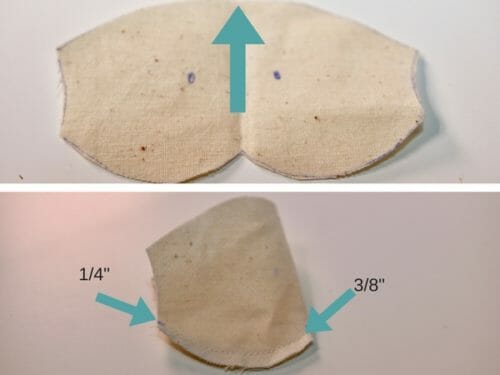

Turn right side out.
Pin the ears to the middle of the head. The folded part of the ear should be facing the right side of the bunny's face.
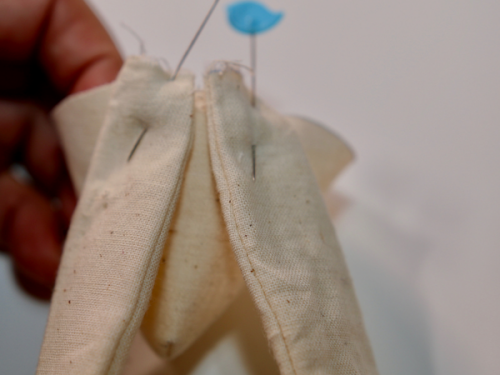

Pin the back side of the head and sew at 3/8″.
Step Four: Attaching the Legs to the Body
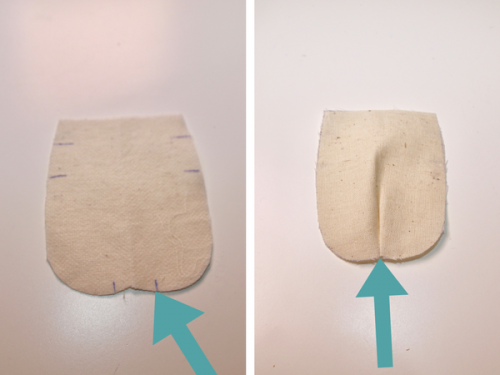

Sew the dart on the back of the body.
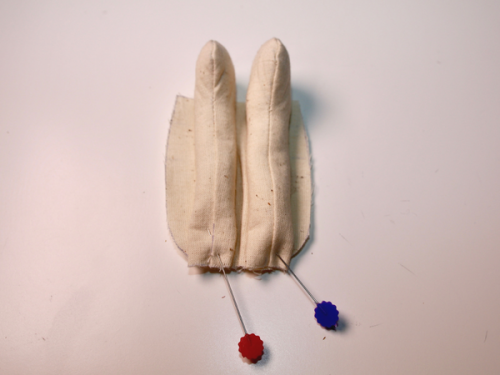

Place the back of the body right side up. Pin the legs feet side up.
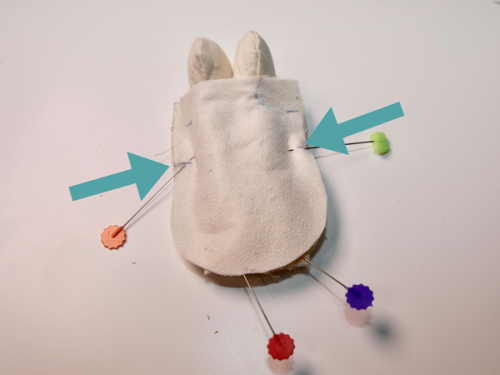

Place the front of the body on top and sew this part until the first notch. Do not sew past this notch because that is where the arms will go. Pull the legs out to turn to the right side.
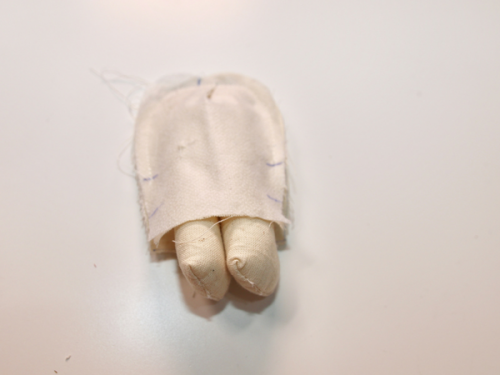

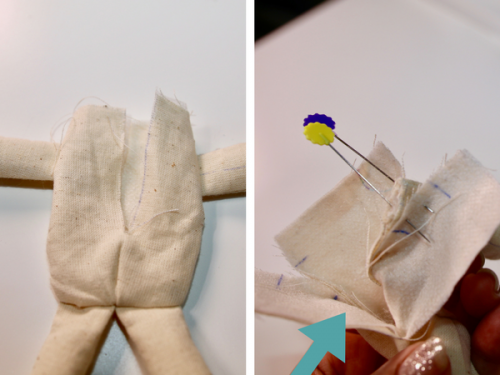

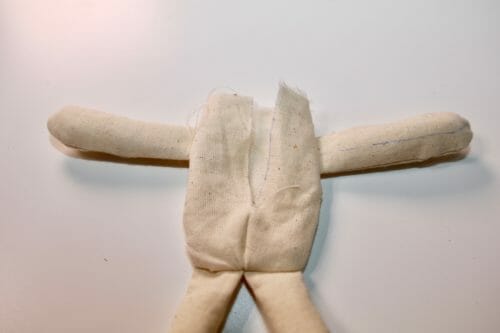

Make a line on the back of the bunny and cut to be able to work through this new opening. Insert the arms and pin. Sew the arm on the inside.
Step Five: Finishing your Easter Bunny Made With Fabric
Arm yourself with needle and thread because this part is the trickiest and it will require nimble fingers or an outstanding ability to control your sewing machine –which sometimes I lack depending on the time of the day. I say this because the parts are so small it can be frustrating to work at such small scale. Just take your time and be patient.
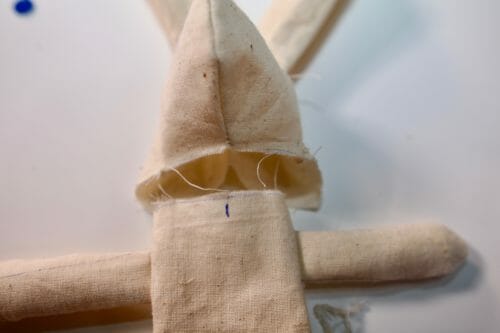

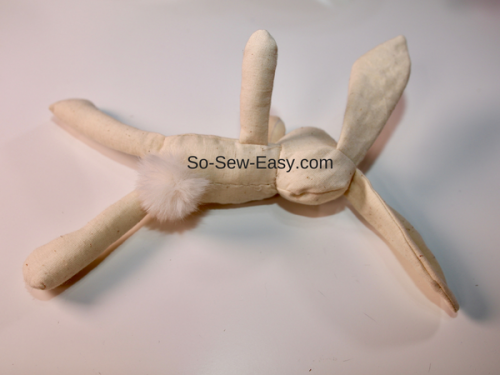

Using your sewing machine, attach the front side of the bunny body to the front side of the bunny head using a straight stitch. Then sew by hand the back of the head to the back of the bunny using the slit on the back of the bunny. Stuff the head, then the body and close up your fabric Easter bunny by sewing with a needle and thread using a running stitch. I have attached a fur pompom for a tail. If you want to make one like this, just follow step six in this tutorial where I used the same technique on the fur scarf.
The good thing about a fabric Easter bunny is that you can clean it just by placing it in your laundry pile. Also by making two with just one fat quarter, you have the ability to replace, gift or sell the other one.
Please enjoy and let me know if you would like to have the pattern for the clothes for the bunny. I am happy to do a post with these next week. Until next time, have fun sewing this little number.
PS: Join me next week on a tutorial where I will be showing you how to make a super simple yet stylish top to wear with leggings, pencil skirts or jeans. I think you will like this one a lot. Until next time!


I love theses bunnys. Im currently making my third set. I found sewing the back of the head a challenge. I attache the back to the front and finished the back by hand sewing up from the opening in the back.
Hi Judith, that is the way to do it. Congrats!
IS there a pattern for the egg.
yep, right under the second picture is the link to the egg.
I would be most appreciative if you would provide a pattern for the clothing for both the male and female bunny. I am not creative enough to figure out how to make the clothes, but I can follow a pattern and directions.
Thank you for your posts and the information you provide.
Here you go: https://so-sew-easy.com/easter-bunny-clothing-wardrobe/
Cute and looks so quick and easy. Instructions for clothes would be great! Can’t wait to see the expression on our little one’s face!
Name for the male bunny: Checkers ?
Super cute!
This little bunny is adorable! I love her clothing and I would be very interested in the pattern for the clothes. Thanks so much.
Hi Kim, here you go: https://so-sew-easy.com/easter-bunny-clothing-wardrobe/
Where do I find clothes pattern and pattern for egg?
Hi Jane, here’s the link to the pattern and project for the fabric egg: https://so-sew-easy.com/fabric-easter-egg-made-fabric-scraps/
Did you ever find a picture that shows the back of the head? I’ve gotten everything assembled but am stumped by the back of the head. I think my granddaughter will love these “rabbies”.
On the post there are many pictures of the back.
I didn’t see pictures of the construction of the back of the head either.
HI Jenny the back is the same as the front.
The egg with the little bunny inside is such a cute idea, thank you so much. I have two eggs cut out for my two granddaughters to sew tomorrow. I’ve printed the bunny pattern to make as well. I’d love the clothes’ patterns as I also have a new grandson who might just love the boy bunny. I’ll call him Befor, i.e. B for bunny!!!!
thanks for the pattern. they turned out lovely.
i want to send a picture along, but don’t know how to.
Hi Inge, I’d love to see your picture. Pls send to mayra(at)so-sew-easy.com. Kind regards and happy sewing.
I would call the male bunny Dexter, I think Dexter and Daisy has a nice ring to it.
Love these bunnies, is there a place for the outfits?
Hi Nancy: Here is the link
Adorable. How did you do eyes? Lashes?
I drew then but check back later on when I load a couple of pictures from the readers and you will be able to see their approach to the face. Beautiful work.
Cute pattern, thank you. What did you use for eyes? Did you sew stiches for eye lashes?
Nothing special I drew them with a pen. But I think embroidery would be better.
I am still a little confused about how to attach the back of the head to the front of it. There is sewing line on the back head pattern, but it is much more than a seam allowance of 3/8 or 1/4 inch? Can you post a picture of how to sew and attach the back of the head? Thanks!
Hi Sue, you need to taper the seams at the back. It is hard to photograph due to the size. I will se in my drive if I took more close ups of this steps.
I too am having trouble…when you sew the front of head to front of body do you Just sew in front stopping at shoulder seams or do you sew all the way around to the back?
On step number three, the third picture tells you how to sew the ears. To sew the head, I started at the front and finished at the back. Hope that helps and happy Easter!
I’m struggling with this step as well. 🙁 Also, I don’t think the directions ever say when the ears actually get sewn?
Step three. Picture 3 Ears are down and you sandwich them between the front of the head and the back.
Thank you for this lovely pattern & the fabric egg – I can’t wait to get started, and it will be fun to sew by hand for a change as i mostly use my machine!
Yes by hand is quiet easy, I find hand sewing quiet relaxing.
so in love with the bunnies! can’t wait to make clothes for mine!!!!!