


Dressing in layers with an easy cardigan was what was on people's minds the day I took the survey on our Facebook chat group. With over 32,000 members, it's sometimes hard to find a consensus, but this time, I happened to agree with what the group seemed to be saying.
There are a lot of things to like about cardigans. It can be a very functional garment and is suitable for many situations. It's also very nice to wear when just hanging around the house. Wearing a cardigan to protect the lining of a coat is one of the best money-saving tips on dry cleaning bills. Based on the feedback, I decided to design a pattern for a short, easy but transformable cardigan. I decided to call it Kalinda.
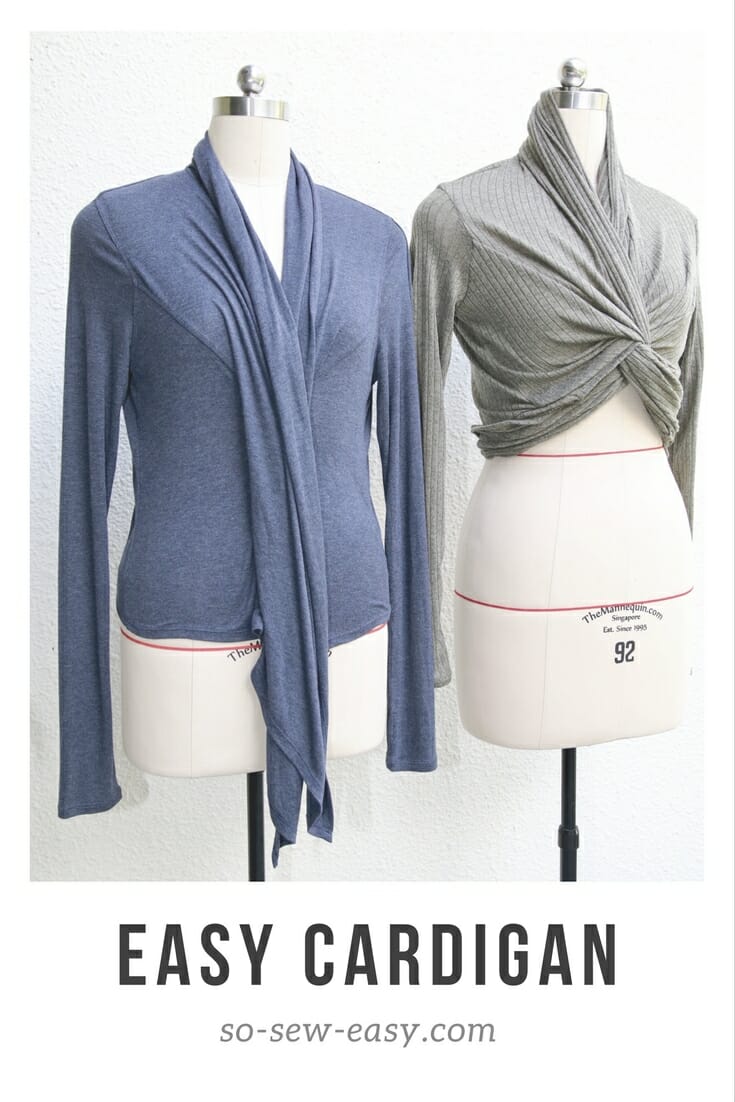
I haven't lived in a cold place for a very long time, but I still remember the feeling of nakedness after removing my coat when I enter a building. It is almost always too warm to keep the coat, but then I feel I am not dressed enough if I am not wearing a cardigan. This easy cardigan is transformable, and depending on what fabric you use, it can be casual or elegant.
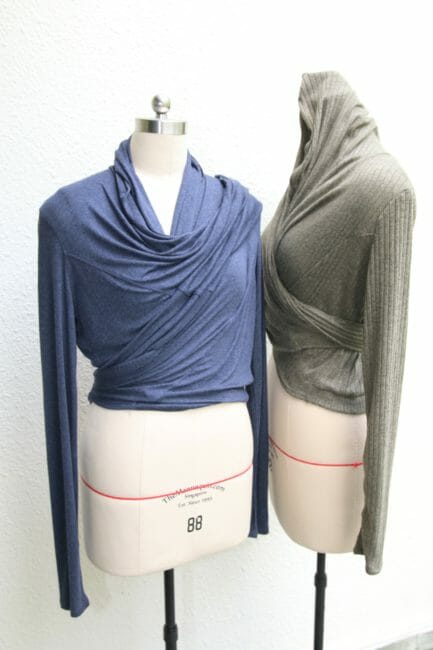
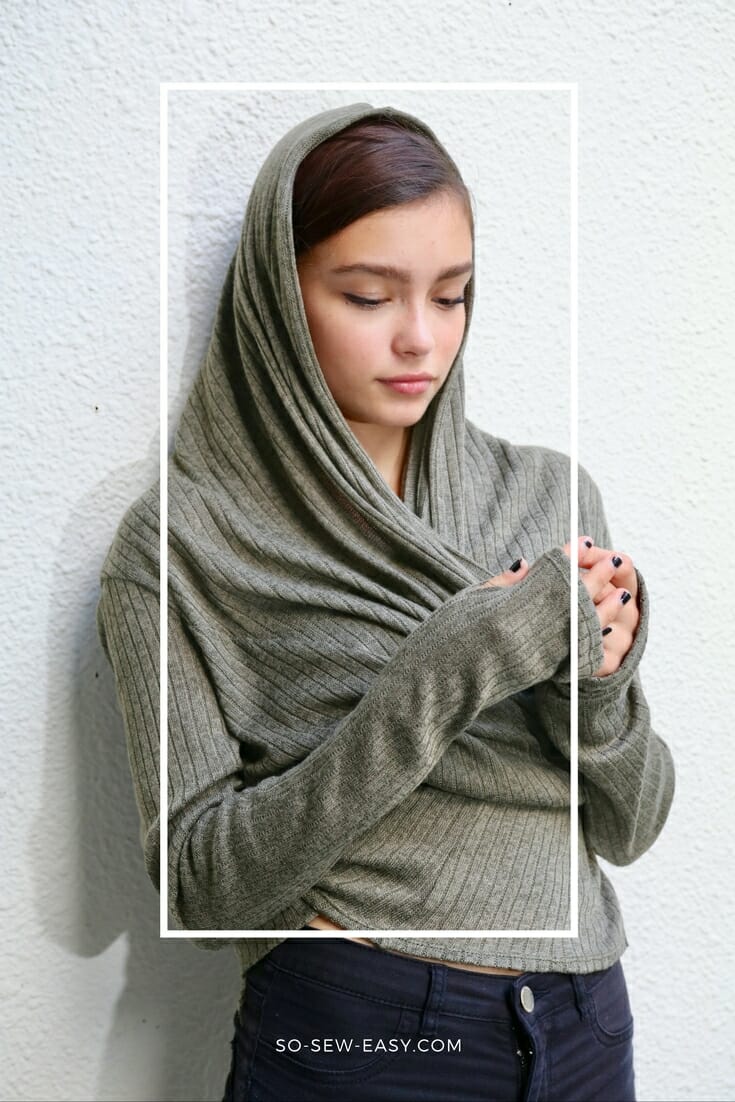
This transformable easy cardigan can be worn medium-long or tied up short. The collar/lapel becomes a hoodie for an even more informal, yet exceedingly practical look. The sleeves are long with elegant thumb notches to keep the sleeves all the way to your wrists, or the sleeves can push up. This is an original design of mine and I think it covers a lot of ground which is why I say it is transformable. Please free to explore with different fabrics, it is truly an easy cardigan to make and wear.
We also have a few other options for cardigans if you are looking for a longer version. Here is one we originally published in 2014 called the Cuddle Me Cardy, or a long cardigan we published back in October this year called the Easy Long Cardigan.
Key Features:
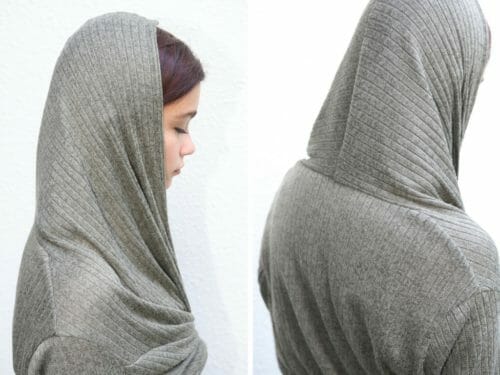
- Front drape doubles as a hoodie
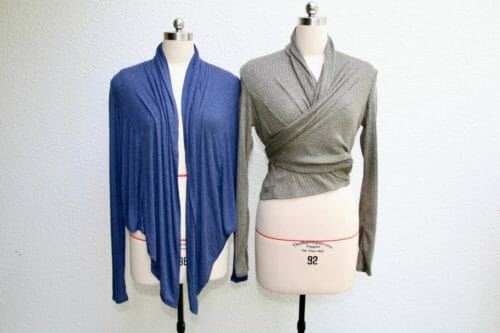
- You can tie at the front
- You can cross it over and tie at the back
- Elegant or casual depending on the fabric you use.
Materials:
- 1 1/2 to 1 3/4 yards of fabric
- stretchable fusible interfacing, shoulder stay tape
- thread to match
Tools:
- scissors
- sewing pins
- ballpoint needle # 9/65 or 11/75
- stretch machine twin sewing needle (optional)
- sewing machine
- serger or coverstitch machine
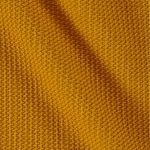
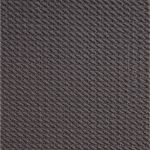
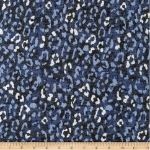
Fabric Suggestions From Fabric.com
 |
 |
 |
 |
 |
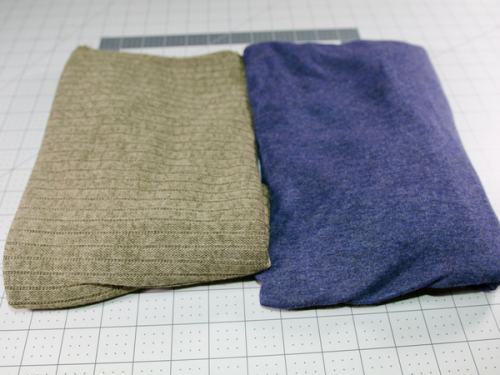
I am using a bamboo knit in blue a super soft great drape fabric and a jersey knitted fabric in military green. The jersey knit will be a challenge because it unravels very easily. I don't recommend this type of fabric to a beginner but it is beautiful. This is not because I think beginners are not capable of making this cardigan. I say it because beginners are afraid to try different fabrics. So please try and with whatever fabric you choose. Just make sure it's a four-way stretch knit fabric. There are a couple of good fabric recommendations below.
Pattern Download
You can download the pattern for this Easy Cardigan Pattern for Non-Knitters from our account at Payhip.
For help downloading and printing PDF patterns, please CLICK HERE.
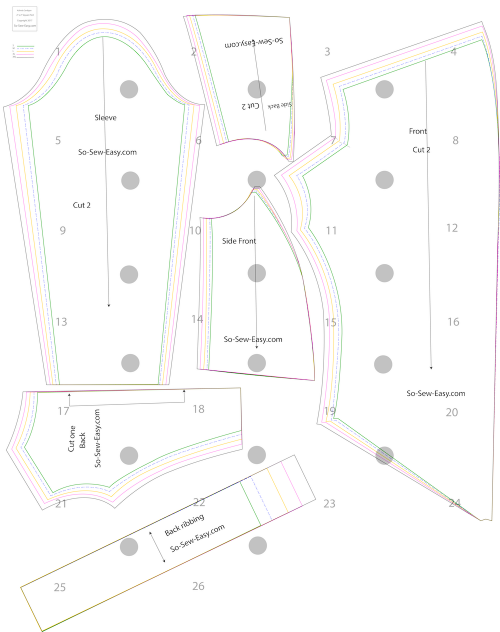
Pattern Layout
Standard Body Measurements
Use these measurements to choose the right size for your easy cardigan. It is supposed to be loosely fitted except for the sleeves. Remember that the front drape can also become a hoodie.
| S | 6-8 |
| M | 10-12 |
| L | 14-16 |
| XL | 18-20 |
| XXL | 22-24 |
Step One: Preparing the fabric for your easy cardigan
My recommendation when working with knits is always to lay the fabric the night before and work on it the next day. I find when I do this there are no ripples or bubbles in my stitches.
TIP: If you are using a super slippery knit like bamboo jersey. Lay a large cotton fabric, or a tablecloth, and then lay the jersey. This will stop the slippery fabric from moving around so much. I know that many people say cut the fabric between layers of paper……I just find that this technique dulls my scissors. But do what you think works for you best.
Place the front drape of the cardigan on the selvage. In other words, use the selvage edge at the end of the drape. We need the selvage to make sure the fabric is going to lay absolutely straight.
Step Two: Sewing the back
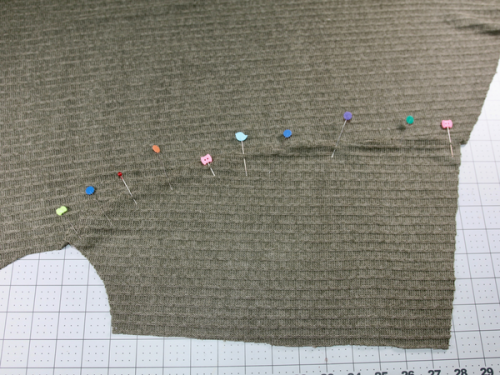
We will be starting to sew the cardigan from the back. Pin the sides and sew at 3/8″. Serge the seam allowances. Fuse stretchable interfacing at the shoulder seams.
Pin the ribbing to the back and sew at 3/8″ serge or zigzag the seam allowance.
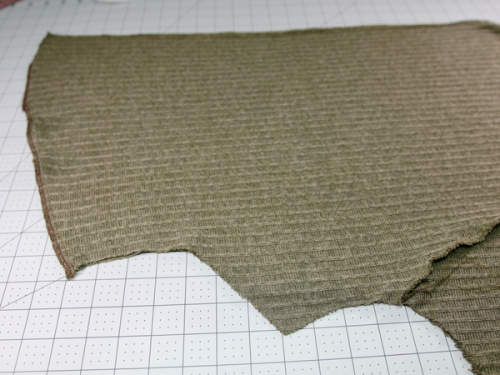
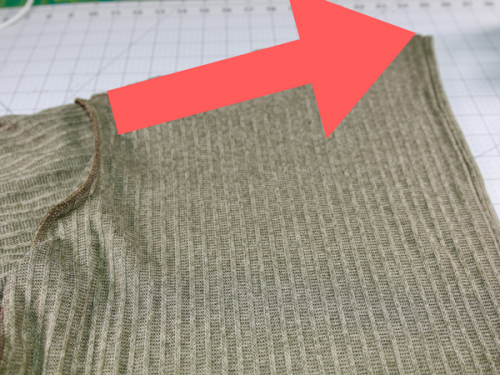
Step Three: Sewing the front
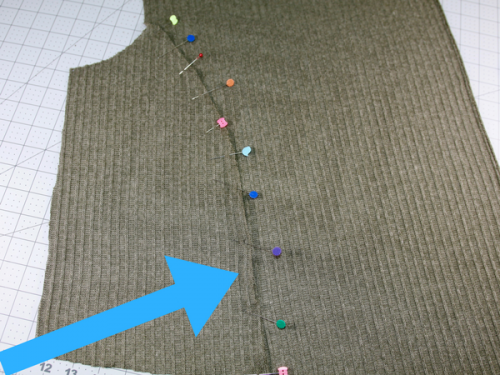
Pin the sides and sew at 3/8″. Use your serger or zigzag to seal the seam allowance.
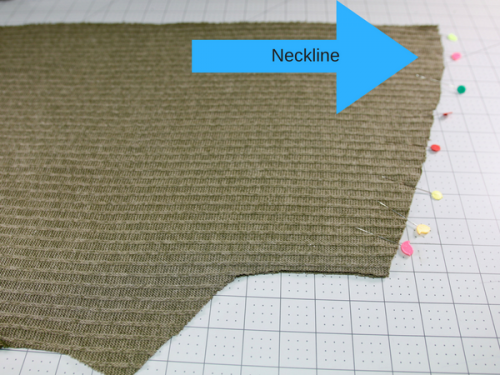
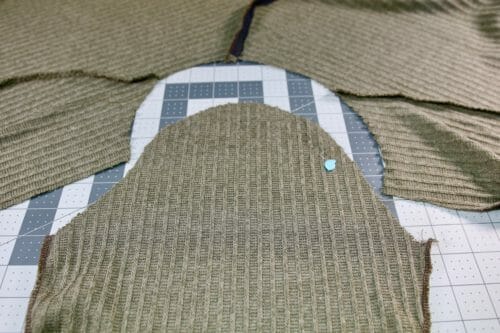
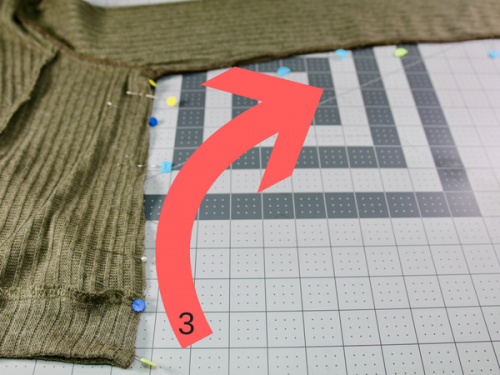
The next step might get a bit confusing because of the shape of the neckline.
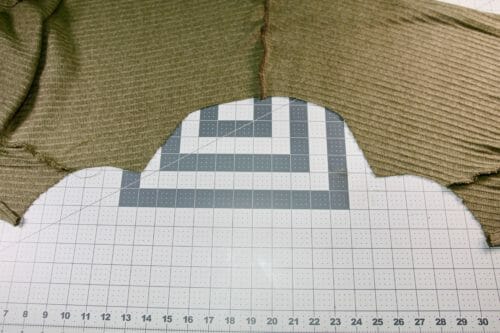
The part that gathers at the back is also what can be used as a hood. This is the part that we need to sew before we can proceed.
Sew at 3/8″ and zigzag or use your serger. Notice the seam allowance rippling a bit. I will use a cloth and a lot of steam to iron my seams but, I will do it at the end to avoid overhandling the fabric.
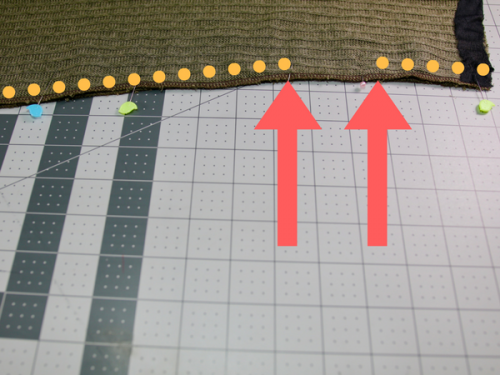
Step Four: Attaching the back
Open the piece you just sewed with the seams showing or right side down.
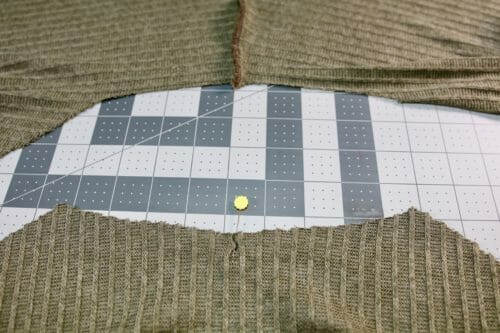
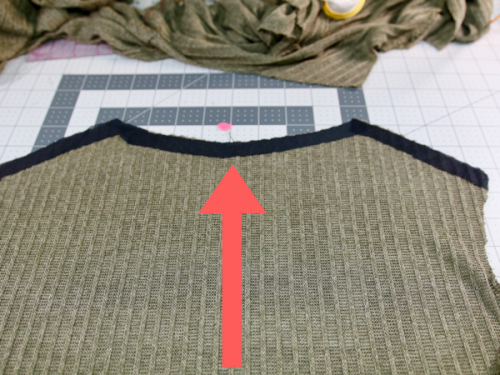
Get you back piece and make sure you have applied stretchable fusible interfacing. Find the middle of the back neckline by folding the back piece and place a pin there.
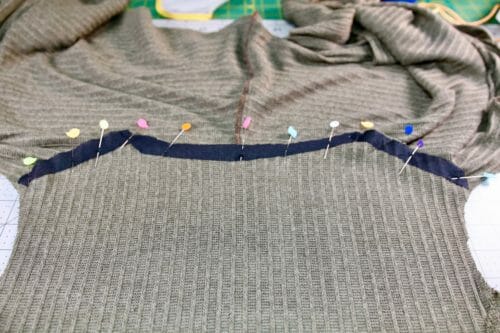
Pin the back to the neckline and sew at 3/8″. Finish the seam with a three-step zig-zag or a serger.
Step Five: Attaching the sleeves
Attach fusible stretchable interfacing to the hem on the sleeves. Serge or zigzag the sleeves seam allowances. Mark the back of the sleeve so you know what way the sleeve must be sewn. I will use a pin because my fabric unravels very easily so I can't make a notch.
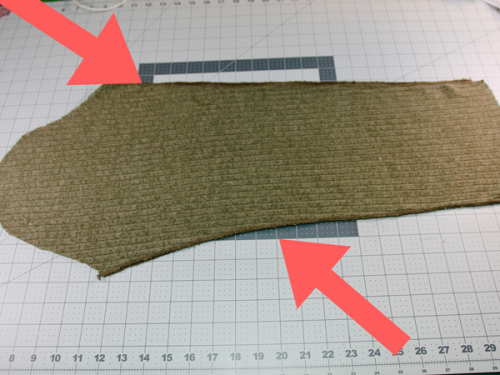
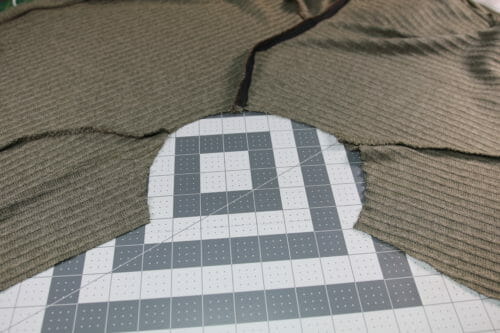
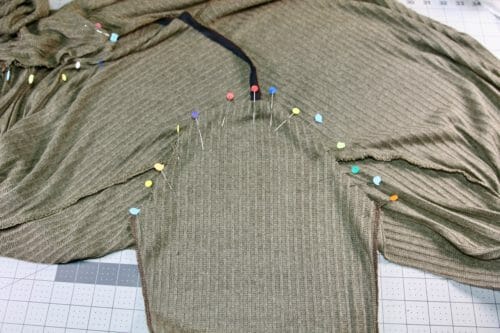
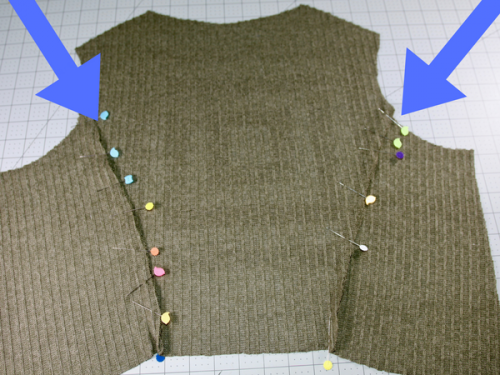
Spread the cardigan wrong side up, or with the seams showing. The front and back will be on the sides and the armhole in front of you. In the picture below, the back is on the right and the front is on the left. Pin the sleeve to the armhole starting at the ends. Sew the sleeve to the armhole at 3/8″.
Step Six: Finishing the easy cardigan
By now you should have one crazy piece of work. Don't get lost. I recommend, but it is not essential, to add stretchable fusible interfacing strips 1/2″ wide to the hems of the cardigan. This is to prevent the notorious wave look of some knit fabrics when sewn. Please practice on a scrap of fabric to avoid ruining the cardigan at this advanced stage of the project.
There are a few ways to tackle the hem. Use the interfacing with a ballpoint needle and a straight stitch. You can also try a walking foot and a regular needle. Or a twin needle and fusible stretchable interfacing.
Of course, if you have a cover stitch machine, then you are the “Queen of Sewing” already and I've got nothing to say to you as I simmer here in Singapore turning the color of the project. Pure envy! Yes I know it's a sin. Someday I too will get a cover stitcher…
I'm opting for the jersey twin needle, fusible stretchable interfacing, and my serger. Sounds complicated, but it's not. The hem will look like I made it with a cover stitch sewing machine (almost..).

Add fusible stretchable interfacing on the front and the sleeves hem, as well as the neckline. 1. Fold the neckline seam allowance 3/8″ and using your twin jersey needle sew the edge of the neckline.
2. Fold the hemline 3/8″ and sew using your twin needle.

3. The last seam you are going to make is the side seam. Start sewing from the hemline to the sleeve.

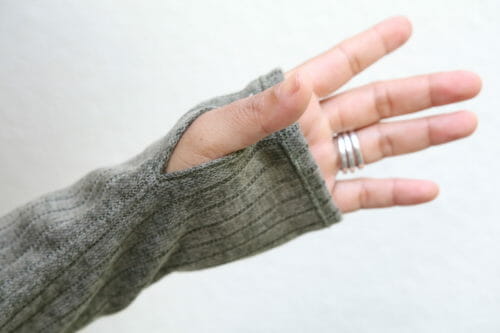
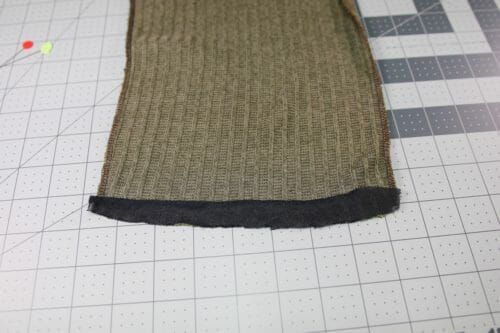
4. This step is optional, the sleeves are slightly longer. So the sleeves and stop 4″ from the hemline. Leave an opening of 2″, and continue sewing until the hem of the sleeve.
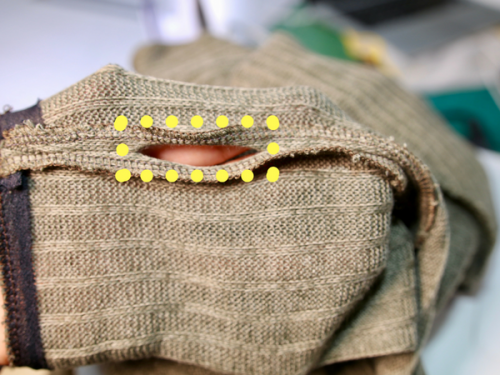
This opening is to insert your thumb through it. Sew a straight stitch around the opening. Fold the hemline of the sleeve at 3/8″ and using your twin needle sew the hemline.
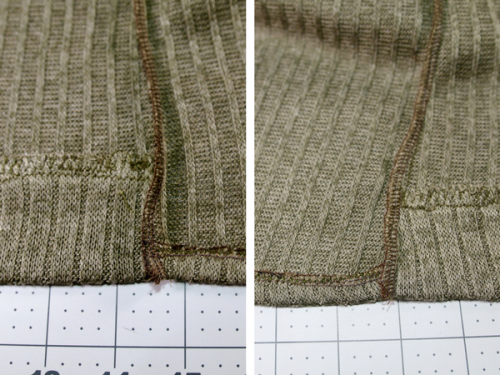
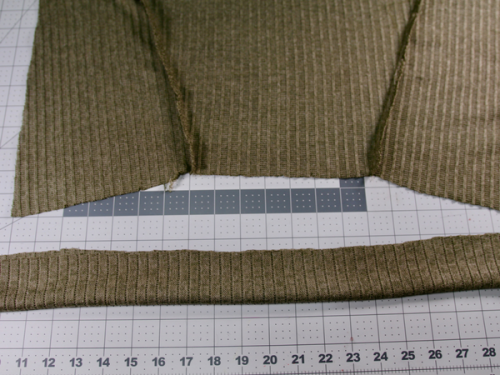
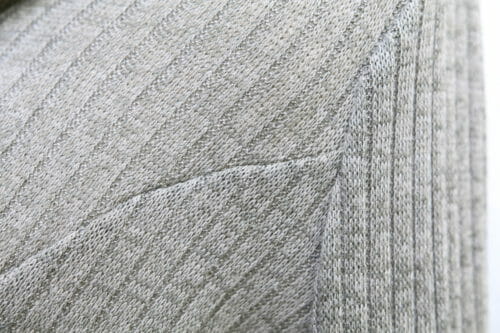
This is how the side seam should look like.
There are at least three ways to wear the cardigan. I could argue that there is a 4th way, however, I will let you discover it. Send me a picture and I promise to share it on the site.
Until next time!


Each pattern piece states cut 1 or cut 2. The Front side does not state how many to cut. I think 2 but I want to make sure.
Waiting for your response. Thank you.
Yes, you do need two pieces to finish a front. It was an oversight of mine not to label the pattern properly. Thanks for letting me know.
This is gorgeous. My daughter would love this. Now finding the time to make it!