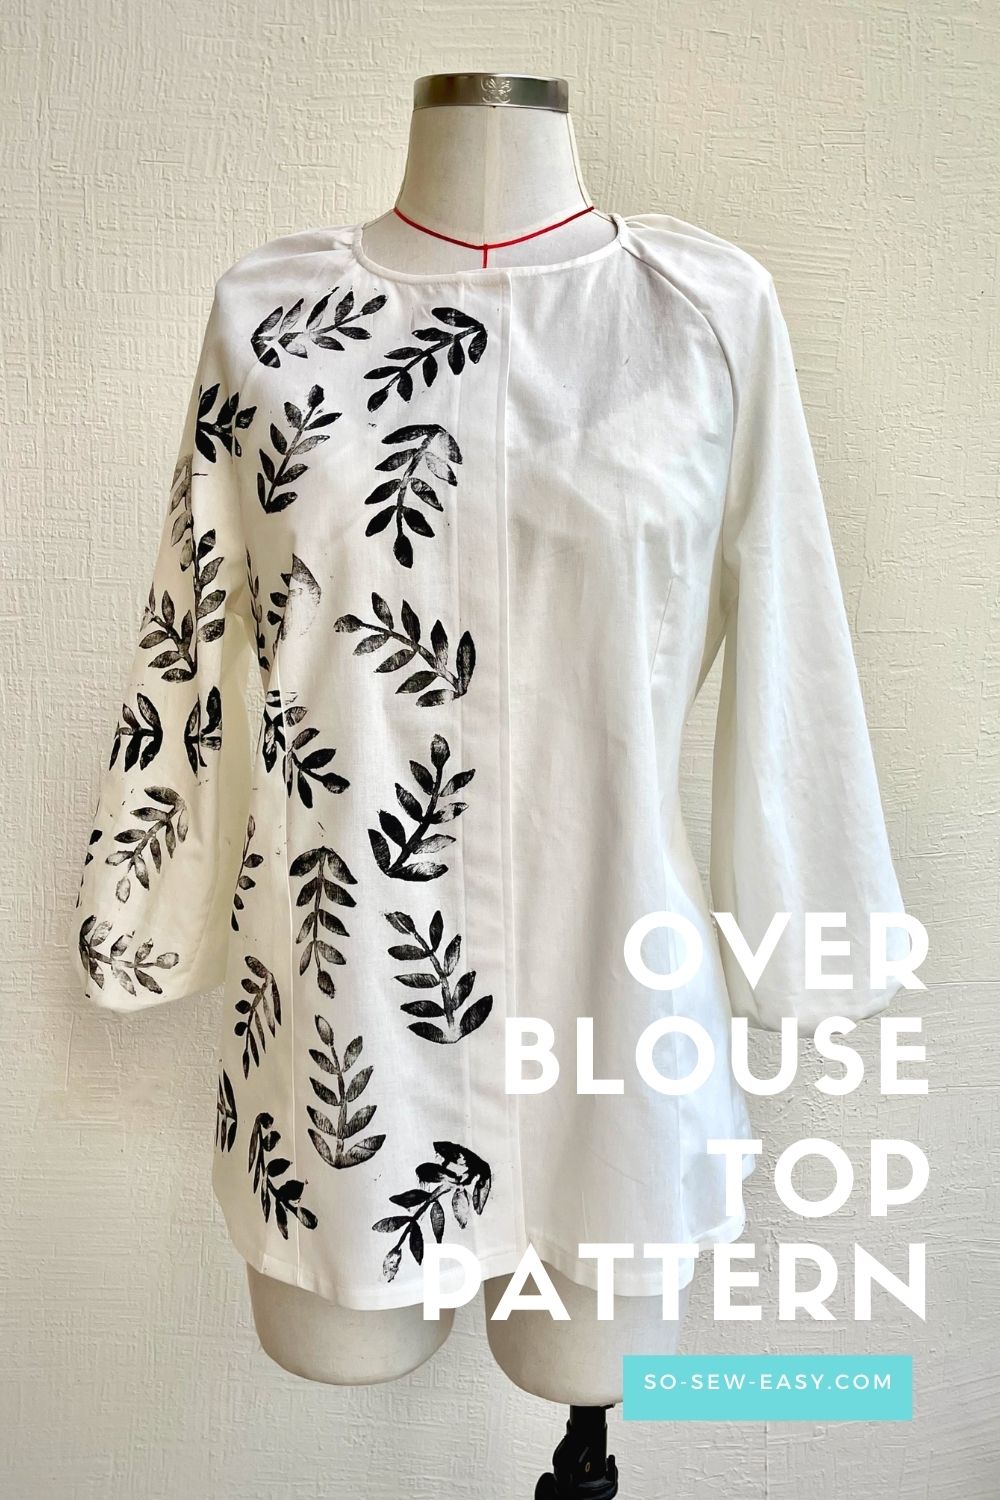
This is the overblouse top pattern that I promised in last week's project; the spaghetti strap top. This overblouse can give your look an extra flare or give you a little warmth for an unexpected evening chill
This overblouse top pattern makes a blouse that can be used open or closed.
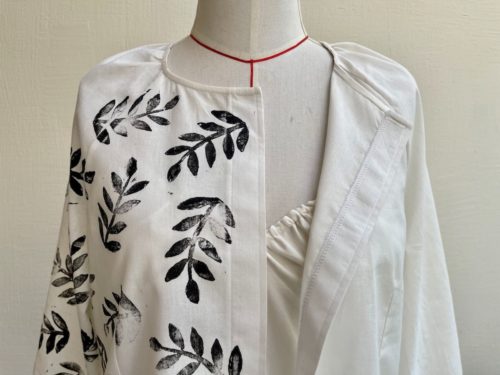

It is loose fitting so you can move around to help up stay cool.
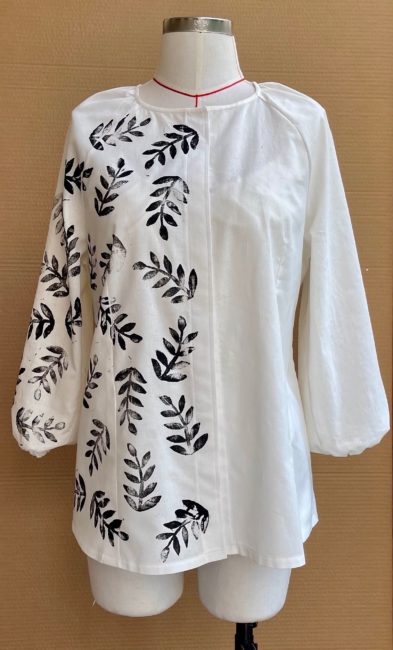
Long sleeves or three-quarter sleeves so you can cover more of your arm, and with a simple pattern transformation, the length can be adjusted.

Materials
- 1.5 to 2 yards of 54″ wide choice of soft linen, soft cotton, or any loose weave natural fiber fabric
- thread to match
- bias tape enough around the neck
- 3/8″ elastic enough for the sleeves
- fusible interfacing enough for the facing
- five snaps fasteners or buttons (optional)
Tools
- sewing machine (optional)
- snap fastener machine if using snaps
- buttonhole foot if using buttons
Fabric Recommendations from Fabric.com
Sewing Level: Beginner
Although this is an easy project, basic knowledge of sewing is needed. Please review the following material prior to starting the project.
- Five mistakes to avoid when cutting fabric
- Guide to snap fasteners
- How to make button holes
- How to make bias tape
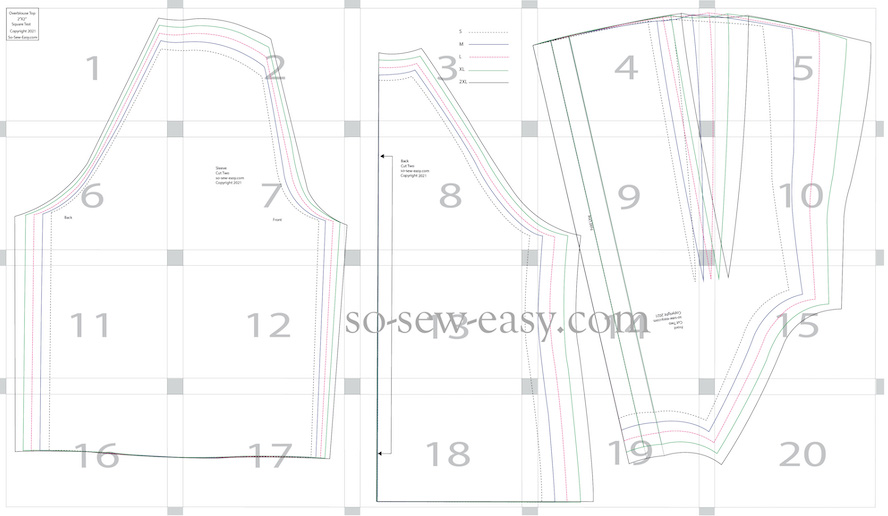
How To Print And Download The Overblouse Top Pattern
Please use Adobe Reader, print in Landscape Mode and do not scale.
Pattern Download
Like most of our patterns, this pattern is free. But now you have the option of making a small contribution if you like our work! We'd really appreciate it and it will help us keep going with new and fun designs like this. Even a dollar or two really goes a long way.
Thanks so much in advance for helping us out. You can use any credit card and you don't need a Paypal account, although you can use one if you have one.
Pattern Layout

Sizes
| Size | Bust | Waist | Hips |
| S | 36-38 | 25-27 | 37-39 |
| M | 38-40 | 27-29 | 39-41 |
| L | 40-42 | 29-31 | 41-43 |
| XL | 42-44 | 31-33 | 43-45 |
| 2XL | 44-46 | 33-36 | 45-47 |
Sewing Instructions
There is NO seam allowance in the pattern, I suggest using a 5/8″ because you will need to add elastic to the sleeves and you will be able to sew this project by hand.
Step One: Sewing The Dart
I have a perfect tutorial on how to sew a dart, please take the time to read it so you end up with a perfect dart. This step is important because if there is a bubble at the end of the dart your overblouse top will end up looking cheap.
Please read the instructions in the post below to achieve professional results.
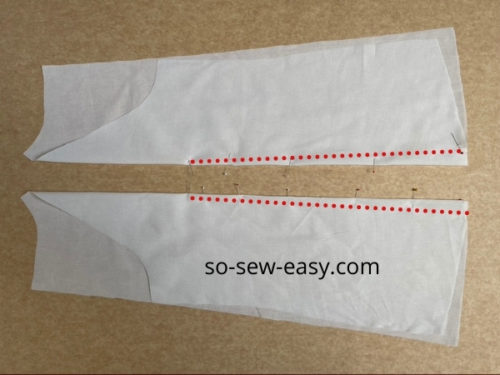

Cut a strip of fusible interfacing along the front, this will allow you to be able to make the button holes or snaps.
The length is according to the size you are working on, and the width for all sizes is 2 1/4″ as marked in your pattern.
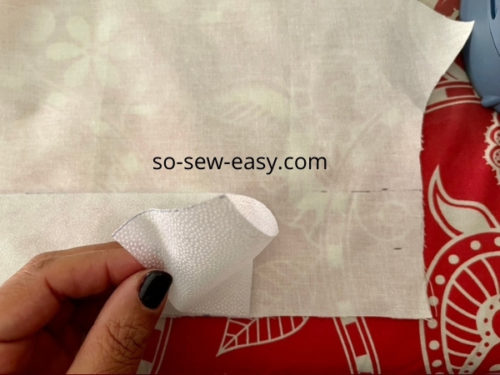

Step Two: Sewing The Sleeves
This type of sleeve is known as a raglan sleeve, it is a very easy sleeve to sew once you have identified the front and back. There are two ways to sew this type of sleeves, the following is the mass production technique, it will provide you very reliable results.
The following instructions are not my favourite but it is the fastest, and other more complicated techniques make little difference in this type of project.
Print side together pin the front of the sleeve to the front of the overblouse top.
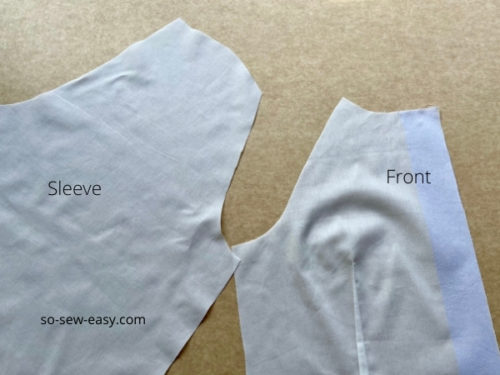

Sew and serge the seam allowance reducing it to half.
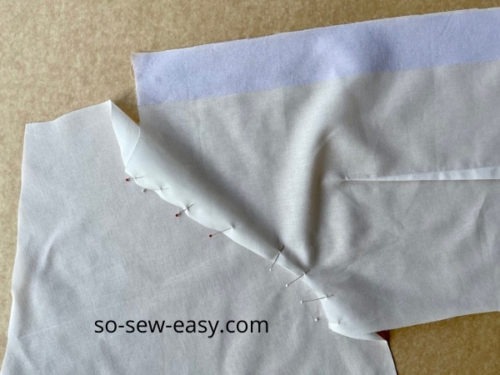

Pin the back of the sleeve to the back of the top. Repeat with the other sleeve.
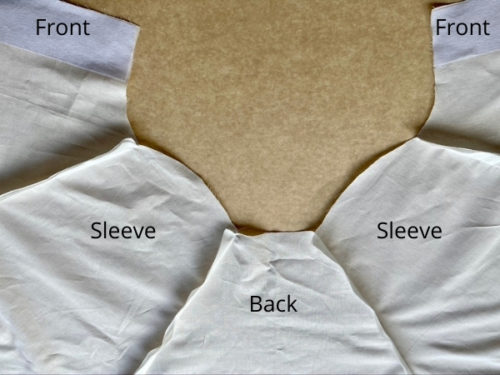

Serge the seam allowance of the front and back of the overblouse before sewing the sides.
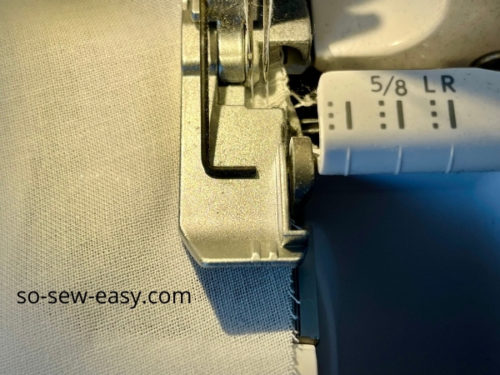

Sew the sides after you have serge the edges.
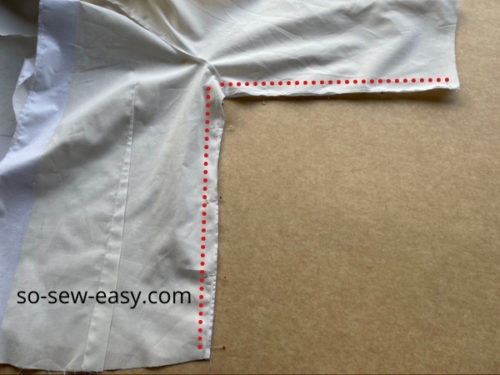

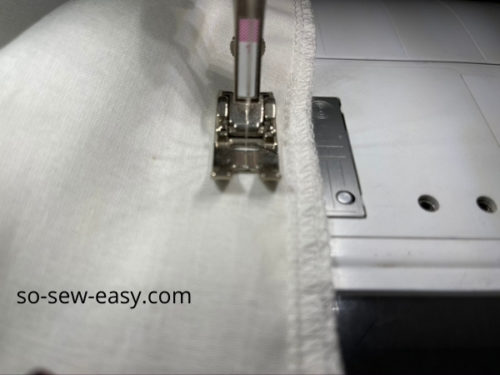

Iron the seam allowance open to reduce bulk.
In a future tutorial I will show you how to add a side seam pocket on a finished garment. It would make a good addition to this project, but I don't want to make it more complicated than necessary.
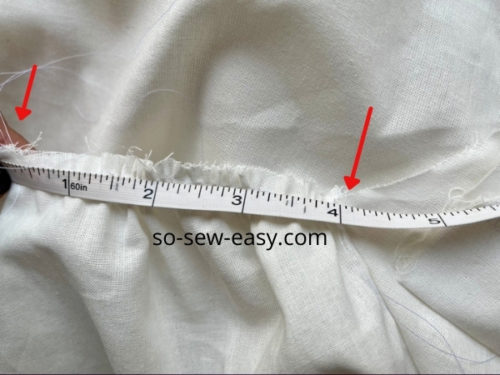
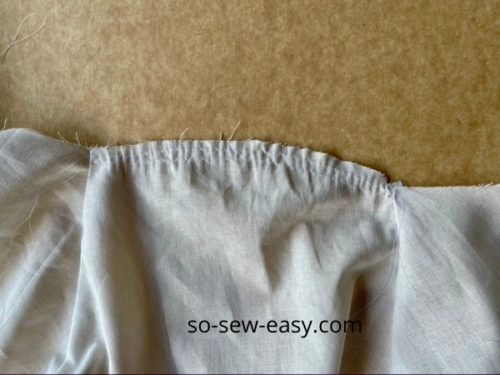
If you tried on the top now you will find that the sleeves do not fall over the shoulders well. To remedy that, we will gather the top of the sleeves. The following are the amounts to gather according to sizes:
Size S and M gather to 3.5″
Size L, XL gather to 4″
Size 2XL gather to 4.5″
I am working on a M Size top so I will gather the top of the sleeve until I have 4″ in length.


Step Three: Sewing The Neck
Mark the seam allowance around the neckline using an erasable pen or a tailor's chalk.
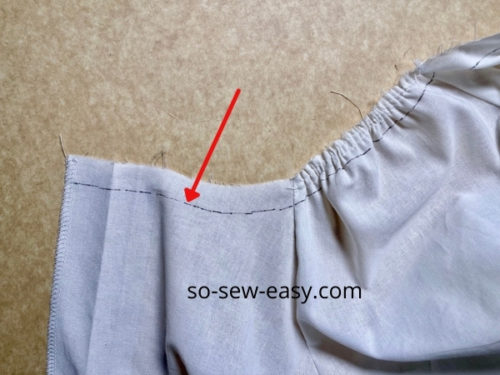

Place the first fold of the bias tape on top of the mark leaving a small amount at the beginning and at the end, pin the bias tape all around the neckline.
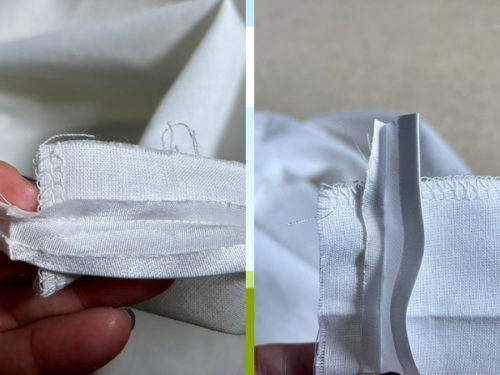

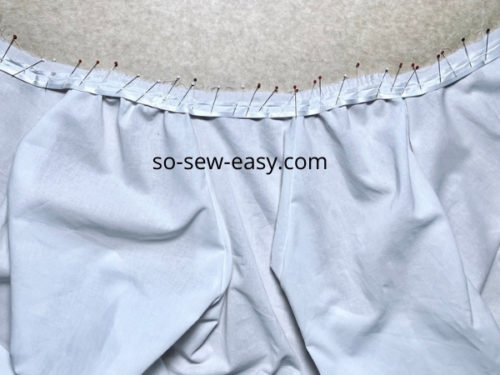

Sew the seam allowance on the first fold where the mark you made before is underneath.
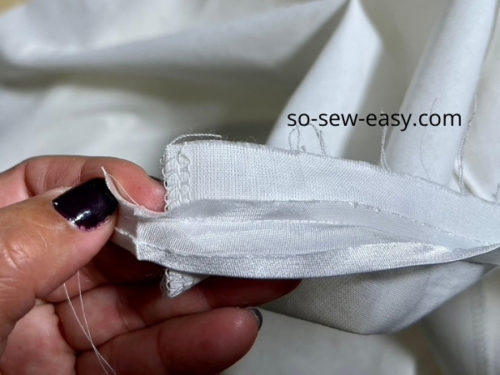

Trim the seam allowance, to the same length of the bias tape.
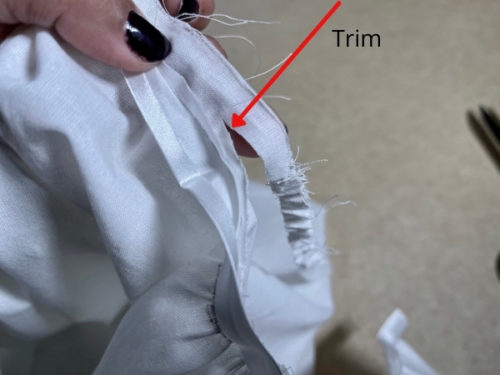

Fold and pin the bias tape over the seam allowance.
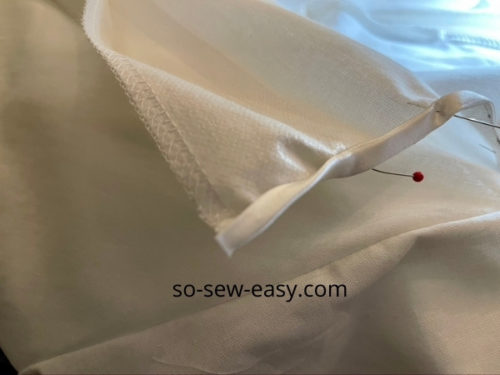

Sew very close to the edge.
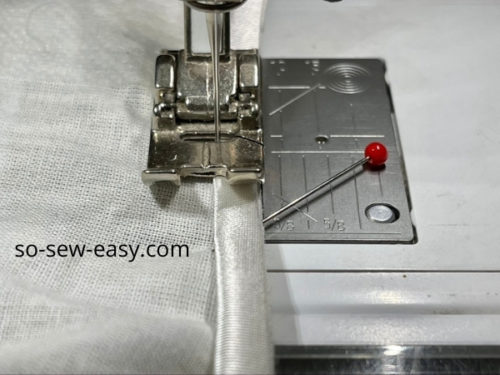

Step Four: Sewing The Hem And Adding The Elastic
Cut a piece of elastic that can go comfortably around the forearm.
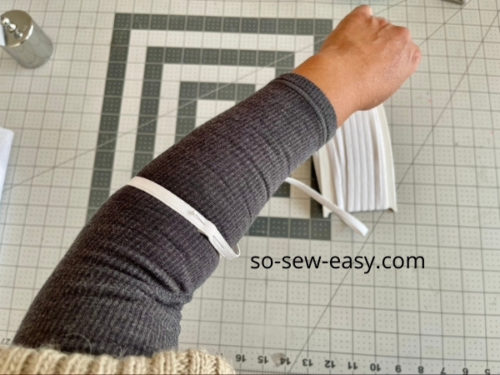

Working on the wrong side of the top. Insert the sleeve in the elastic band.
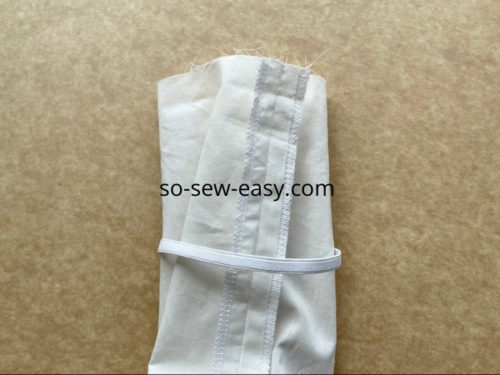

Fold the hem of the sleeve 1/2″.
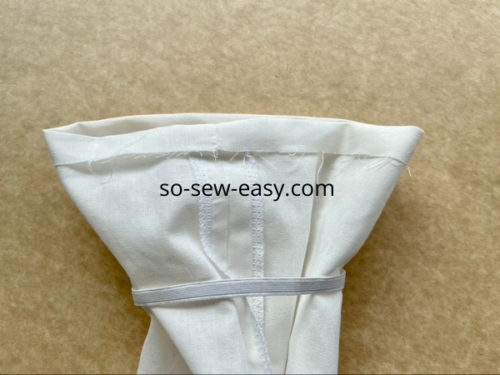

Slide the elastic to the edge of the hem.
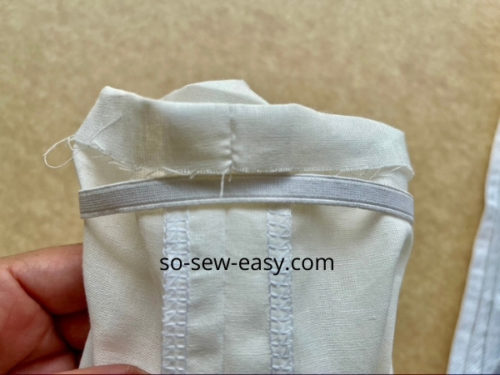

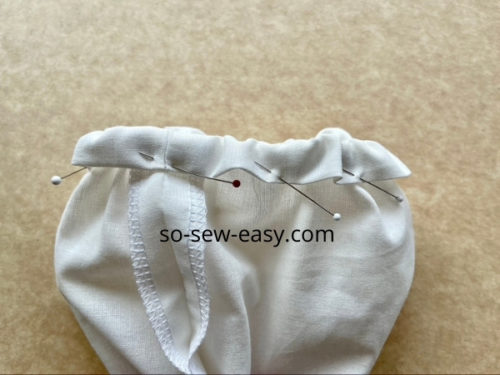
Fold the hem over the elastic and pin.

Insert the sleeve in the arm of your sewing machine.
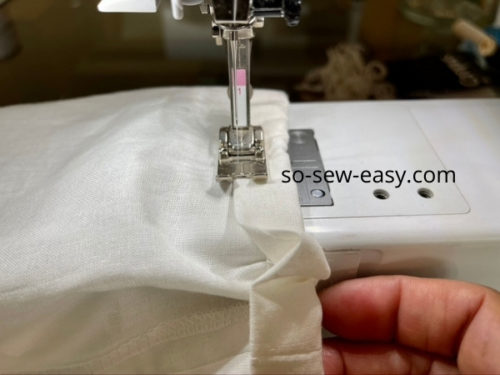

Needle down pull the elastic and sew.
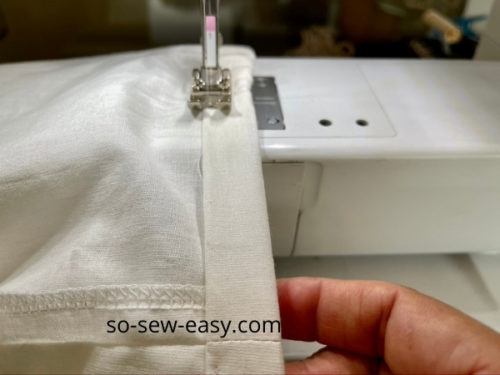

Serge the hem from one end to the next. Fold the hem 1/2″.
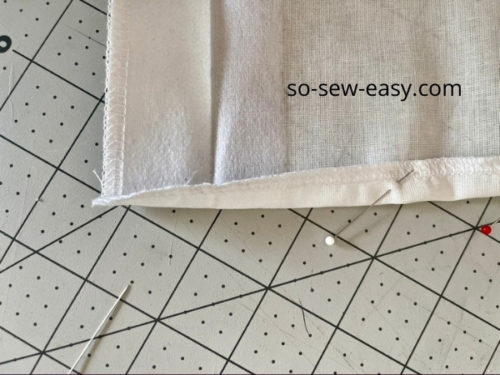

Fold back the facing and sew.
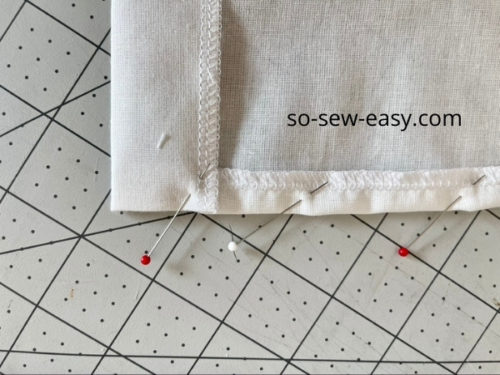

Step Five: Finishing The Facing
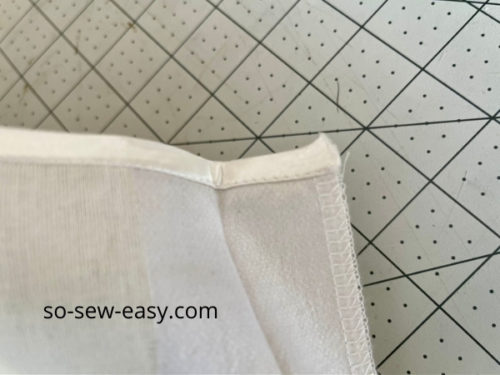
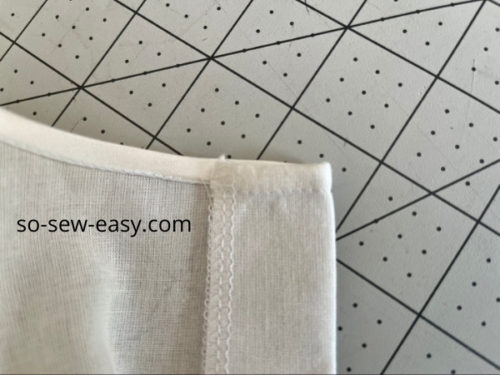
Trim the bias tape. Fold the facing at the neckline and sew along the front.


Other Looks For This Overtop Blouse Pattern
I chose to use muslin for my project. This is a perfect fabric for testing the fit of this overblouse top pattern, but it does not make for the best pictures in my opinion. Take this example as a canvas for your own designs.
For another run, I am planning to use cotton batiste or loose weave linen. However, my favorite fabric for this overblouse top pattern would have to be any cotton from Liberty of London.
Let me know how you go in the comments below. Make sure to share your pictures on Facebook or Instagram, and Until Next Time, Happy Sewing!


I’ve been working on this blouse. I really like the pattern. Could you tell me the width of the bias tape? I do not see it mentioned. Thanks!
It does not matter, since you will be marking the seam allowance at the neckline to accommodate for any size bias tape. I used a 3/8″ in case you wanted to know.
Is this pattern available in a Copy Shop format so I can have it printed there instead of having to tape the pieces together?
No, not the free ones. Kind Regards,
Where can I find the directions to transform the sleeves to full length?
How do I get this pattern. I have the tutorial, but the pattern doesn’t come with it.
Marissa
Hi, I’m new to your patterns! I really want to give this one a try! I’m confused about the “No seam Allowance” comment. Do I need to add the 5/8 ” to all the pieces before I cut out my fabric? Thank you for your help!
Hi Cornelia, welcome, yes you do need to add the seam allowance. Kind regards,
Looks like a versatile cover up and easy to make. I don’t find the yardage needed — may 2 yds @ 54″ wide? Thanks for a great idea.
My pleasure! yes, that is right for the bigger sizes.
Great pattern. My only suggestions would be to sew the bias tape on the wrong side of the garment and then bring it around to the right side for the top stitching. That way you know you get a nice even neck facing when you are finished. Your instructions are quite good and I think even the most inexperienced sewist could make this cute top. Thanks for doing all of this work.
Hi Barb, indeed that would be the easiest way to sew for a beginner, I hope everyone reads your comment. I hope that WordPress comes up with a way to be able to pin a comment on the top so everyone reads that first. I will add a note to my instructions.
I absolutely love this! I’m going to Mexico late summer and I tend to burn. Made from a very light cotton, this will be perfect for when I feel I’m getting too much sun without being hot. I can wear it into the ocean and pool and it won’t be to heavy either.
Indeed! do send me a picture please, I love it when people show off their creations on a faraway land! have fun! Kind Regards!
I like this very much & am considering making one. However, I don’t see yardage mentioned that is needed to make this blouse. Can you provide this info? If you did say I apologize for not reading your post more thoroughly. Enjoy a coffee on me! Thank you so much!
Hi Betsy, thank you for Ko.Fi from the bottom of my heart. Yes, Indeed I forgot to mention, if not for your comment I would have not noticed. You will need depending on the size from 1.4 yards to 2 of 54″ wide.
I can’t find how much fabric is needed for this overblouse. I’d make the 2X size.
Hi Joan, 2 yards of 54″ wide, please.
Very nice! What are the fabric requirements for the size large? I have some nice linen but want to make sure I have enough.
Thanks,
Brenda
Hi Brenda, it depends on the width of the fabric, 1.4 yards to 2 yards of 54″.
I love the print on the one side! I’ve been following @margarts on IG & am very tempted to do some printing on fabric & clothing!
Thank you! In IG I showed you how to make this particular pattern I even shared the template.
I don’t see how much fabric I will need to make this top. It is so cute!
Between 1.4 yards to 2 yards of 54″ wide.
Great looking project. Is there a yardage chart? Maybe I missed it?
No, I did. 1.4 to 2 yards of 54″ wide.
A good basic to have.