


This is something you may not come across very often, but it's good to know for the first time that you are called up on to sew a slanted seam. It might be when you are piecing strips for making bias tape or just in a pattern that has diagonal seam lines as part of the design.
Let's take a look at what I mean and the right and wrong way to sew these sorts of seams.
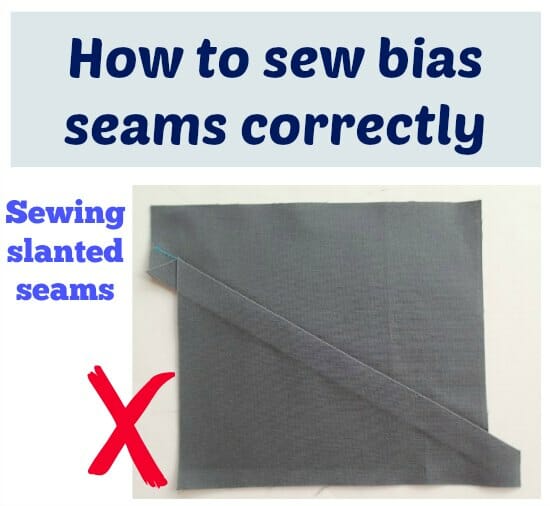
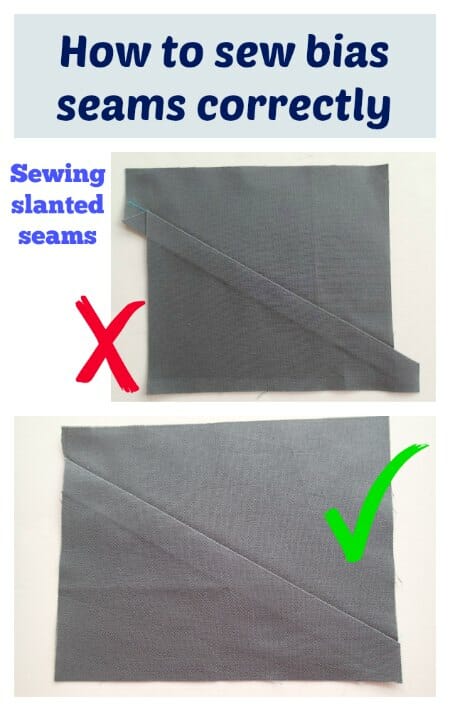
How to sew a slanted or bias seam
Let's start with a square of fabric – any size. Then we'll cut it roughly in half, but not parallel to the edges or directly across the diagonal but on a steep slant from one side to the other.
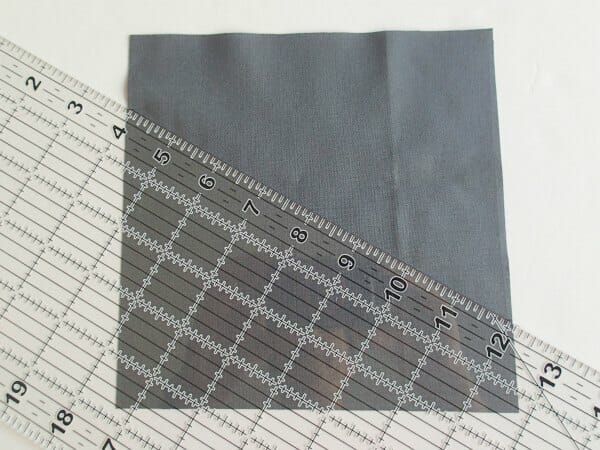
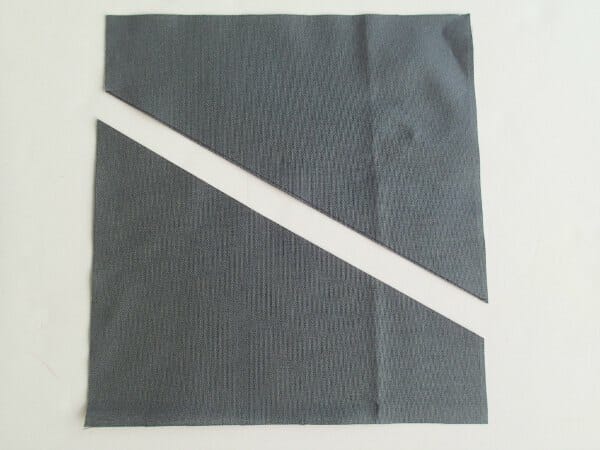
Ok, so far so good. We end up with two strange-looking pieces with a slanted line cut through the middle.
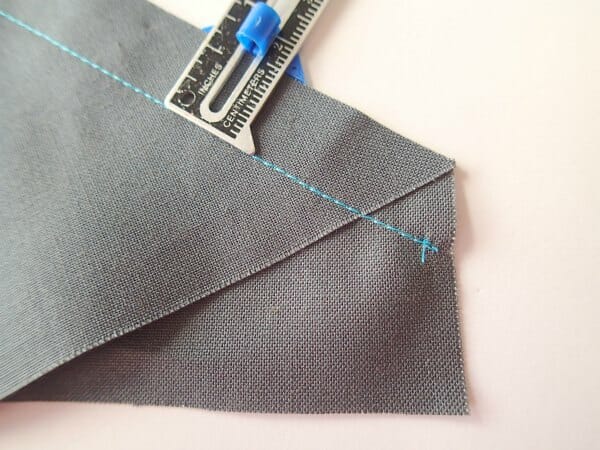
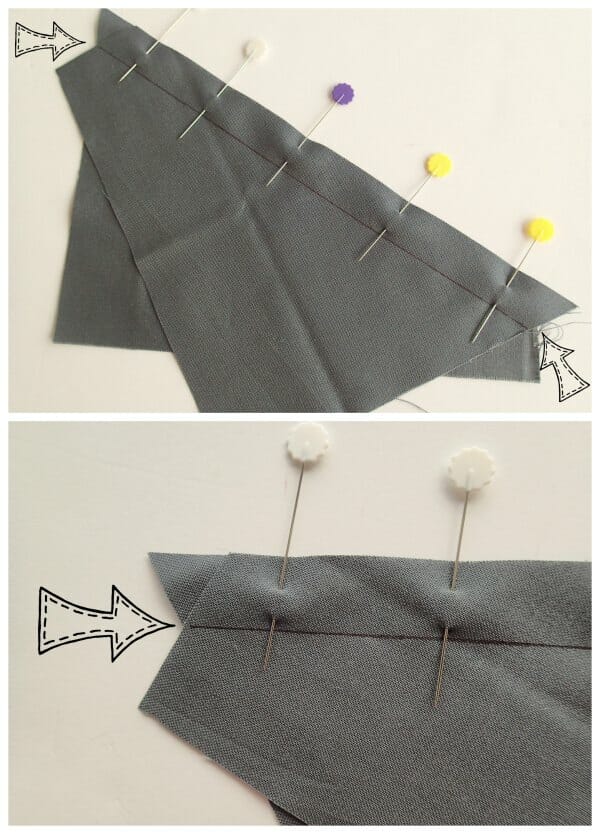
Now we are going to sew that seam back together again. So let's start by matching our raw edges and pinning the fabric.
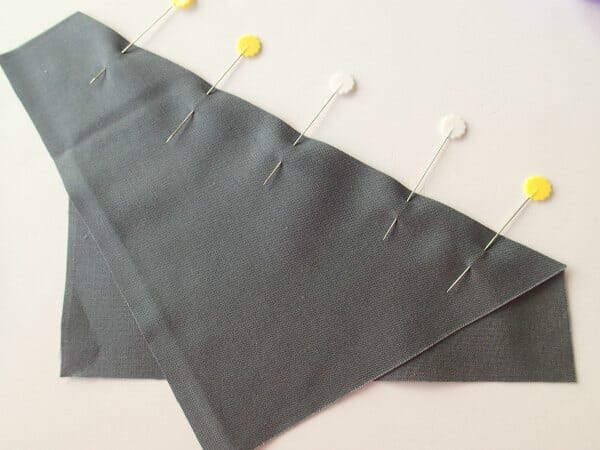
Can you see anything wrong yet?
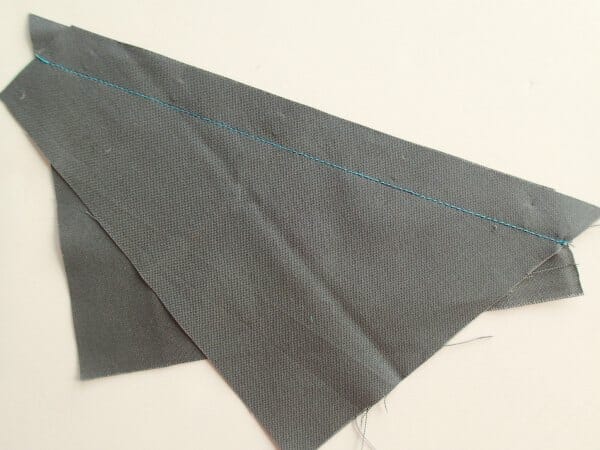
Now we'll sew them together with a 5/8th of an inch seam allowance. So far so good.
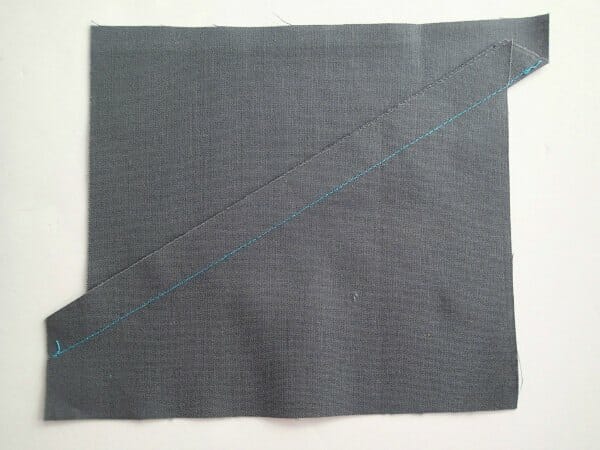
Now let's open the seam and press it. Oh no! What's gone wrong here! See how those edges don't line up any more?
If you look closely, although we matched up our raw edges exactly, when we sewed along our seam line, the fabric wasn't matched exactly there and the stitches at the start and end only sewed through the one layer.
So when we open out and press, things are wonky because although the raw edges were aligned, our stitching lines were not.
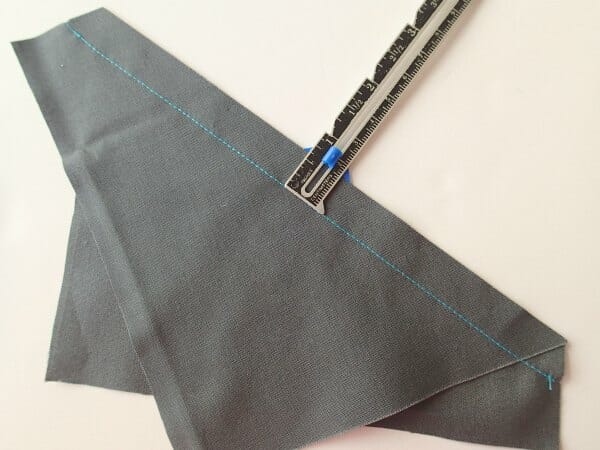
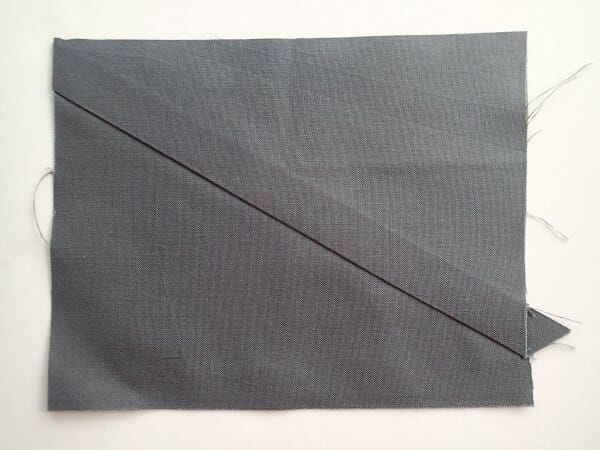
We can do better! For the second example, I've cut the fabric exactly the same but this time I've marked on where my stitching line will fall. You don't have to mark it, but at least adding a little dot at the start and finish of the piece will help you line up.

Make sure that the stitching lines are even, so the fabric at the stitching line you marked meets right at the edge of the piece underneath. We'll still match our raw edges too. So it looks a little odd, like it can't be right, but stay with me!
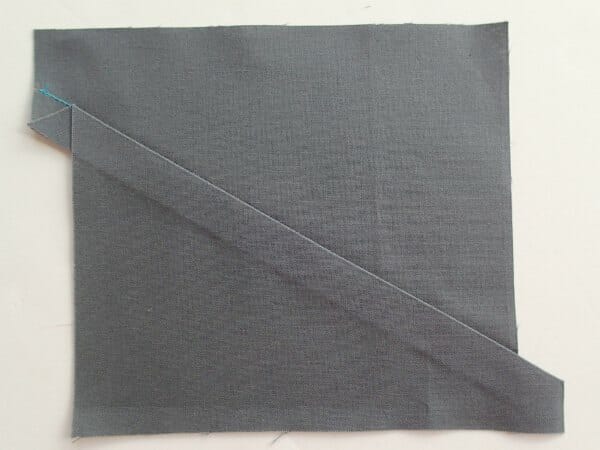
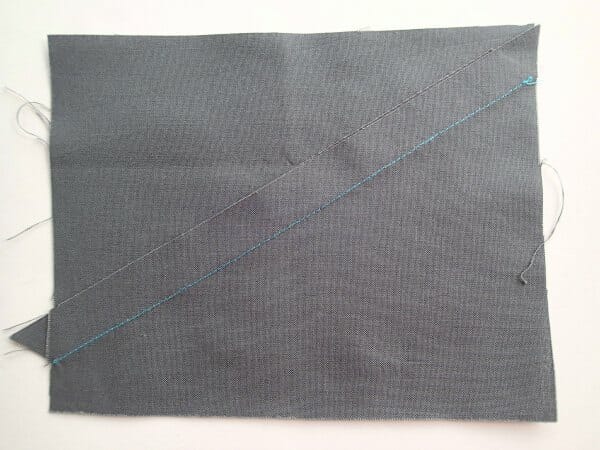
We stitch along our 5/8th of an inch line, open out, and press.
Tah da – that looks much better. Take a look front and back and see how that matches up properly now. We just have the little triangle on the one edge which we can snip off, and now our two pieces have been sewn back together perfectly.
Isn't that interesting.
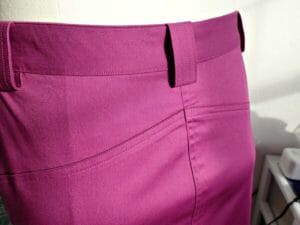
Why am I telling you this now? There is a new skirt pattern coming out very soon that has these types of slanted seams and you'll need to match your stitching lines to sew it correctly or your pieces won't fit together properly. Here's just a sneak peek.


I’m sorry, but somehow I am not making sense of how to place the pieces together and still running into the same issue of it not lining up. Perhaps you could show me using two different colors of material with a pattern. I am making a quilt that has 2 1/2 strips with a variety of materials making up each strip.
Thank you for your help.
I remember learning this seam a long time ago in high school. It is always good to have a refresher lesson.
Thanks,
Susan
Nice and clear explanation.
Once again, great info
Thanks Lisa, even if you knew it is a great reminder. We all need those.
Yep! Took me a few tries while making bias tape to find a method that works for me. I wish I had been forewarned.
You are SO awesome! Thank you for this and all of your knowledge you share! Ihave used this (accounting for seam alliwance) before, but i am nearly certain that i would have forgotten or not thouggt of it if i were to piece angles together 🙂
Aww, so kind Laura, thank you. Yes, you can get quite unexpected results with sharp angles like this. I remember the first time I did it and could not work out what had gone so wrong!
I really needed this today. I’m “copying” a quilt by looking at it in pictures for my granddaughter’s wedding. I made some sample blocks and had decided that I would just have to make these blocks bigger and cut them to size when I was finished. I need 200!!! So, I’d rather sew them properly in the beginning. I will practice more before beginning this Sea Glass Quilt. Sure wish I had some buddies to come over and help me sew!!!
Wow, 200 blocks – that will keep you busy for a good long time!
Thanks for the tip. Hadn’t really thought about it before, but now I know why my bias strips don’t always match up.
Great information! A light bulb moment! Thank you so much, Deby! I was just looking at your safari skirt pattern, I love it!
Hi Deby
I have just started to sew 70years have found your Patterns so easy to follow thanks a lot have made the easy dress knit has turned out very well.
thanks again Maggie xx
Thats fabulous Maggie, so glad to hear it.
Haha, it yesterday totally happened to me with piping for a bag pocket. After I saw what I did I just thought “Oh yes. this is what she meant.” 😉
Thank you for saving me from me. I would have totally done this!
I know! – its only when you sew an exaggerated version with these large seam allowances that it all becomes clear!
I just really wanted to let you know how much I appreciate your ( Web site?) Your pictures and explanations seem clear. Thank you.
Thanks very much Kim. I appreciate you taking the time to leave a comment for me.
Thank you for this! I was making bias tape and couldn’t figure out where I was going wrong!!! It’s so clear now!