


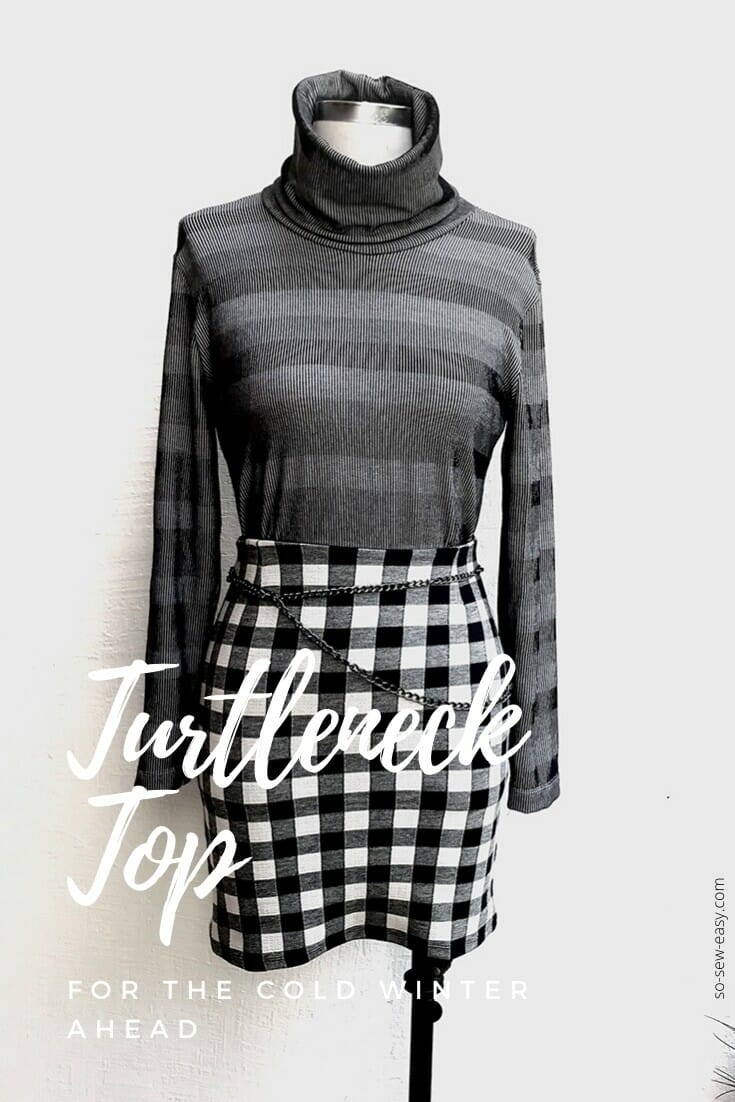
This is the turtleneck top pattern. It will make one of the most simple, but versatile pieces in your wardrobe.
Dressing in layers is the key to staying comfortable in the winter months and as a bonus, helps you save some money on heating. Placing your thermostat to 17C (62F) to 18C (64F) degrees and throwing on a few more blankets or a lovely rag quilt will be a great help to your pocket, and if money is not an issue then think of the environment. Taking these small steps does more for the environment than virtue signaling in some social media account as it is the trend these days.
This turtleneck top pattern is great for layering, as well as a standalone piece. It's one of the easiest patterns to sew for how useful it is!
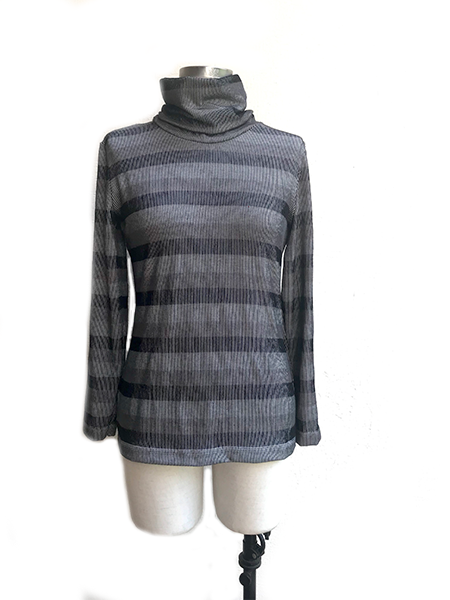
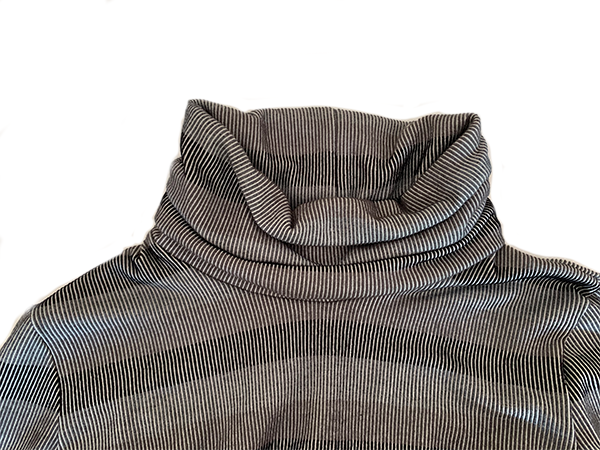
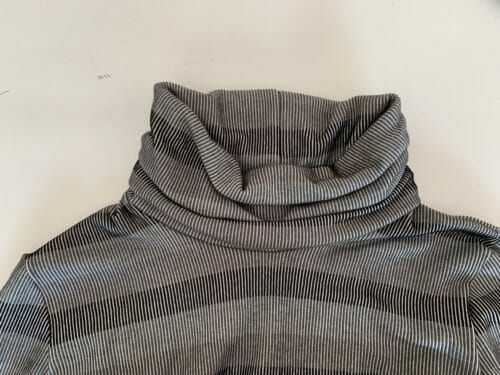
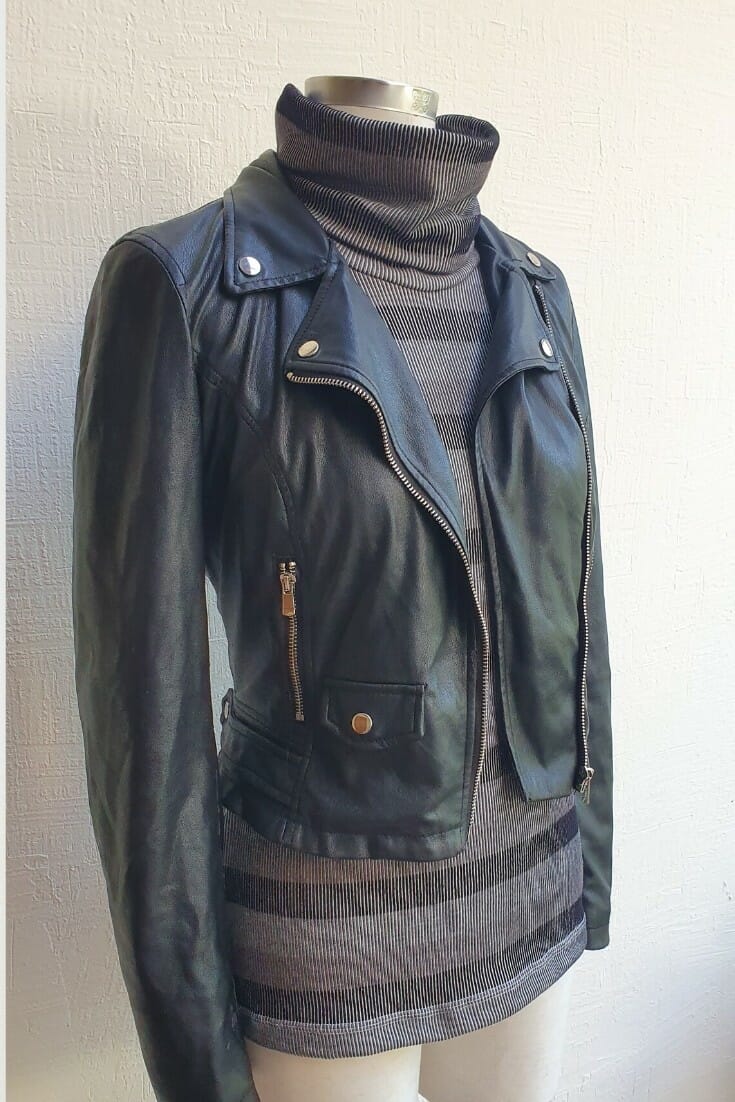
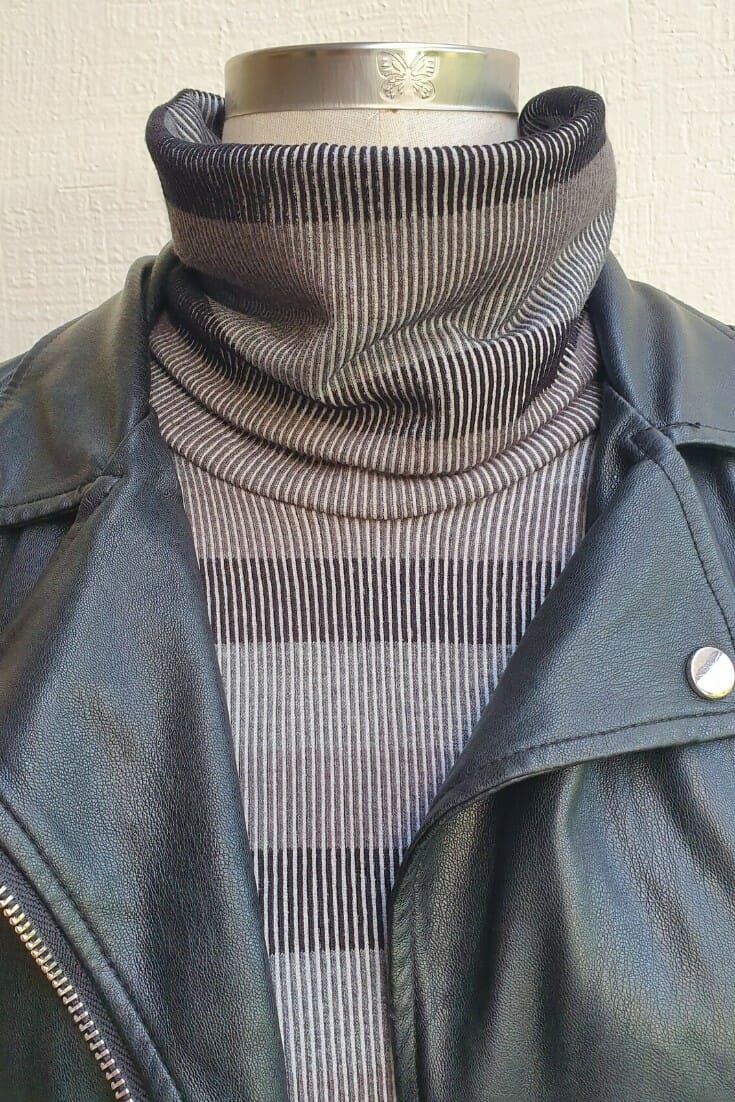
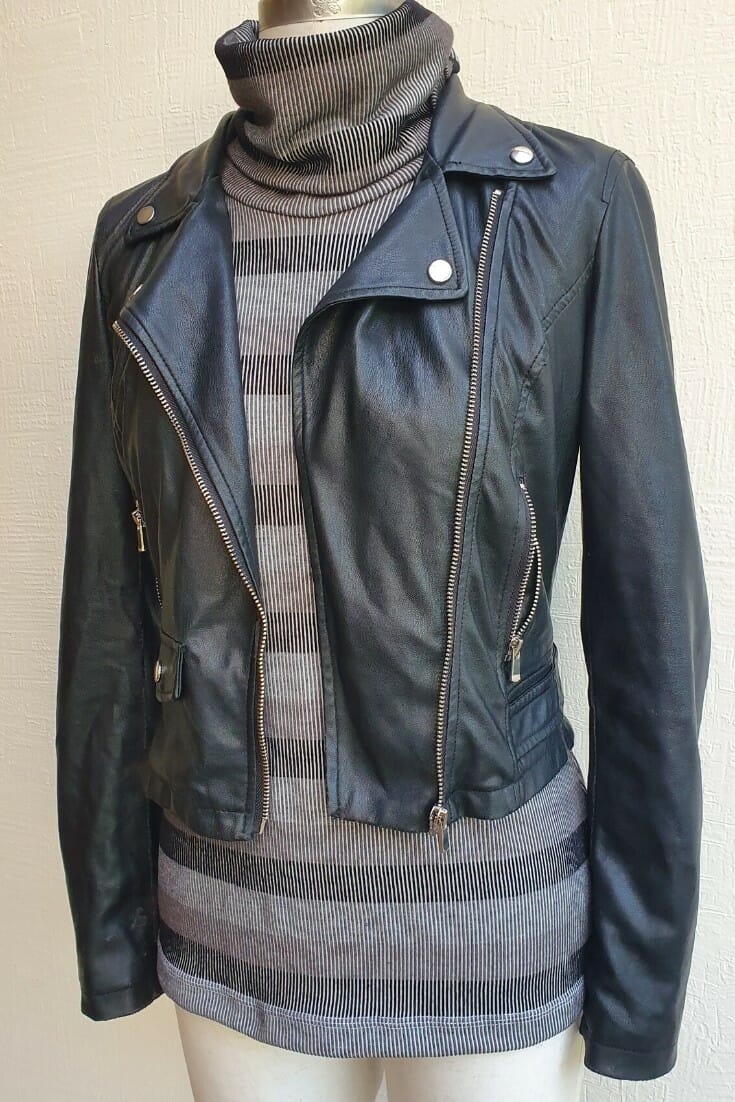
This is a long sleeve lightly fitted top with a 9″ rolled neck to keep you from the cold that eliminates the need for a scarf.
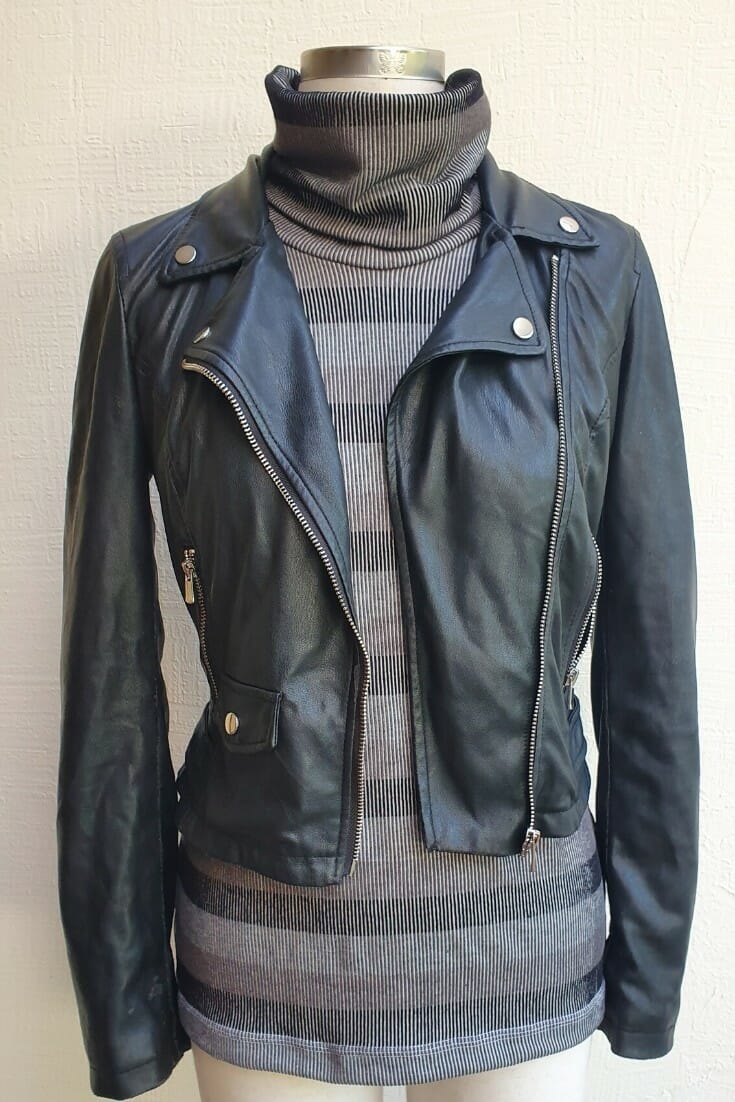
Matched below with a super cool jacket, but will also look great under a cardigan.
Materials
- 2-3 yards rib-knit or any two-way stretch knit with 30 to 50% stretch
- thread to match
Tools
- sewing machine
- pins or fabric weights
- coverstitch (optional)
- rotary cutter (optional)
Fabric Recommendations from Amazon.com
Sewing Skill: Confident Beginner
This project is for stretch knits only and has only six stitching lines, making it perfect for beginners.
Please read the following tutorials before starting the project if you are a complete beginner.
I am using a coverstitch to make the hems, but if you do not have one you can use a twin needle to finish the hems. Here is the very best tutorial on using a twin needle on knit fabrics.
Body Measurements
| Size | S | M | L | XL | 2XL | 3XL |
| Bust | 32-34 | 34-36 | 37-39 | 41-43 | 45-47 | 49-51 |
| Waist | 24 | 27 | 30 | 33 | 38 | 41 |
| Hip | 33 | 37 | 40 | 43 | 48 | 52 |
How To Download Your Turtleneck Top Pattern
We're going to continue to use the new Payhip web store to distribute our patterns.
Our patterns are still free, but now you have the option of making a small contribution if you like my work! We'd appreciate it, and it will help us keep going with new and fun designs like this. Even a dollar or two really goes a long way.
Thanks so much in advance for helping us out. You can use any credit card, and you don't need a Paypal account, although you can use one if you have one
Pattern Download
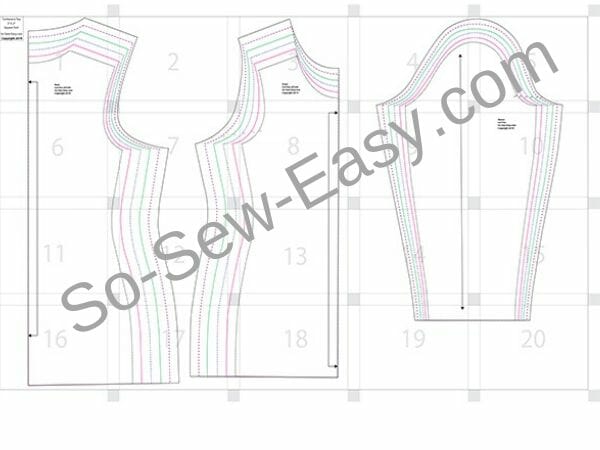
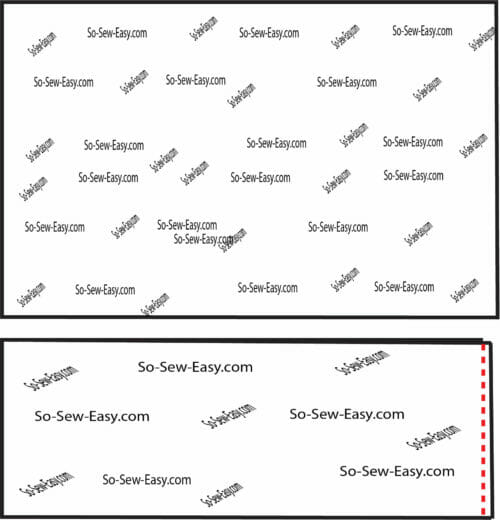
Turtleneck Top Pattern Layout
How To Make Your Turtleneck Top
There is no seam allowance included with the pattern. I recommend a 3/8″ seam allowance.
This top is like any other so we start sewing at the shoulders.
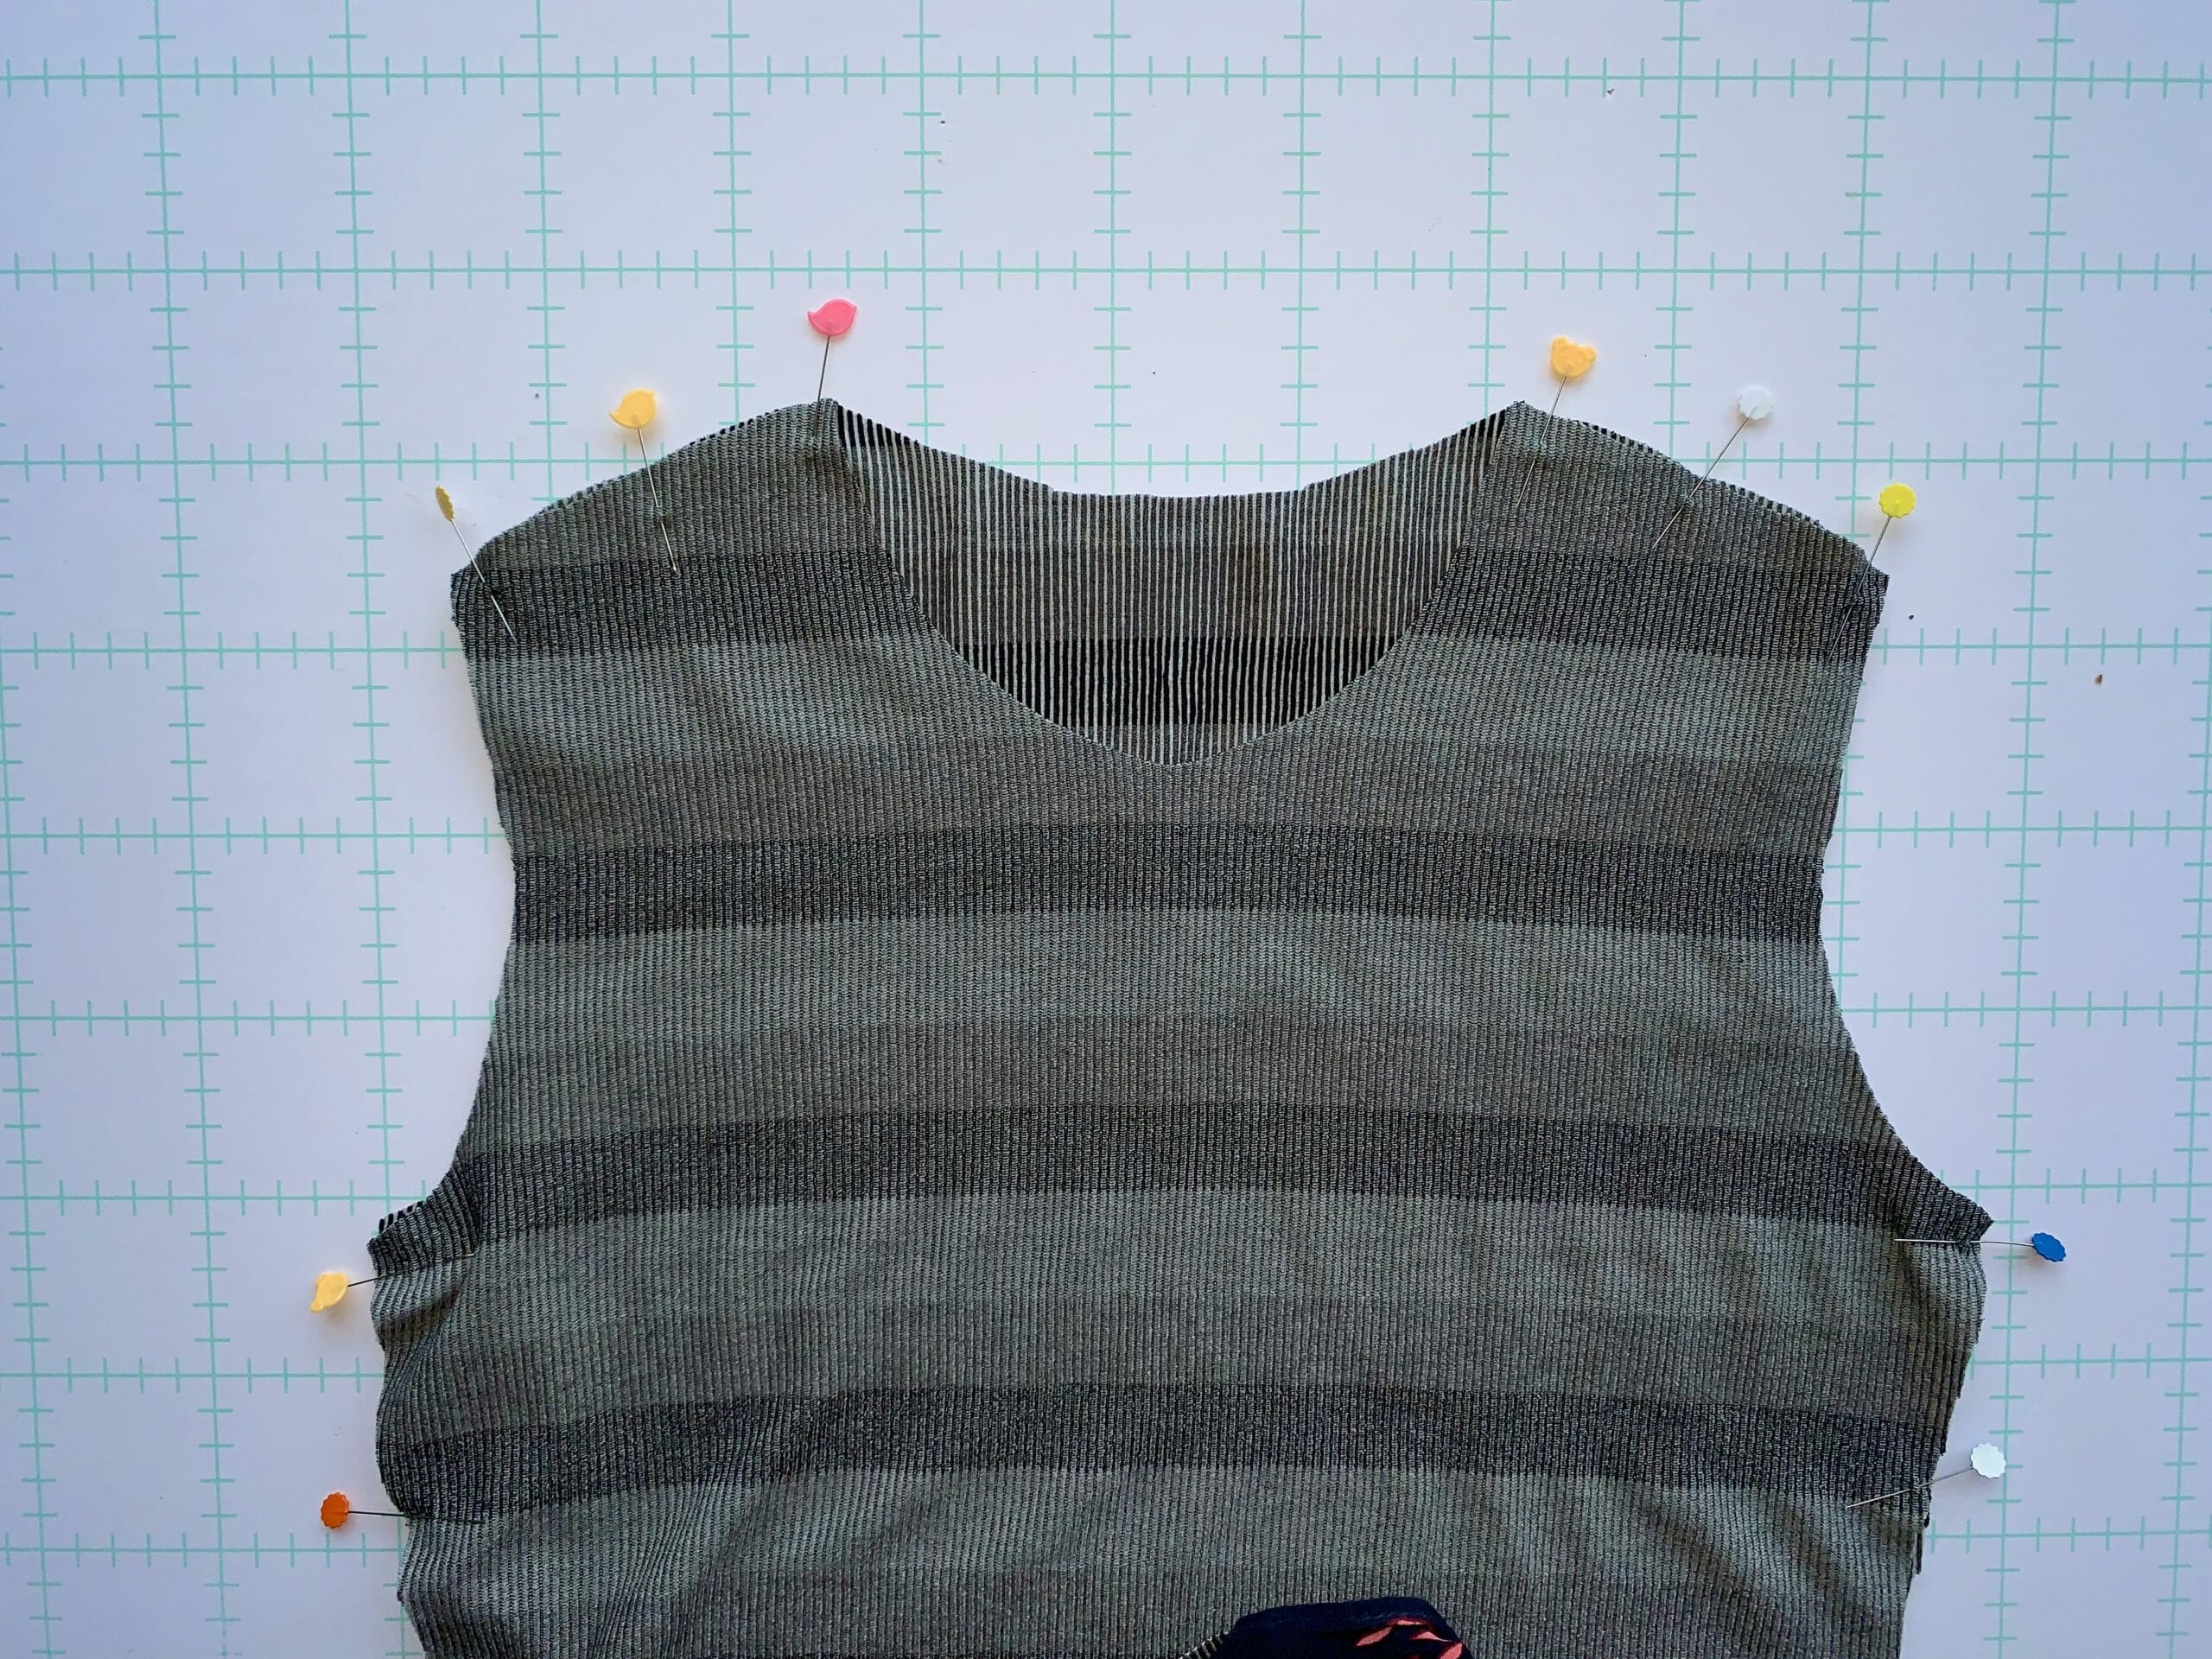
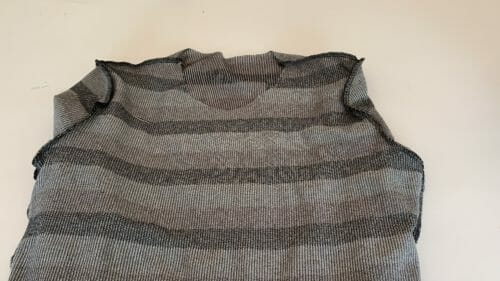
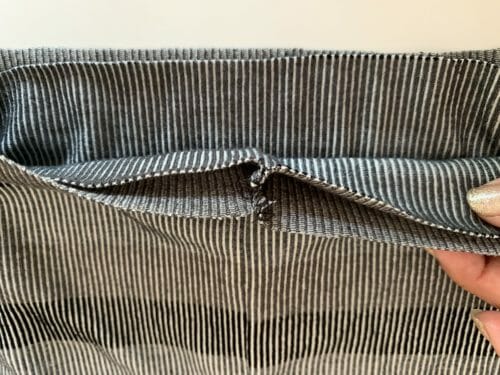
Step One: Sewing The Bodice
Rights side together pin the shoulders and the sides.
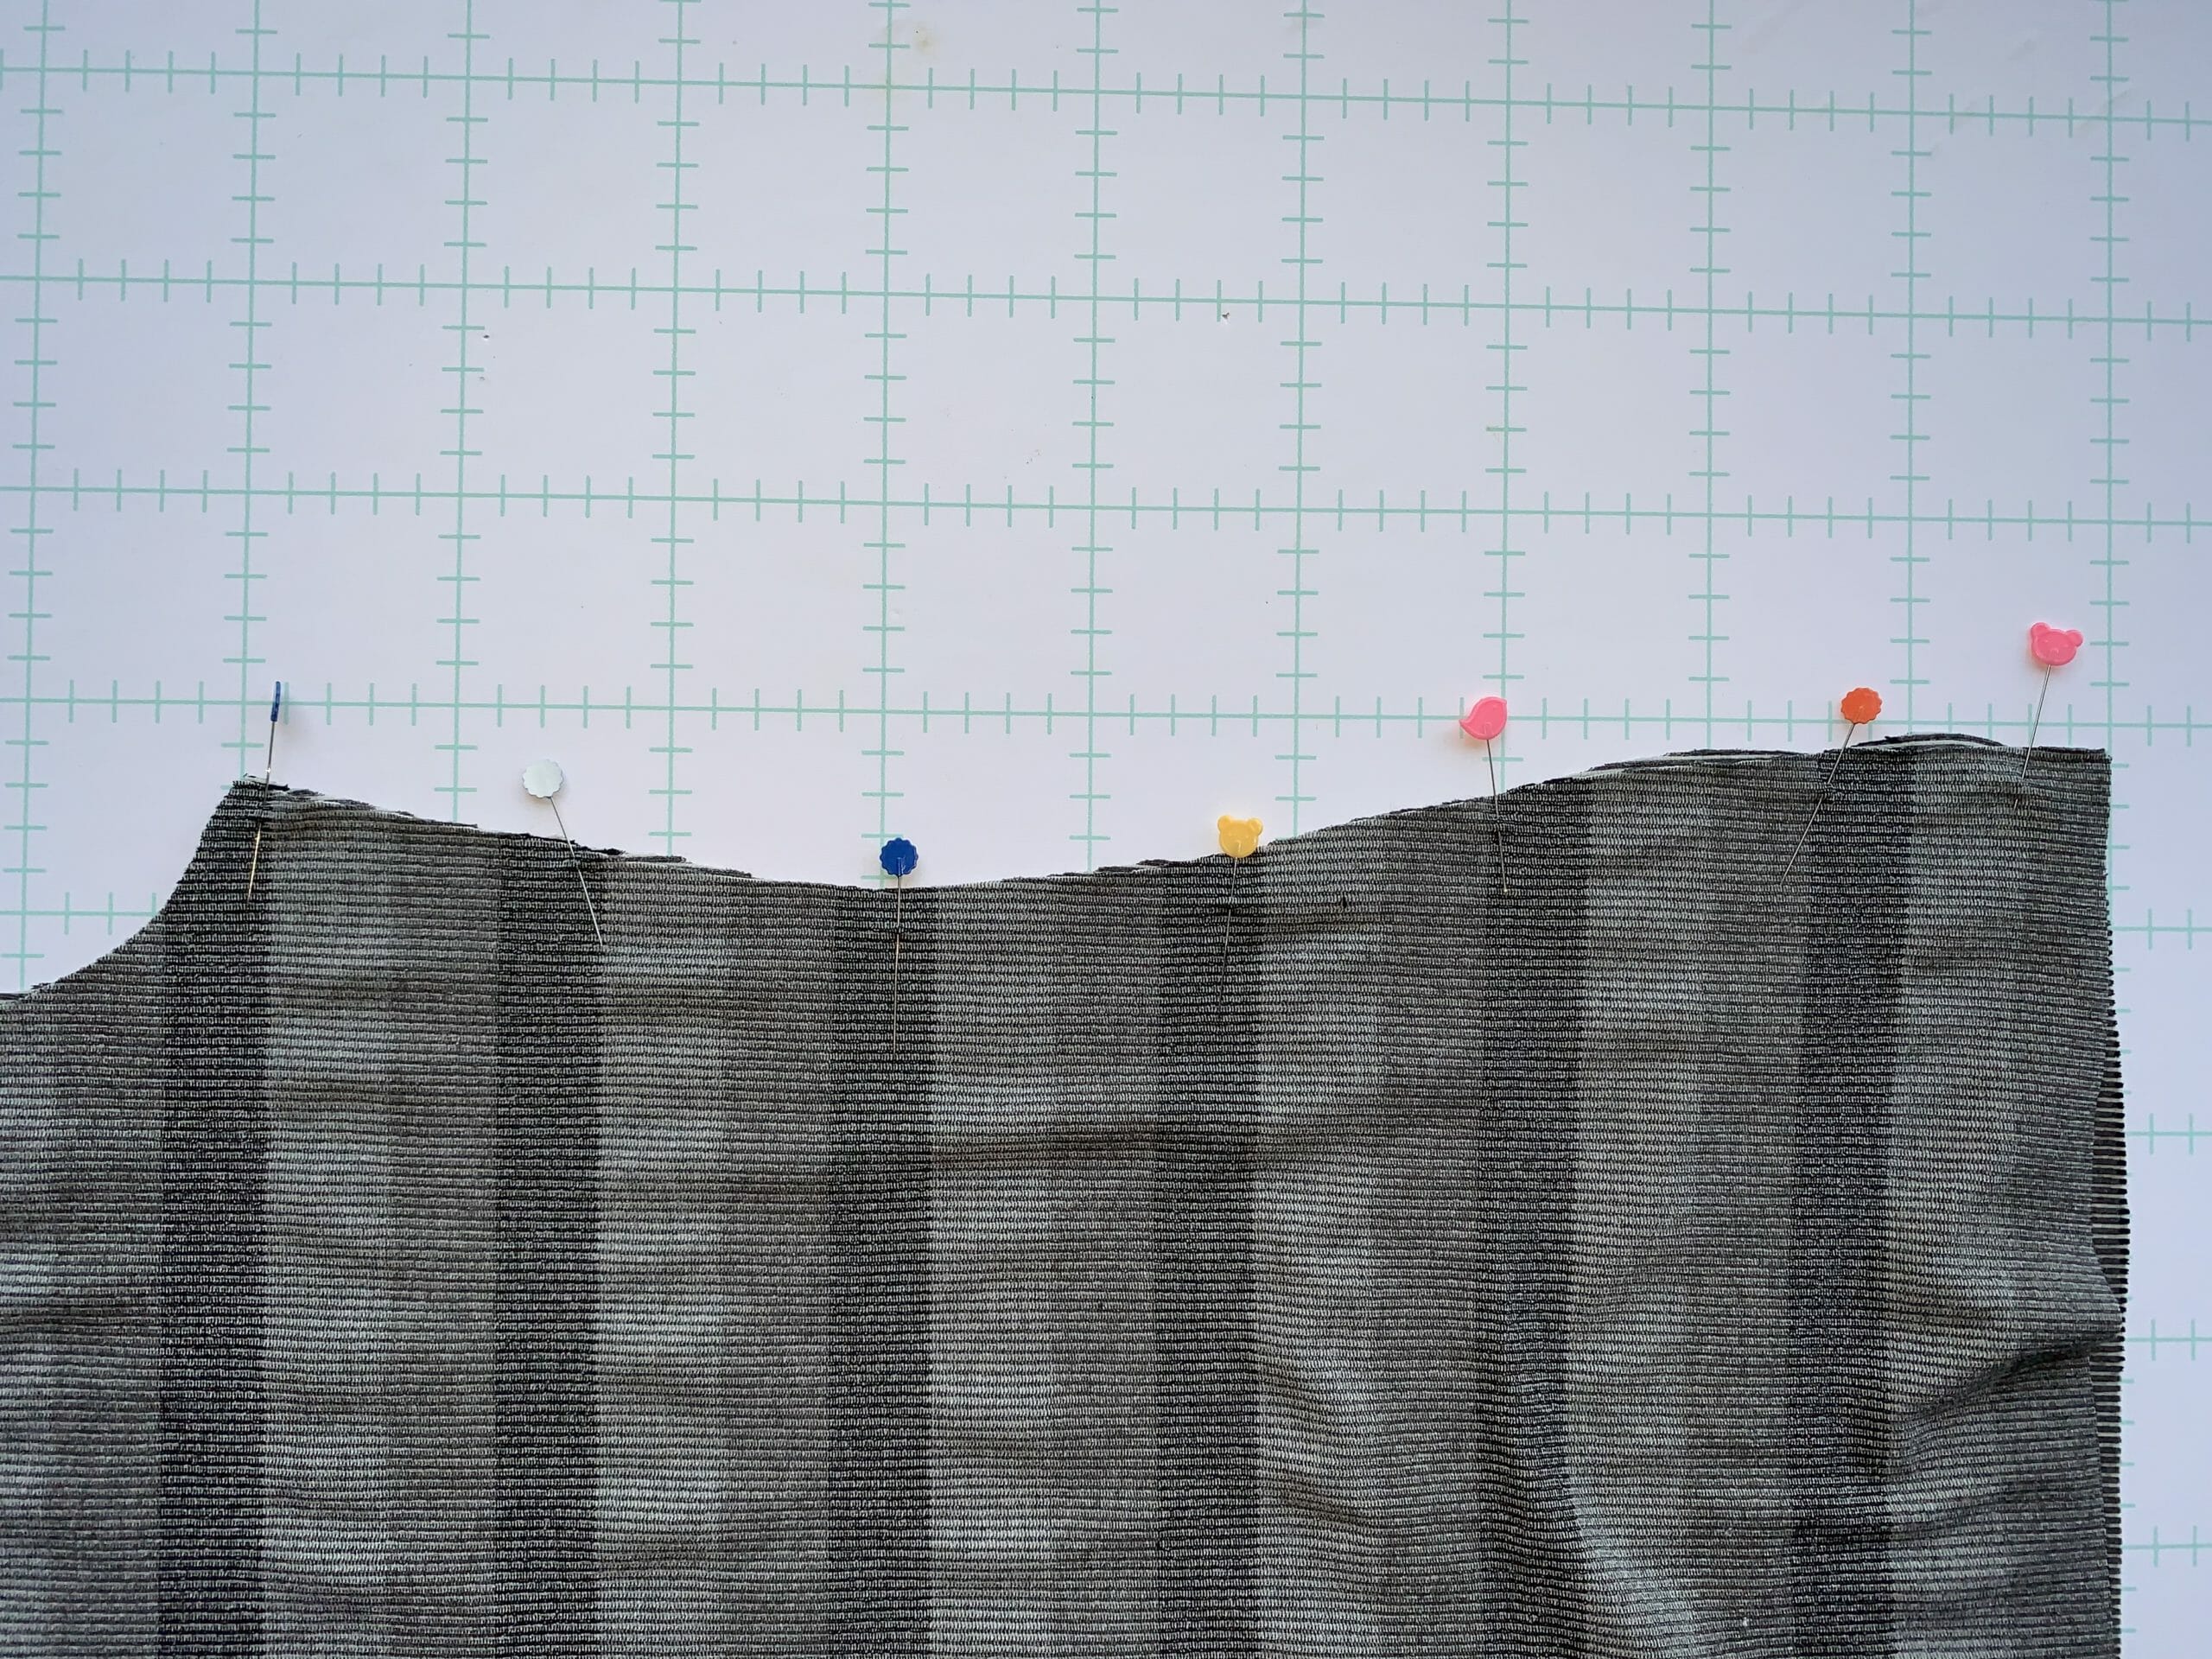
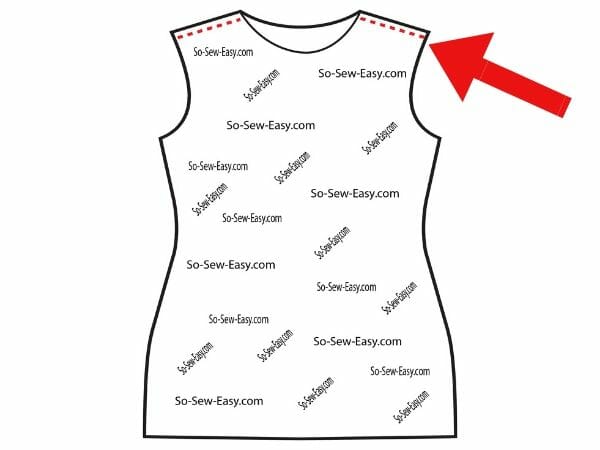
Sew the shoulders.
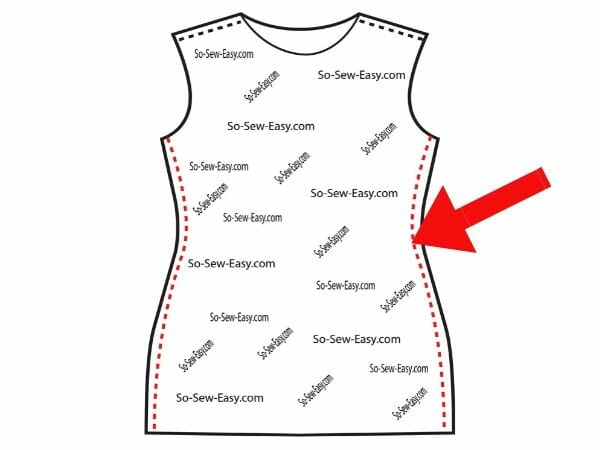
Sew the sides.
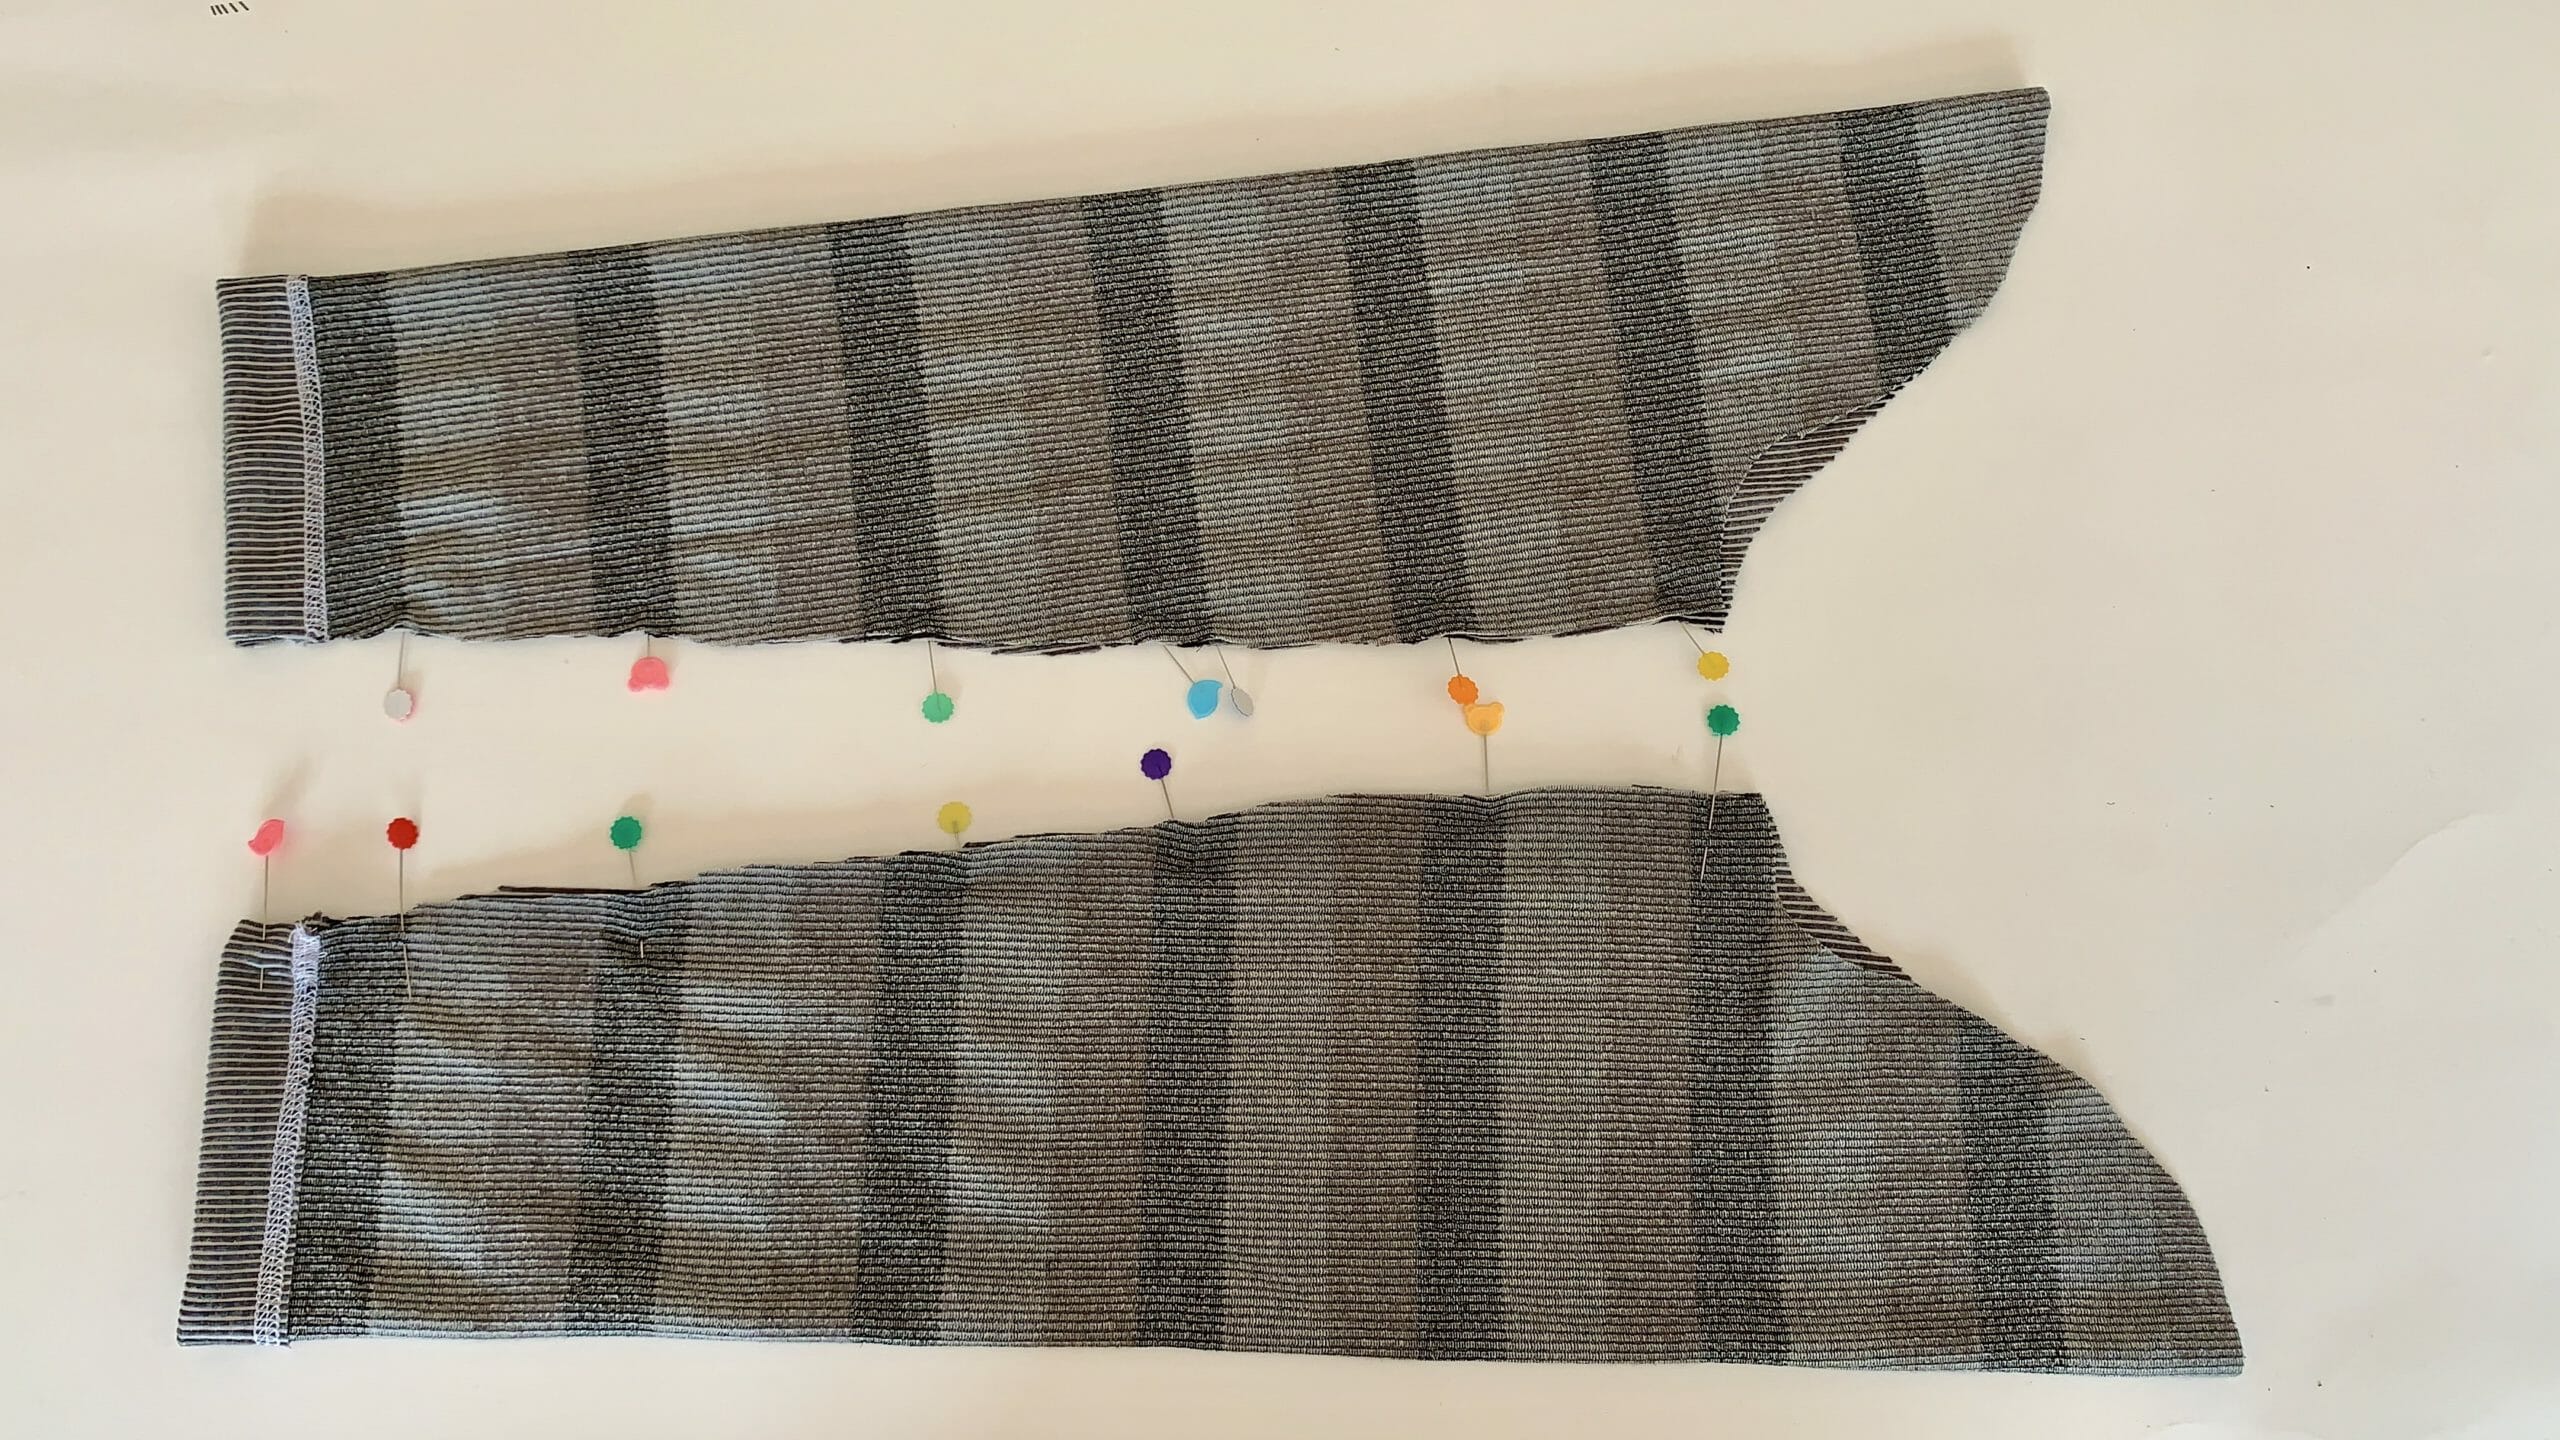
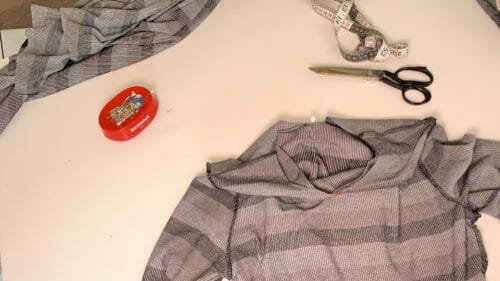
Step Two: Sewing The Sleeves
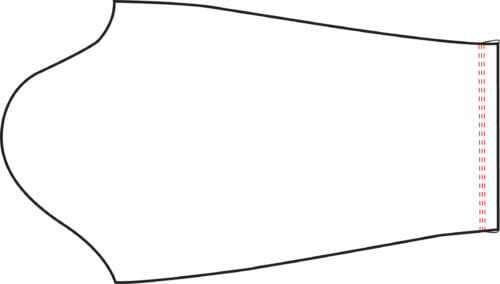
If you are using a coverstitch, sew the hem first. Then fold the sleeve in half and,
Pint the sleeves right sides together.
Stitch the arms from the wrist to the armhole
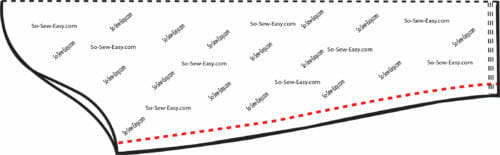
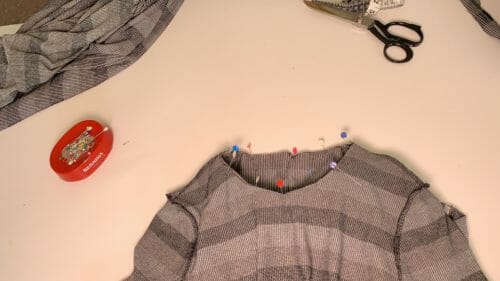
Turn the sleeve right side out.
Feed the sleeve inside the top.
Align the sleeve stitching line with the sides seams
and sew the sleeve in.
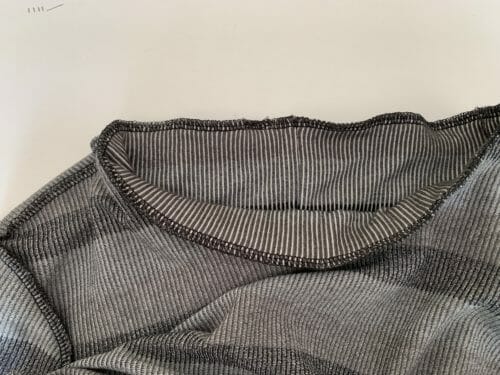
Step Three: Cutting and Sewing The Collar
Cut the fabric on the stretchiest side of the fabric, usually this is on the horizontal (width).
| S | M | L | XL | 2XL | 3XL | |
| Length | 18 | 18 | 18 | 18 | 18 | 18 |
| Width | 18 | 19 | 20 | 21 | 22 | 23 |

Sew the rectangle on the small size to make a band. A rectangle is composed of two sides of the same length and two sides of the same width.
With the exception of the small size (18 X 18), every other side is a rectangle.

Turn the band right side out and fold the band in half making the collar.
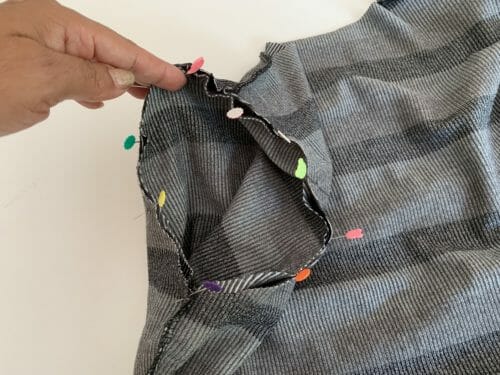
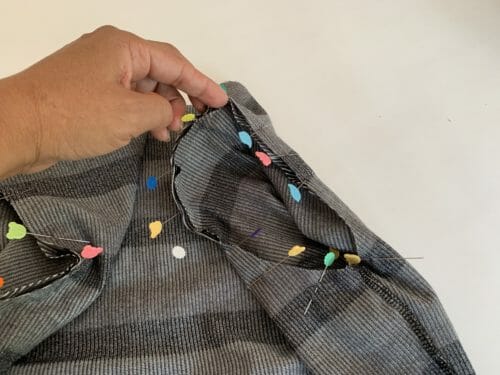
Working with the top wrong side out, feed the collar inside the neckline, raw edges of both top and collar together.
Pin the collar matching the stitching line with the center back of the top and continue pinning all around the neckline. Sew.
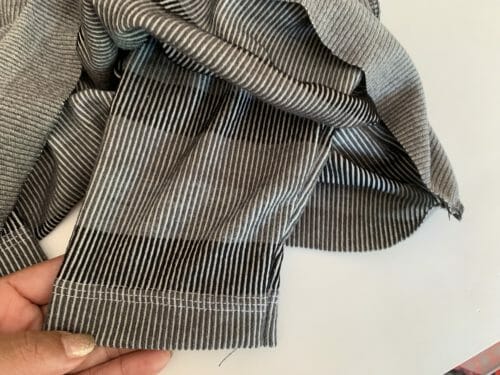
Step Four: Hemming The Top
I am using a Coverstitch, so I am turning the hem in 1″, then sewing on the right side of the top, leaving 3 stitching lines. This is the final step.

I will be using this turtleneck top pattern to make a few Christmas gifts because this top is both a key element in anyone's wardrobe and an easy project to make when you don't have much time to sew.
As always, wishing you happy sewing and a lovely Sunday to all, many blessings! Leave your questions, and suggestions for next week's project in the comments section below, and don't forget to subscribe to our YouTube Channel and Instagram.
P.S. Don't forget to check our latest article on our History series.


It took some determination to figure out how to properly line up the pattern. However once I did, I was able to make a cute top that I have several methods of styling. I even was able to shorten the sleeves for a more spring/fall style to suit my preferences. I want to add more seam allowance as this top is fairly form fitting, but I can’t wait to make more.
I wound up adjusting the front neckline a bit higher. It appears this pattern was adapted from a crew neck. I also decided to make my neck piece smaller for a turtleneck that wasn’t quite so slouchy.
Thanks for sharing this!! I’ve made three new turtlenecks, and they are doing a great job of keeping me warm this cold winter!
Hi Myra, I would like to turn this turtleneck top into a cowl neck. Would I just add height to the turtleneck pattern piece, or would I need to change the length as well? Thank you for all the work you put in for us sewers. Best wishes, Louise.
Hi Mayra,
Thank you so much for all the work you put in to give the rest of us ideas, patterns & brilliant tutlorials.
I’d like to make this but with a floppier cowl nexk which, I think, means cutting the neck on the bias? And presumably making the middle (so the top when it’s finished) wider than the bottom (the bit that attaches to the jumper at the neck)?
There may well be a much more elegant way of saying that!
I’ve got a stretch knit in mind but don’t want to ruin it & I haven’t got any suitable material to practise on.
What do you think?
Thanks again – you’re marvelous!
Natalie x
Thank you for this pattern. It is exactly what I have been looking for recently. After looking at the instructions and build,, I am confident I can make & wear it today????. Thanks again
I have made this pattern twice. Once with the shown collar and once with a taller, floppier collar. Super simple to put together.
The first time I put together the pattern was frustrating because I did not understand the way the gray squares worked. Once I got that and followed the numbers it worked very well. I store my patterns rolled and tie them with a strip of the fabric I used so I can remember which pattern it is without unrolling. I am beginning to like printer paper patterns much more than flimsy store bought.
The thing I like about this pattern is the shaping at the waist. It is a good look for a rectangle body shape.
Thanks for this website. I am an experienced sewer but always either find something new in the tutorials or am reminded of something tried and true that I have forgotten.
I really am going to try double needles…..someday.
If I’m between sized s-m should I size up or down? Thanks
I note others have advised there is no collar piece for this pattern and in 2019 you were going to rectify this. Just made sure my version is current by downloading latest and found still no piece June 2021
In the instructions, I tell you what to do. Kind Regards,
Okay this pattern seems good but I’m having trouble finding which size is which? The post gives finished measurements for 4 sizes, but the pattern has 6 sets of lines, and i can’t find labels anywhere.
Hi, Neo I am Confused by your question. The post? Where are you reading that? have you taken a look at the chart above? The top is from S-to 3XL, the pattern goes from Small (inside) to 3XL to the outside. Hope this helps but if you are still having questions could you send me an email with a screenshot so I can see where is the confusion.
At the top, you have listed a sizing guide for S,M,L & XL. I wear a 0X in most RTW clothing, I would definitely size up 1-2 here Neo. Even giving myself a seam allowance, the 3X is quite tight on me. I posted a picture of myself above wearing my own freshly sewn top in a terracotta color with beige ginko leaves on it.
The pattern is perfect for me. Many thanks.
You are most welcome!
I took the liberty to put a link to this page in my blog. Hope you agree.
I just printed the pattern of the turtleneck top and It does not fit together. I printed it in portrait and wonder if that has anything to do with it not fitting together. Should I be printing in landscape instead? I really want to make this turtleneck. Please help. Thankyou
Hi Laverne, yes that is why, Landscape, do not scale at all and use Adobe Reader only.
This is the first time I visit here. I found so many interesting stuff in your blog especially its discussion. From the tons of comments on your articles, I guess I am not the only one having all the enjoyment here keep up the good work.
Mayra, I think some of the confusion surrounding the size of the collar is due to a typo in the instruction just below the collar size chart in Step 3. Should “Sew the rectangle on the small size to make a band” actually read “Sew the rectangle on the small SIDE to make a band”?
Hi Mayra
Ready to cut this top out but can’t find the rectangle on the small size for the cowl
Thanks
Hi April please check Step Three.
18×18
This is an awesome tutorial! Can’t wait to give it a try?
My pleasure, let me know how you go, please!
This turtleneck pattern came just at the right time!
I don’t see a pattern piece for the actual collar. I get that it is 9″ tall, but how long should I cut it? I’m making a size small.
Thanks!
UPPPPSSSSS!!!!! thanks for letting me know, yes that is missing getting right on it!, give me an hours to update the post. Thank you!
Great simple pattern — I’m looking forward to making it. FYI: I have repeatedly had an issue with trying to pay via PayPal on the Payhip site. When I complete the transaction with PayPal it sends me back to Payhip like it should, but the page hangs and I cannot go forward. At this point the Paypal transaction is complete and you get paid, but I can’t get to the pattern. If I then close the hung Payhip page, go back to your Download-pattern-here link and start over, it will work if I say I’m going to pay nothing. I’m using Firefox as my browser. Next time I’ll try another browser and see if it is better
Hi JB, you need to long into Payhip and payPal and have both apps/window open, so you can pay with your PayPal account first then download, The price need to be changed to the amount you would like to donate first if this step is missed you will download for free.
me encanta. muy bien explicado. un abrazo desde el Mar Caribe
Gracias Migdalia, recibo el abrazo con mucho agradecimiento, y uno bien fuerte de regreso para ti.
Love your patterns Thank you, one question with this pattern what size do I cut the rectangle for the collar
I will update in a few minutes so you can follow the table. Check back a bit latter, thanks!
Thank you so much
What size rectangle is cut for the collar? Unless I missed it somewhere, I don’t see that information anywhere.
I really like the fit and style of this top, but I can’t find the length and width to cut for the turtle neck per size of the top. I’ve looked on the pattern and on this page. Can you help?