Halloween is just around the corner and this year I'm determined to scare the living daylights out of my neighbor's kids (all in good fun, of course..). For this, I'm definitely going to need a Halloween witch hat pattern.
I haven't really participated much in Halloween since my kids stopped trick or treating. But this year, I think I'll get back in the spirit and decorate my porch as a cemetery. Five or six headstones should probably do just the trick.
Add to that some dry ice, a scary Halloween witch hat, and a cape. With my rollerblades on, the kids won't be able to see my feet and with the smoke of the dry ice, they'll think I am floating or worse flying!
It will be terrifying for the little ones since I'll put Halloween background music on very loud. I'm sure even my dog will go into hiding.
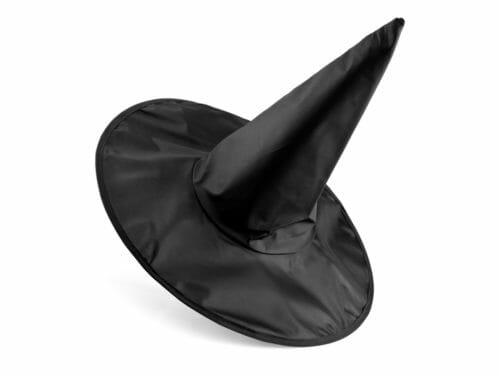

My first project will be the Halloween witch hat pattern. I'll work on the cape and other props and share with you later.

Materials:
- One yard of stretchable crushed velvet or any black fabric you choose
- One yard craft felt in black or black fusible interfacing
- One yard black lining fabric
- Sprayable glue
- 16 gauge galvanized steel wire
- Masking tape
- A very large needle (4″ or more) and thread
- One 1″ tube bead
- Two yards of 3/4 to 1″ bias tape

Tools:
- Wire cutter
- Sequins foot or Pearl and Piping foot (This is a pretty cool presser foot attachment. Worth checking out if you're not familiar with it. Read all about presser feet here.)
- Flat nose pliers or crimping pliers
Fabric Recommendations
I didn't have black felt in my stash, unfortunately, so I used white instead and had to line the hat. So if you have the same materials just cut the lining in black.


Download the pattern
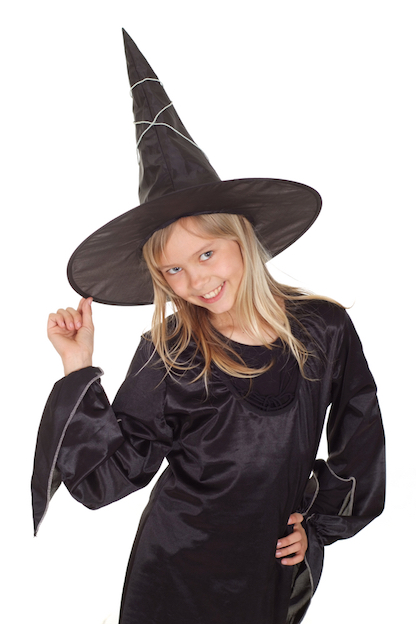

You can download the pattern for this Halloween Witch Hat from our account at Payhip.
You can select your own price from zero to whatever you want to give. If you like it, please feel free to leave us a treat..
For help downloading and printing PDF patterns, please CLICK HERE.
How to print the pattern
As with all of our patterns, you will need Adobe Reader to print this pattern which is free to download from Adobe. Print on Landscape Mode and Actual Size.
How to use this Witch Hat Pattern
I have provided you with three variations of this hat, but they all fit an adult woman's head of 22-23″ diameter. The brim and the crown can be made small, medium, and large depending on the look you want.
Cut all your pieces on the fabric you will use.
Fuse the interfacing or felt to the crown and the brim.
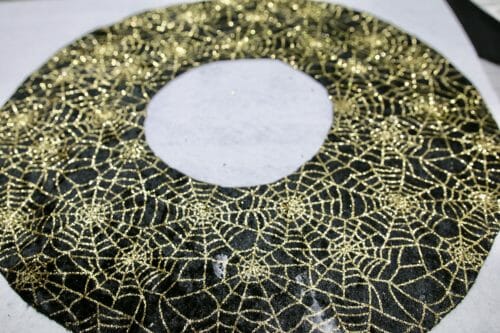

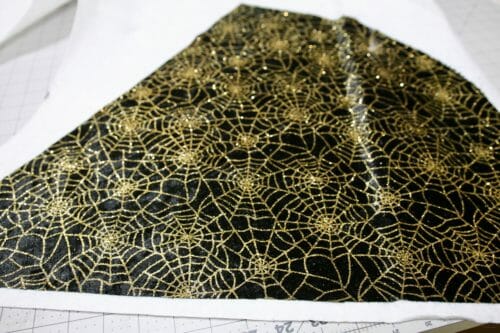

I have given you a suggested list of materials but you should feel free to explore with other fabrics that do not need a stabilizer.
Step One: Sew the crown
Fold the crown print sides together. Use a 3/8″ seam allowance.
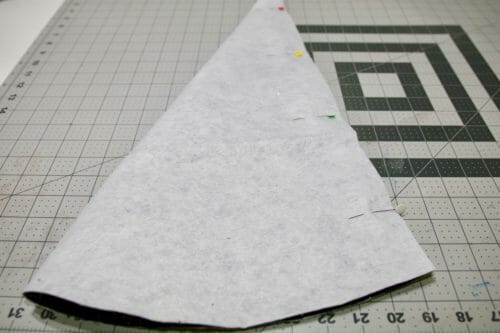

Turn the crown right side out.
Step Two: Sew the brim to the crown
Pin the crown to the brim and sew at 3/8″. Repeat these two steps if you are using lining. At this point, you're going to have one have of the fashion fabric and one hat of lining.
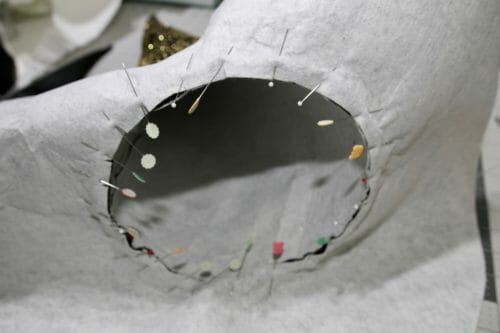

You will find you will need to make notches every 1 to 1.5″ on the brim to fit the crown. This is because I am using felt, but with the lining, this is not necessary.
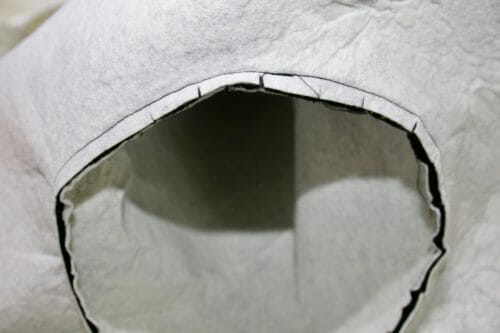

Here's the lining.
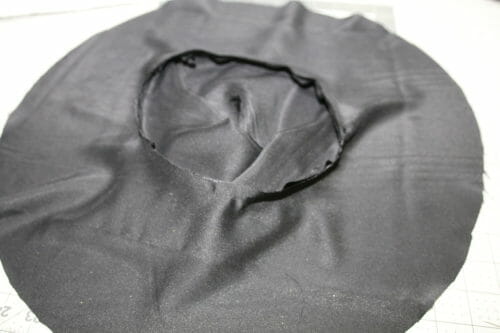

Step Three: Add the lining and add the wire to support the brim
Thread the needle and pass the needle through the right side of the crown to the point of the lining.
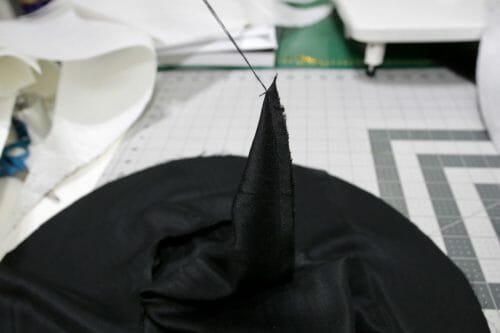

Make sure the right side of the lining is showing on the inside of the hat.
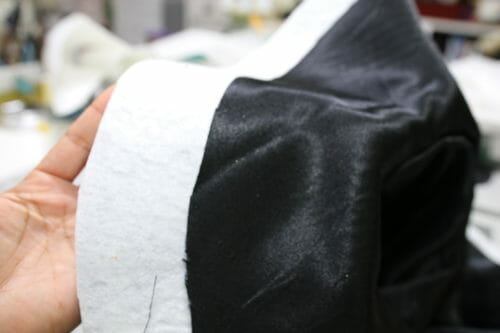

Pass the needle this time through the inside of the hat to the point. Joining the lining and the outside hat. Pass the needle and make a knot.
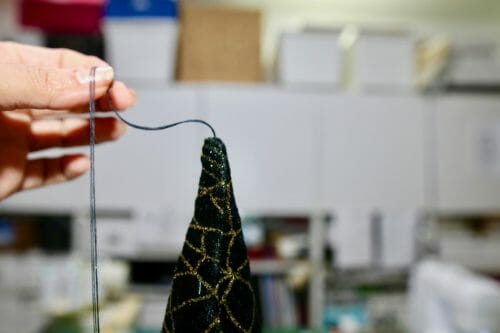

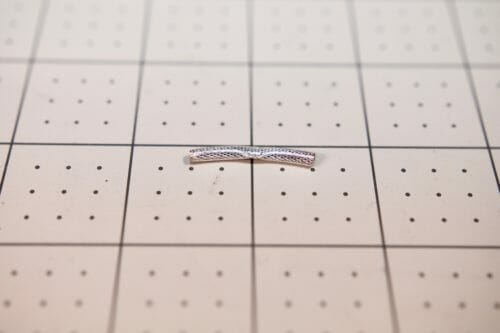
Measure around the brim and cut the wire to the exact measurement. Squeeze the middle of the tube bead to separate the two ends.

Insert the end of the wire inside the tube bead and then do the same on the other side with the other end of the wire.
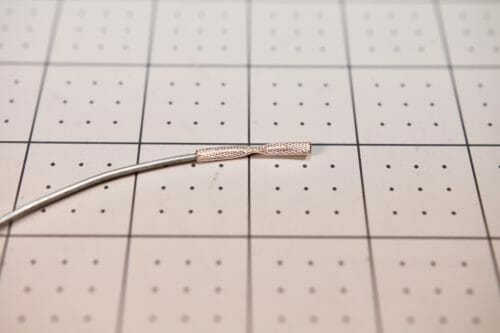

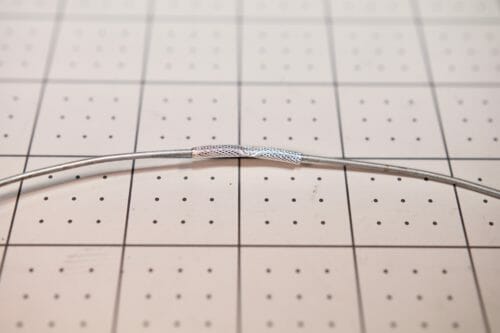

Wrap the tube bead with a little bit of masking tape while you do the next step. Remove the masking tape before sewing since the tape will make it too bulky for the sequins foot to pass over.
Using a normal needle and thread, use a running stitch to attach the wire to the brim no further than 1/8″ from the edge.
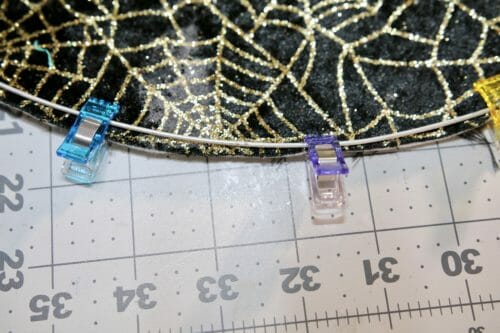

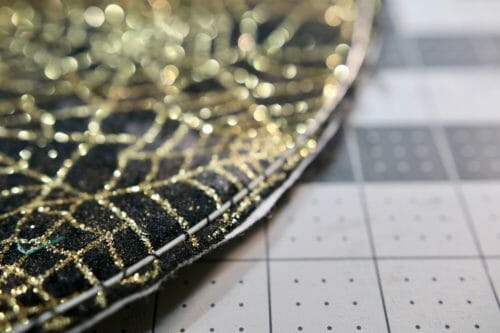

This will make it easier to sew the bias tape later.
Step Four: Attach the bias tape
Pin the bias tape around the brim, making sure to have the edge of the brim and the wire in the middle of the tape.
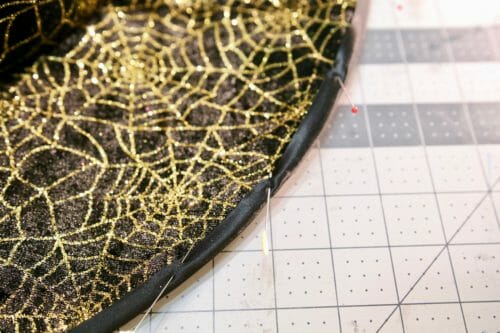

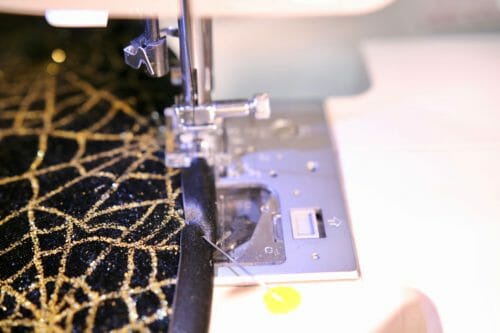
Using the sequins foot, sew the bias tape down.

I have provided you with three different sizes for this Halloween witch hat pattern. I chose to make the large one for myself which means it has a large crown and brim. I think this looks a little more spooky but you can try the smaller sizes if you wish to be less scary..
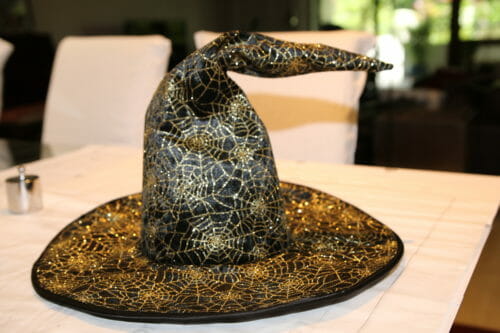

I will be sharing the cape to go with this witch hat pattern in the next few days.
For my own Halloween display, I might even make a large pot with paper mache to pretend I am cooking some children inside — Well, maybe not, that could be pushing it a bit too far.
If you're looking for Halloween Costumes for Kids, please check out our collection of 40+ free patterns and projects:


Thanks for the free printable pattern and tutorial, Mayra! I too, was confused about the hat fitting 22″-23″ since I have a large head and women’s hats never fit me. Considering this, I am going to try a 1/4″ seam rather then the advised 3/8″ seam for the extra room that my head needs. Do you agree?
Hi Laura go ahead and use 1/4″ seamallowance, if it ends up a bit too large you can attach a wide elastic around end that will take care of any extra room. Enjoy the hat is hilarious!
I did this one Halloween (dressing up as a witch) and it scared some of the little kiddos. My husband forbade me to do it ever again, lest the neighbors get all upset.
My Mom was room mother for my youngest brother’s class. One year she dressed as a witch with an orange mop hair and green eye shadow as her lipstick. She got dry ice to “smoke” in the pot. A week later she was at the store and one little girl told her Mom “That lady is an old witch!” The lady was embarrassed but my Mom just said to her “ That’s right! I am an old witch!”
“I have provided you with three variations of this hat, but they all fit an adult woman’s head of 22-23″ diameter.”
YIKES! I hope this is a typo!
Otherwise, many thanks for so generously sharing your talent and skill with those of us who are differently gifted
Hi Pami, I was referring to the size of the crown and the brim being different sizes. They will all fit the same sized person, but the crown and brim will be larger or smaller depending on the size of the pattern.
Thank you!