


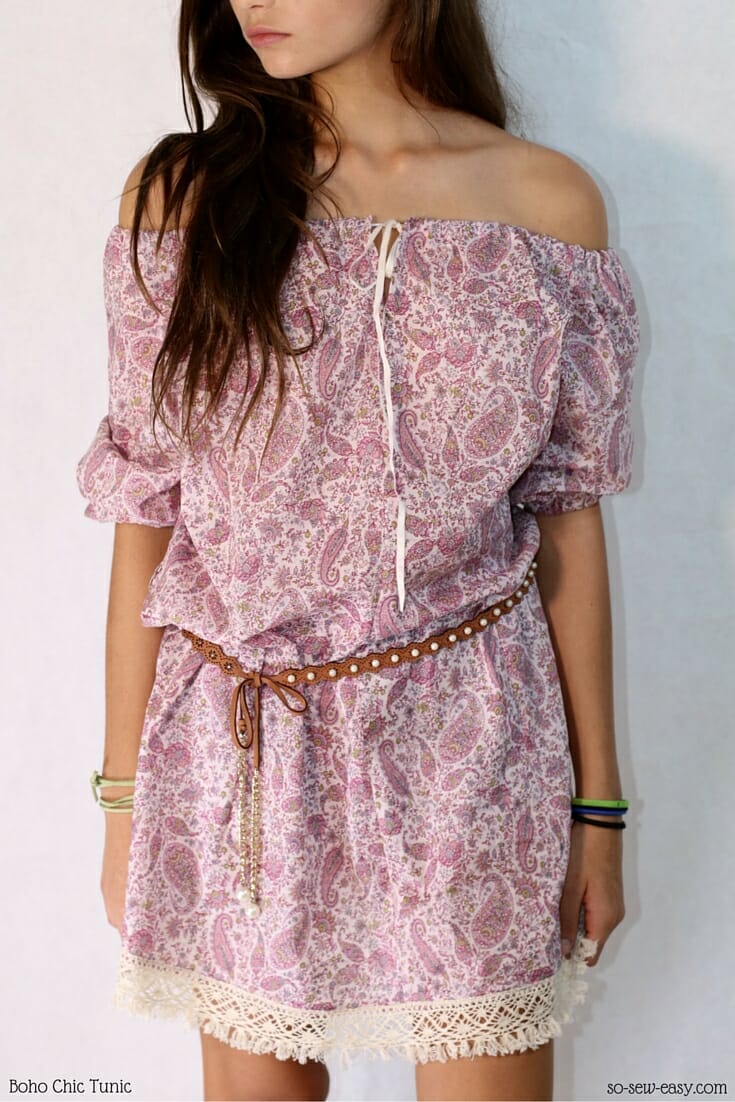
The first time I made this Easy Summer Boho Chic Tunic pattern, I had just turned 15 years old. Originally a dress, I decided to remake and share it with you. For me, it represents freedom which is why I wanted you to have it.
Long ago, at a time when my parents were not getting along, my father worked far from home and would only come every three months. My mother was in charge of a household and five kids and a very small business, so you can imagine her day. I wanted to go to a school party and my sister wanted to come with me. Needless to say, money for new outfits to go to school parties was not in the budget. My mother always happy to help said: “I can only give you five dollars, see what you can do for you and your sister with that.” I ran to the closest shop on our side of our small town and I purchased four meters of fabric. I already had little thread, elastic, and lace at home.
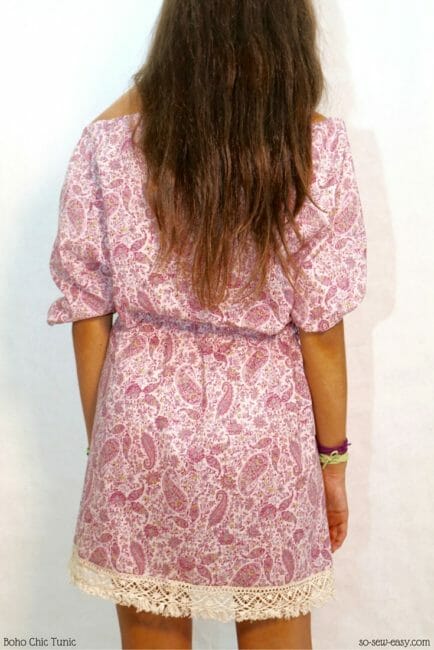
I made a tunic for my sister and a dress for myself with the same pattern, two different fabrics, 2 different outfits no one ever noticed. By the time I finished the outfits my father had come home. He was not supposed to be back that weekend and he was none too pleased to learn about the school dance and he said we couldn't go. Instead, he said please make a big pot of coffee as someone is coming to see about buying a horse. If by any chance you grew up in a small farming town, you would know that it is not a thing that happens fast –it takes a few hours of coffee, conversation and much observation of the horse before the transaction is concluded.
So my sister and I decided to escape through the window. We jumped on our bicycles and went to the dance. When I close my eyes, I can still remember the cool air through my hair and the excitement of showing up with a new outfit and potentially getting caught. We had a great time at the dance. On our return home, Alas! the window was locked, so we had no choice but to use the front door. Needless to say, we were grounded for a month. But it was so worth it.
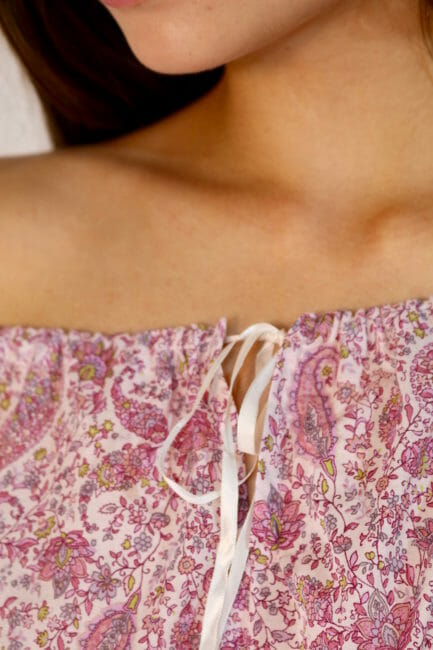
I have made the tunic a few times here and there, but I still remember the first time I wore it. I felt free! This is a super easy boho chic tunic, I recommend this project for a first-time sewer, young or mature, it doesn't really matter.
So what is Boho Chic anyway? Please check out our background article from earlier this week.
Materials
- 2 to 3 yards of Japanese lawn, voile or silk
- 3/8″ to 1/4″ elastic, enough to go around the shoulders and the sleeves
- thread
- 1 3/4″ lace for the bottom
- 2 yards of cotton cord or a belt
- sewing machine
- serger (optional)
Pattern layout
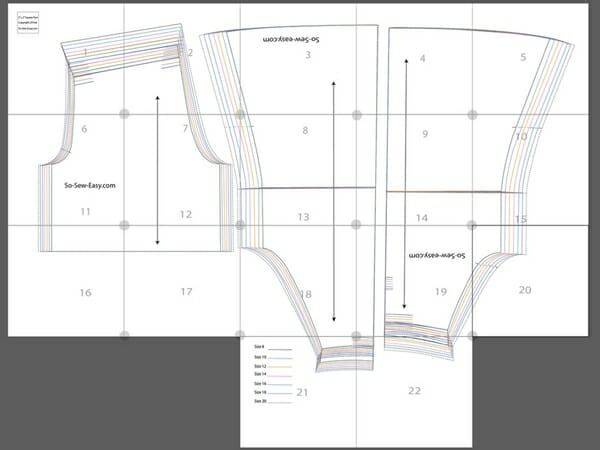
I have tried to save you paper, hence the weird layout that might cause some confusion.
Download the Pattern
You can download the pattern for this Boho Chic Tunic from our account at Payhip.
For help downloading and printing PDF patterns, please CLICK HERE.
Cutting the Pattern
- Prepare the fabric by washing it and drying it before you cut it. For more tips on mistakes to avoid when cutting fabric, please check out our tutorial on the topic.
- There are 21 pages to the pattern.
- Please cut the back on a fold. Cut 2 fronts. There will be a seam on the front.
- Cut 2 sleeves
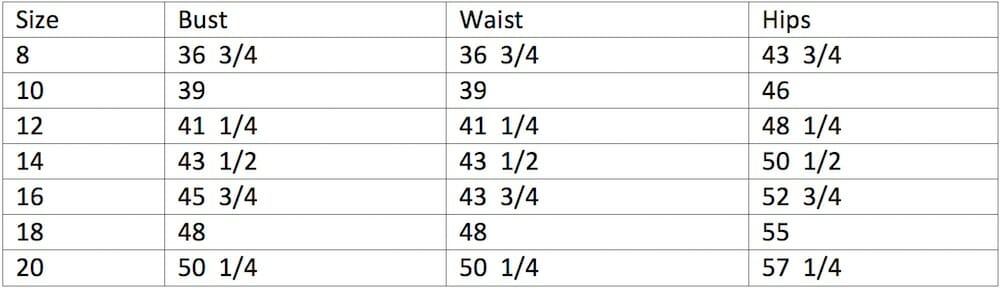
Finished Garment Measurements
Making your Boho Chic Tunic
This a very easy tunic to make, the pattern has only three pieces and we will start by sewing the sides.
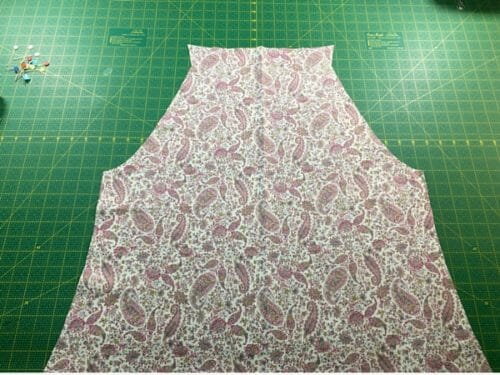
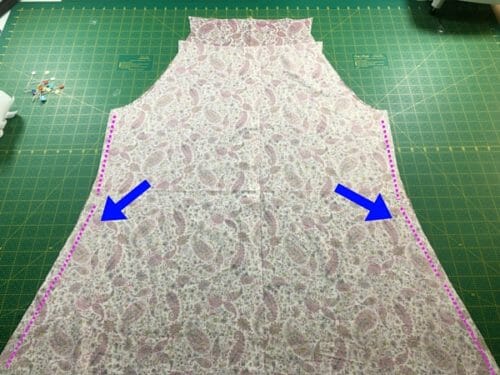
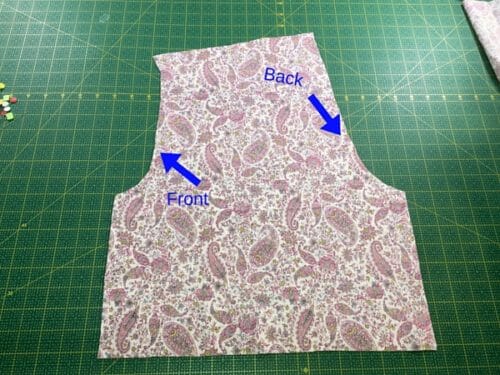
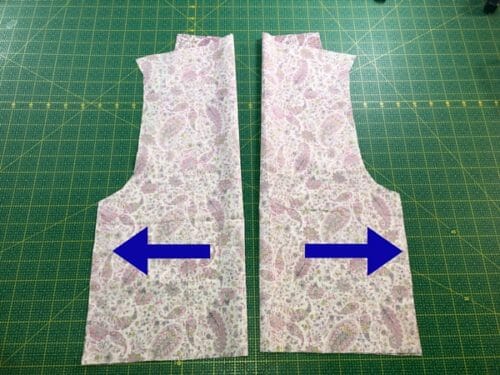
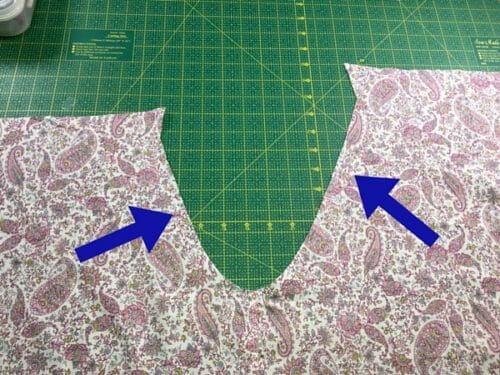
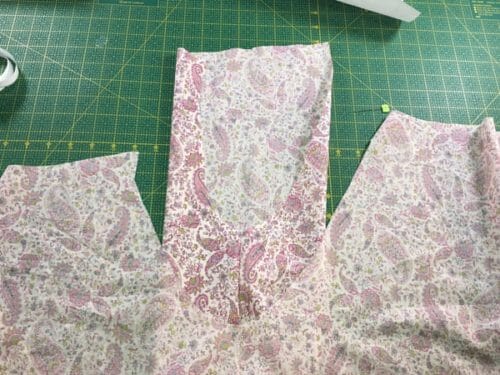
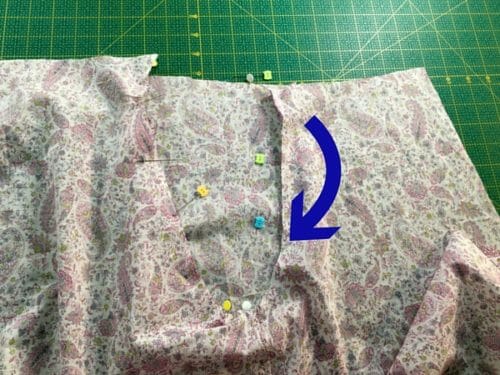
Take the back piece, print side up.Place the 2 front parts and sew the sides, use the serger or zig-zag to clean the seams and iron the sides. Before we can continue, we have to work on the sleeves. The short side is the front and the high side is back. Sew the sides of the sleeves and use the serger or zigzag. Iron the seams. Lay the back and front of the blouse and observe the shape of the armhole one side is higher than the other. Place the sleeve print side together and pin the sleeves.
Use the serger or zigzag and iron the seams. Next, we will work on the neck.
Making the neck of your Boho Chic Tunic
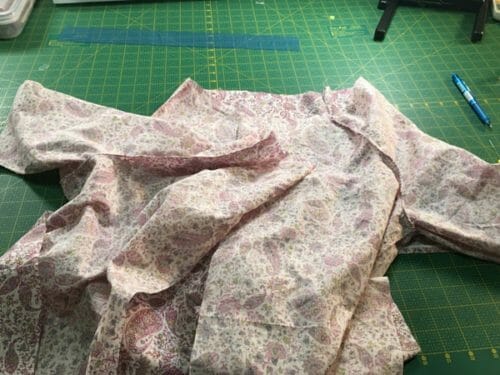
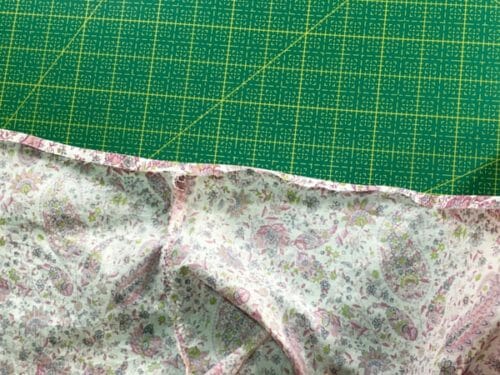
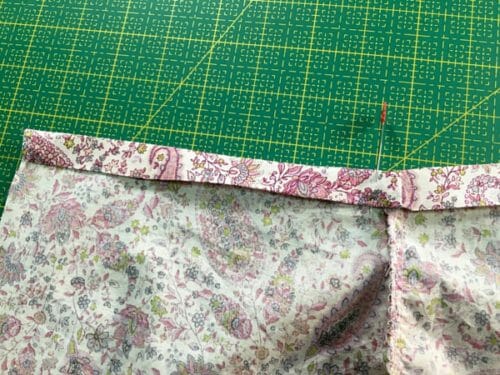
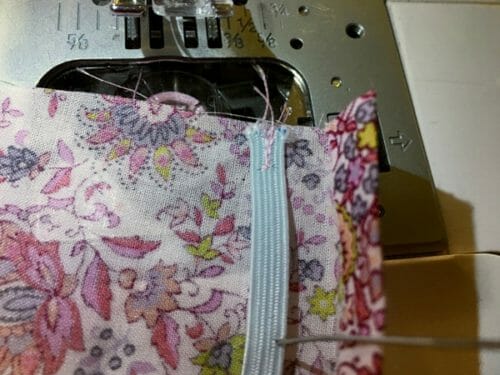
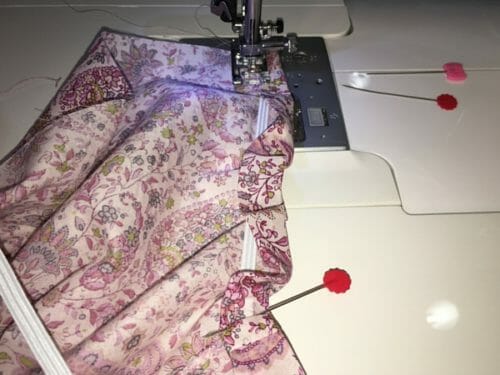
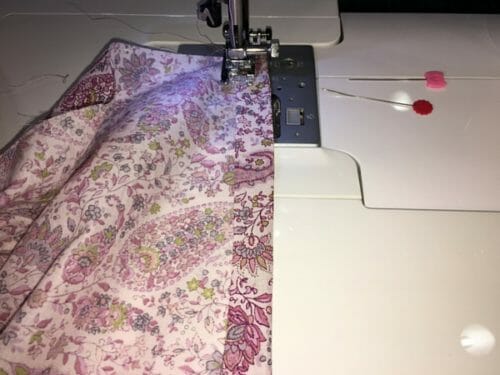
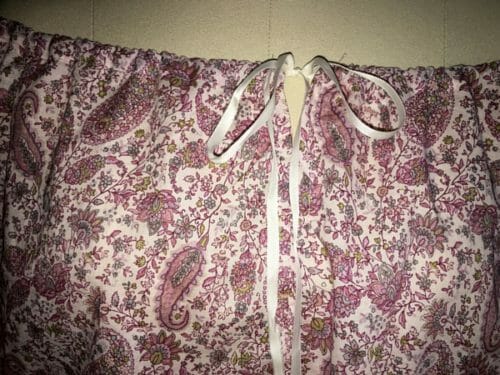
Fold the edge of the neckline to 1/4″ and iron, fold again 1/2″ and iron.
Making the waist
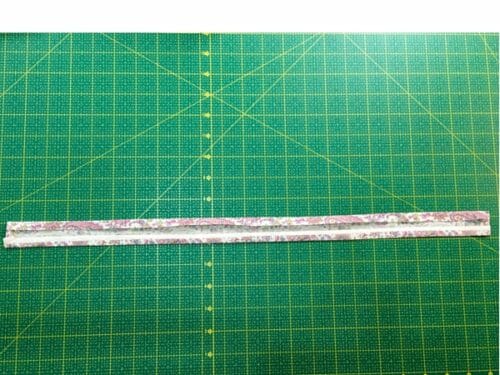
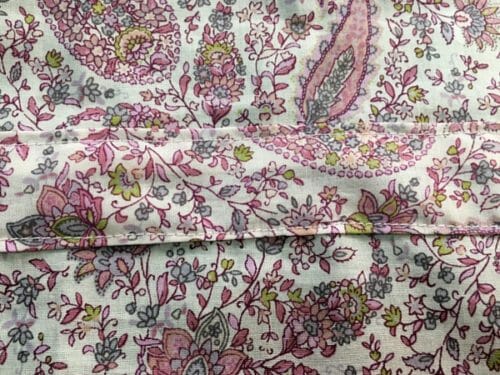
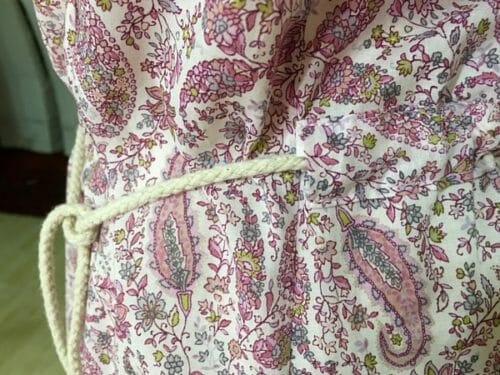
The next step is making a casing for the belt or cord for the tunic and it is optional. However, I would suggest doing it to stop the belt or cord of the tunic from riding up. Cut a strip that will become the casing of 2″x 18″, fold the edges 1/4″ and iron. Pin the casing to the back where the waist is and sew at 1/8″ seam from the edge.
Finishing the sleeves
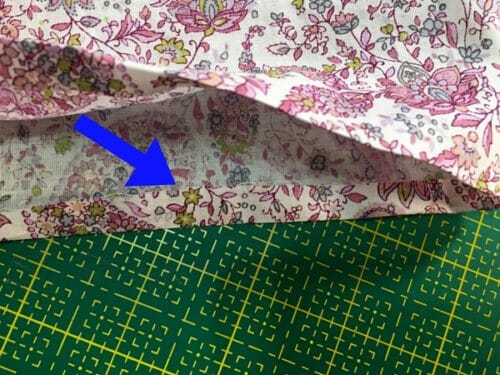
Lastly, attach the elastic to the sleeves in the same manner you did the neck. Fold the edge of the sleeve at 3/8″ and iron.
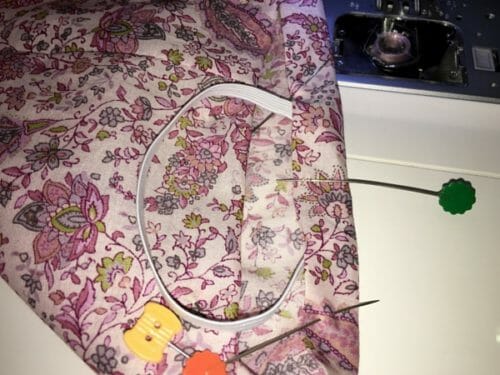
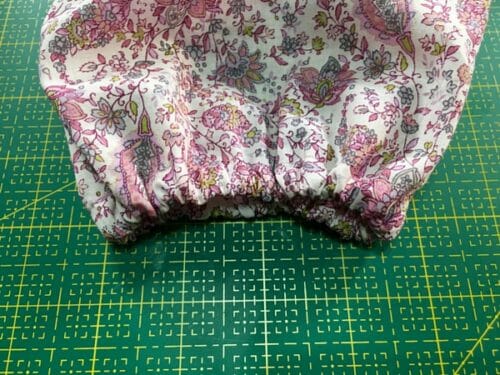
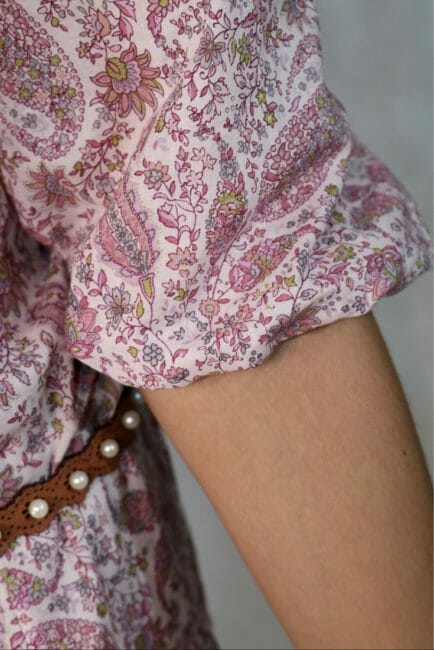
Pin the elastic and fold another 1/2″, and sew very close to the edge.
Finishing the hem and lace of your boho chic tunic
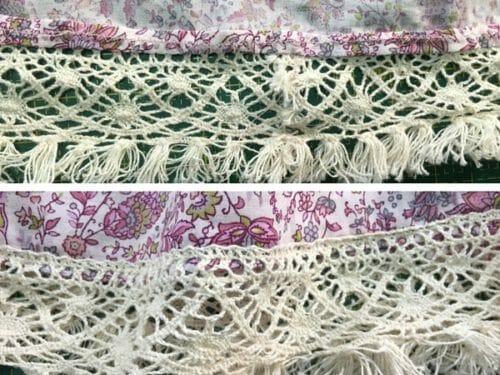
All that remains is to fold 1/4″ and iron. Pin and sew the lace to the hem and ready to iron the entire tunic.
So do you think Boho Chic is a good style for you? If you're not sure, give it a try and let us know how you go in the comments below.
A reader's take on this pattern…doesn't she looks awesome!
































I love the tunic; however I would like to wear it as a regular neckline meaning not off the shoulders. Can it be worn as a regular neckline tunic? Thank you.
Yes and no, you need to understand pattern alteration and your own body to be to change a pattern.
You could add straps to cover bra straps.
Love Boho chic & I love that story! Thank you for sharing it.
Hello and thanks for this free pattern.
I would like to sew this tunica, but i can not find instructions to the seam allowance.
Is this included in the pattern or not?
Thanks for help.
Regard Andrea
Looks fabulous! Definitely making that! Thank you!
What a story, and what a talented fifteen-year-old! And who doesn’t long for some kind of liberation, right? Thanks for the free pattern.
Beautiful pattern and a truly wonderful story.
Thank you so much for sharing both.
?
I love your site!
This story made me want to make this dress to tip my hat to those two adventurous girls!
Thank you
Gracias por compartir! Me encanta este estilo. Muy graciosa tu historia. Esos son los mejores recuerdos. Recibe un abrazo desde Venezuela
This pattern certainly brings back memories of my early married years when I learned to sew! Being a still teen and on a budget, not to mention, a beginner, this type of design was just right for me. Add to that, I lived in a hot climate. A winner then and a winner now. Thanks for the gift and the memory of the late 1960’s .
How do you get it to print the larger sizes?
Hi, Chris here is an article that will take you through it step by step.https://so-sew-easy.com/print-a-layered-pdf-file/
Looks very pretty.Thank you Mayra for this pattern! And I really enjoyed your story!
You are welcome, Maria! Kind Regards,
will someone at least just tell me which is the front!? I’m so lost right now
the front is the shorter one
HI Alex, the front is found with the notch at the chest pages 4,5,9,10,14,15,19,20 and 22. Read the instructions carefully to attach the sleeves.
aish im so confused which is the back and which is the front? and how do you get that shape? do you combine the two half pieces somehow? or do you make more and combine the same? which is what i just tried and it doesn’t look right 🙁 is there a video I can watch or something? if there is can you please give me a link
Hi, Alex, the higher part is the back. Yes, you have to cut two pieces and you need to read the symbols in the pattern, such as “on fold”, the pattern indicates you how many pieces you should cut.
I’m confused the numbers on the layout don’t match the numbers on the pdf
Did you print on Actual Size and no scaling using adobe reader?
Hi, I’m trying to print out the pattern, however my printer leaves a white border at the edge of the page, is the print suppose to go right to the edge of the page? Thanks
No, it is not supposed to go all the way to the edge. Please align the circles between the pages.
Hi Mayra, You’re so sweet to take the time to do all of these patterns! I remember this kind of top/dress when I was younger and I loved this style. I also love the stories you put with each pattern; they make me smile every time I go to copy a pattern! Laura
Thank you, Laura, very happy to make you smile.
I love this dress and I am just about to start making it with white linen. Is it necessary to cut two front pieces? Or can it be cut as one piece on the fold. I am a beginner so it’s new to me.
Hi Sabrina, since you are a beginner is best to follow the instructions as they are written. Let me know how you go.
Hello I am having trouble with a pattern download the only page that wont print right is page 1 of the actual pattern, all of them printed out but this page.
That is certainly strange, before you print can you see a thumbnail first is it portrait or landscape?
This is such a great pattern! I see the description for the finished garment measurements, but I am unsure which one to choose because finished measurement are different than actual measurements. Does anyone know? Thanks!
Hi Sarah great question, in a pattern always, go with the finished measurements. This top is supposed to be loose.
Hi, is there already a video?
Soon Silke!
Could you post a video of you making this dress?
Hi Libby working on it as you read this. When is done will let you know by email.
Thank you so much!
I see that the seam allowance is 5/8″. Sorry if this a crazy question but is the seam allowance already figured into the pattern for each respective size or do I need to add that in myself?
Not at all Nancy, sometimes I add the seam allowance and sometimes I dont, depending on what basic bodice I use. The seam allowance in this case is already added.
I’d love to give this a try. I’d make mine as a tunic top, not a dress. Can the dress be worn so that the shoulders are covered, rather than off shoulder? Thank you very much!
Someone else asked me that question, and after giving it some thought I have to say, yes if you have not a lot on the chest area. Otherwise your have to raise the collar by 1″ or more depending on how big you are.
So beautiful…. I subscribe for your patterns and I follow you… Great job….
Could you help me with the layout of the pattern pieces.
There is now a pattern layout picture to help you navigate the layout, let me know if you need more help.
Kind Regards,
Mayra
i cant find the pattern to print
Hi Kathy, it is on the second page under the Pinterest button. Enjoy!
Thank you for the free pattern! I’m almost done with my tunic. All that I have left to do is add the bottom trim. But….I cannot find any that looks anything like the one you used. Where did you get your trim?
Hi Teresa,
I combined 2 trims I had and crochet them together. I knew what I wanted I just could not find it. A 2″ crochet lace and a 1/2″ trim should get you there.
Oh, I see. That’s a very clever idea. I’m a crocheter, too, so this is certainly an option. Thank you.
What is the seam allowance for this tunic? Thx
It is is 5/8″, Enjoy!
Wonderful story. Can you tell me how to adapt it for dress length that you mentioned?
Just extend the side seams to the length you want, and recreate the hemline.. Let me know how you go. Cheers!
Beautiful story and the dress too. I want sew it just more long.
Lovely pattern for summer and loved the story too!
Greatly enjoyed the story!
I love that story!! Sometimes the grounding is totally worth the party. 🙂 I’ve got a Craft Gossip post scheduled for tomorrow morning that features your free pattern: http://sewing.craftgossip.com/?p=88535 –Anne
I love love love this tunic!!! Not only the pattern but also the fabric and the lace.
Great story, Mayra! I love this style, I’ll have to give this dress a try!
Thanks Sarah. Happy sewing!
Where did the Facebook Sewing Chat Group page go? It was my favorite!
Hi Pat, very much still there. 20k members and counting at https://www.facebook.com/groups/soseweasychat/
For this style, which is a modified raglan sleeve, I sew all the sleeve seams first. In this case, that would also include the front seam. The neck finish would be next, followed by the side an sleeve seams, sleeve hems, then garment hems. These steps allow me to sew “on the flat.”
Hi Mary, thanks for sharing your ideas and experience.
Can this be worn with the shoulders pulled up? I have to wear a bra! I wish you had a picture of it on the model with the shoulders up!
Hi Mary, yes, of course you can. I’ll put a picture of the model like that sometime tomorrow.
I love your story. It echos many of my own. I had a top like this in the 60’s/70’s. I forgot how much I loved it. Can’t wait to whip up 1 or two. Thank you for the great patterns.
I love the story behind this. When I was 13 and my sister was 15 she used to wait till my parents were asleep then sneak out the house taking the spare key. My job was to lock the door behind her and take the key out. Only one time I forgot so when she came home she couldn’t get her key in the lock. She tried throwing things at the window and everything to get my attention but she couldn’t wake me. She hid in the shed and waited for my Dad to go to work the following morning then slipped in the house and up the stairs. I thought she was going to strangle me! Thank you for the free pattern, I’m looking forward to making it.
Hi Dawn, thanks for sharing. What wonderful memories.
Where do I download the pattern?
Hi Irma, please check again now. Download box wasn’t showing but now is. Please enjoy!