


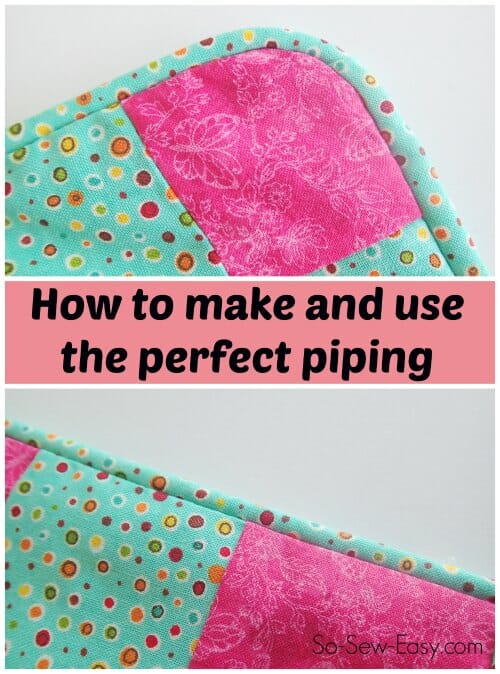
When I sewed my Woven Fabric Pillow, I wanted to make a nice edge to the woven front panel, where it joined to the plain back. Adding in some piping also helped to give the cover a nice shape and definition. But the focus of my project was really the woven fabric strips and I rushed the piping, not making a perfect job. Well, I'm working on another cover this week and want to make some perfect piping. Let's see how I get on.
Making basic piping
How to make and use piping. Piping can be made ahead of time and stored, just the same way you make bias tape from fabric left-overs and save it for the perfect project. In fact, piping needs to be made with bias tape, because it needs the fabric to be cut on the bias to that it will move, give and stretch around curves and corners.
So we start with that first. If you need a reminder on bias tape, here are links to some previous tutorials you might find useful.
- How to make continuous bias tape
- Continuous bias tape calculator
- Sewing binding corners
- Bias tape neck and armhole finishing
Measure around your pillow, or whatever you are making, to determine how much piping you need. Use the bias tape calculator to cut just the right size, always remembering to add on a little extra for overlap. You'll need to cut your strip of fabric wide enough to wrap all the way around your cord and leave a seam allowance. Better too wide than too narrow, I cut my strips 1.5 inches wide.
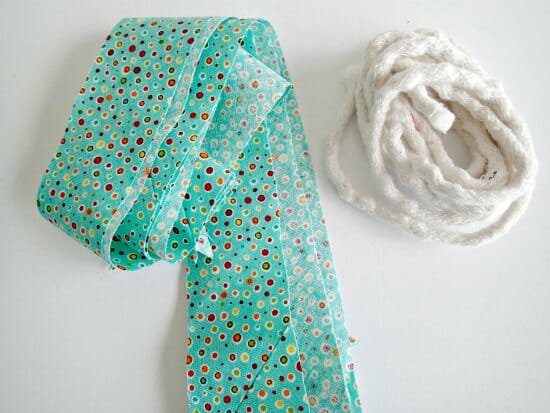
Now you'll need to have an insert for the piping. You can buy posh and expensive piping cord at your local sewing shop, and if you are making an extra special project or need an unusual width, this might be the way to go. But for me, I had some washing line left over and it was the perfect width for my cushion piping. It looks a bit bumpy but was just fine once I straightened it out.
Sewing the piping – the first step
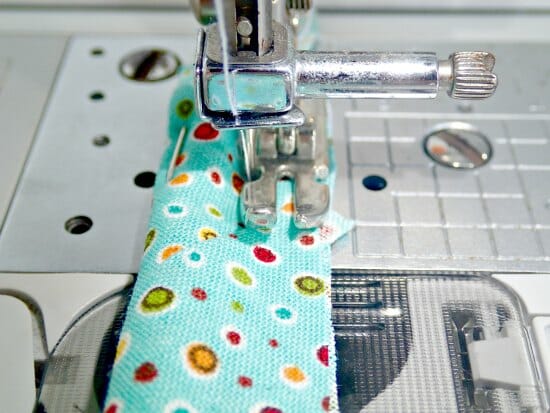
We are going to sew over the piping 3 times, each time getting closer to the cord, pulling the fabric in tighter. Our first step is just to make the basic piping. Cut yourself a piece of cord just a few inches longer than the tape. Place the cord in the center of the fabric, fold the raw edges together, and add a couple of pins.
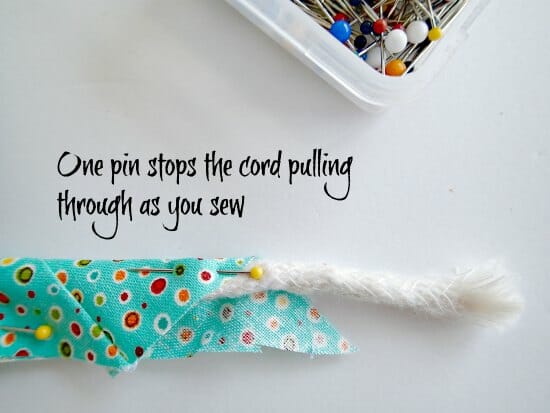
I add one pin right through the cord to make sure it doesn't pull out while I'm sewing, and then start off with just a few pins keeping the edges of the fabric together. I don't pin all the way, it's easy to sew as you go.
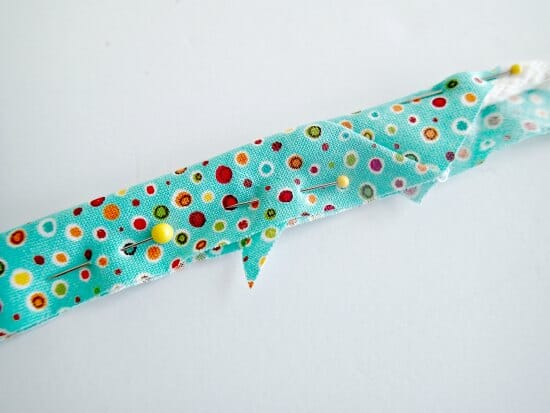
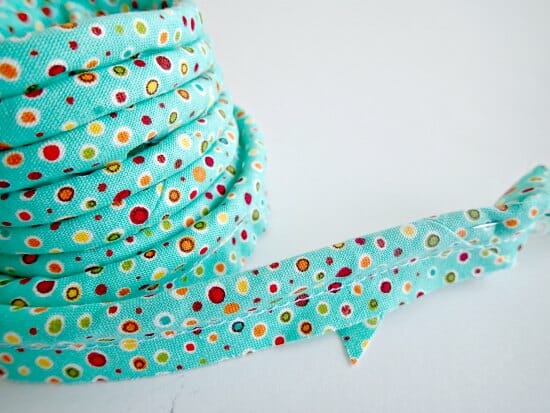
Using a zipper foot, sew the first line of stitching through just close enough to keep the fabric closed and flat, and keep the cord in place. That's all there is to it. Basic piping now made and ready to use.
Sewing the piping – basting in place
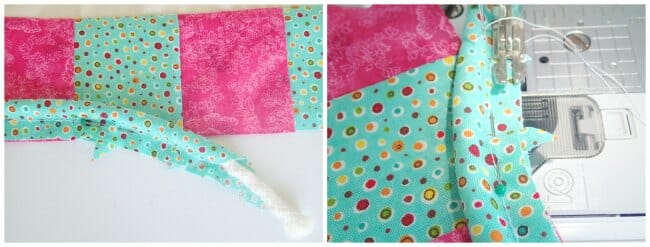
Now time to sew our second line of stitching, used for basting the piping in place. I'm working on a cushion cover, but the technique is the same for any project. You need to determine where your stitching line needs to be, and apply your piping so that when sewn up close to the cord, the stitches will hit your intended stitching line, so creating the correct seam allowance.
Starting the piping is pretty easy. We will start with it just off the edge, and bring it onto the project in a nice gentle curve. I'm starting from the bottom center of the cushion and I baste the piping in place by sewing a little closer to the cord than the original line of stitching. Again, I only pin a little at the start because it seems to grow a little as you sew.
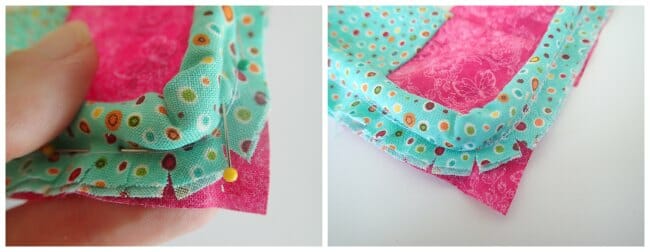
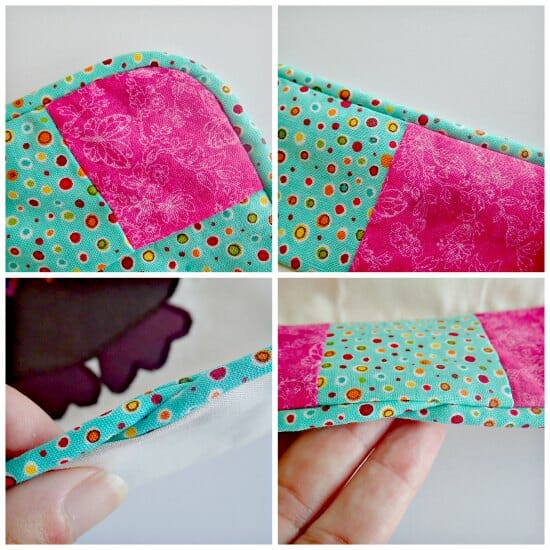
I keep mine smooth and even by lining up the edge of the piping fabric with the raw edge underneath. Eventually, you'll get to a curve or corner. In this case of the cushion cover, it's quite a sharp corner so you'll need to clip the fabric of the piping to allow it to curve. Don't worry that the piping looks a bit puckered – that's just because it's pushed to the inside of the curve. When turned back out to the outside of the curve, it will be quite smooth. Pinning around the corners will help.
When you get back to the start, do the same as you did when starting the piping. Simply run it off the edge in a smooth curve, overlapping with the curve at the start to make a little V shape. Trim off the edges.

Sewing the piping – getting up close and personal
Now we are ready to sew our final line of stitching and sew our piping in place between our layers of fabric. I pinned the cushion cover backing in place around the seam allowance and stitched with my zipper foot.
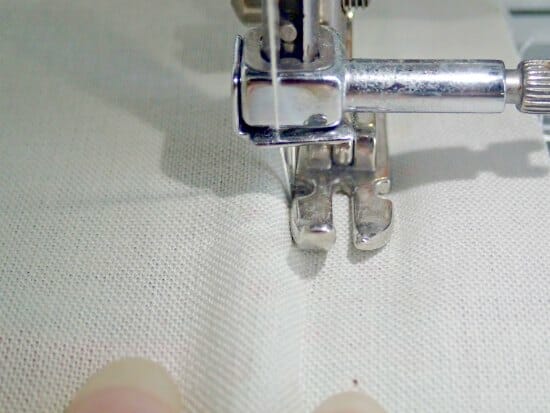
If you have an adjustable zipper foot or can adjust the position of your needle, you'll be able to get really up close to that cord and make sure all the other lines of stitching are hidden, by just moving the needle slightly to the left so your stitches are really close to the cord. Use your finger to press the fabric in place and press the cord over to the side as you sew for a close finish. See how my needle is falling just to the left of the foot.
When you get to where the cord is overlapping, take it easy and sew slowly through the layers in a straight line, right across where it overlaps.
Turn and press and admire your beautiful piping.
If you're not interested in making your own piping, you can find an excellent selection these days on Amazon. Please check out the links below.


I am looking for your continuous bias tape calculator, but can’t find it anywhere. Where in the world did you hide this great little addition to your wonderful tutorials?
Thanks for your help.
Hi Barb, sadly this link got broken in the many Craftsy changes. I will have to redo the calculator.
You can use your serger if you have a cording foot. You can make and sew the piping onto your fabric using the cording foot.
Indeed!
This is just what I need at the moment. Your tutorial is very clear and I always appreciate the photos for added explanation. I’m looking forward to trying it out.
Your timing is perfect! I have zero experience with piping and I’ve been tasked with recovering my friend’s ottoman. It has a cushion attached to the top with piping around the top and bottom edges. It’s been a struggle so far. The zipper foot that came with my machine isn’t cutting it. I have an adjustable foot that can snug up against it which is much better. I also have a set of welting feet arriving tomorrow and while I wait I will practice, practice, practice! I’ve been wanting to add piping to some of my projects and this has been very helpful, thank you. A blessed day to you Sewing Goddess!
Need help with adding a zipper to a corded edge. Your cording tutorial was easy to follow; thanks very much.
Lovely project and tutorial. You have made the process clear and do-able.
Amazing, I’m a first year Uni student, this is great to practice.
LOVE this! the entire site is fabulous! Can’t wait to dive in and read more!
Great tutorial. There is another way of joining piping so there is no overlap. Here’s a link to a tutorial if anyone is interested: http://warehousefabricsinc.com/blog/how-to-join-the-ends-of-piping/
I’ll have to give that a try next time. Thanks for the tip Jane.
Gosh that’s neat! I’ve got much to aspire to. Laughing at your comment that you would make piping like you would bias tape. I only started machine sewing last winter and was amazed that bias tape could be made as I genuinely thought it was special product that you had to buy….what an eejit! I’ve bought little bias makers and plan to makes some once I’ve got a suitable project and some time.
absolutely love this site..as a new sew-er, I find it such help. Always look fwd to your posts:)))
Thanks Trish, very kind. I love it too – makes the perfect place for me to store all the things I learn in case I forget them again!